Linux 软件免费装
Banner图

Add-on WooCommerce - MailPoet 3

开发者 kasperta
sebd86
更新时间 2020年9月29日 14:49
捐献地址: 去捐款
PHP版本: 7.0 及以上
WordPress版本: 5.5.1

标签

email subscription form mail newsletter woocommerce e-commerce checkout mailpoet newsletters list extension add-on wysija e-mail lists double opt-in

下载

1.0.0 1.0.2 1.0.3 1.0.4 1.0.5 1.0.6 1.1.0 1.1.1 1.1.2 1.1.3 1.1.4 1.1.5 1.1.6 1.1.7

详情介绍:

Requirements MailPoet 3 WooCommerce
Let your customers subscribe to your newsletter/s as they checkout with their purchase. Features
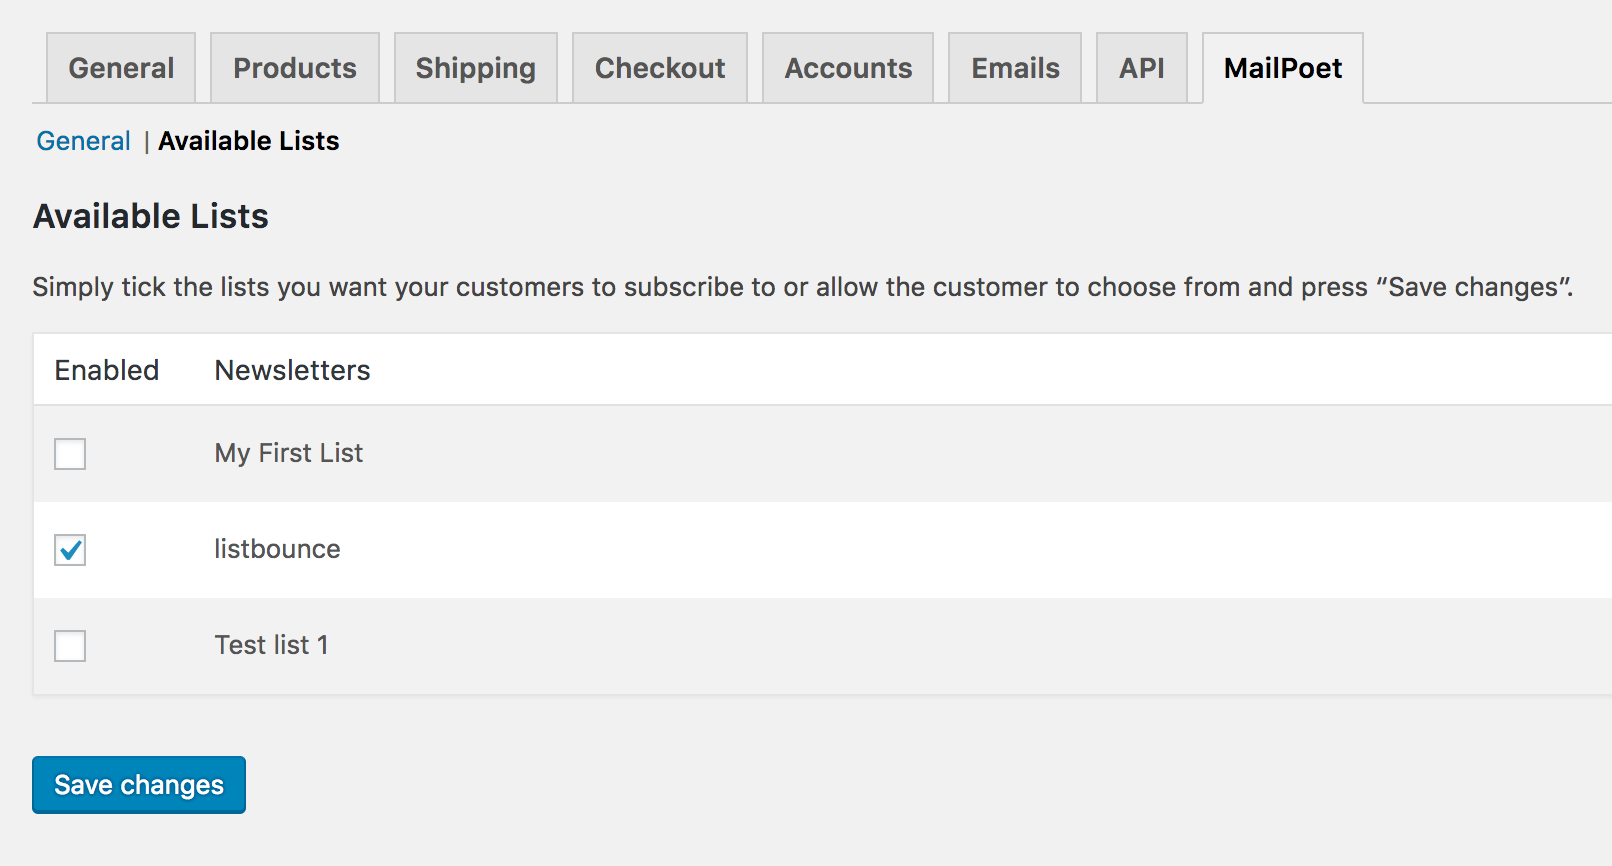
 Setting up the Plugin To setup this plugin, go to "WooCommerce -> Settings" and then the MailPoet tab. The settings are in two sections. 'General | Available Lists' "General" contains the main settings for the plugin. "Available Lists" contains a table listing of all your created lists. Select the lists you want your customers to subscribe to by ticking the checkbox next to the list and press 'Save changes'. That's it, now when your customers tick the subscribe checkbox on the checkout page, they will be subscribed to the newsletter/s you selected when processing an order.

安装:

There are 3 ways to install this plugin: 1. The super easy way
  1. In your WordPress dashboard, navigate to Plugins > Add New
  2. Search for Add-on WooCommerce MailPoet 3
  3. Click on "install now" under "Add-on WooCommerce MailPoet 3 "
  4. Activate the plugin
2. The easy way
  1. Download the plugin (.zip file) by using the blue "download" button underneath the plugin banner at the top
  2. In your WordPress dashboard, navigate to Plugins > Add New
  3. Click on "Upload Plugin"
  4. Upload the .zip file
  5. Activate the plugin
3. The old-fashioned and reliable way (FTP)
  1. Download the plugin (.zip file) by using the blue "download" button underneath the plugin banner at the top
  2. Extract the archive and then upload, via FTP, the woocommerce-add-on-mailpoet-3 folder to the <WP install folder>/wp-content/plugins/ folder on your host
  3. Activate the plugin
Setting up the Plugin To setup this plugin, go to "WooCommerce -> Settings" and then the MailPoet tab. The settings are in two sections. 'General | Available Lists' "General" contains the main settings for the plugin. "Available Lists" contains a table listing of all your created lists. Select the lists you want your customers to subscribe to by ticking the checkbox next to the list and press 'Save changes'. That's it, now when your customers tick the subscribe checkbox on the checkout page, they will be subscribed to the newsletter/s you selected when processing an order.

屏幕截图:

  • Single checkbox subscribe field on the checkout page.
  • Multi checkbox subscribe fields on the checkout page.
  • General plugin settings.

升级注意事项:

x.0.0
  • There are nothing else needed, than upgrading from the WordPress pluings screen.

更新日志:

Changelog