
AI Featured Image Generator
| 开发者 |
Amr267
WPRaptor freemius amr267 |
|---|---|
| 更新时间 | 2026年11月11日 03:27 |
| 捐献地址: | 去捐款 |
| PHP版本: | 7.4 及以上 |
| WordPress版本: | 7.1 |
| 版权: | GPLv2 or later |
| 版权网址: | 版权信息 |
标签
下载
详情介绍:
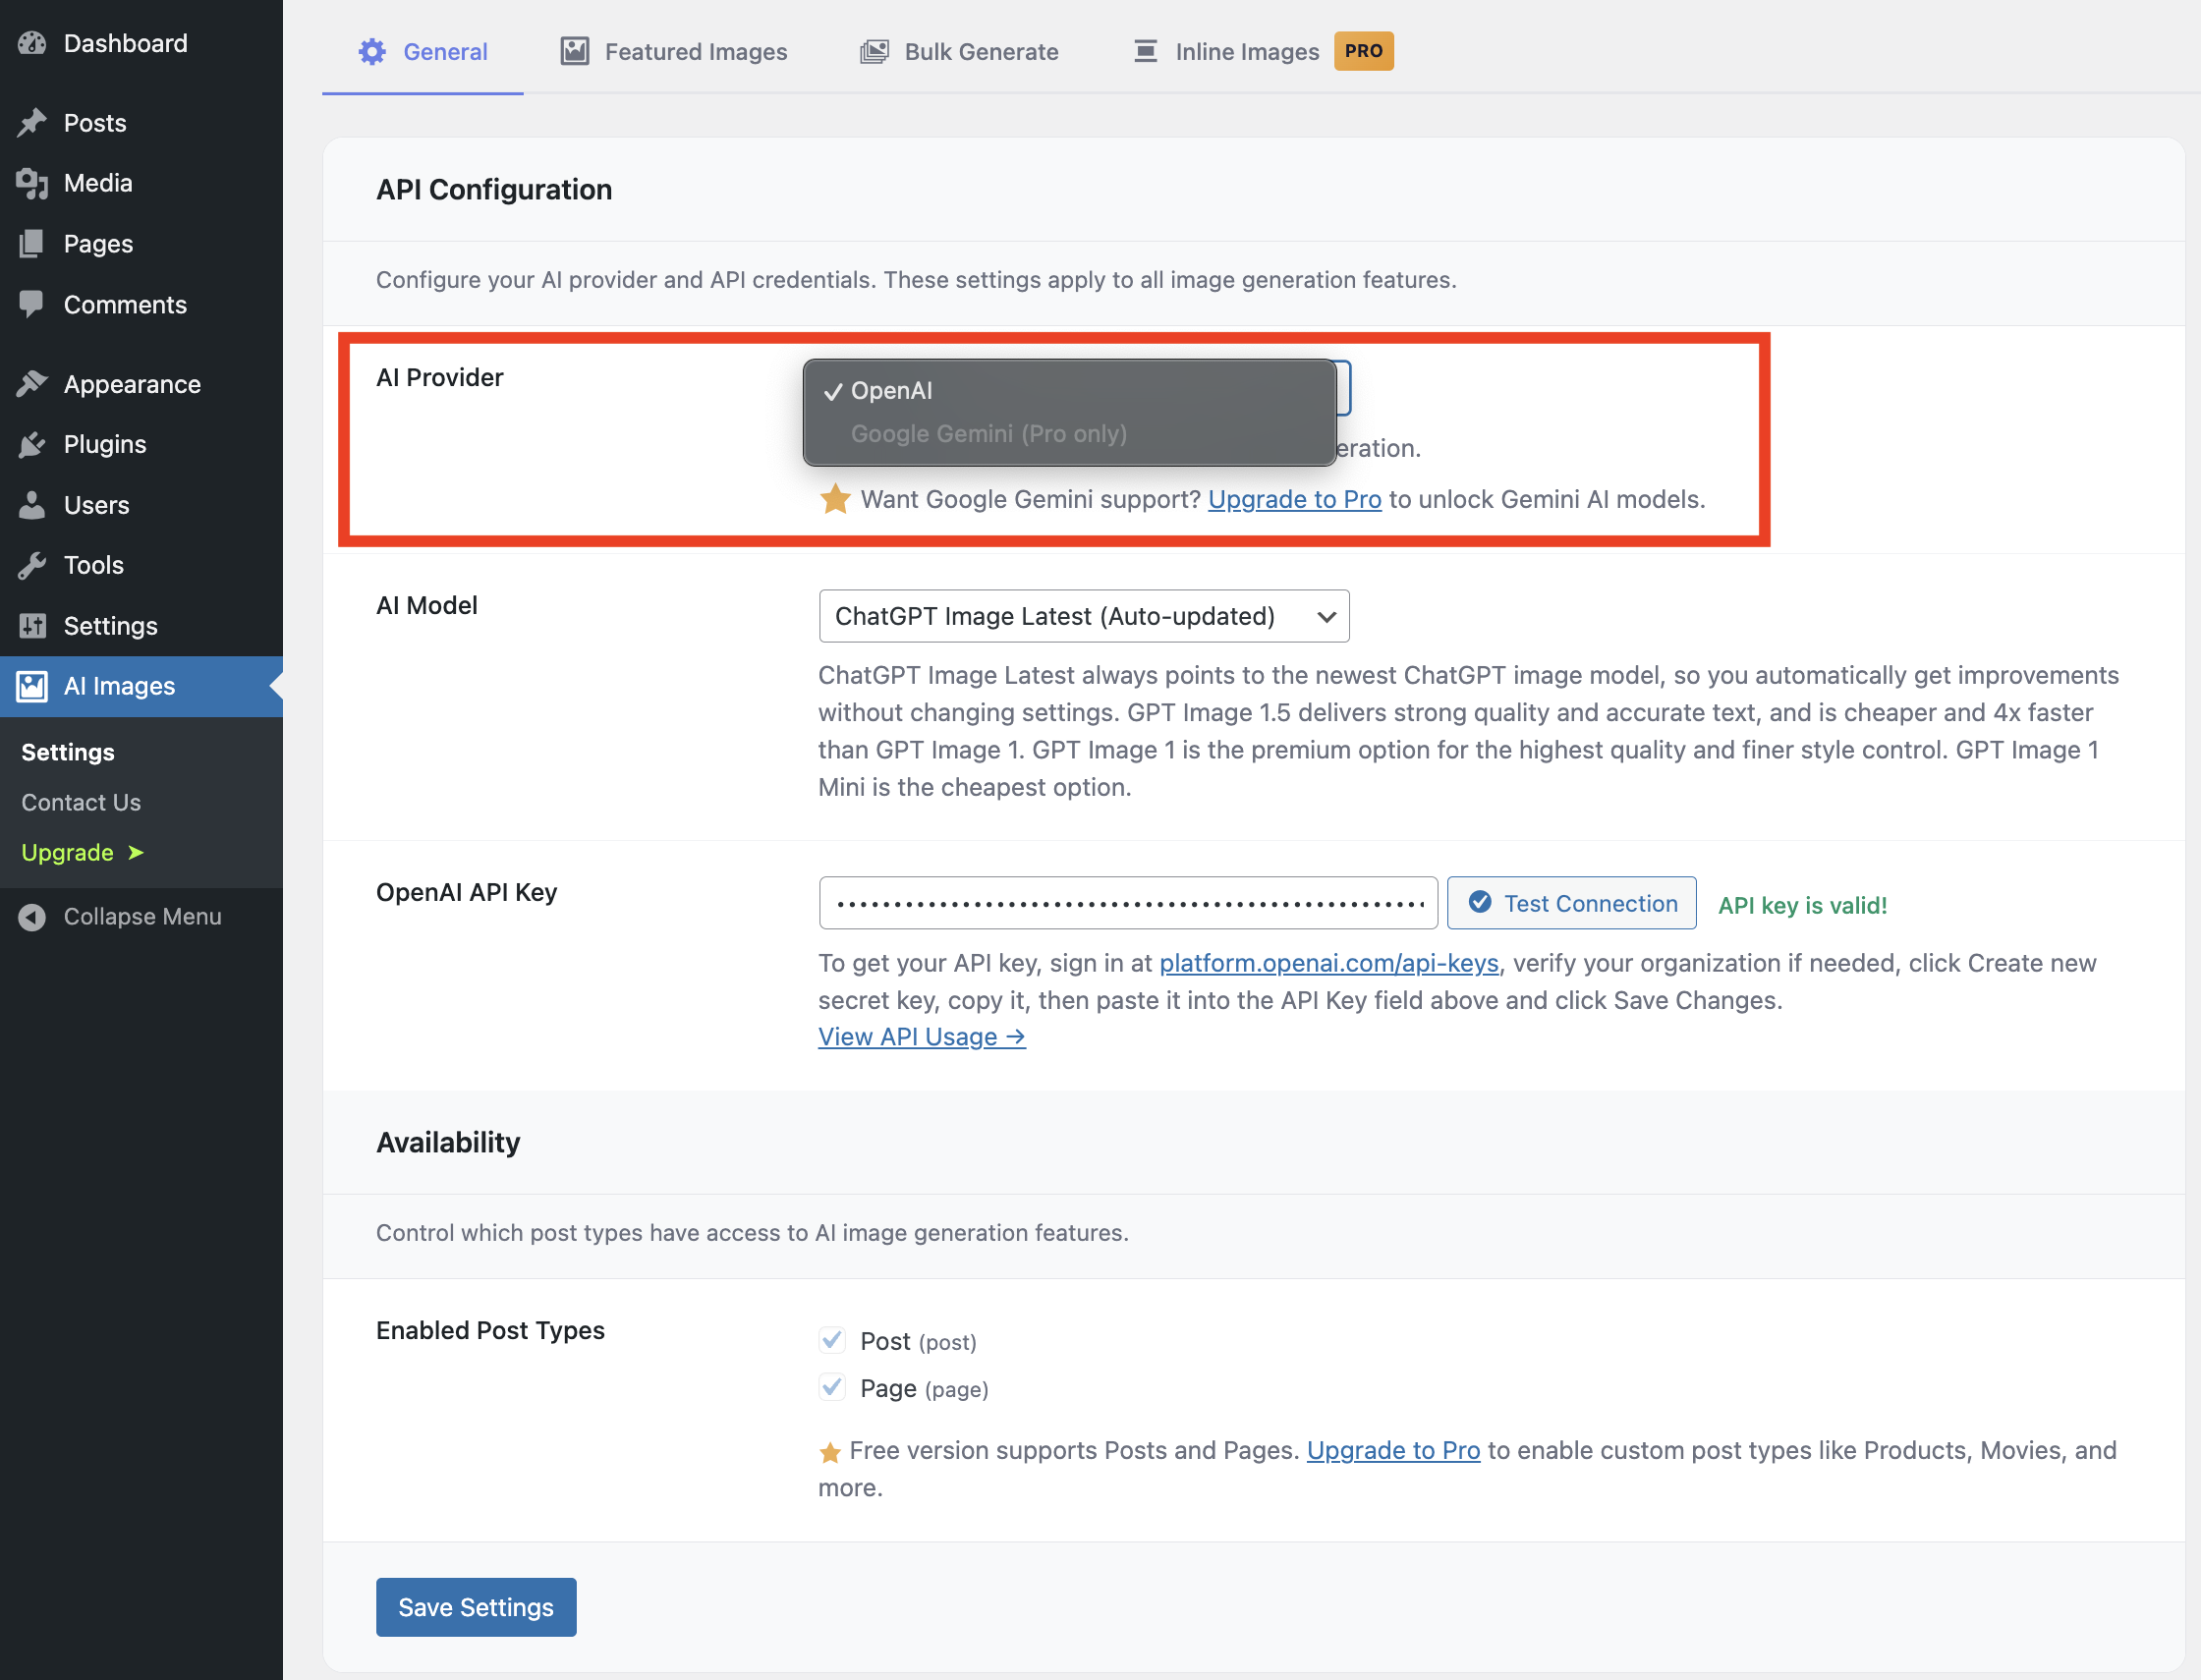
- 3 free AI providers: OpenAI, Stability AI, and Grok/xAI (Google Gemini and Meta Muse available on Pro)
- OpenAI models: GPT Image 2 (default): excels at text rendering in multiple languages, visual reasoning and multi-object scenes
- Stability AI: Stable Image Core with 16 native style presets (Photographic, Cinematic, Anime, Digital Art, Comic Book, Fantasy Art, and more)
- Grok/xAI: Grok Imagine Image: fast and affordable at $0.02 per image
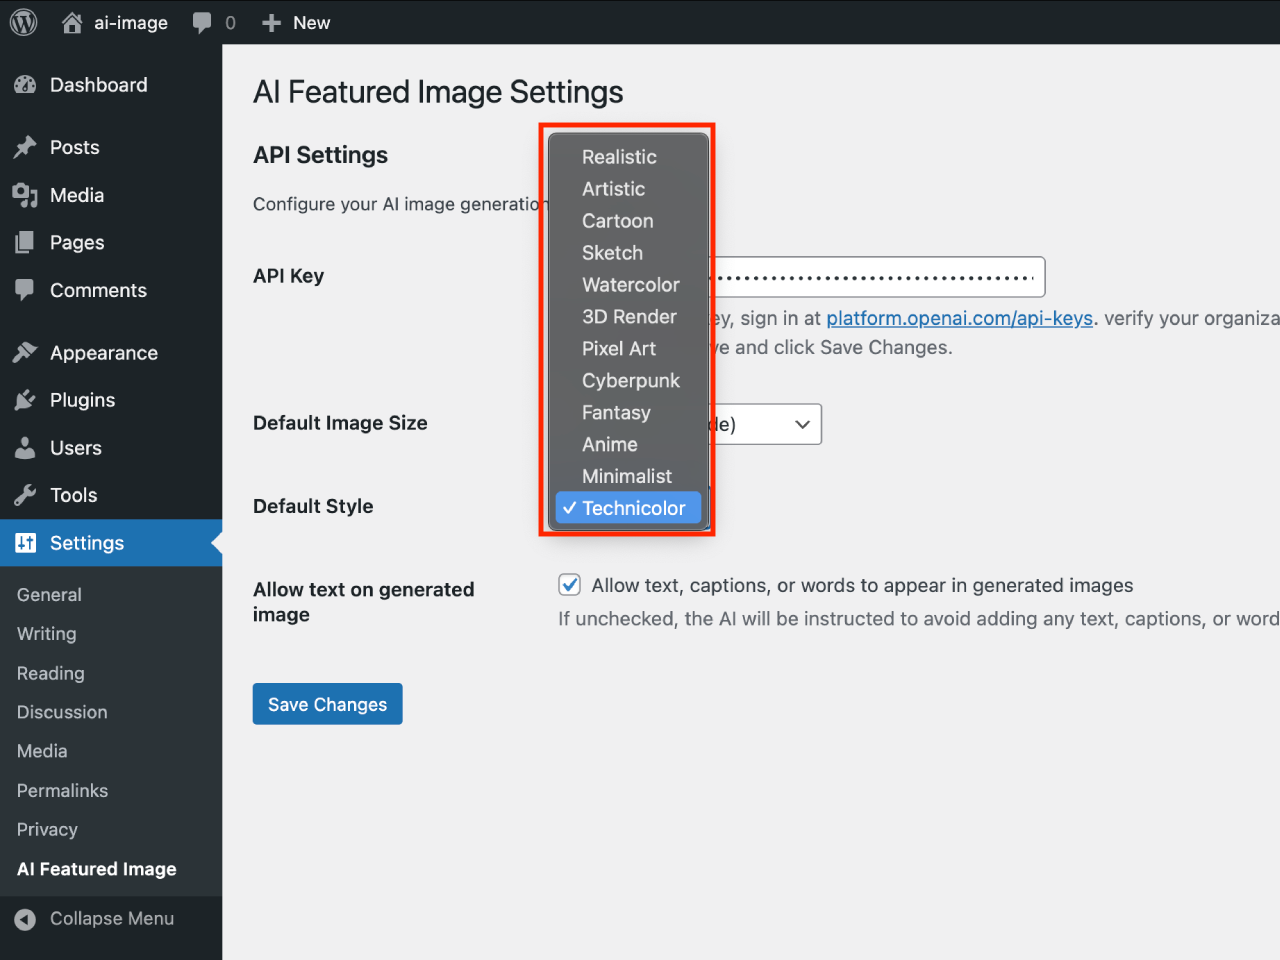
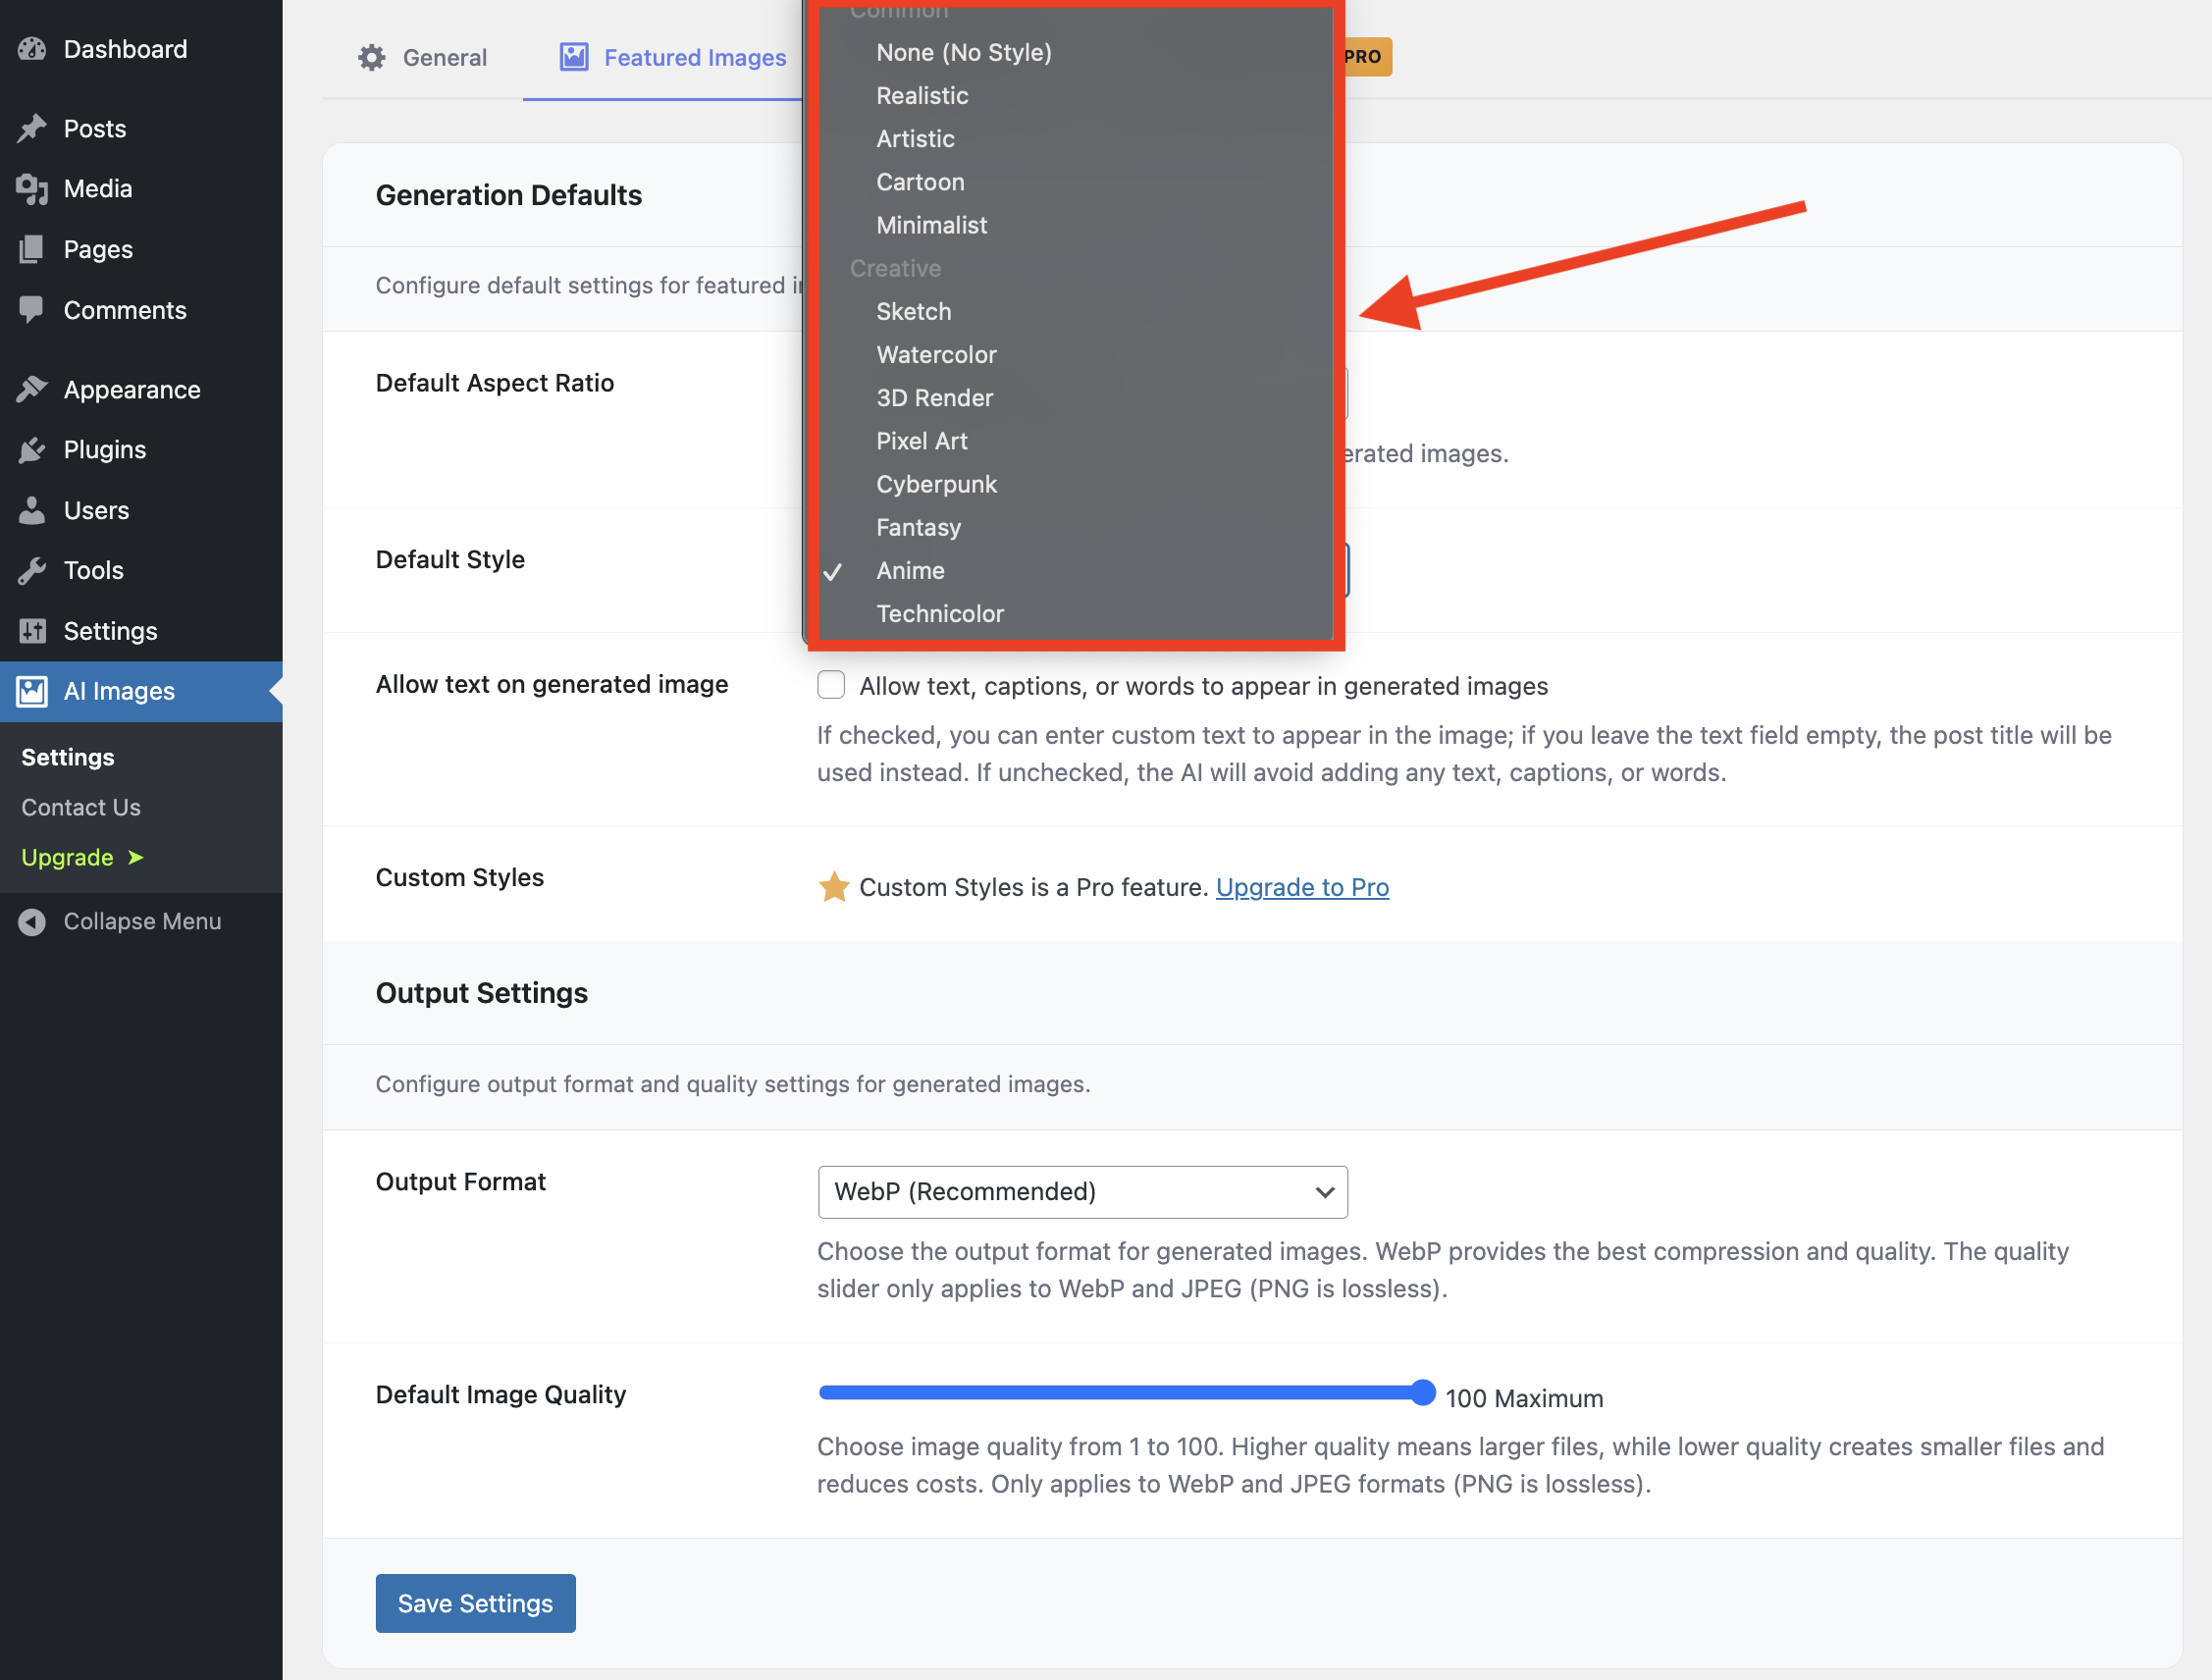
- 21 style presets: Common (None, Realistic, Artistic, Cartoon, Minimalist), Creative (Sketch, Watercolor, 3D Render, Pixel Art, Cyberpunk, Fantasy, Anime, Technicolor), and Trending (Toy Figure, Miniature World, Claymation, Cinematic, Lo-Fi Cozy, Vintage Instant Photo, Magazine Collage, Paper Cut)
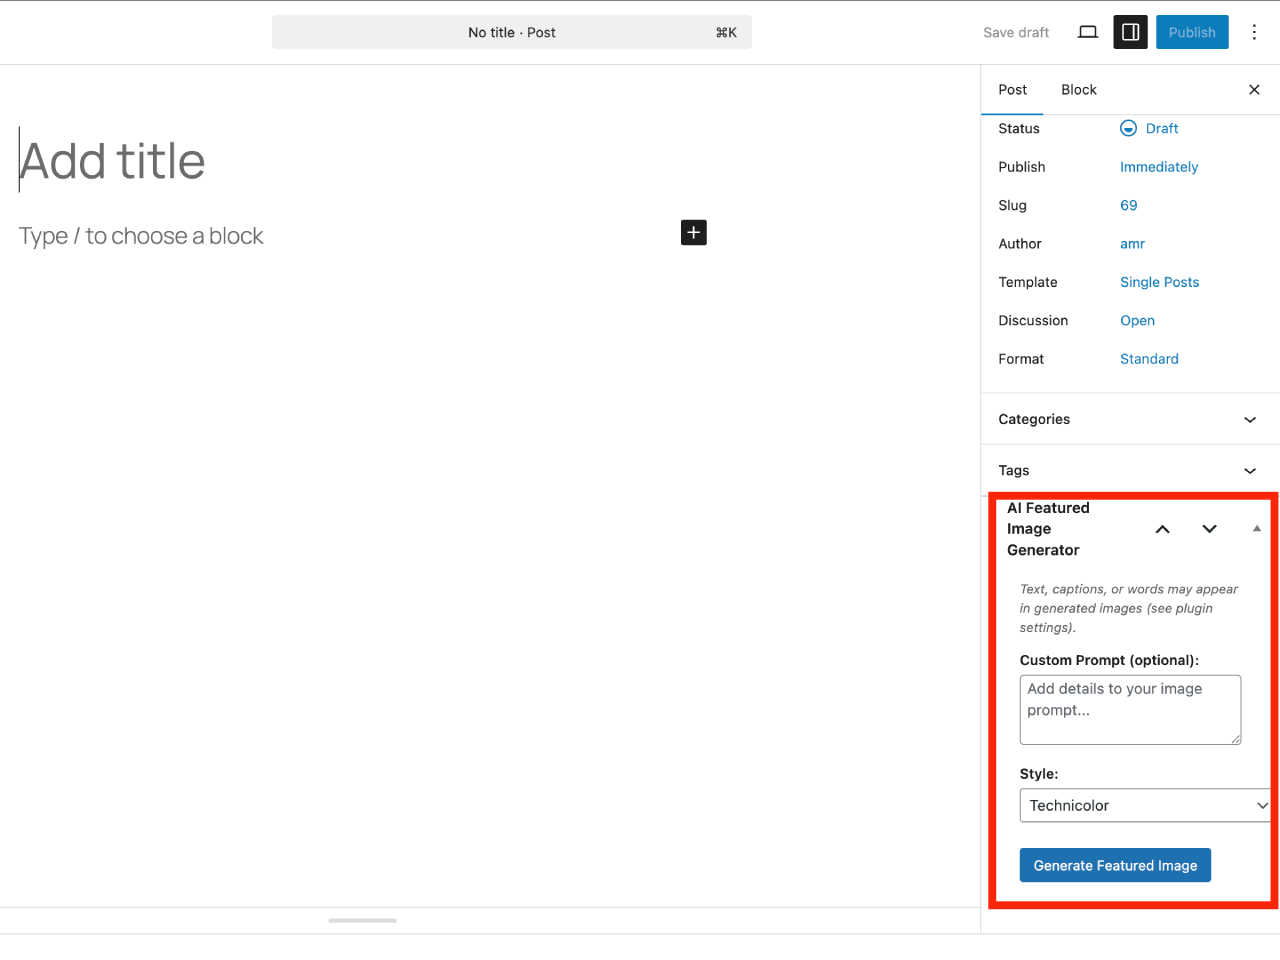
- Custom prompts: plus one-click Generate Prompt from Content, which crafts an AI-optimized prompt from your post title and body (OpenAI and Grok free; Gemini and Meta Muse on Pro)
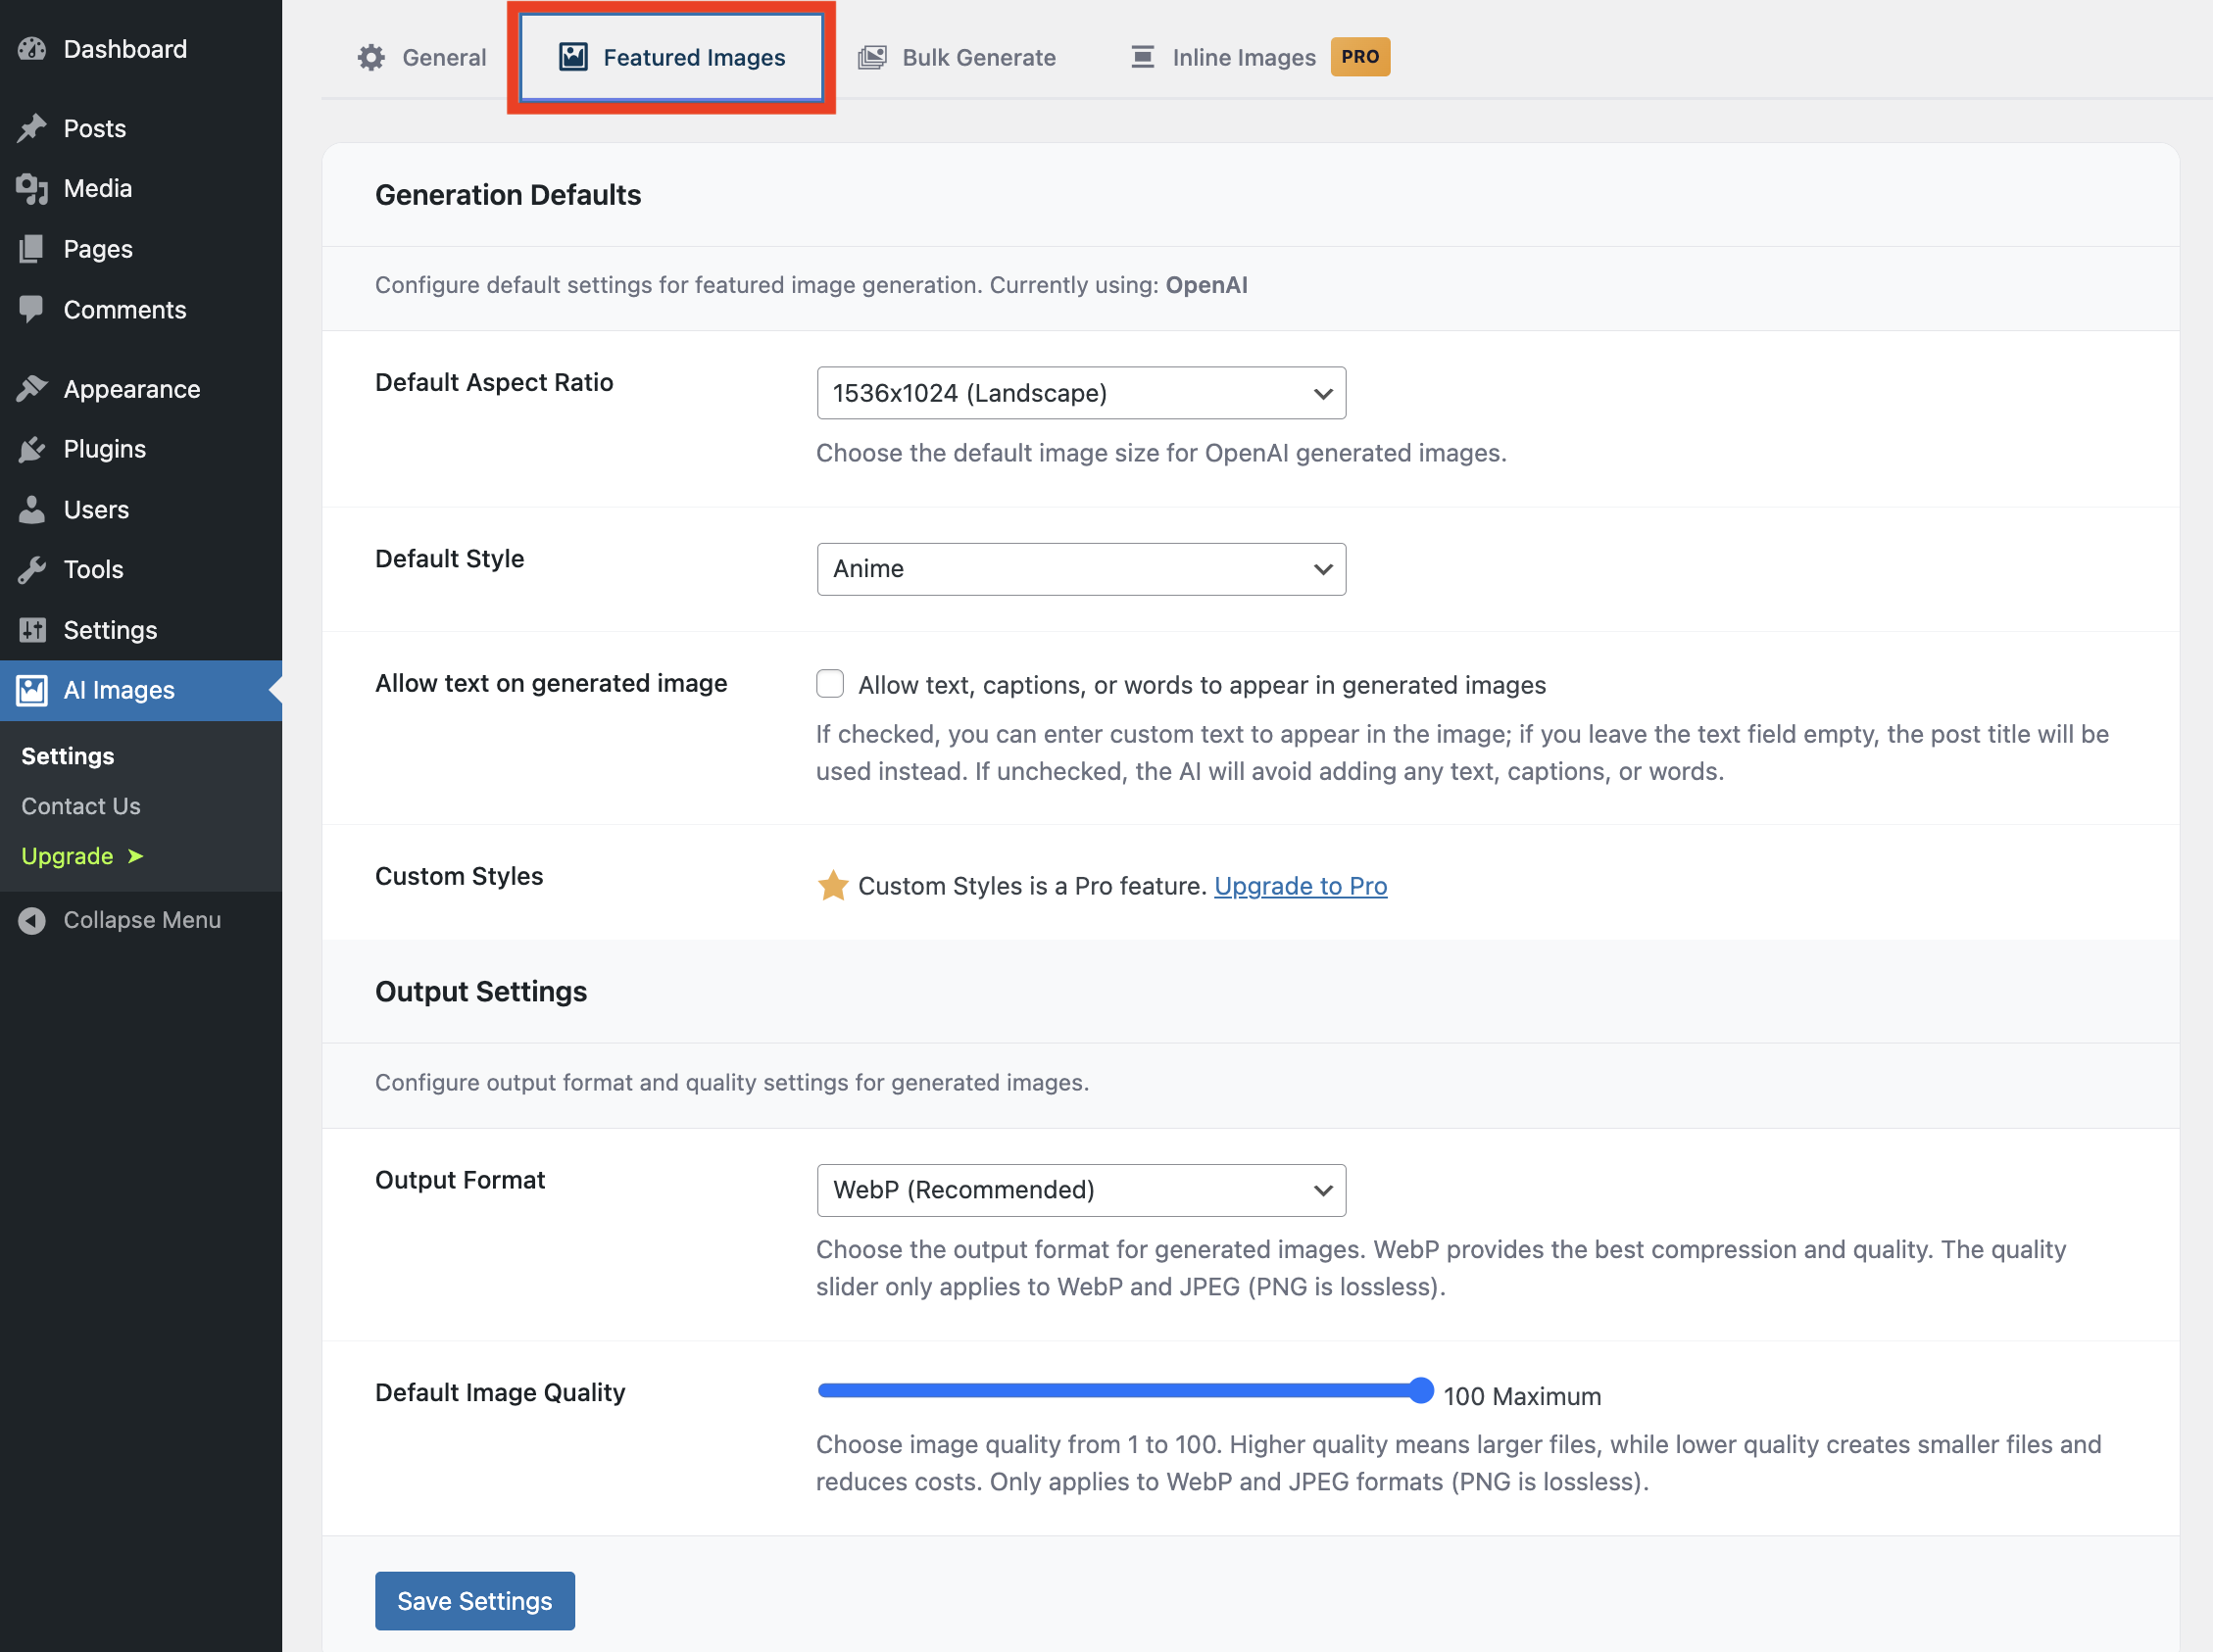
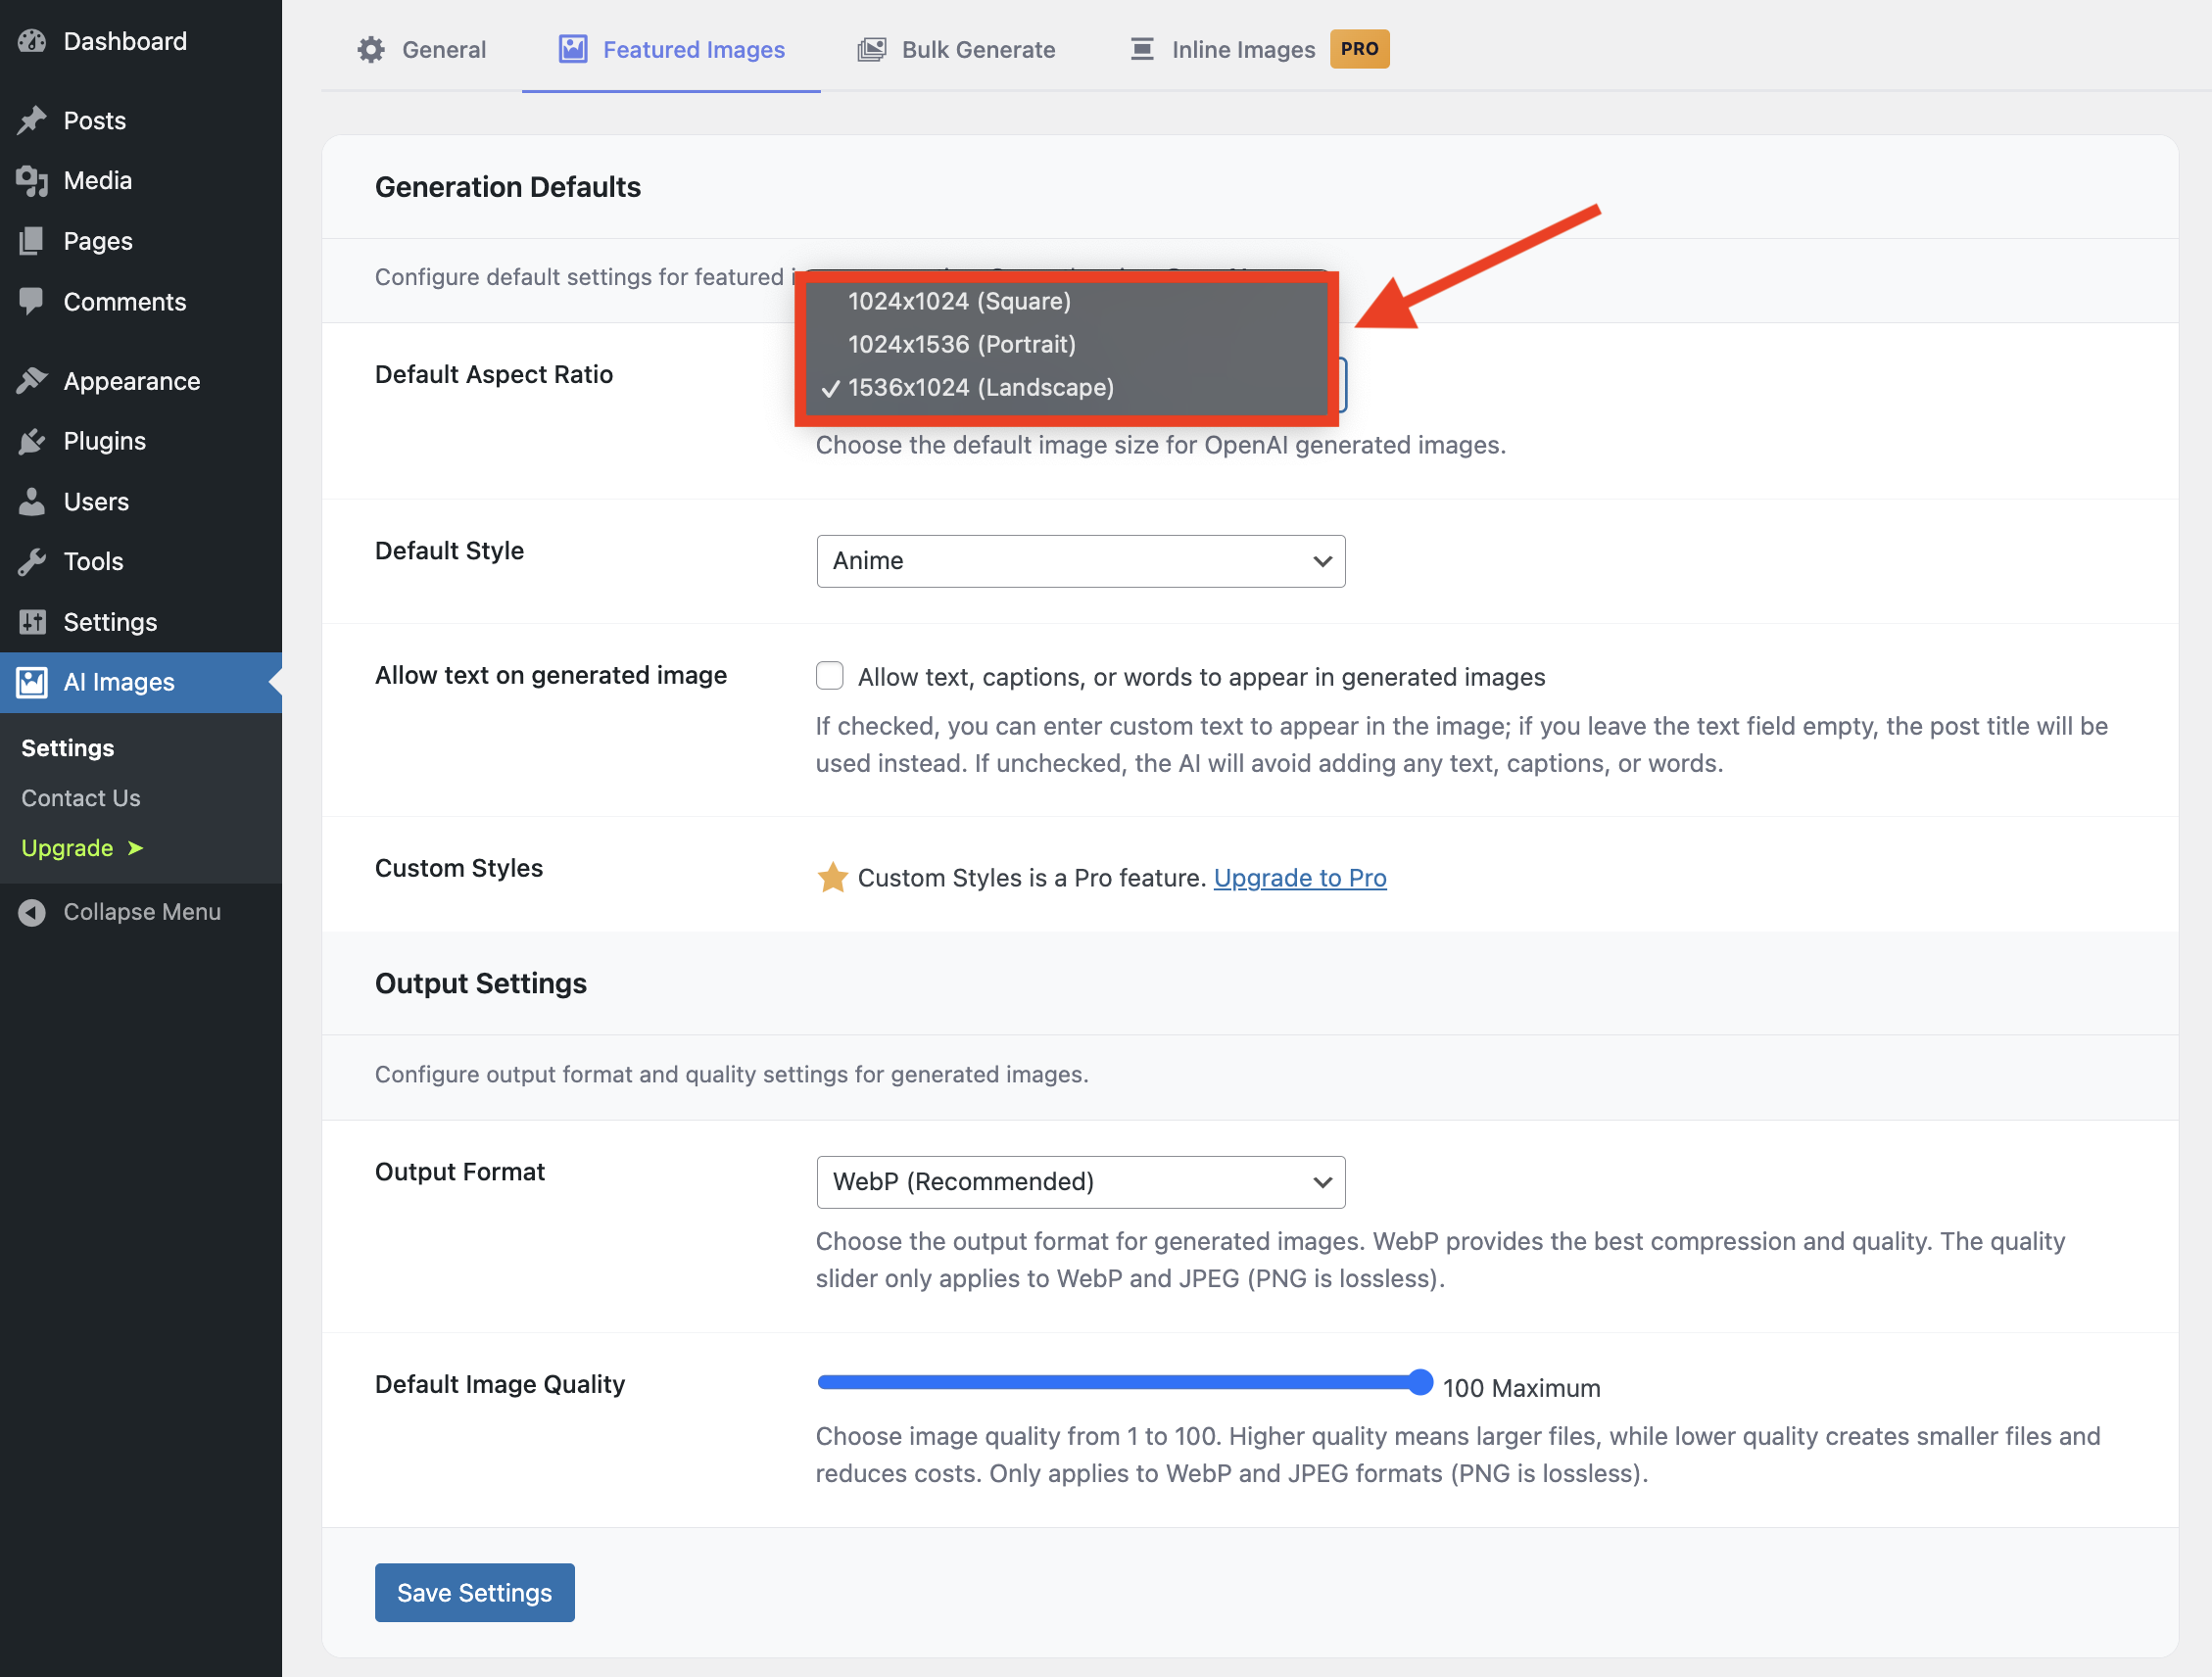
- 7 image sizes with GPT Image 2 and 2.6: square, portrait, landscape, widescreen 16:9, vertical 9:16, ultra-wide 3:1, and tall banner 1:3
- All aspect ratios: 9 for Stability AI and 9 for Grok, plus 2K resolution on Grok
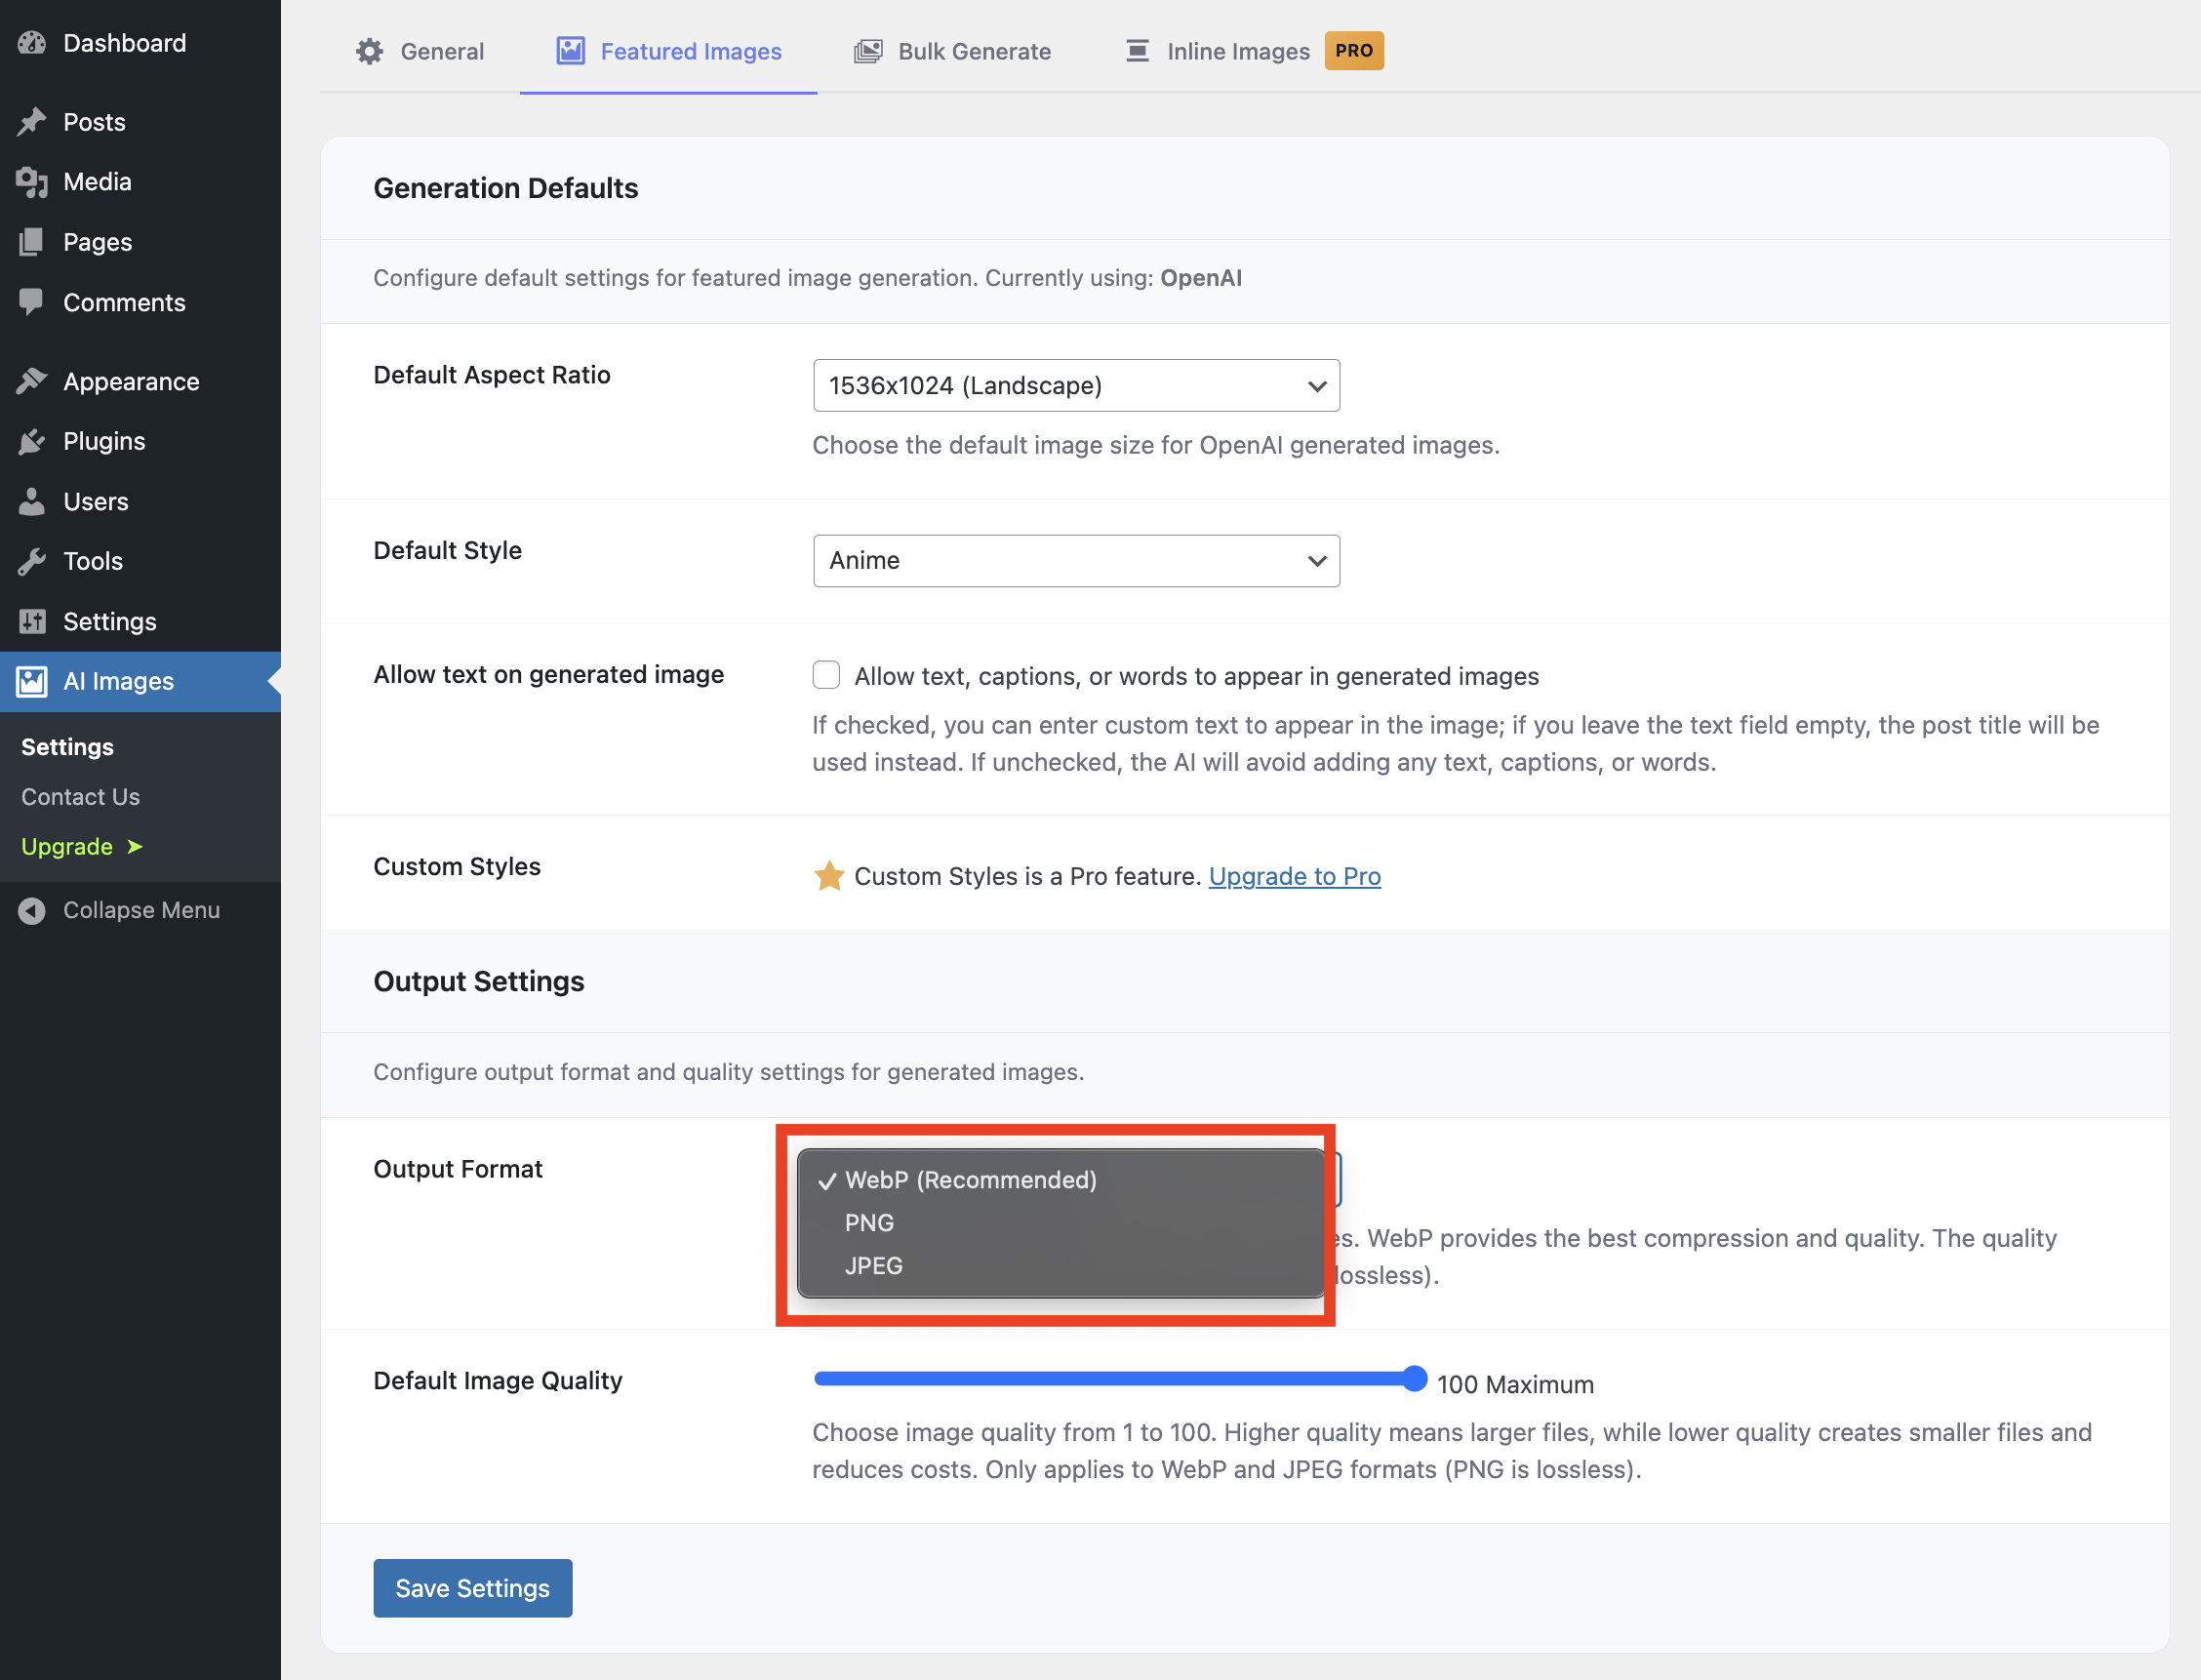
- Output control (OpenAI): WebP/PNG/JPEG format, compression slider (1–100), and Low/Medium/High generation quality (Extra High and Max on GPT Image 2.6, Pro)
- Text control: allow or block text, captions, and words in generated images
- Auto alt text: from the post title, the prompt, or a custom template with
{title},{prompt},{style}, and{site_name}placeholders. with an option to preserve manual edits on regeneration - Bulk Generate: unlimited images for Posts and Pages that have no featured image yet, as many at once as you like
- Generate from Post List: an "AI Featured Image" column on the Posts/Pages list with a one-click Generate/Regenerate link, so there is no need to open the editor
- Image Audit counts: see how many of your images have no alt text, are over 600 KB, are still JPG or PNG instead of WebP, or look blurry or cut off (fixing them is Pro)
- Inline images: the AI Image Generator block adds AI images anywhere in your Gutenberg content, with its own settings tab
- AI assistants (MCP): connect Claude Desktop, Cursor, Claude Code or VS Code and ask them in plain words, starting with "On ," to make featured images, make any image for the Media Library, find posts and images, audit your images (missing alt text, size, format, blur, cut-off edges) and fix alt text, titles and captions. A 3-step setup on the AI Assistants tab, 20 assistant images on the free plan
- Multisite compatible
- Product Images (WooCommerce): turn a product's real photo into clean store images: Studio, Showroom, Lifestyle or 3D shots in the mood you pick, with a white, light grey, beige, custom colour or transparent background for studio shots. The product itself is kept exactly as it is. Make a main image plus gallery set in one click from the product page, or run the whole shop in bulk. Nothing changes on the product until you choose, and the original images can always be put back
- Match product photos to your style: in Bulk images on the Product Images tab, remake only the main and gallery photos whose background, shape, size or file type does not match your style, each from that same photo and in the same place. Photos that already match are left alone, and the originals are always kept
- Animated and vector images (GPT Image 2.6): make a featured or inline image as an animated GIF, generate inline images and your Brand Kit logo as SVG, and choose how much the model plans each picture with the new Planning Detail setting
- Listen to this post (audio): turn any post into a narrated recording with ElevenLabs, Grok or Google Gemini voices, play a sample of each voice first, and show a player above the content. Long posts are read in parts and joined into one file, and the editor tells you when the post changed since the recording
- Podcast feed: publish your recordings as a podcast. Submit the feed address once to Spotify, Apple Podcasts, YouTube Music, Amazon Music or any other podcast app, and each new recording appears there as an episode by itself
- Image Audit: list every image with missing alt text, a large file, a JPG or PNG format, blur or cut-off edges, then fill all missing alt text at once from your Alt Text settings, convert images to WebP, and edit alt text, titles and captions right in the list
- Auto-generate on publish: a post published without a featured image gets one automatically a few seconds later, made with your current settings and Brand Kit, with the option to write the prompt from the post content
- Google Gemini: Nano Banana 2.1 (Google's newest, fast and about half the price of Nano Banana 2), Nano Banana Pro (Gemini 3 Pro) and Nano Banana 2 (Gemini 3.1 Flash, deprecated by Google but still available): up to 4K resolution and 10 aspect ratios
- Meta Muse (beta): Muse Image 1.0, Meta's reasoning image model at $0.01 per image, with 9 aspect ratios and native WebP, PNG or JPEG output
- Unlimited AI assistant images (MCP): plus Pro tools for assistants: set a featured image from the Media Library, insert an image into a post, upscale, remove background, rename images, convert JPG or PNG to WebP, make a narrated recording of a post, make WooCommerce product images from the product's photo and check them against your look, and manage the Brand Kit (read it, change colours, tone and logo placement, preview it, stamp the logo onto existing featured images and undo that, or set it up from what the site already says about itself)
- GPT Image 2.6 (OpenAI): GPT Image 2.6 Flare (fast, recommended) and GPT Image 2.6 Sunburst (best detail), with Extra High and Max generation quality and a one-click "Retry with Sunburst" button in the post editor
- Image upscaling (Stability AI): Conservative (faithful 4x), Creative (AI-enhanced 4K), or Fast (quick 4x), right from the post editor
- Background removal (Stability AI): one click isolates the subject and saves a transparent PNG as your featured image
- Advanced Stability AI models: Stable Image Ultra and SD 3.5 Large / Large Turbo / Medium / Flash
- Negative prompts (Stability AI): exclude unwanted elements, e.g. "blurry, watermark, text, low quality"
- Grok Imagine Image 2.0: higher quality at $0.04 per image
- Grok Imagine Image Quality: top tier at $0.05 per image
- More output formats: PNG/JPEG/WebP for Stability AI, and automatic WebP conversion for Gemini and Grok images
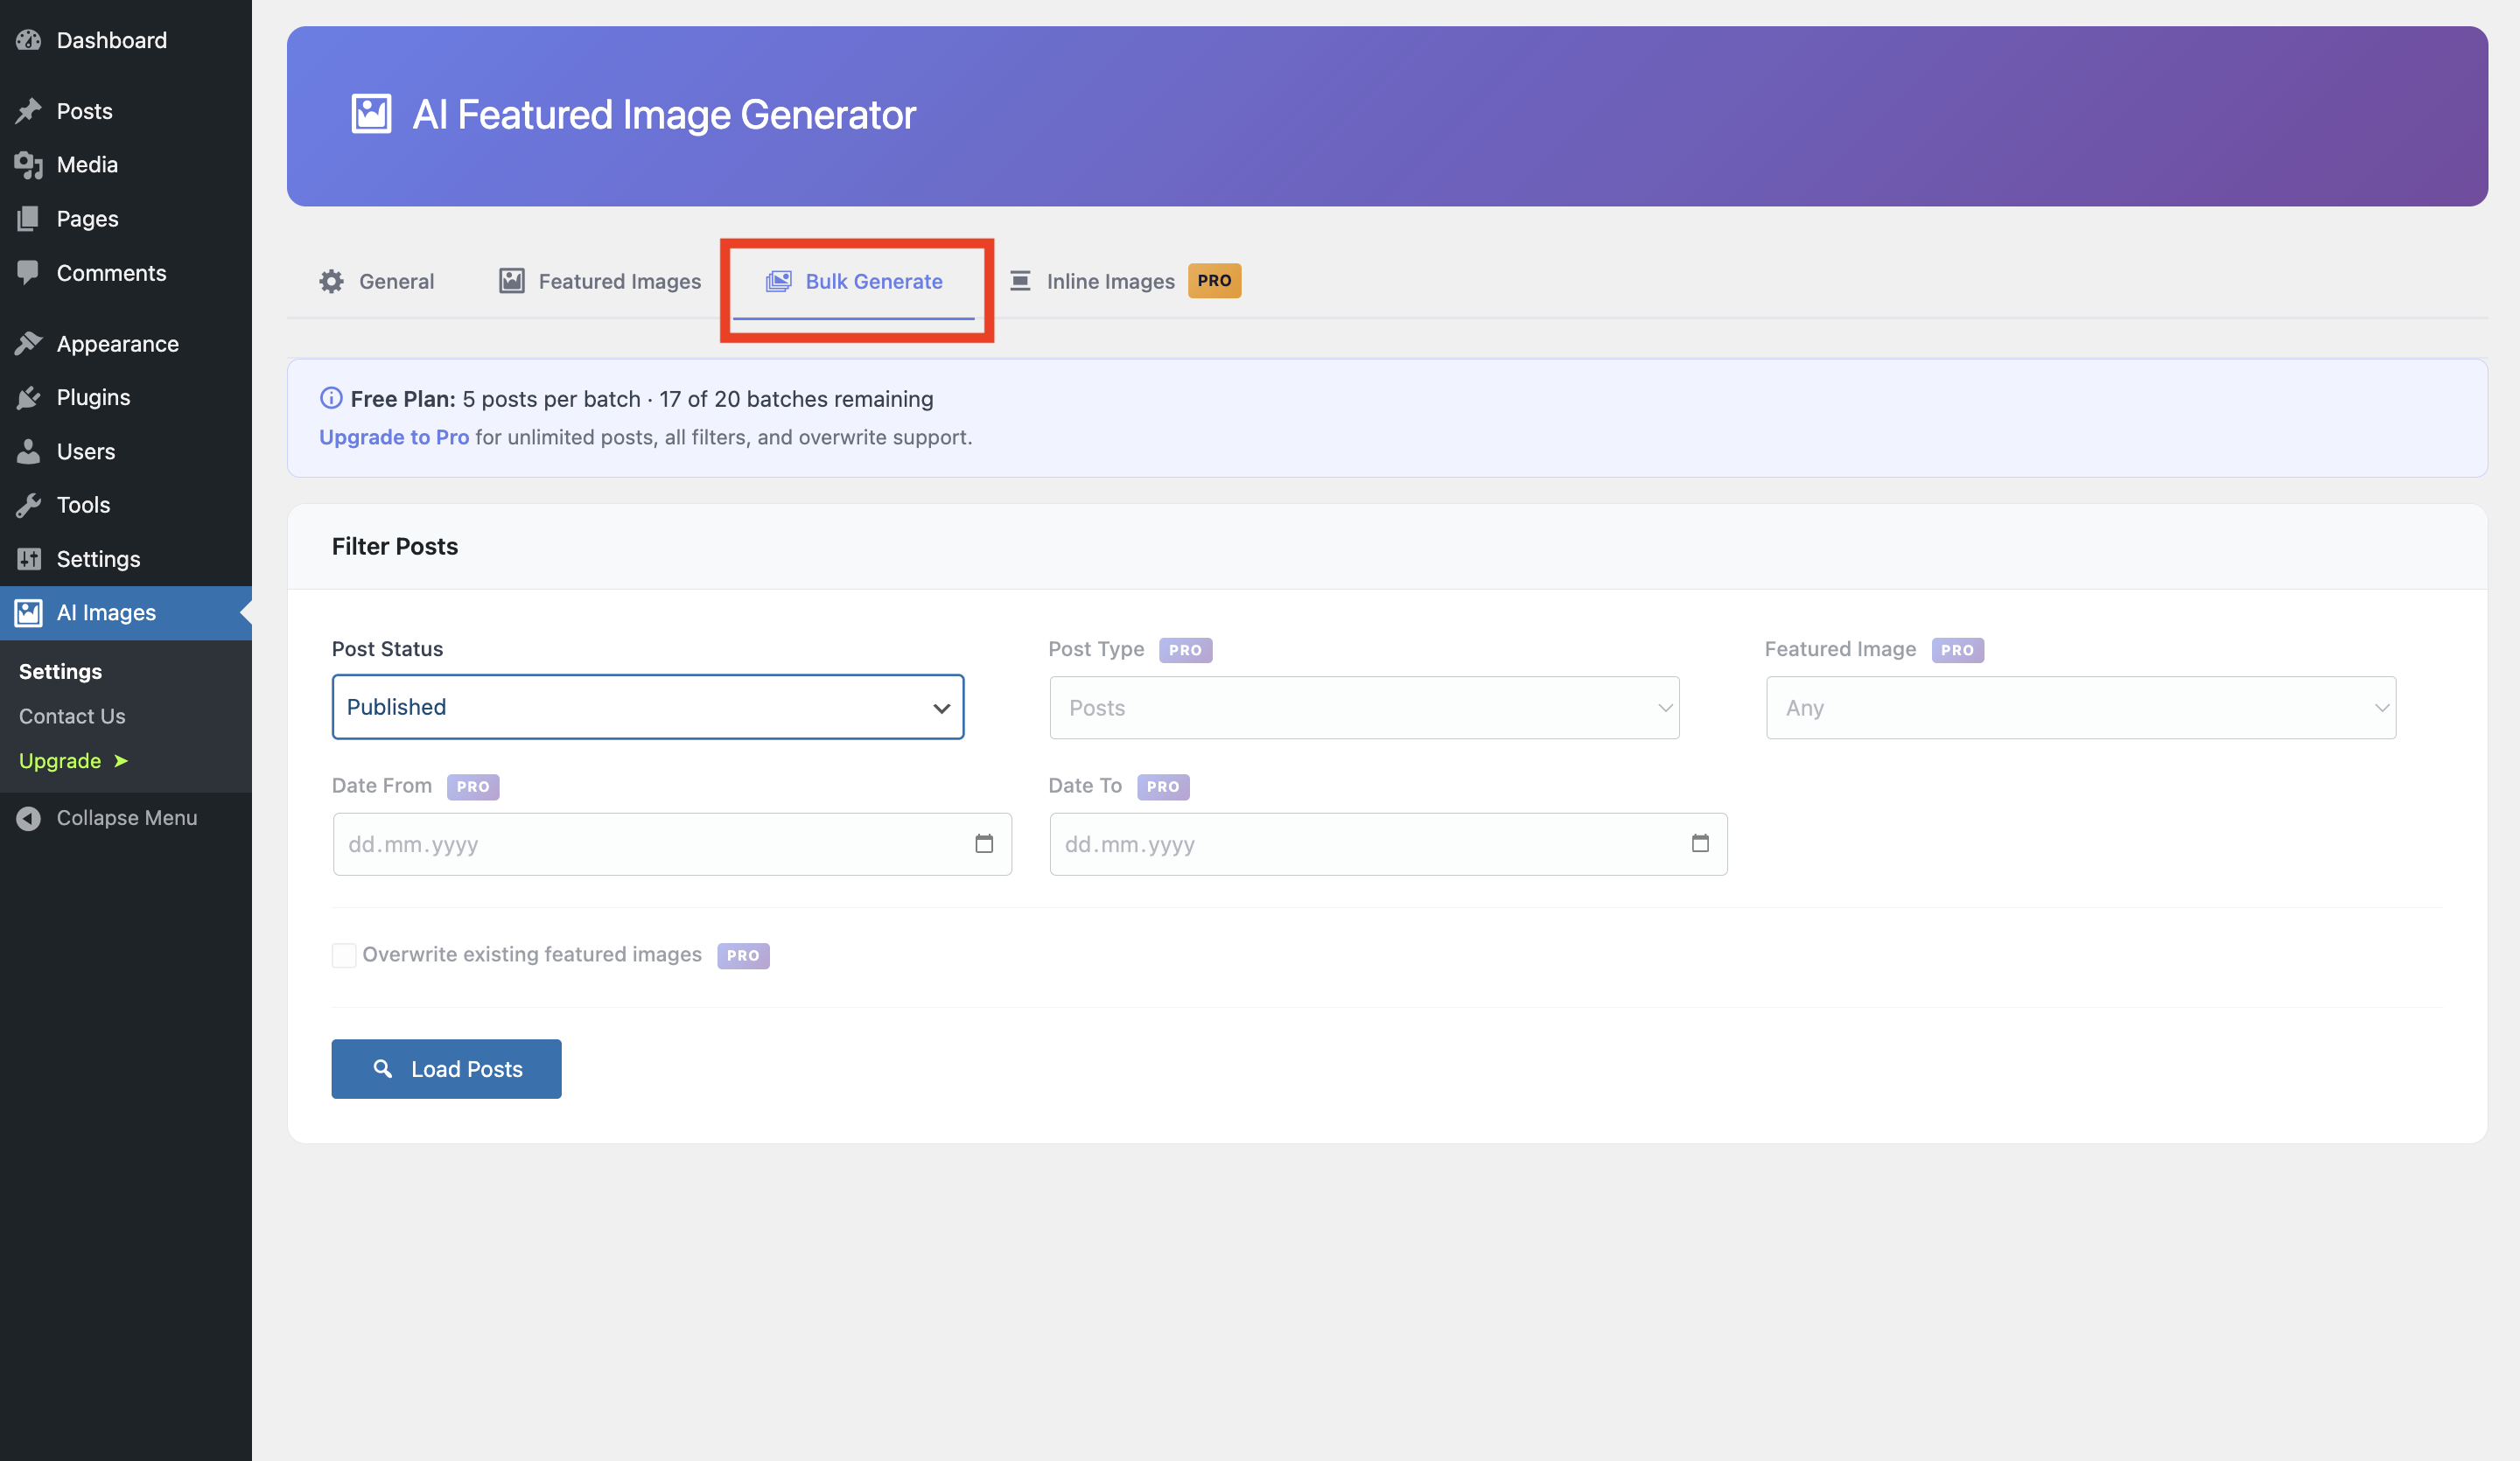
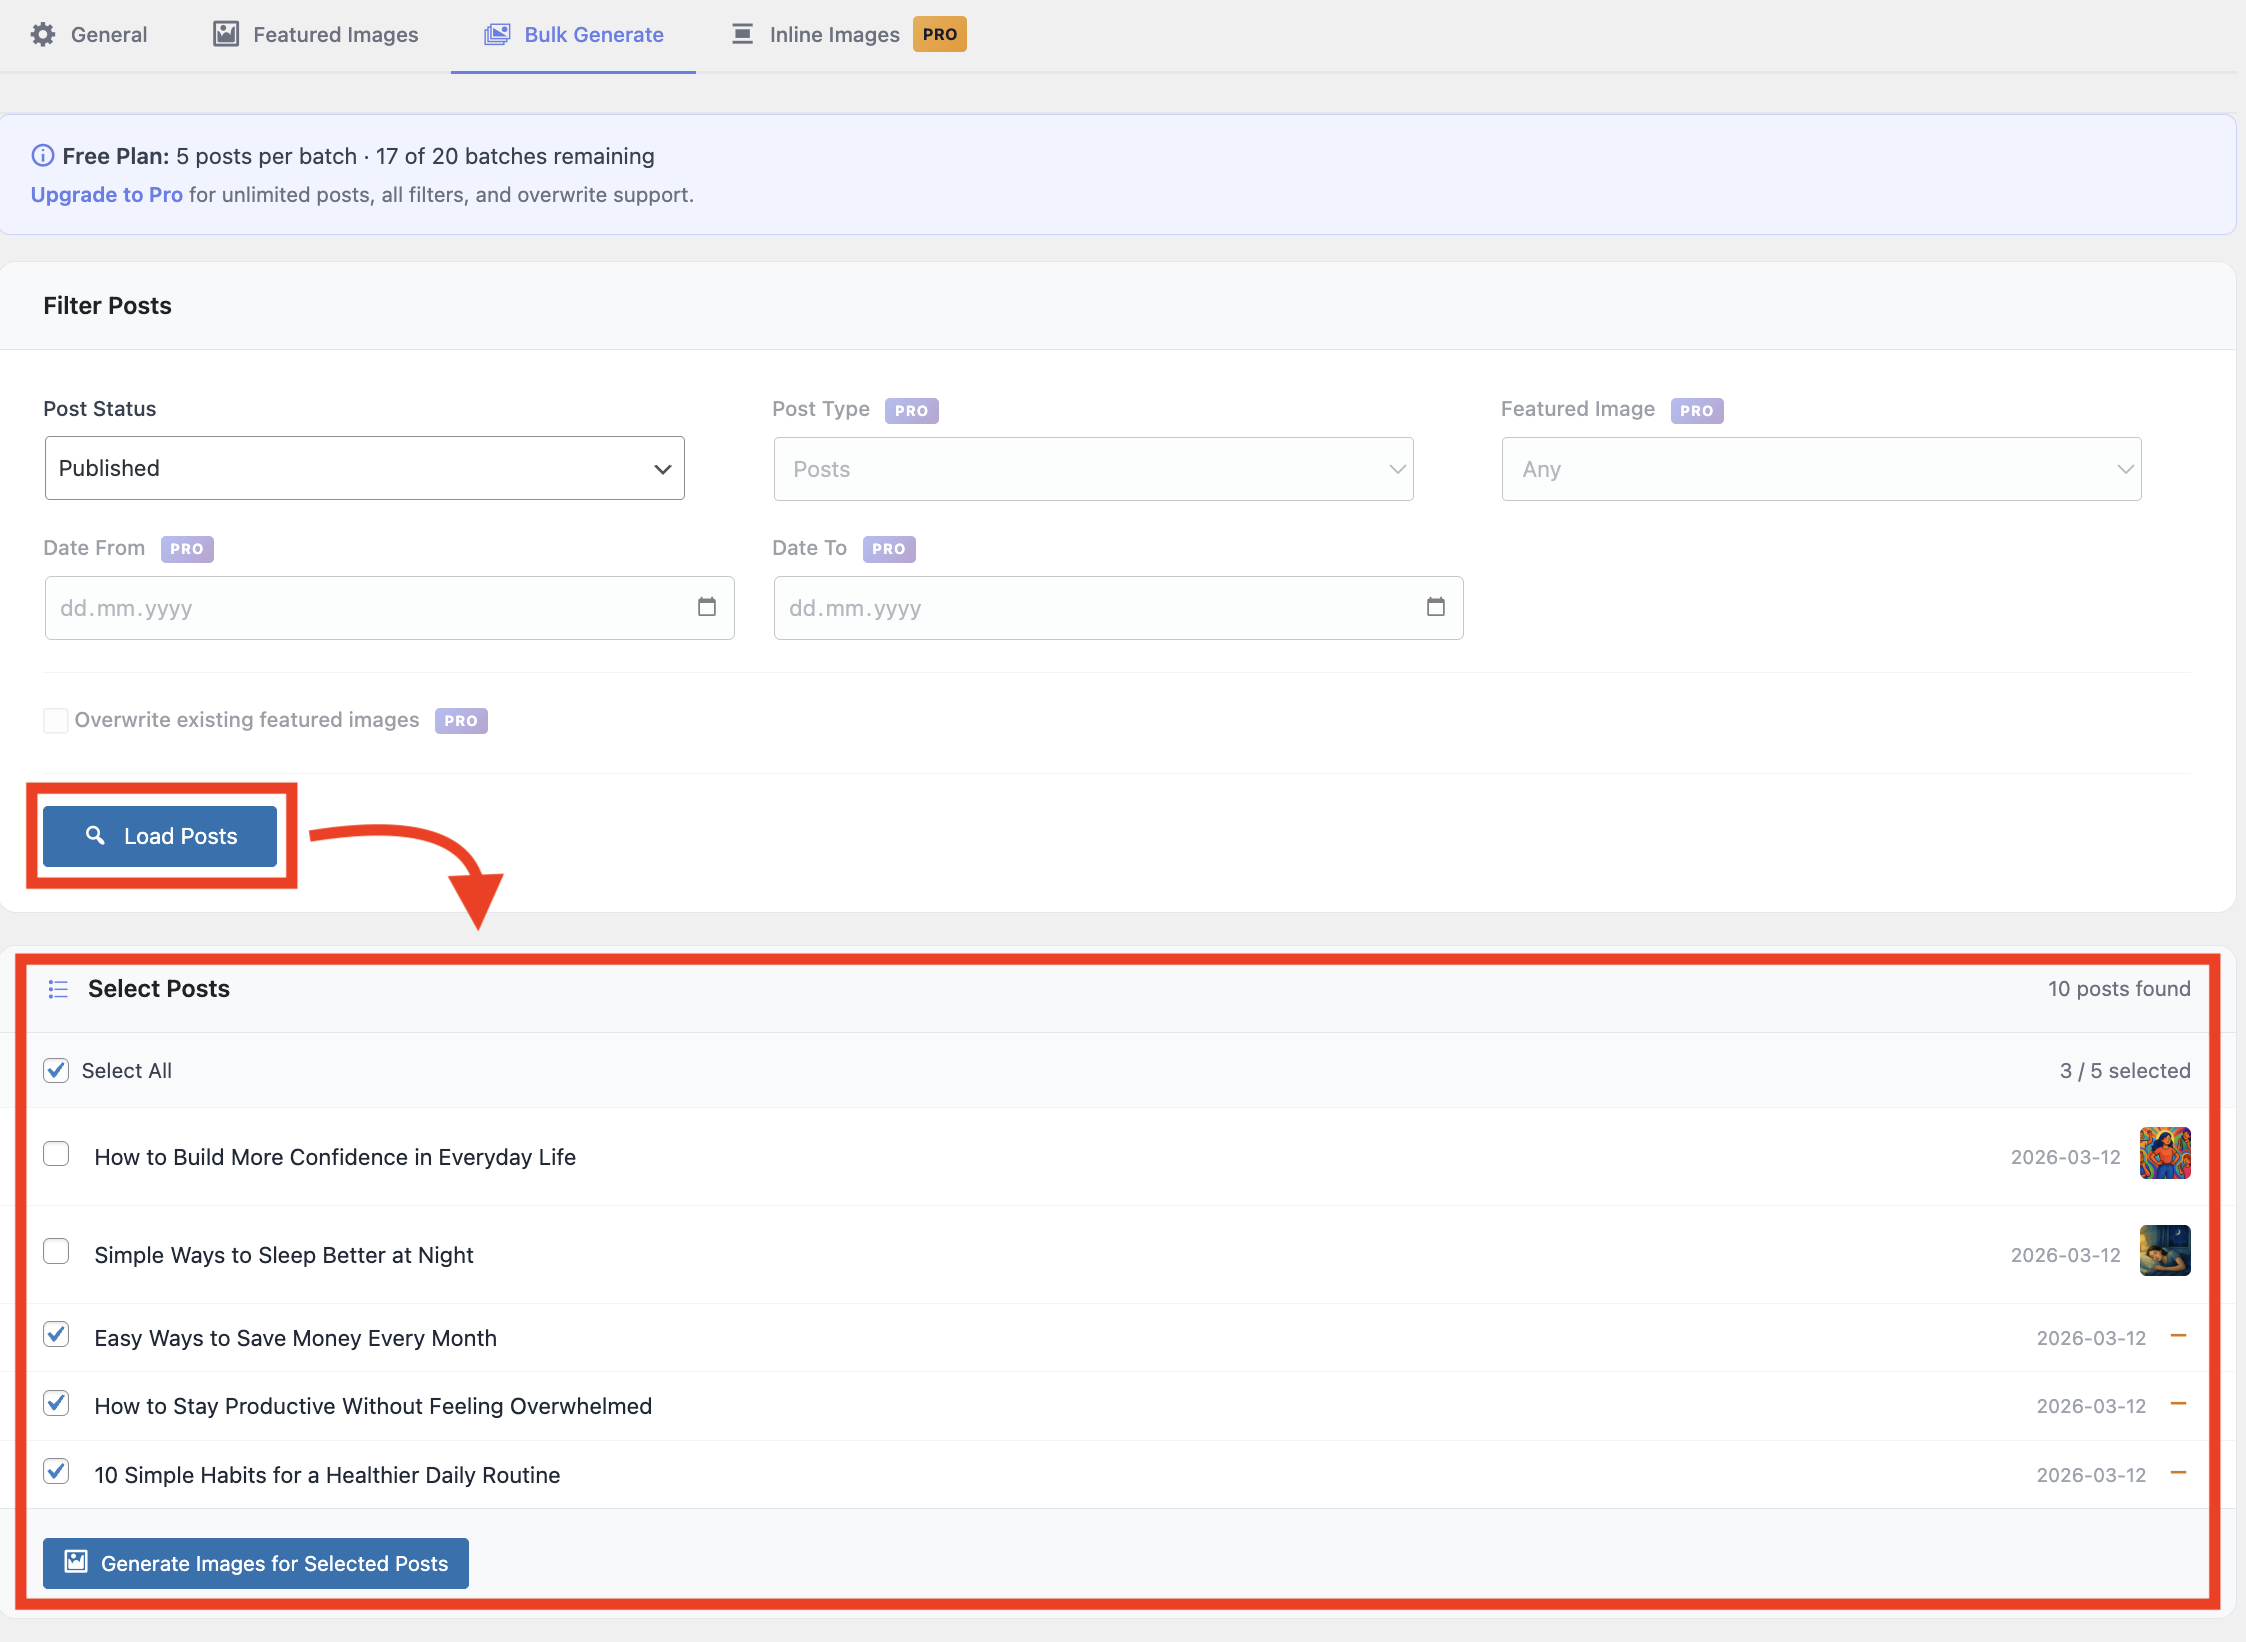
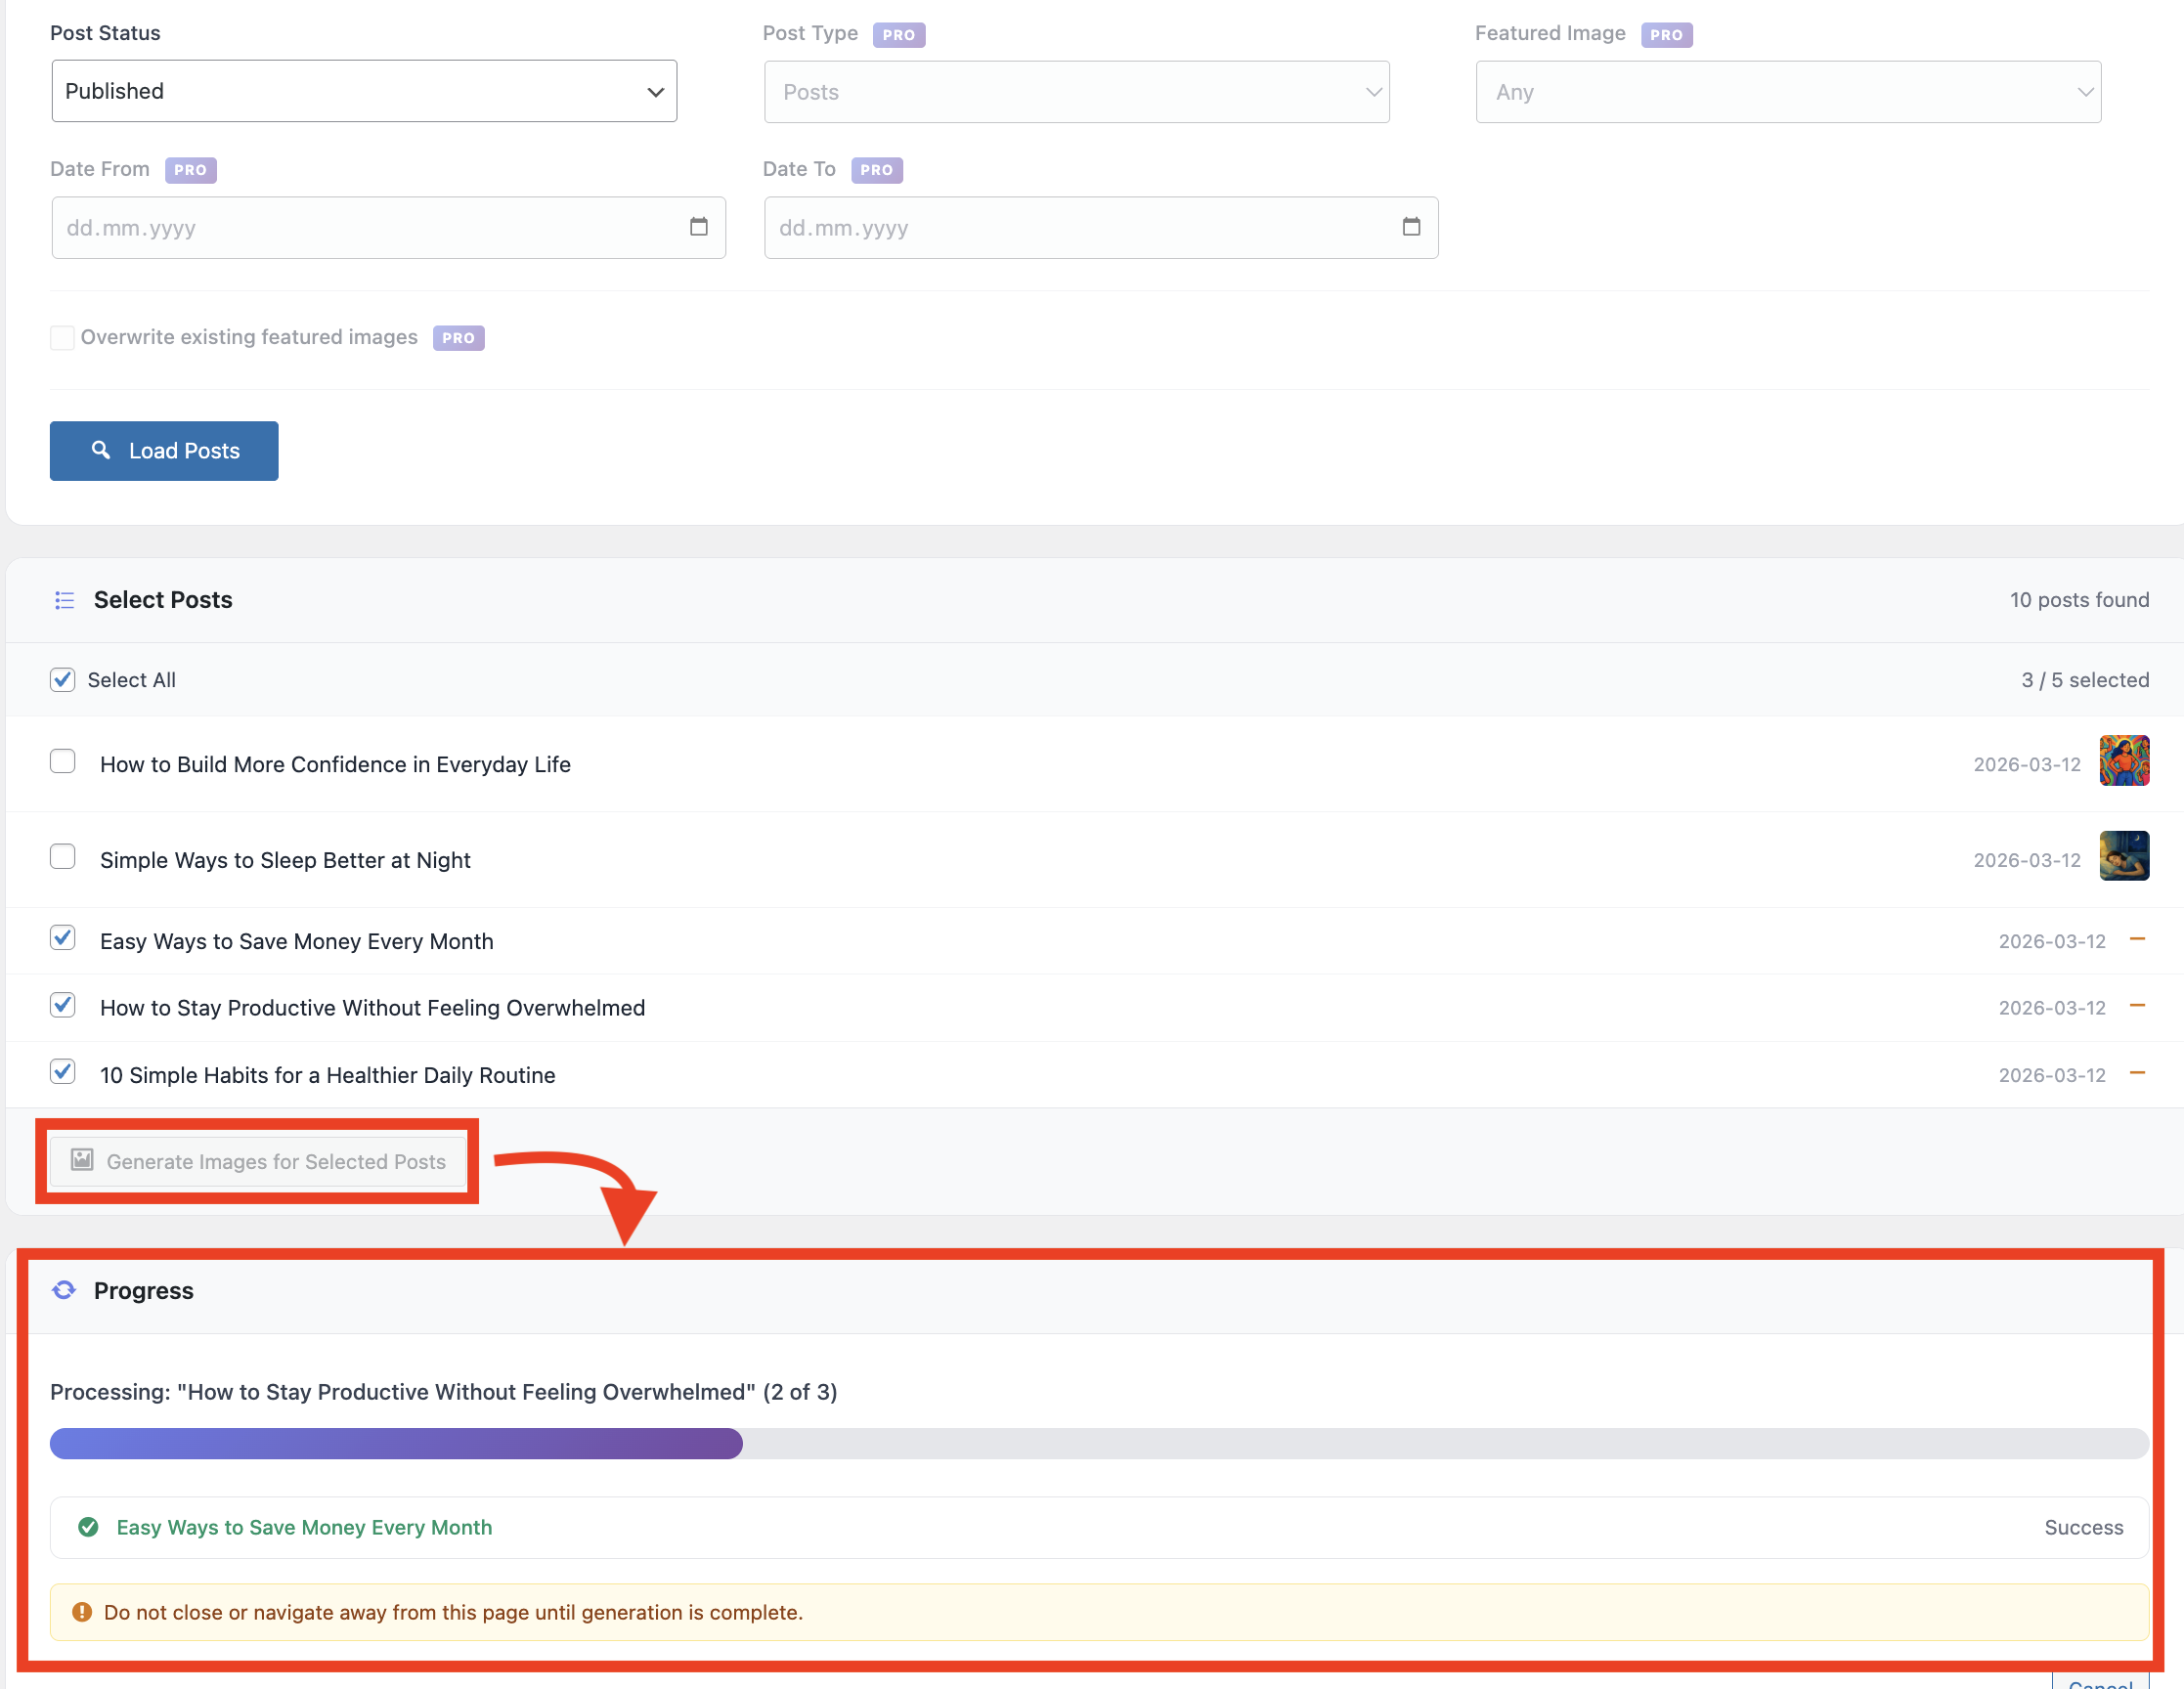
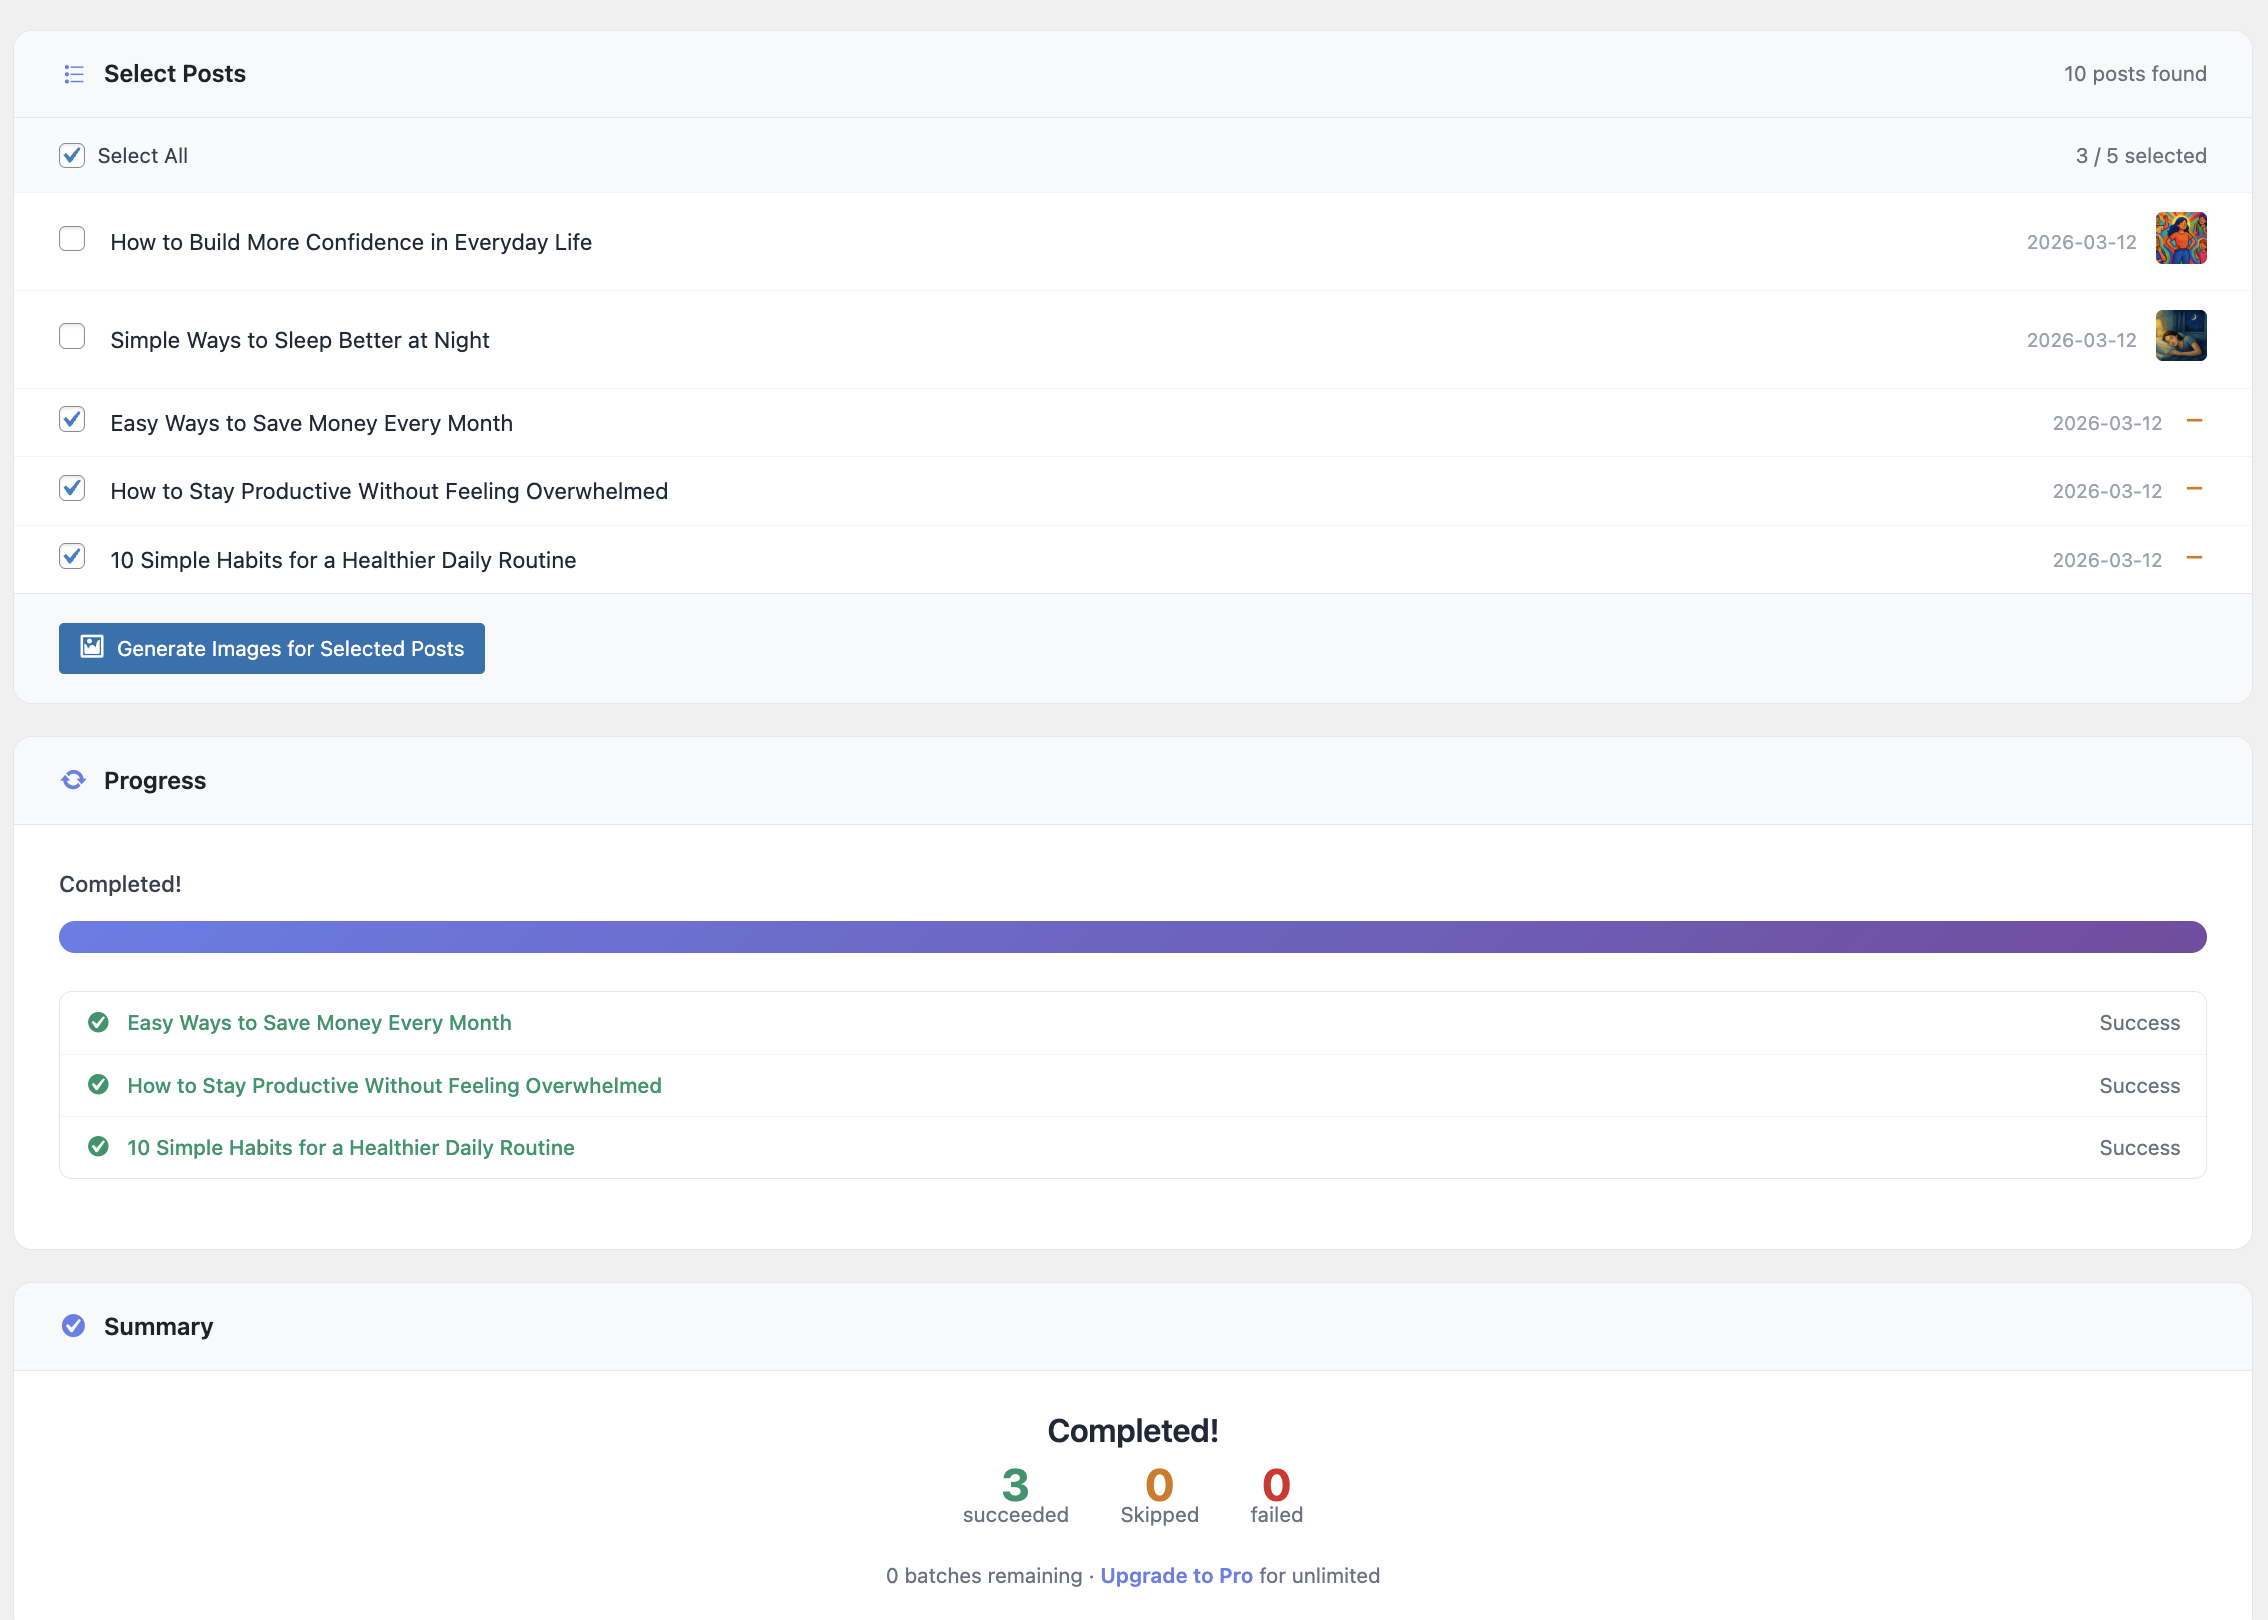
- More Bulk Generate: any post type, filters for date range and thumbnail status, overwrite existing images, and the Brand Kit
- Custom post types: enable generation for any public post type
- Custom styles: create named styles with your own prompt descriptions, available in every style dropdown
- Brand Kit: save your brand colors, a style description, tone, and avoid-rules, plus an optional reference image (used by Google Gemini) and a logo watermark (corners or centre, with size, opacity, margin and offset controls plus a live preview), applied automatically to every image you generate (animated GIF and SVG images skip the logo), with a per-image "Use Brand Kit" toggle to skip it
- WordPress 6.6 or higher
- PHP 7.4 or higher
- For Product Images (Pro): WooCommerce
- An API key for at least one provider:
- OpenAI (free plan)
- Stability AI (free plan)
- Grok/xAI (free plan)
- Google Gemini (Pro only)
- Meta Muse (Pro only)
- For post audio (Pro): an ElevenLabs API key, or the Grok or Gemini key you already use
- For AI assistants (MCP): WordPress 6.9 or higher and the free MCP Adapter plugin, installed in one click from the AI Assistants tab
安装:
- Upload the
ai-featured-image-generatorfolder to the/wp-content/plugins/directory - Activate the plugin through the 'Plugins' menu in WordPress
- Go to AI Images in the admin menu to configure your API key and other settings
- The AI Image Generator block is available in the Gutenberg block inserter for adding inline images
屏幕截图:



常见问题:
Do I need an API key?
Yes, for at least one provider. All free-plan providers have free tiers or pay-as-you-go pricing: OpenAI, Stability AI, Grok/xAI, Google Gemini (Pro only), or Meta Muse (Pro only).
How much does it cost?
The plugin is free; you pay your provider per image:
- OpenAI: varies by model and generation quality (Low is the cheapest); see OpenAI pricing
- Stability AI: Stable Image Core is roughly ~$0.003/image; other models vary; see Stability AI pricing
- Grok/xAI: $0.02/image (Grok Imagine Image), $0.04/image (Grok Imagine Image 2.0) or $0.05/image (Grok Imagine Image Quality)
- Google Gemini (Pro): Nano Banana 2.1, Gemini 3.1 Flash and 3 Pro vary by resolution
- Meta Muse (Pro): $0.01/image
Can I switch between providers?
Yes. Select your provider and enter its API key in the plugin settings. The page shows only the options relevant to your selection. Free users can switch between OpenAI, Stability AI, and Grok/xAI; Pro adds Google Gemini and Meta Muse.
Is there a limit to how many images I can generate?
Only your API plan's quota with your chosen provider. The plugin generates one image per request. The free plan has one lifetime cap: 20 images requested by AI assistants (MCP). Pro removes it. Everything else, including Bulk Generate, has no plugin limit.
What AI models are available?
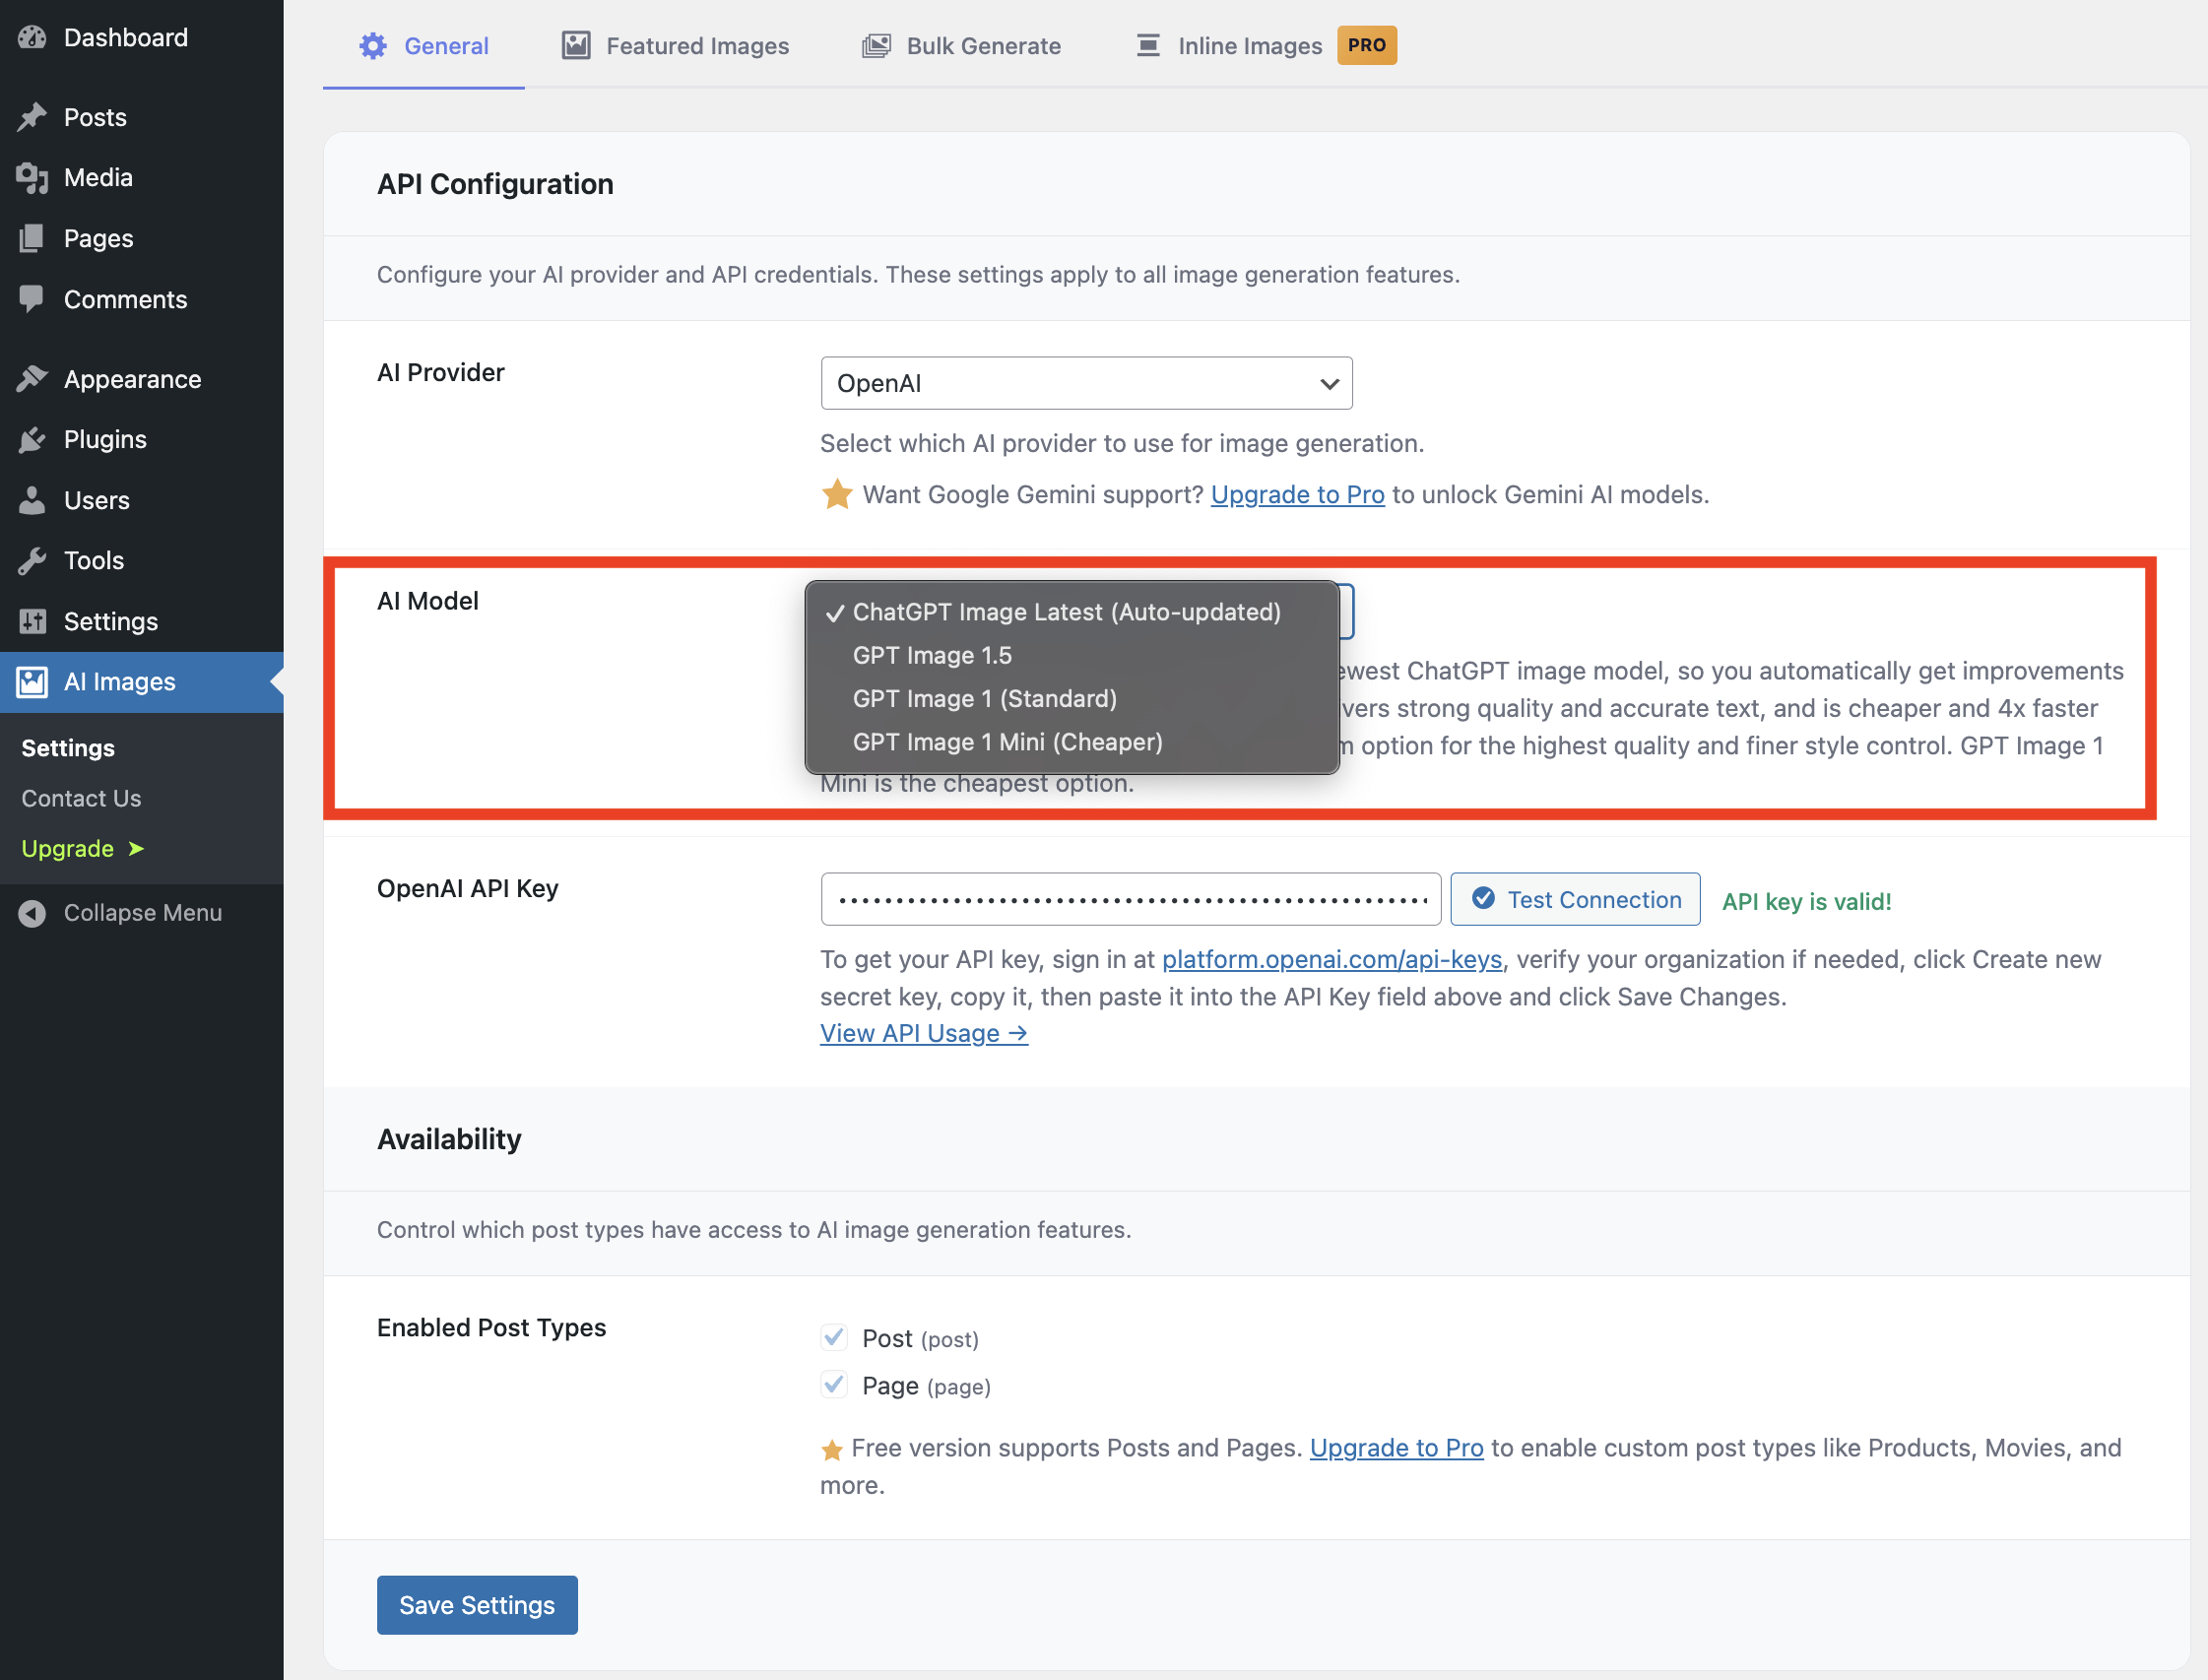
OpenAI (Free & Pro): GPT Image 2 (default, with strong text rendering and visual reasoning). Pro adds GPT Image 2.6 Flare (fast and recommended, with sharper detail) and GPT Image 2.6 Sunburst (the most detailed), both with Extra High and Max generation quality. Stability AI: Stable Image Core (free): fast, high quality, best value. Pro adds Stable Image Ultra (best quality), SD 3.5 Large / Large Turbo / Medium / Flash. Grok / xAI: Grok Imagine Image (free, $0.02/image), Grok Imagine Image 2.0 (Pro, $0.04/image) and Grok Imagine Image Quality (Pro, $0.05/image). Google Gemini (Pro only): Nano Banana 2.1 (1K/2K/4K, the default), Nano Banana 2 (Gemini 3.1 Flash, 1K/2K/4K, deprecated by Google) and Nano Banana Pro (Gemini 3 Pro, best quality, 1K/2K/4K). All support 10 aspect ratios. Meta Muse (Pro only, beta): Muse Image 1.0, Meta's in-house reasoning image model. New and not yet widely tested, so please report anything odd. 9 aspect ratios, up to 1600px, $0.01 per image.
What styles are available?
21 built-in styles that work with all providers: None, Realistic, Artistic, Cartoon, Minimalist, Sketch, Watercolor, 3D Render, Pixel Art, Cyberpunk, Fantasy, Anime, and Technicolor, plus the Trending group: Toy Figure, Miniature World, Claymation, Cinematic, Lo-Fi Cozy, Vintage Instant Photo, Magazine Collage, and Paper Cut. With Stability AI you also get a Stability Presets group of 16 native API-level presets: Photographic, Cinematic, Anime, Digital Art, Comic Book, Fantasy Art, 3D Model, Analog Film, Enhance, Isometric, Line Art, Low Poly, Neon Punk, Origami, Pixel Art, and Tile Texture. Pro users can also create unlimited custom styles (see below).
Can I create my own custom styles? (Pro)
Yes. Go to AI Images → Settings → Brand & Styles → Custom Styles, click "Add Style", and enter a name plus a prompt description (e.g. "in a dreamy impressionist style"). Custom styles appear in all style dropdowns and work exactly like built-in styles.
What is the Brand Kit? (Pro)
One global set of brand rules that keeps every AI image on-brand. Go to AI Images → Settings → Brand & Styles and save up to 3 brand colors, a style description, a tone, and avoid-rules; optionally add a reference image (used by Google Gemini to match your visual style) and a logo watermark with position (four corners or centre), size, opacity, margin and horizontal/vertical offset controls, with a live preview you can drag to place the logo. The kit is applied automatically wherever you generate: post editor, Bulk Generate, the Posts list, and the AI Image Generator block. The post editor, Bulk Generate, and the block each have a "Use Brand Kit" checkbox you can uncheck for a one-off image; the Posts list always applies the kit.
What image sizes and aspect ratios are supported?
- OpenAI: 7 sizes with GPT Image 2 and 2.6: 1024x1024 (1:1), 1024x1536 (portrait), 1536x1024 (landscape), 1792x1024 (16:9), 1024x1792 (9:16), 1920x640 (3:1), and 640x1920 (1:3)
- Stability AI: 9 ratios (1:1, 16:9, 21:9, 2:3, 3:2, 4:5, 5:4, 9:16, 9:21)
- Grok: 9 ratios (1:1, 16:9, 9:16, 4:3, 3:4, 3:2, 2:3, 2:1, 1:2)
- Gemini (Pro): 10 ratios (1:1, 2:3, 3:2, 3:4, 4:3, 4:5, 5:4, 9:16, 16:9, 21:9): 1K/2K/4K on Nano Banana 2.1, Gemini 3.1 Flash and 3 Pro
- Meta Muse (Pro): 9 ratios (1:1, 16:9, 9:16, 4:3, 3:4, 3:2, 2:3, 2:1, 1:2)
Can I upscale my featured image? (Pro)
Yes, with a Stability AI API key. Once a featured image is set, a "Stability AI Tools" panel appears in the post editor with three modes: Conservative (faithful 4x), Creative (AI-enhanced 4K), and Fast (quick 4x). Conservative and Creative process asynchronously and may take up to ~3 minutes; the result automatically becomes your new featured image.
Can I remove the background from my featured image? (Pro)
Yes, from the same "Stability AI Tools" panel. Click "Remove Background" and Stability AI isolates the subject and saves a transparent PNG as your featured image, which suits product shots and portraits.
What is a negative prompt? (Stability AI, Pro)
Text that tells Stability AI what not to include, e.g. "blurry, watermark, text, low quality". Set defaults in AI Images → Settings → Post Images. Negative prompts have no effect with OpenAI, Gemini, or Grok.
What output formats are supported?
- OpenAI: WebP (recommended), PNG, or JPEG
- Stability AI: PNG free; Pro adds JPEG and WebP
- Grok: JPEG free; Pro adds WebP (converted after generation)
- Gemini (Pro): WebP (default, converted after generation) or PNG
- Meta Muse (Pro): WebP (default), PNG, or JPEG, returned directly by the API
Why was my image saved as PNG or JPEG instead of WebP?
WebP conversion for Gemini and Grok needs a WebP-capable image library on your server (GD with WebP, or ImageMagick with the WebP delegate). If it's missing, the plugin safely falls back to the provider's native format and shows a notice with the reason. Generation never fails. Ask your host to enable WebP if needed. OpenAI WebP is unaffected because the API returns it directly.
How does quality control work?
- OpenAI: Output Compression slider (1–100, default 90) plus a Low/Medium/High generation quality tier (Extra High and Max on GPT Image 2.6, Pro)
- Stability AI: quality is inherent to the model you choose
- Grok: 1K or 2K resolution
- Gemini (Pro): 1K/2K/4K on Nano Banana 2.1, 3.1 Flash and 3 Pro
- Inline images (all providers): Automatic Quality Optimization picks quality and resolution based on the image's display size in your content
Can I generate images inside the Gutenberg editor?
Yes. Add the "AI Image Generator" block from the Media category, enter a prompt, and generate images anywhere in your content. The block supports the same providers, styles, and aspect ratios as featured images; configure defaults in the Inline Images settings tab.
How does auto alt text work?
Every AI image (featured, inline, or bulk) automatically gets alt text in the media library. Configure it under AI Images → Settings → General → Alt Text: choose the post title (default), the generation prompt, or a custom template with {title}, {prompt}, {style}, and {site_name} placeholders. e.g. {title} - {style} style - {site_name}. By default, manually edited alt text is preserved on regeneration; enable "Overwrite Alt Text on Regeneration" to always refresh it.
How does "Generate Prompt from Content" work?
Click "Generate Prompt from Content" in the post editor and AI writes an image prompt from your post title and body. It's saved to the post and pre-filled in the Custom Prompt field so you can review or edit before generating. The same option exists in Bulk Generate, creating a unique prompt per post. Text model per provider: gpt-6-luna (OpenAI), grok-4.7 (Grok), Gemini 3.6 Flash (Gemini, Pro), Muse Spark 1.3 (Meta Muse, Pro). Stability AI has no text API, so the button shows a notice when it's the active provider.
Can I generate images from Claude, Cursor or another AI assistant? (MCP)
Yes. Go to AI Images → Settings → AI Assistants and follow the 3 steps: install the free MCP Adapter plugin (one click), create a key (one click), and connect your app with the ready-made config. Claude Desktop, Cursor, Claude Code and VS Code are covered with step-by-step instructions, and the tab ticks step 3 by itself the first time your assistant calls the site, which costs nothing. Then start each request with "On" and your site name, for example "On My Site, make a featured image for my latest post". That one rule works in every app and keeps several sites apart. The assistant can only do what your WordPress user can do, and only the plugin's image and audio tools are exposed. Free sites get 20 assistant images plus finding, auditing and alt text; Pro is unlimited and adds the tools below. On a Free site the Pro tools still show up, but answer with an upgrade link instead of running. Needs WordPress 6.9 or newer. claude.ai in the browser and ChatGPT cannot connect yet because they need an OAuth sign-in that the MCP Adapter does not provide.
What can the assistant do on my site? (MCP)
Free:
- Make images: a featured image for a post (with a prompt, style, shape, provider or model of your choice) or any image for the Media Library. 20 images in total.
- Find: posts, pages and any other post type by title, author, category, tag, date, or whether they have a featured image; read a post to write a better prompt; find images in the Media Library by name.
- Image audits: count and list images by format, shape, pixel size, file size, upload date, missing alt text, blur or cut-off edges, across posts of any type or the whole Media Library; measure one image for sharpness and cut-off edges; look at a preview to judge the picture itself.
- Image text: change an image's title, alt text, caption or description.
- Image tools: rename an image (every post keeps pointing at the right file), convert JPG or PNG to WebP (every post switches to the lighter copy), upscale, or remove the background.
- Audio: make or refresh a post's narrated recording.
- Place images: set a Media Library image as a featured image, or insert it into a post.
- Brand: read and change the Brand Kit (colours, tone, description, avoid list, reference image), pick and place the logo, preview the kit, stamp the logo onto the featured images posts already have (no AI call) and undo it, find posts whose image predates the current kit, and set the kit up from the site name, tagline, theme colours and logo.
- Products (WooCommerce): make store images from a product's photo, one image or a main image plus gallery set. The assistant shows you the result first and only puts it on the product when you say so. It can also check every product image against your style without making anything.
- Animated and vector: make an image as an animated GIF, or a Media Library image as an SVG drawing (GPT Image 2.6).
Can I turn a post into audio? (Pro)
Yes. Go to AI Images → Settings → Audio, choose ElevenLabs (the most natural voices), Grok (the lowest price, with your existing Grok key) or Google Gemini (with your existing Gemini key and its free tier), pick a voice and play a sample. Then open a post and click Generate audio in the AI Featured Image box (on a product, in the AI Product Images box). The recording is saved in the Media Library and a "Listen to this post" player appears above the content. The box shows the estimated cost first, and tells you when the post changed since the recording so you can regenerate it. You can hide the player on any post, or turn all players off on the Audio tab.
What is the Image Audit?
Go to AI Images → Image Audit and click Check images. It counts the images in your posts, or in the whole Media Library, that have no alt text, are over 600 KB, are still JPG or PNG instead of WebP, or look blurry or cut off. Free sites see the counts and a short preview of each list. Pro lists every image and fixes them: Fill missing alt text writes alt text for all of them at once using your Alt Text settings on the General tab (the post title, the image prompt or your own template, with no AI service involved), Convert to WebP makes a smaller copy and points your posts at it, and you can edit alt text, titles and captions in the list.
Can a featured image be made automatically when I publish? (Pro)
Yes. Turn on Auto-generate on Publish under AI Images → Settings → Post Images. When a post is published without a featured image, one is made in the background a few seconds later with your current provider, model, style, size and Brand Kit, so publishing is never slowed down. You can choose whether the prompt is written from the post content (one extra text request) or taken from the title and style. The Posts list shows when it is generating, when it is done, and the reason if it failed. It runs through WP-Cron; if your host turns WP-Cron off, make sure a real cron job runs it.
Can I publish my recordings as a podcast? (Pro)
Yes. On the Audio tab, turn on Podcast feed, add a show title and a square cover image (1400 to 3000 pixels), and save. The tab then shows your feed address, usually yoursite.com/feed/podcast/. Submit that address once to Spotify for Podcasters, Apple Podcasts Connect, YouTube Music, Amazon Music or any other podcast app. The apps check the address on their own and add each new recording as an episode, usually within an hour. Nothing is sent from your site: the apps read the feed like any visitor. Recordings hidden on their post, drafts and password-protected posts are left out. SoundCloud cannot read a feed address, so it is not supported.
Can it make product photos for my WooCommerce shop? (Pro)
Yes. Set the style once on AI Images → Settings → Product Images (background, type of shot, mood, your Brand Kit logo, model, size and the images in a product set). For lifestyle shots the AI picks a setting that suits the product; to ask for a particular one, type it in the product box, for example "on a beach towel at sunset". Then open a product: the AI Product Images box uses the product's own photo, so the product stays exactly as it is and only the background, light and scene change. Click Generate image or Generate product set, look at the results, and choose Set as main image, Add to gallery or Replace. Nothing changes until you click one. Restore originals puts back the images the product had before. To do the whole shop, open Bulk images on the same Product Images tab. Products without a photo cannot be picked. Products never get the AI Featured Image box, so there is one place for posts and pages and one for products.
Why does a transparent background need an OpenAI or Stability key?
GPT Image 2.6 Flare and Sunburst make transparent images themselves; AIFIG switches GPT Image 2 to 2.6 Flare for these. Gemini (Nano Banana) cannot make transparent images: when it is asked to, it often paints a grey checkerboard that then shows on your shop. So with Gemini, AIFIG makes the image on white and your Stability key cuts the background out, and the word transparent is never sent to Gemini. Without a Stability key it uses GPT Image 2.6 Flare if you have an OpenAI key. Every transparent product image is also checked on your server, and a drawn checkerboard is never saved.
How do I make all my product photos match? (Pro)
On AI Images → Settings → Product Images → Bulk images, choose Match photos to your style (and, if you like, Which photos: all, main images only or gallery photos only), then click Load Products. Each photo's background colour, shape, size and, for transparent backgrounds, file type are checked against your style on your server, for free, and only products with photos that differ are listed, with the exact number of photos. Each of those photos is remade from that same photo and put back in its place, so a close-up stays a close-up. Main images follow your Main image choice; gallery photos become Studio shots. For Studio and 3D the type of shot is not checked, so to turn every main image into a 3D shot, use Main image only. With a Showroom or Lifestyle main image, every main image not already made in that shot is remade. Lifestyle and showroom photos made with the plugin on purpose are kept as they are. The original photos are always kept: Restore originals in a product's AI Product Images box puts them back.
Does it work with custom post types? (Pro)
Yes. Go to AI Images → Settings → General → Availability, check the post types you want, and save. The generator panel then appears in the editor for those post types. Free users are limited to Posts and Pages.
更新日志:
- Plugin name: the plugin is now listed as AI Featured Image Generator, with an updated description, tags and banner. Nothing changes in how the plugin works.
- Product Images for WooCommerce (Pro): store images made from each product's real photo: Studio, Showroom, Lifestyle or 3D shots in the mood you pick, on white, light grey, beige, your own colour or a transparent background. A main image plus gallery set in one click, bulk for the whole shop, and Restore originals. Products now have only the AI Product Images box.
- Match photos to your style (Pro): a choice in Bulk images that remakes every product photo that does not match your style, from that same photo, and puts it back in its place.
- GPT Image 2.6 (Pro): Flare and Sunburst now use GPT Image 2.6, at the same price. Sites switch automatically.
- Animated images (Pro): make a featured or inline image as an animated GIF with GPT Image 2.6.
- Vector images (Pro): generate inline images and your Brand Kit logo as SVG with GPT Image 2.6.
- Planning Detail (Pro): a new OpenAI setting for GPT Image 2.6.
- Generate a logo (Pro): make your Brand Kit logo as a transparent PNG, with an optional SVG copy.
- Transparent cutout fix: on Pro, GPT Image 2 switches to GPT Image 2.6 Flare for transparent images, because most OpenAI accounts cannot make them with GPT Image 2. On Free, when OpenAI refuses it, you get a clear message that explains why.
- New assistant tools (MCP, Pro): generate-product-image and audit-product-images.
- Listen to this post (Pro): turn any post into a narrated recording with ElevenLabs, Grok or Google Gemini voices. Choose and sample the voice on the new Audio tab, then click Generate audio in the post editor. A player appears above the content, long posts are read in parts and joined into one file, and the editor shows when the post changed since the recording.
- New assistant tool (MCP, Pro): generate-audio makes or refreshes a post's recording from Claude, Cursor or any connected assistant.
- Grok Imagine Image Quality (Pro): xAI's top image tier is now selectable at $0.05 per image. Grok Imagine Image 2.0 and the standard model are unchanged.
- Grok prompt model: Generate Prompt from Content now uses grok-4.7, xAI's current recommended model.
- Stability models: the retired SD 3 Large, Large Turbo, Medium and SDXL 1.0 are removed, because Stability no longer accepts them. Sites using them switch to the matching SD 3.5 model automatically.
- Image Audit (Pro, counts on Free): a new tab that finds images with missing alt text, large files, JPG or PNG formats, blur or cut-off edges, and fixes them: fill all missing alt text from your Alt Text settings, convert to WebP, and edit alt text, titles and captions in the list.
- Auto-generate on publish (Pro): a post published without a featured image gets one in the background, made with your current settings, with an option to write the prompt from the content.
- Podcast feed (Pro): your recordings as a podcast feed with the Apple Podcasts tags, ready for Spotify, Apple Podcasts, YouTube Music and other apps.
- WordPress 6.6 or newer: the AI Image Generator block needs WordPress 6.6, so that is now the minimum version.
- Fixes: safer handling of post and image titles in the Bulk and Image Audit screens, settings that now save on multisite, API keys that are no longer shown in the settings page, a clean uninstall that removes the plugin's settings and keys, steadier bulk runs that never lose a paid image, and many smaller fixes.
- Upgrade link fix: "Upgrade to Pro" now opens the hosted checkout when the in-admin pricing page is not available (for example before the opt-in screen is completed), instead of "Sorry, you are not allowed to access this page". The link is shown to administrators only, since only they can activate a licence.
- AI assistants (MCP): connect Claude Desktop, Cursor, Claude Code or VS Code to your site and ask them to generate featured images. New AI Assistants tab with a 3-step setup, one-click MCP Adapter install, one-click key creation, ready-made configs and example requests. Free sites get 20 assistant images; Pro is unlimited.
- Assistant tools for everyone: find posts of any type by author, category, tag or date, find posts missing a featured image, read a post, and fix an image's alt text, title, caption or description.
- Pro assistant tools: set a featured image from the Media Library, insert an image into a post, upscale, remove background, rename images and convert them to WebP.
- Brand management from your assistant (Pro): read and change the Brand Kit (colours, tone, description, avoid list, reference image), pick and place the logo, preview the kit, stamp the logo onto the featured images posts already have (no AI call) and undo it, find posts whose image predates the current kit, and set the kit up from the site name, tagline, theme colours and logo.
- Image audits from your assistant: count and list images by format, shape, pixel size, file size, upload date, missing alt text, blur or cut-off edges, across posts of any type or the whole Media Library; measure one image for sharpness and cut-off edges; and show the assistant a preview so it can judge the picture itself.
- Nano Banana 2.1 (Pro): Google's new Gemini image model is the default for new Gemini setups, at about half the price of Nano Banana 2. Nano Banana 2 stays available and is marked deprecated by Google; saved choices are kept.
- OpenAI text model: Generate Prompt from Content now uses gpt-6-luna, since OpenAI retires gpt-4o-mini on January 14, 2027.
- Meta Muse (Pro, beta): new provider with Muse Image 1.0 at $0.01 per image, 9 aspect ratios, native WebP/PNG/JPEG output, and Muse Spark 1.3 for "Generate Prompt from Content".
- Brand Kit logo placement (Pro): new Centre position plus horizontal and vertical offsets, sliders with number boxes, and a live preview you can drag. The logo always stays inside the image.
- More for the free plan: Bulk Generate has no image or batch limit and works on Posts and Pages, every aspect ratio of Stability AI and Grok is free, and so is Grok's 2K resolution.
- Clearer costs: every Generate button (post editor, Posts list, block) now says which model it uses and, where the price is fixed, about how much each image costs, and shows progress while it works.
- Easier first setup: a 3-step guide on the General tab, Save right under your API key, and a "Make your first image" button once you are set.
- Posts list keeps your prompt: Generate in the Posts list now uses the custom prompt you saved in the editor instead of replacing it.
- Bulk Generate menu item: open Bulk Generate straight from the AI Images menu.
- What's new notice: after updating from 1.x, administrators see a short one-time note of what changed, with a button to set up their AI assistant.
- Internal: one provider registry replaces the provider lists that were copied across the plugin.
- Fixes: various bug fixes and improvements.
- Updated Freemius SDK to the latest version
- Gemini models updated (Pro): Nano Banana 2 and Nano Banana Pro now use Google's stable Gemini 3.1 Flash Image and Gemini 3 Pro Image models. Google is retiring the preview models and Gemini 2.5 Flash Image, so sites using them switch automatically.
- Grok Imagine Image 2.0 (Pro): Replaces Grok Imagine Image Pro, which xAI is retiring. Higher quality at $0.04 per image. Sites using the old model switch automatically.
- Updated prompt models: "Generate Prompt from Content" now uses Grok 4.3 and Gemini 3.6 Flash, replacing retired models.
- GPT Image 2.5 (Pro): Two new OpenAI models, GPT Image 2.5 Flare (fast, recommended) and GPT Image 2.5 Sunburst (best detail), with all 7 GPT Image 2 sizes and transparent backgrounds.
- Extra High and Max quality (Pro): Two new generation quality tiers for GPT Image 2.5.
- Retry with Sunburst (Pro): After generating an image in the post editor, one click makes a new version with GPT Image 2.5 Sunburst using the same prompt and style.
- Trending styles: 8 new free styles in their own Trending group: Toy Figure, Miniature World, Claymation, Cinematic, Lo-Fi Cozy, Vintage Instant Photo, Magazine Collage, and Paper Cut.
- Removed deprecated models: GPT Image 1, GPT Image 1 Mini, and GPT Image 1.5, which OpenAI shuts down on October 23 and December 1, 2026. Sites using them switch to GPT Image 2 automatically.
- Fix: The settings page now updates model-specific options (sizes, background, quality) as soon as you change the AI model.
- Bug fixes and post editor improvements
- Bug fixes
- Bug fixes
- Bug fixes
- Bug fixes
- Bug fixes
- Brand Kit (Pro): Save your brand colors, style description, tone, and avoid-rules once, plus add an optional reference image (used by Google Gemini) and a logo watermark with customizable position, size, opacity, and margin. Automatically applies to featured, bulk, Posts-list, and inline images.
- Per-image opt-out: A "Use Brand Kit" toggle in the post editor, Bulk Generate, and AI Image Generator block for skipping the kit on specific images.
- Layout enhancement
- Other bug fixes, including Gemini debug logging that previously wrote to the PHP error log on every request.
- WebP for Gemini & Grok (Pro): featured and inline images from Gemini and Grok are now converted to lightweight WebP after generation (Imagick or GD). WebP becomes the recommended default for Pro; free users keep the native format
- Consistent output formats: Gemini and Grok get their own Output Format selector on the Featured and Inline Images tabs
- Safe fallback: if a server can't produce WebP, generation never fails. The image is saved in the provider's native format and you're notified with the reason
- Inline Images now free: the AI Image Generator block and its settings tab are available to all users (OpenAI, Stability AI, Grok; Gemini remains Pro)
- Plugin renamed to "AI Featured Image Generator with Output Control"
- Compatibility notice when the official WordPress "AI" plugin is active with image generation enabled
- Generate from Post List: a new "AI Featured Image" column on the Posts/Pages list with a one-click Generate/Regenerate link, so there is no need to open the editor
- Auto-builds the prompt from post title and content, respects all global settings, confirms before overwriting an existing image, and doesn't count against the free bulk limit
- Per-post 5-second rate limit prevents accidental double-clicks
- New model (OpenAI): GPT Image 2, now the default for new installs: text rendering, visual reasoning, multi-object scenes, up to 4K, transparent backgrounds, quality tiers, moderation control, and 4 additional sizes
- New provider: Stability AI (free): Stable Image Core with 16 native style presets; Pro adds Ultra, SD 3.5/SD 3 variants, SDXL 1.0, negative prompts, output formats, and 9 aspect ratios
- New provider: Grok/xAI (free): Grok Imagine Image at $0.02/image; Pro adds the Pro model, 9 aspect ratios, and 2K resolution
- New Pro tools: image upscaling (Conservative/Creative/Fast) and one-click background removal via Stability AI
- Automatic Quality Optimization for inline images, Stability key validation with credit balance, improved API error messages, and assorted fixes
- Auto Alt Text for all AI-generated images with title/prompt/custom-template sources; free bulk limit raised from 20 to 50 images
- Custom Styles (Pro), Bulk Generate for free users (5 posts/batch, 50 lifetime), unified settings hub with AJAX tabs, API key Test Connection, new models (ChatGPT Image Latest, Gemini 3.1 Flash Preview), and a full admin UI overhaul
- Inline image generation in Gutenberg with a dedicated Inline Images settings tab, PNG output fixes, and WordPress 6.9.1 compatibility
- Google Gemini provider (Pro), custom post types (Pro), gpt-image-1.5 model, redesigned card-based settings UI, top-level admin menu, and Freemius integration
- Output format selection (WebP/PNG/JPEG), image quality control, model selection (GPT Image 1 vs Mini), and Classic Editor compatibility fixes
- Initial releases: core featured-image generation, style presets, Pages support, and UI improvements