ATAS Auto Tweet Scheduler
| 开发者 | codeweby |
|---|---|
| 更新时间 | 2017年7月27日 02:36 |
| PHP版本: | 4.5 及以上 |
| WordPress版本: | 4.8 |
| 版权: | GPLv2 or later |
| 版权网址: | 版权信息 |
详情介绍:
Easy to Use and Very Powerful Auto Tweet Scheduler
ATAS automatically publishes pages, posts and custom posts on Twitter in a nicely formatted way included with the post title, description, backlink, and image.
User Guide How to use ATAS Auto Tweet Scheduler
The whole process is completely automated. Using ATAS you can get more Twitter followers and drive more traffic to your WordPress website.
ATAS Demo | Username: demo | Password: demo
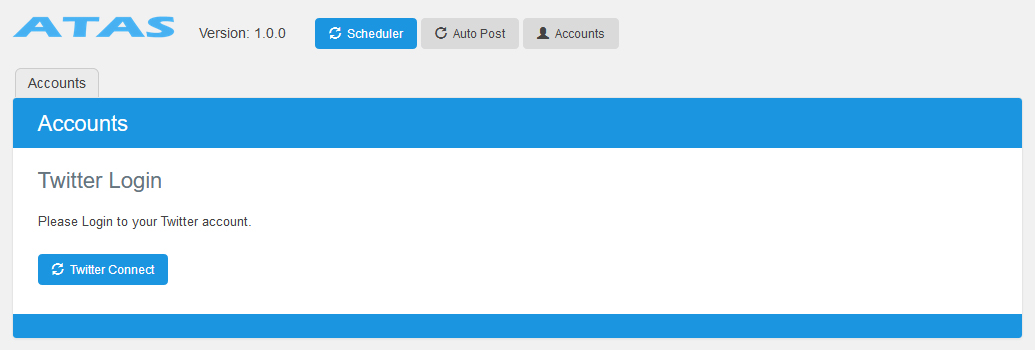
Twitter Account
No need to create a Twitter application or to enter API keys. Simply connect your Twitter account in a single click.
Importer
The advanced and easy to use importer allows you to import all of your pages, posts and custom posts. Or you can import the posts one by one depending on your needs.
Set up the days and scheduled times you want to auto publish the post. Define the scheduled start and end date for every single page, posts and custom posts.
Schedules
The schedules table displays your posts in a very nice and clear way. The scheduled blog posts are grouped under the week days.
You can easily modify or delete each of the posts.
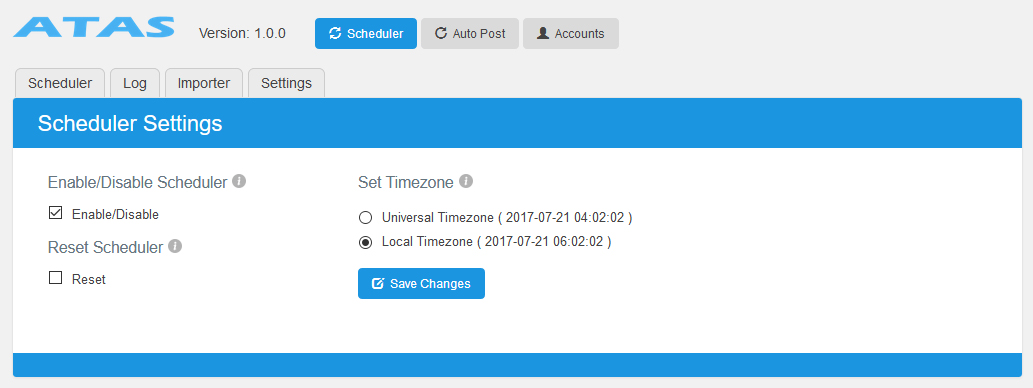
Time Zone
On the scheduler settings page, you can define the time zone you want to use. Universal or any local time zone is available.
Reset
If you wish to delete the schedules go to the settings page tick the checkbox next to reset then all the schedules will be deleted.
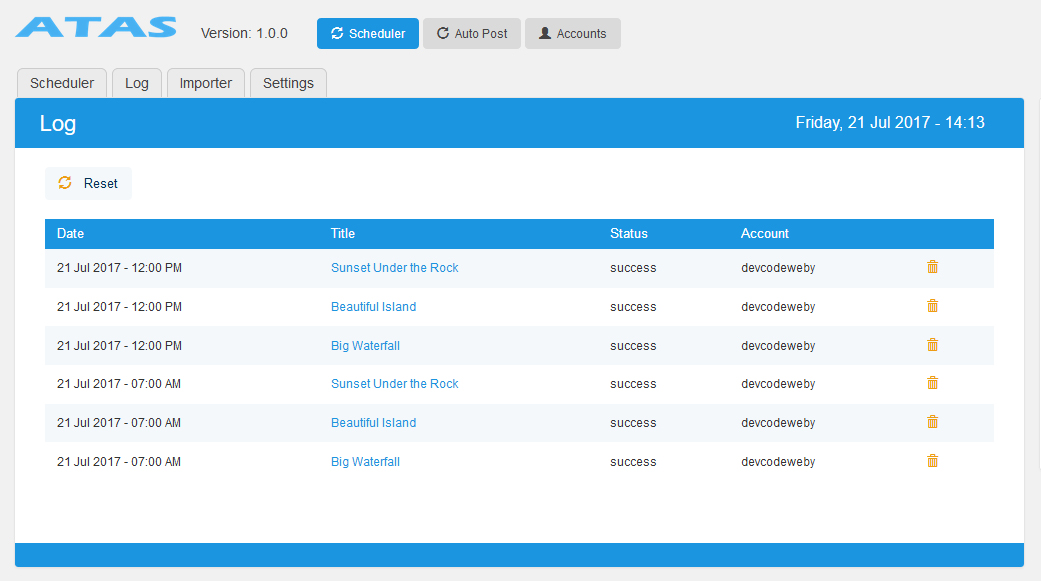
Log
Logs are automatically generated each time on every auto posting activity. You can delete the logs one by one or reset the log in a single click.
Auto Post
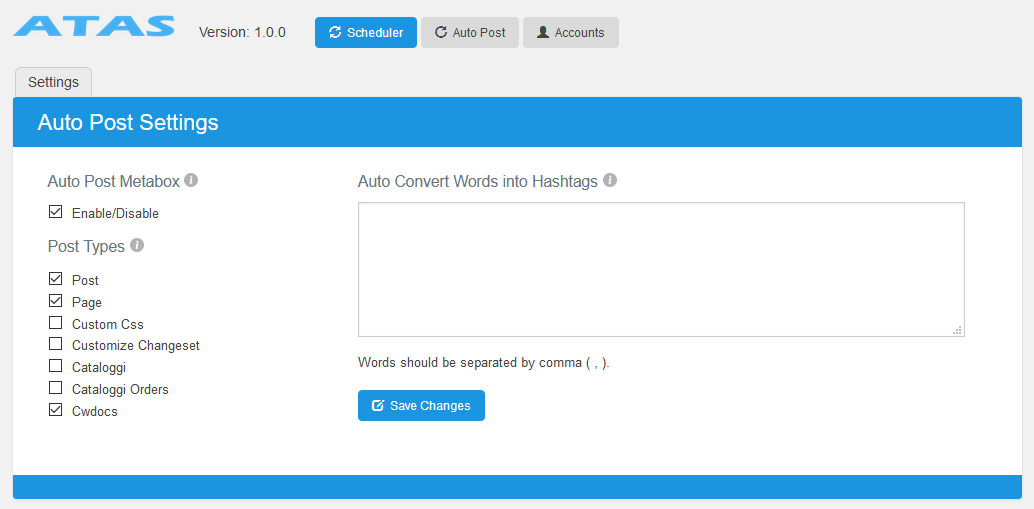
The auto post feature allows you to automatically auto post your page, post, and custom post soon as you press the “submit” button on your admin edit post page.
You can define the post types you want to display the “auto post meta-box”.
On the auto post settings page, you can include the words you wish to auto convert into hashtags. The matching words will be auto converted into hashtags on the blog posts title.
Auto Tweet and Scheduler (ATAS) Free Version Features
- Connect to your Twitter account in a single click.
- Import all posts and categories or import posts one by one.
- Modify or delete the imported posts.
- You can define the scheduled days and times for every single blog posts.
- You can define the scheduled start and end date for every single blog posts.
- The blog post image automatically attached if Twitter Cards enabled on your WordPress site.
- Enable/Disable the Scheduler upon your needs.
- Reset the Scheduler in a single click.
- Logs are automatically generated each time on every auto posting activity.
- Define the time zone you want to use., universal or any local time zone is available.
- Auto tweet your new and old pages, posts and custom posts.
- Enable/Disable the auto-post meta-box on the defined pages, posts and custom posts.
- Auto-convert the added words into hashtags and replace the matched words in the blog post title.
- Multisite compatible.
- In the PRO version you can import all of your pages, posts and custom posts.
- You can set up unlimited Custom Post Titles for every single pages, posts and custom posts.
安装:
Installing ATAS is easy! Please follow the above steps.
Using The WordPress Dashboard
- Navigate to the 'Add New' in the plugins dashboard.
- Search for 'ATAS Auto Tweet Scheduler' look for the author 'Codeweby'.
- Click 'Install Now'.
- Activate the plugin on the Plugin dashboard.
- A new menu item 'ATAS Auto Tweet Scheduler' will appear in the main menu.
- Navigate to the 'Add New' in the plugins dashboard.
- Navigate to the 'Upload' area.
- Select atas-auto-tweet-and-scheduler.zip from your computer.
- Click 'Install Now'.
- Activate the plugin in the Plugin dashboard.
- A new menu item 'ATAS Auto Tweet Scheduler' will appear in the main menu.
- Download atas-auto-tweet-and-scheduler.zip.
- Extract the directory to your computer.
- Upload the files to the /wp-content/plugins/ directory.
- Activate the plugin in the Plugin's dashboard.
- A new menu item 'ATAS Auto Tweet Scheduler' will appear in the main menu.
屏幕截图:
常见问题:
ATAS doesn't auto post the scheduled posts on Twitter
ATAS is using the WordPress built in wp_cron function that isn't perfect. If your website does not have visitors in every minute it is recommended to use the real cronjob instead of the wp_cron. If you need some help to configure your ATAS please contact us.
Can I contact you by email if I have a question about ATAS?
Sure, if you need any further information or advice, please feel free to contact us.
Where can I find more information about this plugin?
You can find more information on our website at ATAS Documentation.
How do I request features?
Please visit us and submit your idea.
更新日志:
1.0.4: Jul 26, 2017
- Tweak: Minor updates.
- Tweak: End Date added to Scheduler table.
- Tweak: View post in a new window added to Scheduler table.
- Tweak: Custom Post Titles characters limit set to 140
- Tweak: Custom Post Titles width changed to 90%
- Fix: Admin JS select all categories fix.
- Tweak: Editors can access the plugin. The edit_pages capability added to main php.
- Tweak: Admin JS improved.
- Fix: Class Scheduler undefined description fixed.
- Fix: Method process_delete_single_log bug fixed.
- First release: Hello World!


