AtomicPay for WooCommerce
| 开发者 | atomicpay |
|---|---|
| 更新时间 | 2019年3月15日 17:14 |
| PHP版本: | 5.4 及以上 |
| WordPress版本: | 5.0.1 |
| 版权: | MIT |
| 版权网址: | 版权信息 |
详情介绍:
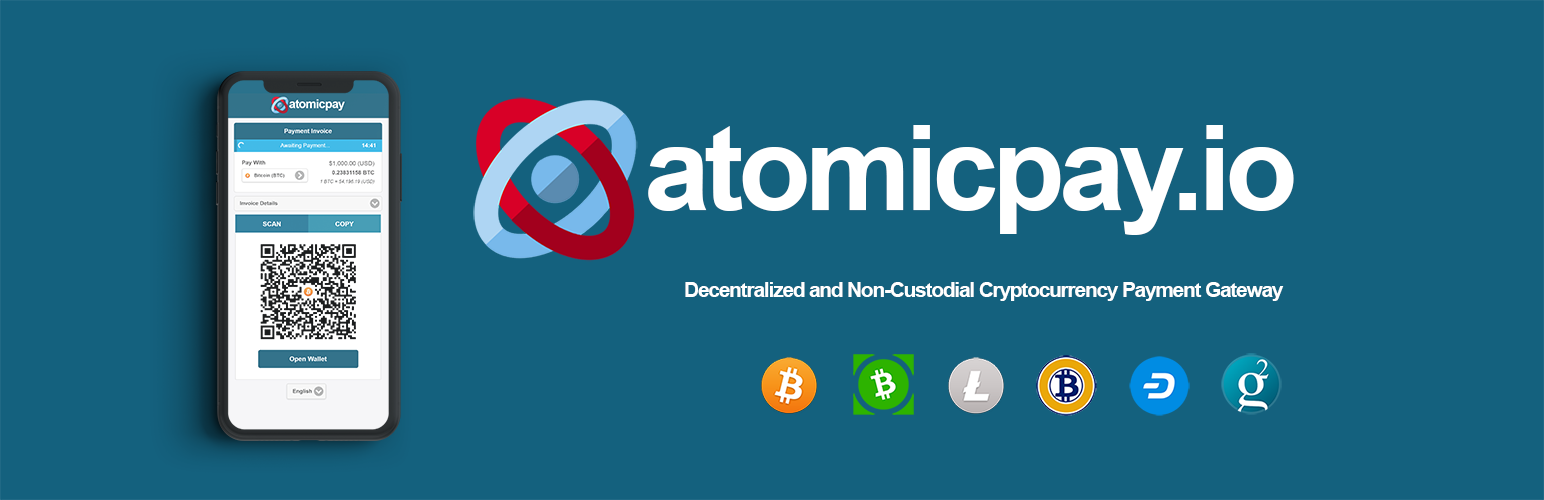
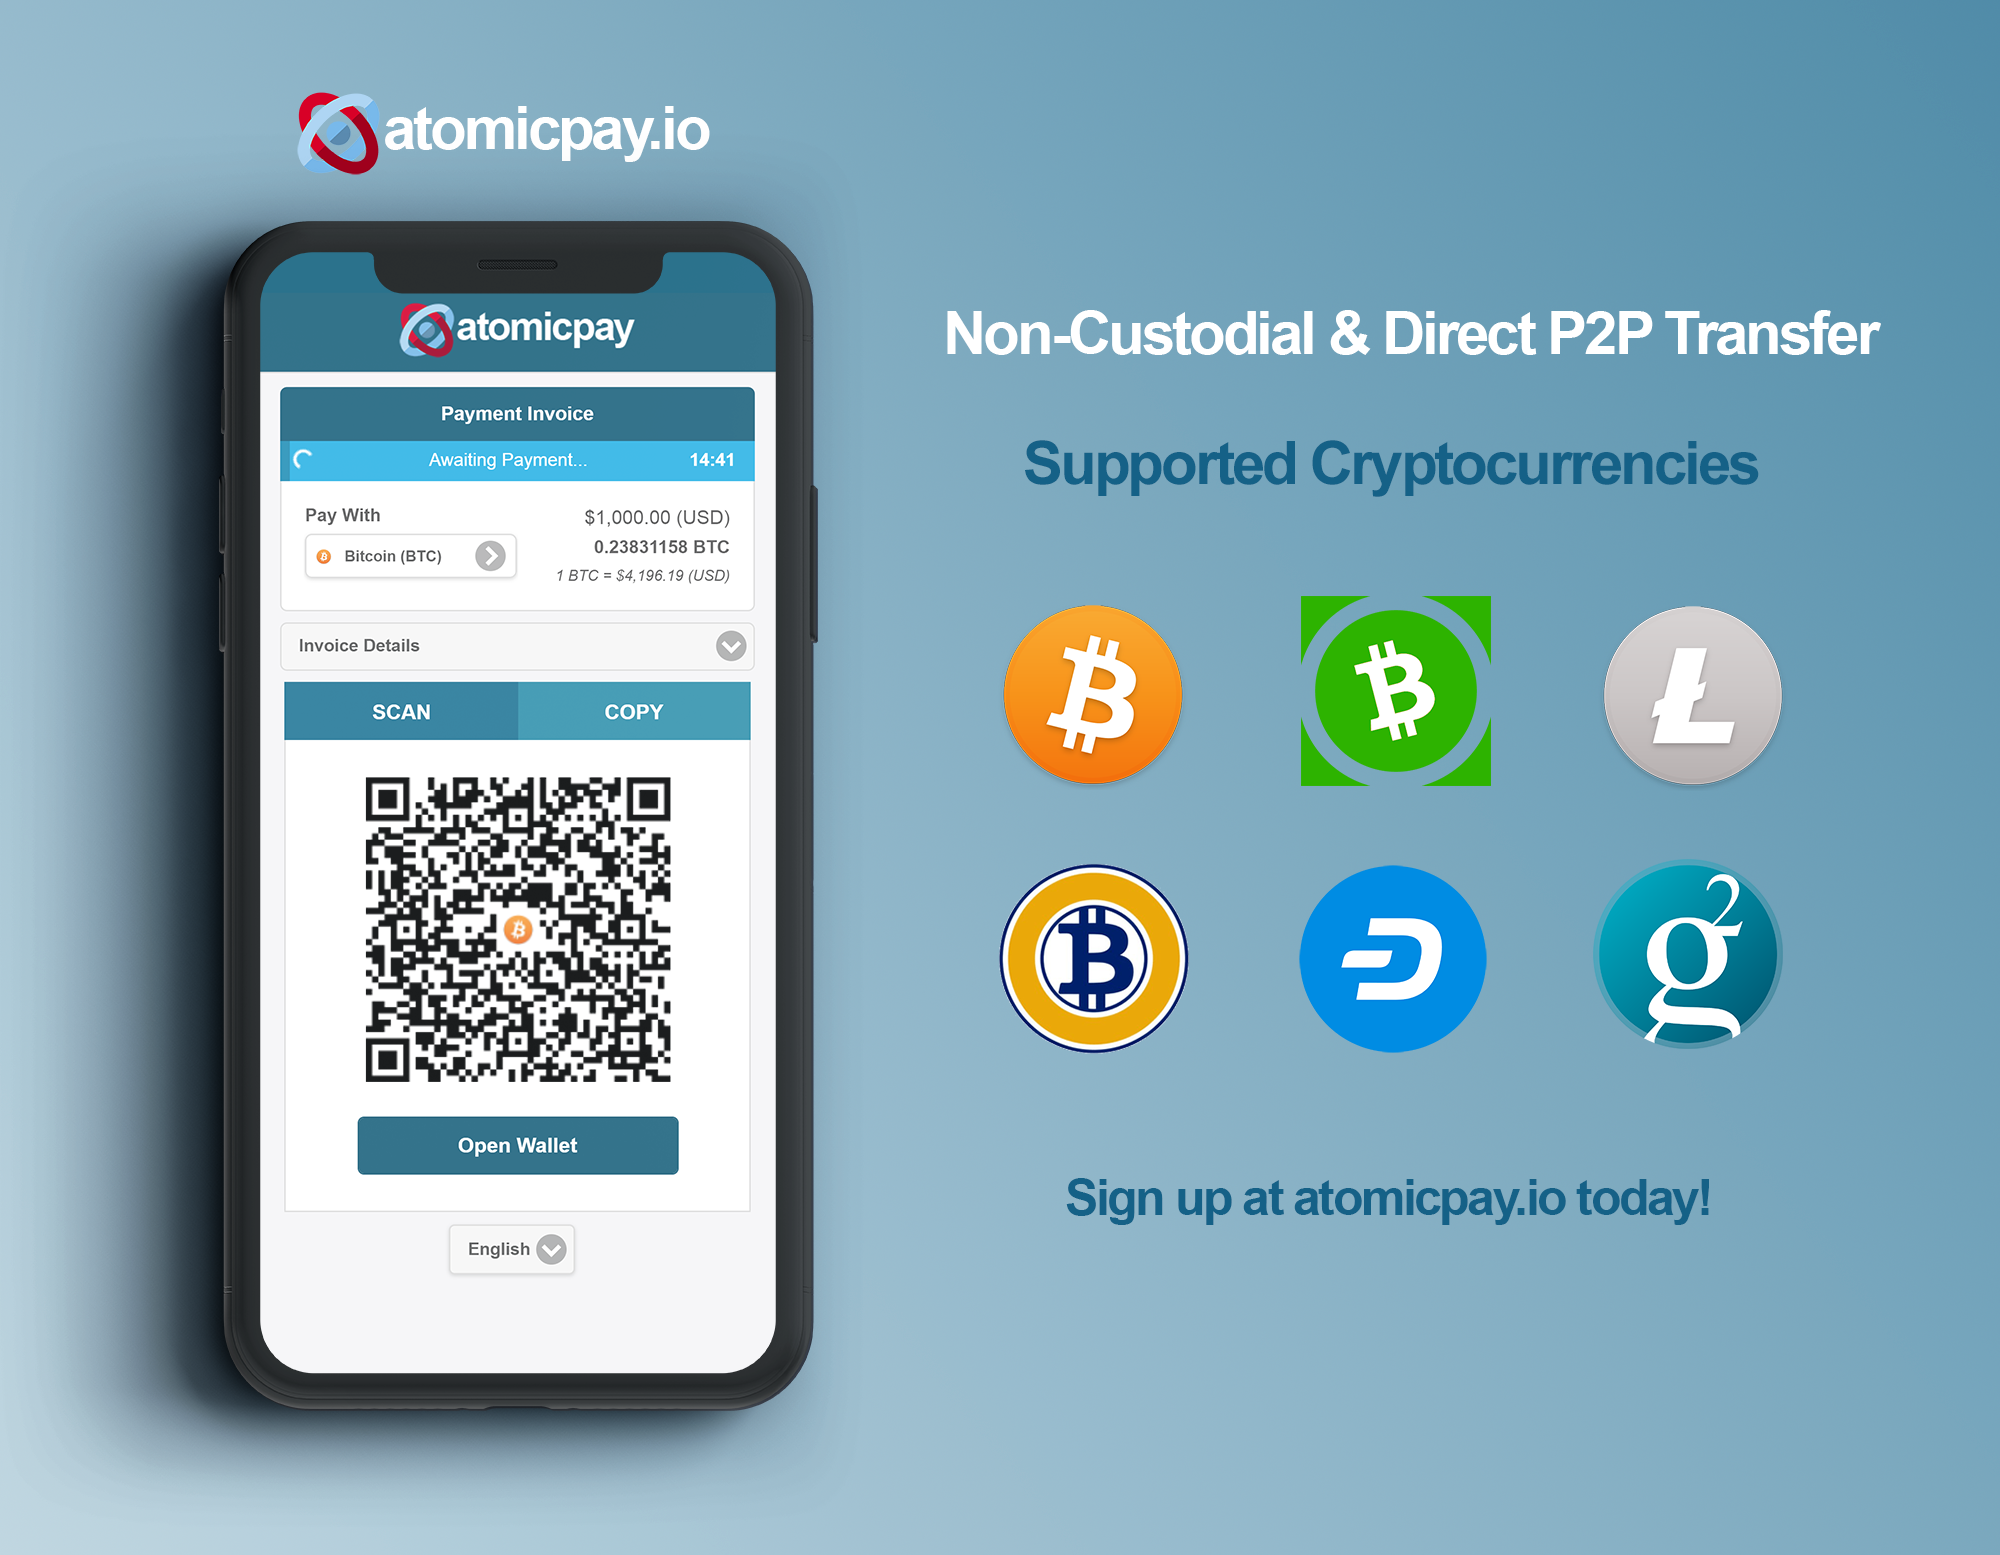
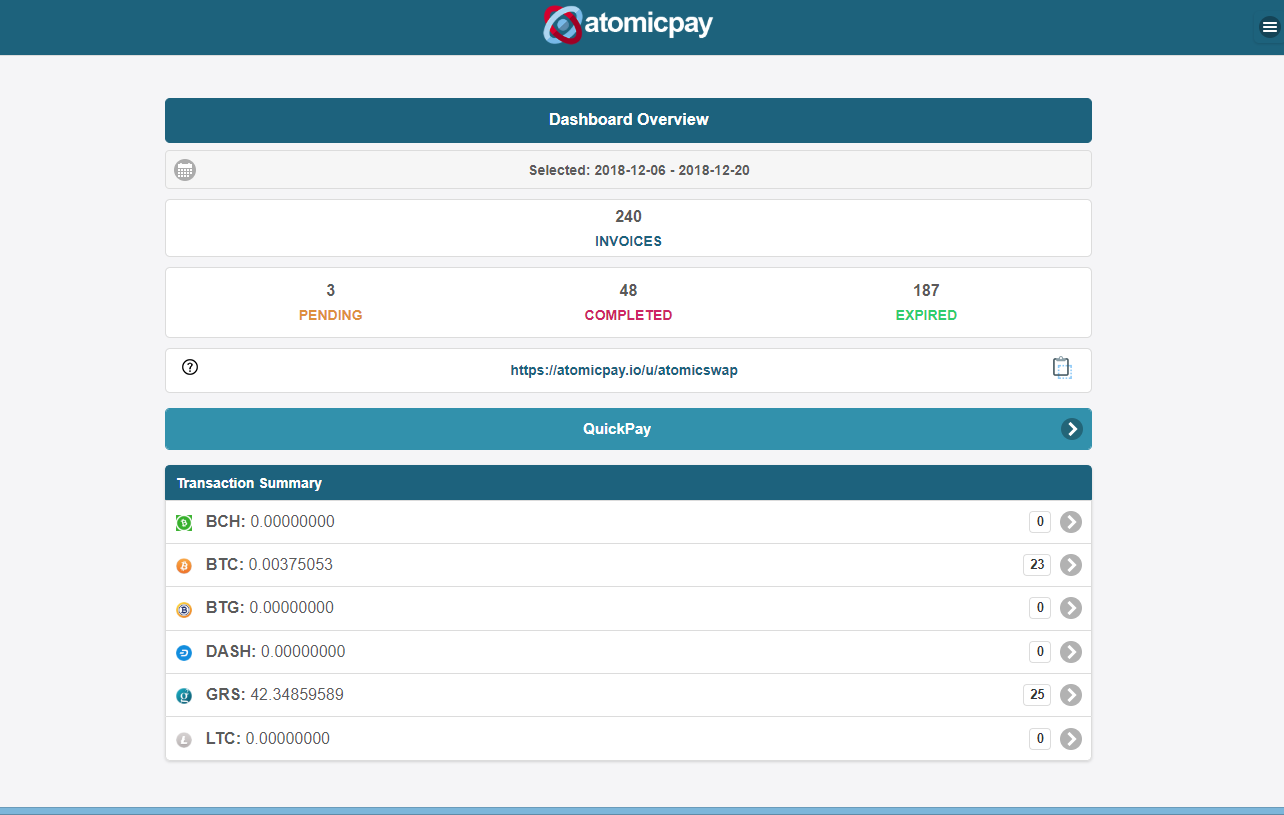
AtomicPay.io is a decentralized cryptocurrency payment processor that eliminates the involvement of a third-party payment gateway, allowing merchants to accept BTC, BCH, LTC, DASH, BTG & GRS payments directly from their customers without a middleman, in a secured and trustless environment.
AtomicPay eliminates the involvement of third-parties, making it censorship-resistance. Private keys are not required, hence your funds are secured from risk of theft or loss.
AtomicPay process payments but we do not hold any funds. No more middleman. Money goes direct to your wallet. You have immediate ownership and full control of your money. Get paid in seconds.
- Decentralized & Non-Custodial
- Direct P2P Transfer
- Trustless Validation
- Full Support For SegWit
- No Address Reuse
- Support 156 Fiat Currencies
- Customer Data Privacy
- No Chargebacks & Frauds
- Minimum Transaction Fee
- Support Bitcoin, Litecoin, Bitcoin Cash, Dash, Bitcoin Gold, Groestlcoin, more
安装:
This plugin requires Woocommerce. Please make sure you have Woocommerce installed.
To integrate AtomicPay into an existing WooCommerce store, follow the steps below.
1. Install AtomicPay for WooCommerce Plugin
2. Signup For AtomicPay Merchant Account
- You must have a AtomicPay merchant account and API keys to use this plugin. It's free to sign-up for a AtomicPay merchant account
- Once registered, you may retrieve the API keys by login to AtomicPay Merchant Account and go to API Integration page. If your key becomes compromised, you may revoke the keys by regenerating new set of keys.
- Login to your AtomicPay Merchant Account and go to API Integration page.
- You will need the following values for next step:
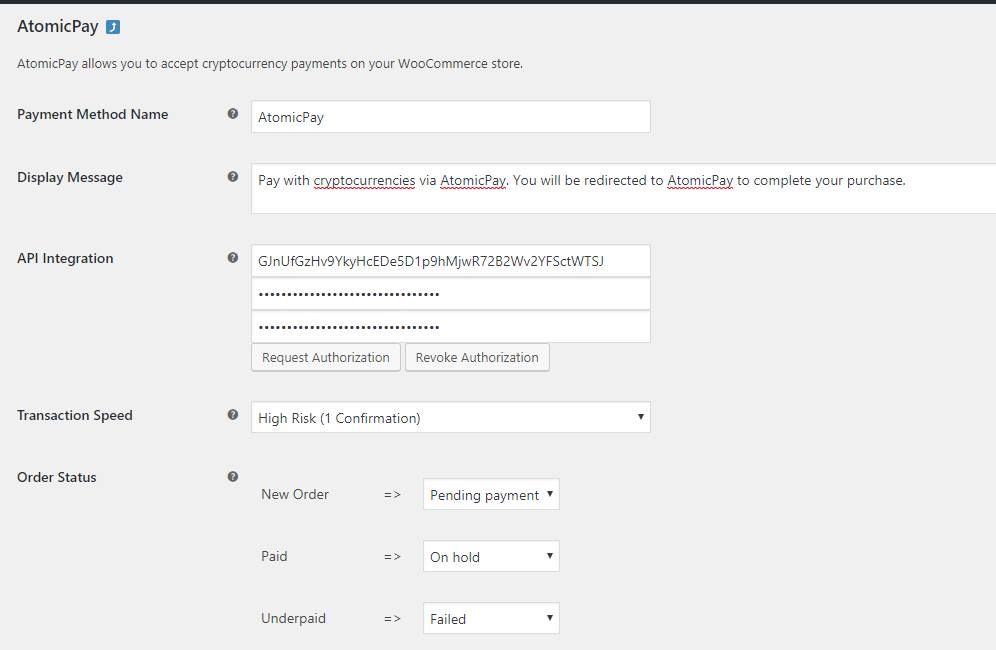
ACCOUNT ID,PRIVATE KEYandPUBLIC KEY. - Here you will need to copy and paste the values into the corresponding fields:
Account ID,Private KeyandPublic Key. - Click on the button Request Authorization. The plugin will attempt to connect to AtomicPay Server for an authorization.
- Once authorization is successful, you should see the following dialog popup.
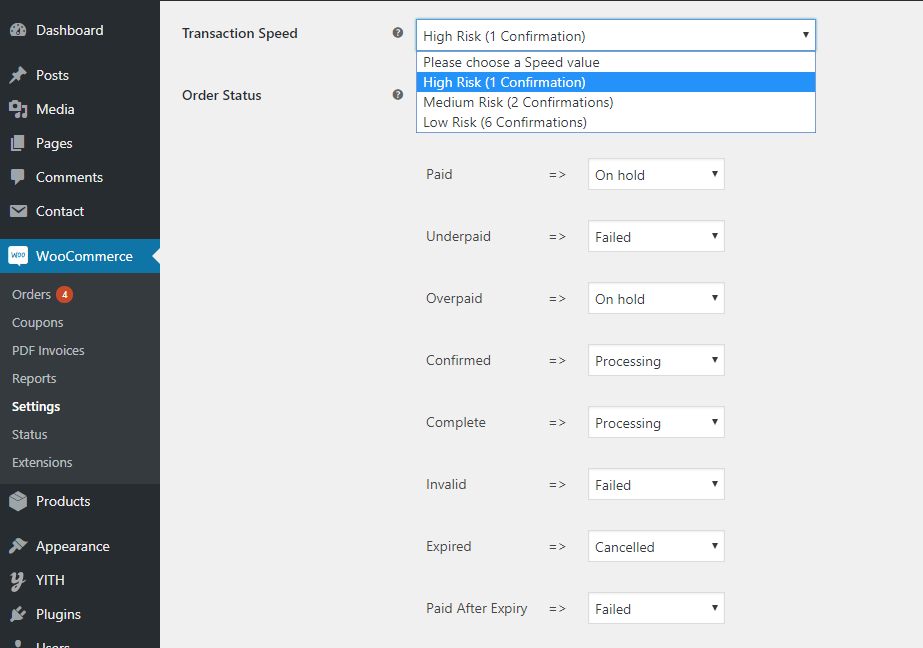
HIGH Risk speed require 1 confirmation, and can be used for digital goods or low-risk items. MEDIUM Risk speed require at least 2 confirmations, and should be used for mid-value items. LOW Risk speed require at least 6 confirmations (averaging 30 mins, depending on selected cryptocurrency), and should be used for high-value items.
4.2 Order Status
You can configure how AtomicPay's IPN (Instant Payment Notifications) trigger the various order states in your WooCommerce store. You may leave it as our default values which are common values for majority of stores.
Once configurated, click Save Changes at the bottom of the page. Congrats your plugin is activated and the Pay with AtomicPay option will be available during your customer checkout process.
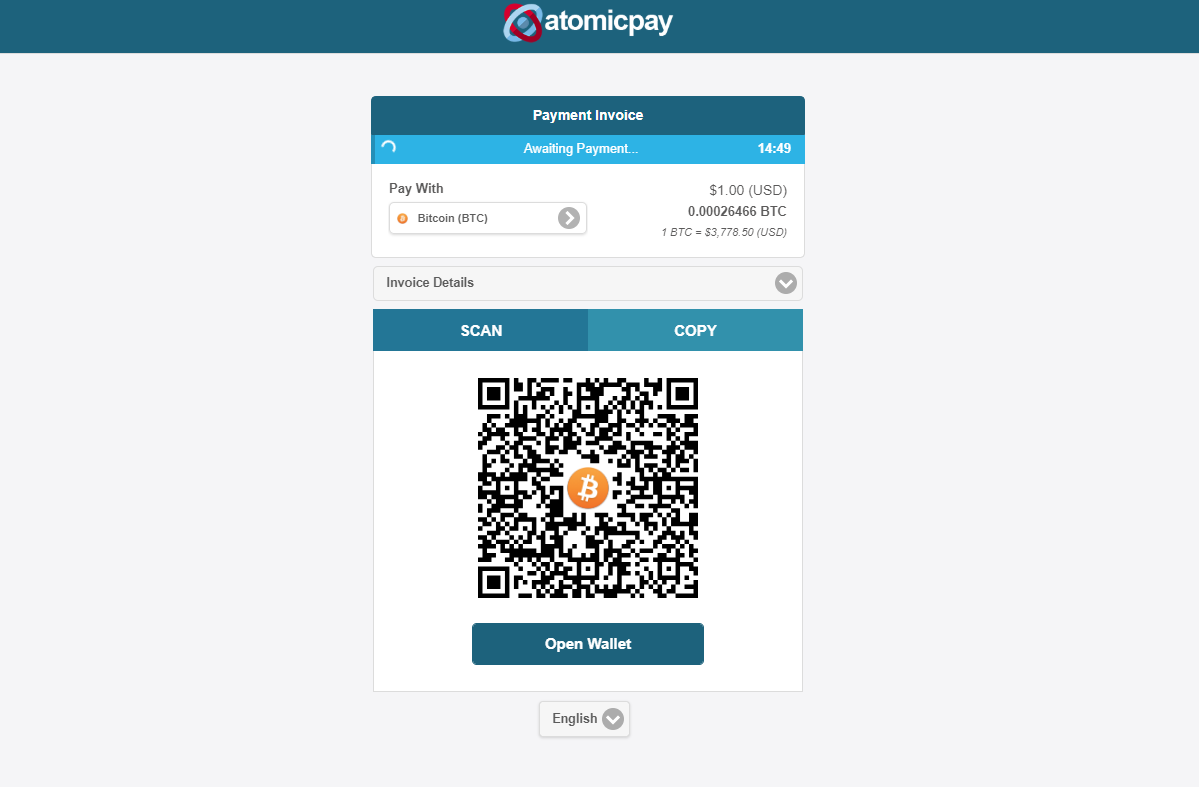
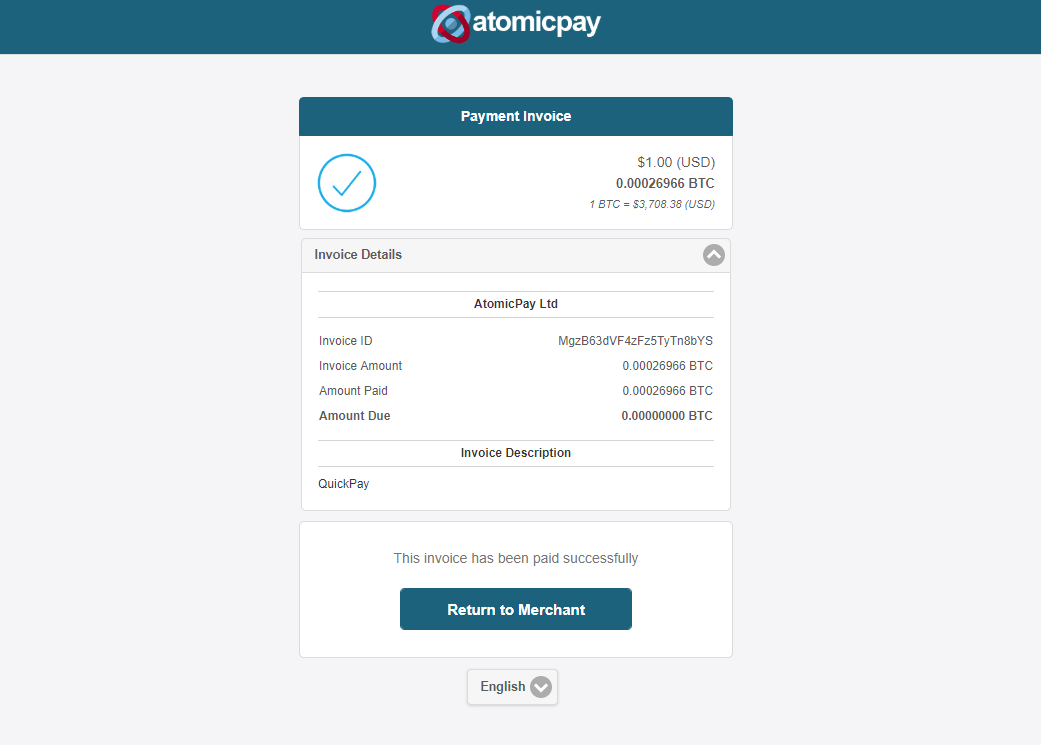
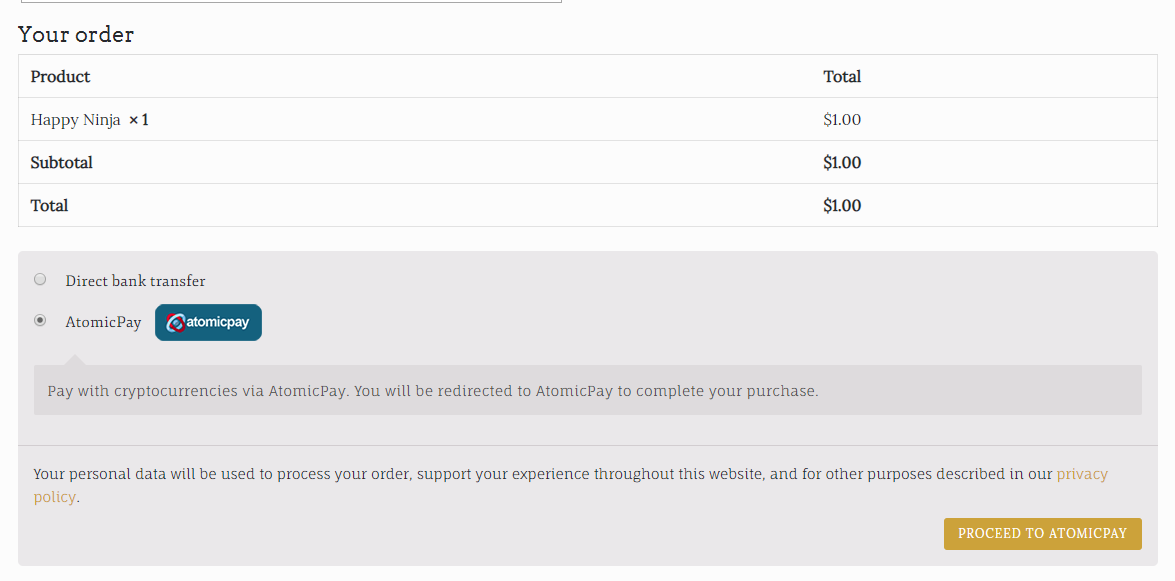
5. Usage
Once activated, your customers will be given the option to pay via AtomicPay which will redirect them to AtomicPay checkout UI to complete the payment. On your WooCommerce backend, everything remains the same as how you would use other payment processors such as PayPal, etc. AtomicPay is designed to be an addtional option on top of the existing payment options which you are already offering. That will be no conflicts with other plugins.屏幕截图:
更新日志:
1.0.6
Fixed:
- Bug: Default transaction speed == Changelog ==
- Fix bug for payment_rate
- Add API Key description to Settings
- Remove GMP library dependencies == Changelog ==
- Update API Authorization endpoint
- Bug: Invoice generation endpoint required parameters