Bitcart for WooCommerce
| 开发者 |
bitcartcc
bitcart |
|---|---|
| 更新时间 | 2023年8月24日 19:20 |
| PHP版本: | 5.4 及以上 |
| WordPress版本: | 6.1 |
| 版权: | MIT |
| 版权网址: | 版权信息 |
详情介绍:
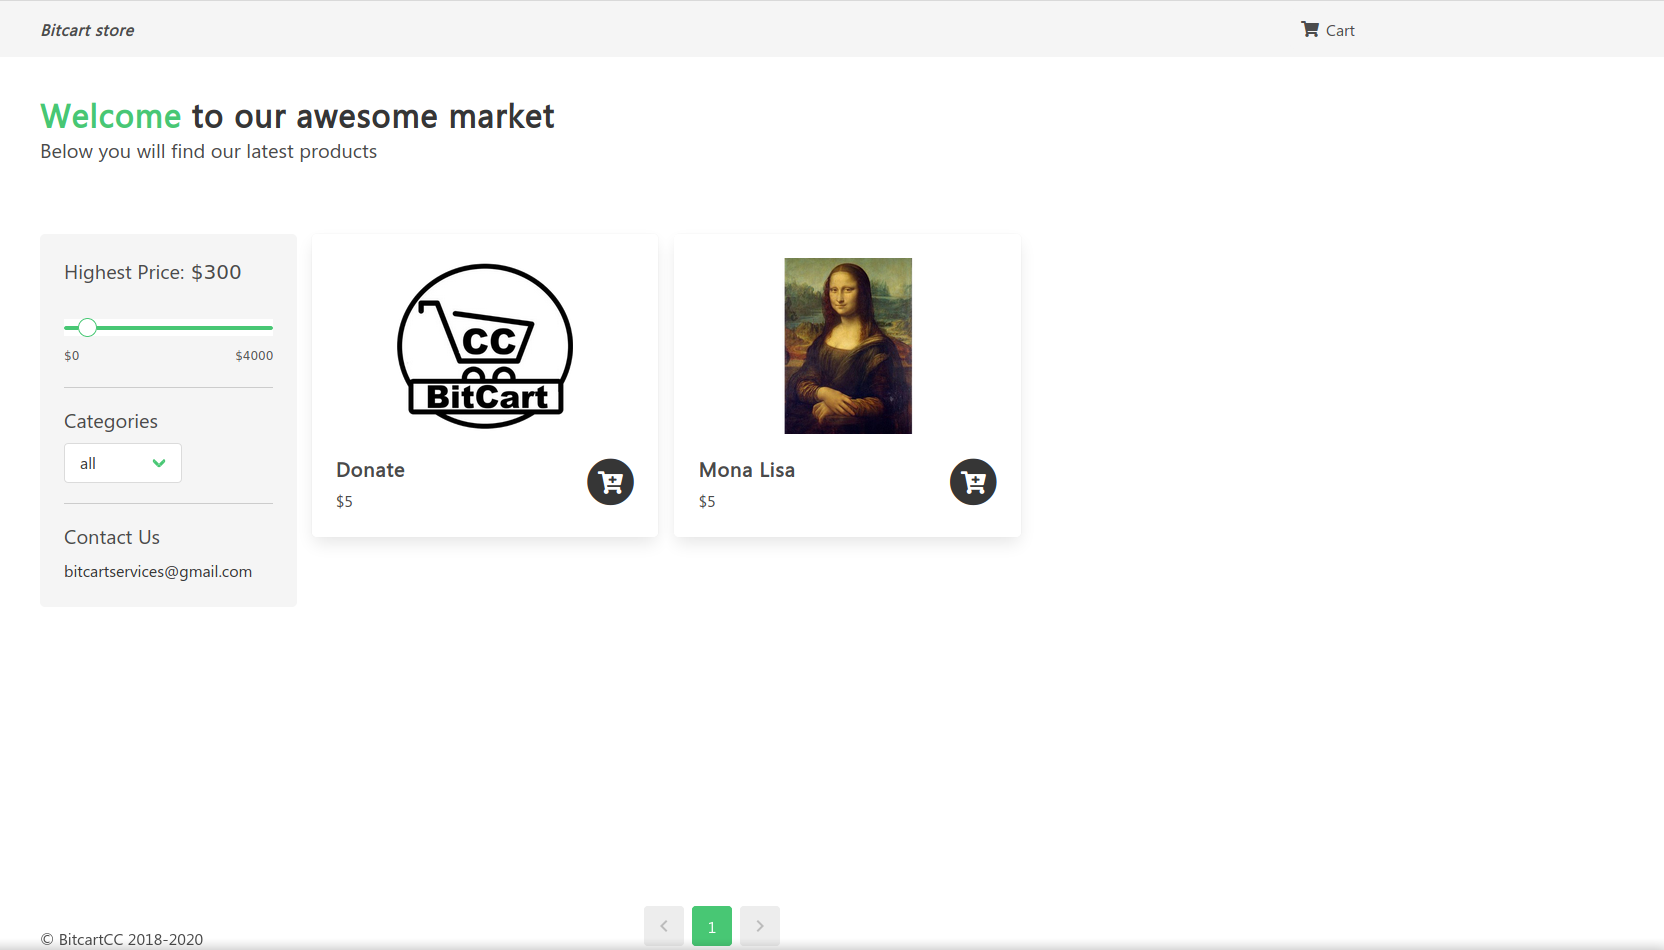
Bitcart is a free and open-source cryptocurrency payment processor which allows you to receive cryptocurrency payments directly, with no fees, transaction cost or a middleman.
Bitcart is a non-custodial invoicing system which eliminates the involvement of a third-party. Payments with Bitcart go directly to your wallet, which increases the privacy and security. Your private keys are never uploaded to the server. There is no address re-use since each invoice generates a new address deriving from your xpubkey.
You can run Bitcart as a self-hosted solution on your own server, or use a third-party host.
The self-hosted solution allows you not only to attach an unlimited number of stores and use the Lightning Network but also become the payment processor for others.
- Direct, peer-to-peer cryptocurrency payments
- No transaction fees (other than mining fees by crypto network itself)
- No processing fees
- No middleman
- No KYC
- User has complete control over private keys
- Enhanced privacy (no address re-use, no IP leaks to third parties)
- Enhanced security
- Self-hosted
- SegWit support
- Lightning Network support
- Altcoin support
- Attach unlimited stores, process payments for friends
安装:
This plugin requires Woocommerce. Please make sure you have Woocommerce installed.
To integrate Bitcart into an existing WooCommerce store, follow the steps below.
1. Install Bitcart WooCommerce Plugin
2. Deploy Bitcart
To launch your Bitcart instance, you can self-host it, or use a third party host.
2.1 Self-hosted Bitcart
There are various ways to launch a self-hosted Bitcart. If you do not have technical knowledge, use the web-wizard method and follow the video below.
https://youtu.be/9BTYj-SVl4M
2.2 Third-party host
Those who want to test Bitcart out, or are okay with the limitations of a third-party hosting (dependency and privacy, as well as lack of some features) can use one of the third-party hosts.
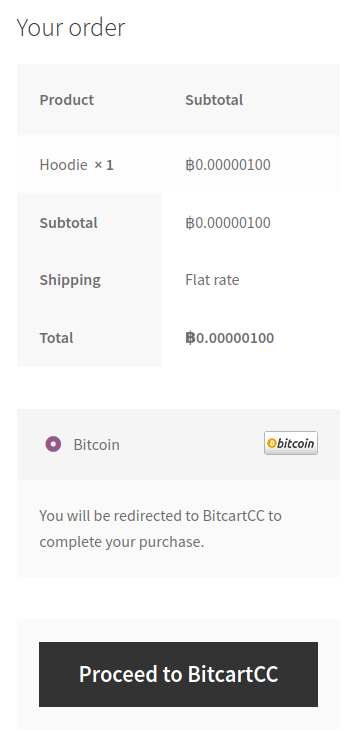
3. Connecting the store
Bitcart WooCommerce plugin is a bridge between your server (payment processor) and your e-commerce store. No matter if you\'re using a self-hosted or third-party solution from step 2, the connection process is identical.
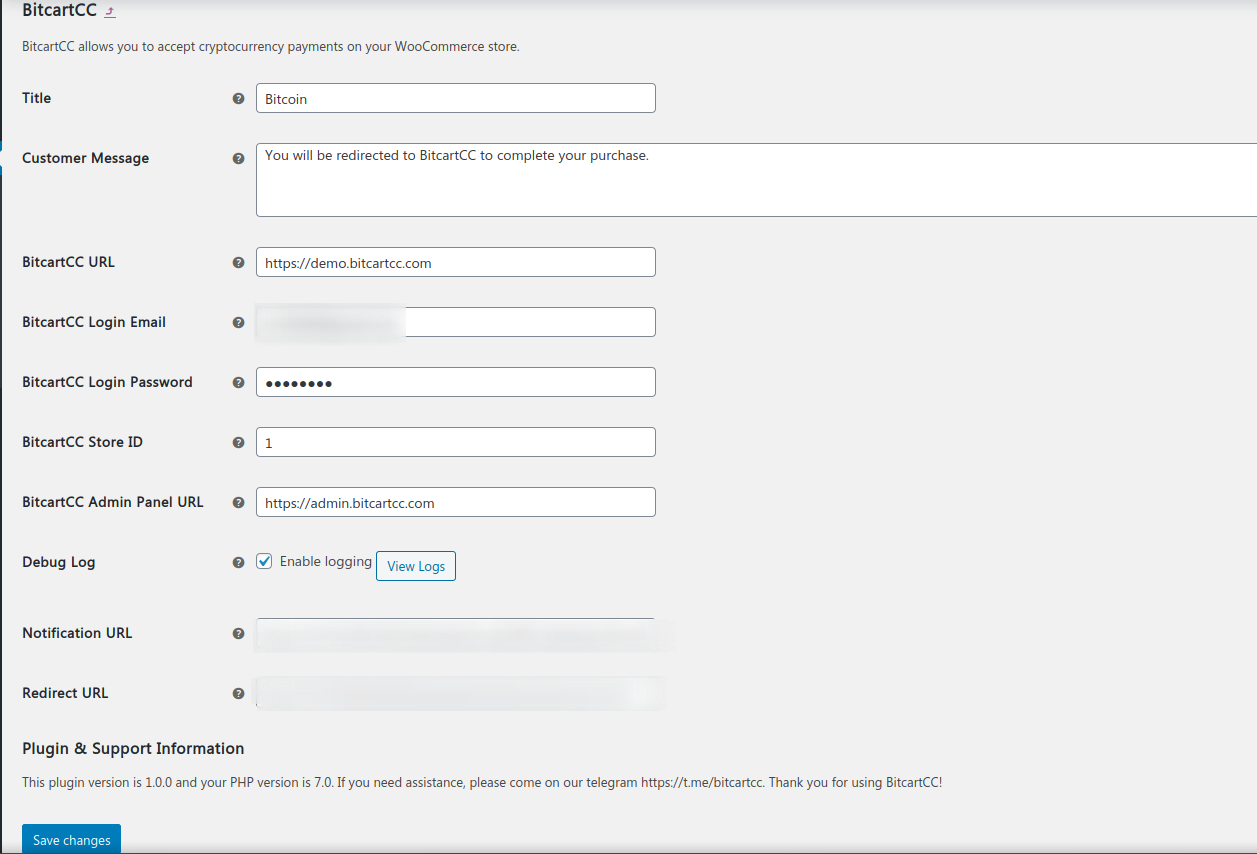
Go to your store dashboard. WooCommerce > Settings > Payments. Click Bitcart.
- In the field Bitcart URL, enter the full URL of your Bitcart API instance(in most cases api.somedomain.tld) (including the https) – https://api.mydomain.com
- In the field Bitcart Store ID enter the id of your store(click on copy icon near your store in admin panel to get it), usually it is ID 1 for the first store on your instance.
- In the field Bitcart Admin Panel URL enter the url(including the https) of your admin panel, like https://admin.mydomain.com
- You have successfully connected your store! Congratulations!
屏幕截图:

更新日志:
1.0.0
Initial version
1.0.1
Fixes for latest Bitcart API updates
1.0.2
Fixes for Bitcart API updates
1.0.3
Compatibility with Bitcart v0.5.0.0
1.0.4
More fixes for invoice processing, clarify params
1.0.5
Fixes for stock level not increasing in case of expired invoices
1.0.6
Rename BitcartCC to Bitcart