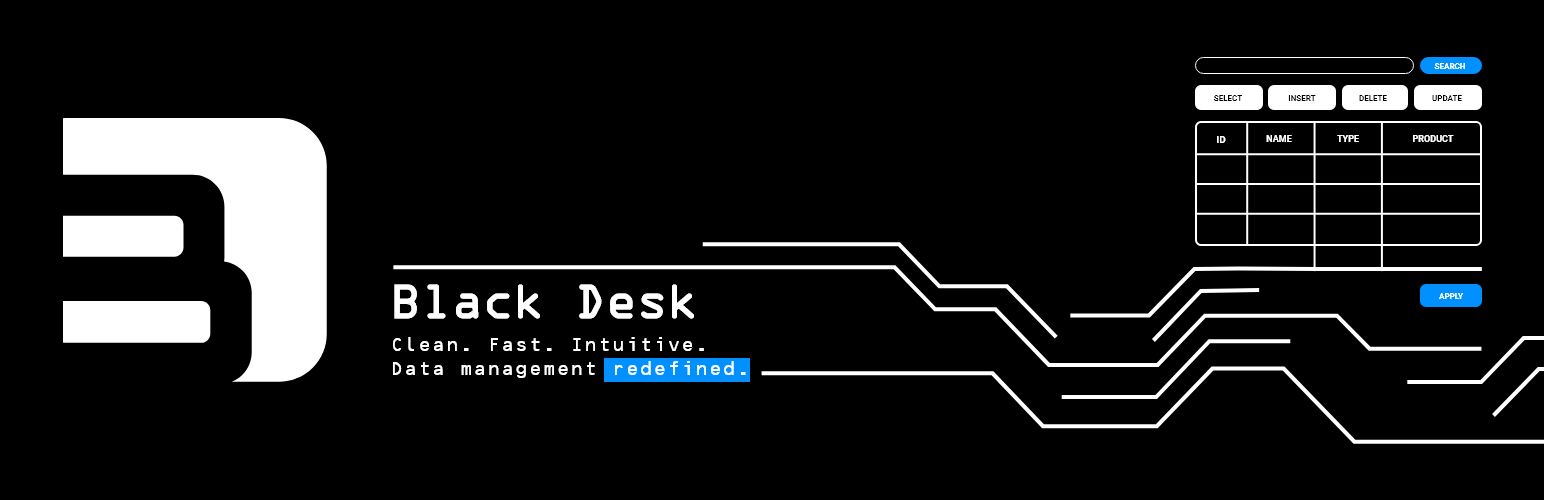
Black-Desk
| 开发者 | jelenacvijic |
|---|---|
| 更新时间 | 2026年6月4日 21:27 |
| PHP版本: | 7.4.33 及以上 |
| WordPress版本: | 7.0 |
| 版权: | GPLv2 or later |
| 版权网址: | 版权信息 |
详情介绍:
- Create custom tables with various column types
- Create tables using natural language with the help of the AI Assistant
- Manage table data with an easy-to-use interface
- View and edit table data
- Create and save custom queries, including joins (across multiple related tables)
- Soft delete support with trash management
- Shortcodes for data display
- Shortcodes for input form generation
安装:
Black-Desk
> Install Now > Activate;
OR
2. Download ZIP from the Black-Desk WordPress plugin page,
go to your dashboard > Plugins > Add New Plugin
> Upload Plugin > Browse > choose the plugin ZIP file > Install Now
> once installed click Activate Plugin;
OR
3. Download ZIP from the Black-Desk WordPress plugin page and manually upload the entire unzipped Black-Desk folder to the /wp-content/plugins/ directory.
Go to your dashboard > Plugins (Installed Plugins), look for the Black-Desk plugin in the list and click Activate.
The important thing is to activate after installation.
You are all set!
Go to your dashboard and look for the 'Tables' menu item.常见问题:
I am not very experienced with databases; can I use this plugin?
The plugin is designed with people with basic technical knowledge in mind. It is designed to be easy, straight-forward, and intuitive to use. However, some of the database capabilities like creating related tables require you to be acquainted with how relations are made in order to put them into practice. If you have basic data management knowledge, you will be right at home, and if not, try the plugin for free, and don't be too surprised when you find out how easy it is to create database tables, populate them with data, and query your data. Especially now that we've added an AI Assistant.
What can your AI Assistant do, and does its existence mean I am now limited in what I can do manually?
Our AI Assistant is built to help you do common tasks more efficiently, using natural language to describe what you intend to accomplish. At the moment, the AI Assistant can help you create new tables more quickly. The option of using the AI Assistant for certain tasks does not mean you cannot still do them manually, the way you are used to - you most certainly can!
How do I enable AI features?
To enable the use of AI Assistant features, you need to first set up your preferred AI Service Provider and securely store your corresponding API key* in Black-Desk "Settings". * Your API key will be stored on your own server. While we take reasonable precautions to store it securely, we have no control over your hosting environment and cannot be held liable for any loss, exposure, or misuse resulting from a server breach or other unforeseen event. By providing data to enable AI, you acknowledge this and agree.
How can I edit my data?
When viewing your table, clicking on a value you wish to edit will render it an input field. While focused on the input field, press Enter to update the value or Esc to cancel editing.
Is it possible to recover deleted data?
Yes and no, depending on the action you took. Yes, the plugin uses soft delete functionality when deleting data while viewing a table. Deleted records can be restored from the table trash view. However, if you delete the whole table or truncate table data while viewing the list of tables, those two actions cannot be undone, as the user is warned beforehand when prompted to confirm if they are sure they want to delete or truncate the table.
Can I create relationships between tables?
Yes, and to view data from related, joined tables you can create and save a query by setting one of its conditions so that the value from the first table column is equal to the second table column/field (effectively indicating a foreign key column and pointing it to another table's primary key).
Example of such query condition:
[review.product_id] [equal to] [FIELD] [product.id]
See USAGE > CREATING QUERIES section for the detailed instructions on query creation and use.
How do I use the shortcodes?
You can find complete, detailed shortcodes usage instructions in your WordPress dashboard > Tables > Shortcodes submenu page, with examples of usage for each shortcode. For basic information purposes, info on shortcodes functionality is available in the USAGE > SHORTCODES section.
更新日志:
- AI settings are added,
- new table AI wizard is added,
- search is improved,
- search and pagination are conditional (only shown when selected).
WP_DEBUG=true on:
- new table > new column,
- new table > save table,
- new query > select fields (non-first add),
- new query > preview data,
- shortcode > field,
- wpdb::prepare placeholder on multiple pages.
- When search and paginate attributes are not specified, they are no longer displayed in the rendered table.
- Enhanced search functionality across table columns for more accurate filtering.
- admin views and previews;
- public:
- full table/query view;
- field view;
- repeat view.
- Initial release
- Core functionality for table management
- Query builder interface
- Trash management
- Shortcode support
- Input form data validation