Callback24
| 开发者 | itDesk |
|---|---|
| 更新时间 | 2024年4月17日 15:54 |
| 捐献地址: | 去捐款 |
| PHP版本: | 5.6 及以上 |
| WordPress版本: | 6.5 |
| 版权: | GPLv2 or later |
| 版权网址: | 版权信息 |
详情介绍:
- effectively calls to action through widgets, popup, exit popup;
- allows you to call the client back in 15 seconds;
- acquires potential customers outside working hours (possibility to plan a call);
- the customer is displayed exactly your number, not a random one
- shows the purchase paths of client;
- reduces the cost of customer acquisition (CPC);
- analysis of the data collected will show which campaigns are effective and bring more conversions.
- consolidated knowledge of the calls history from across the company;
- reports showing the effectiveness and efficiency of the consultants;
- recordings and analysis of calls will increase the quality of customer service (Customer Experience).
- your customers will be able to contact you very quickly;
- you gain up to 15 potential customers per month (up to 180 customers per year);
- we are gaining more interest in the service;
- the Free package is available forever!
安装:
- Load plug-in and install
- Activate the plug-in
- Register your account
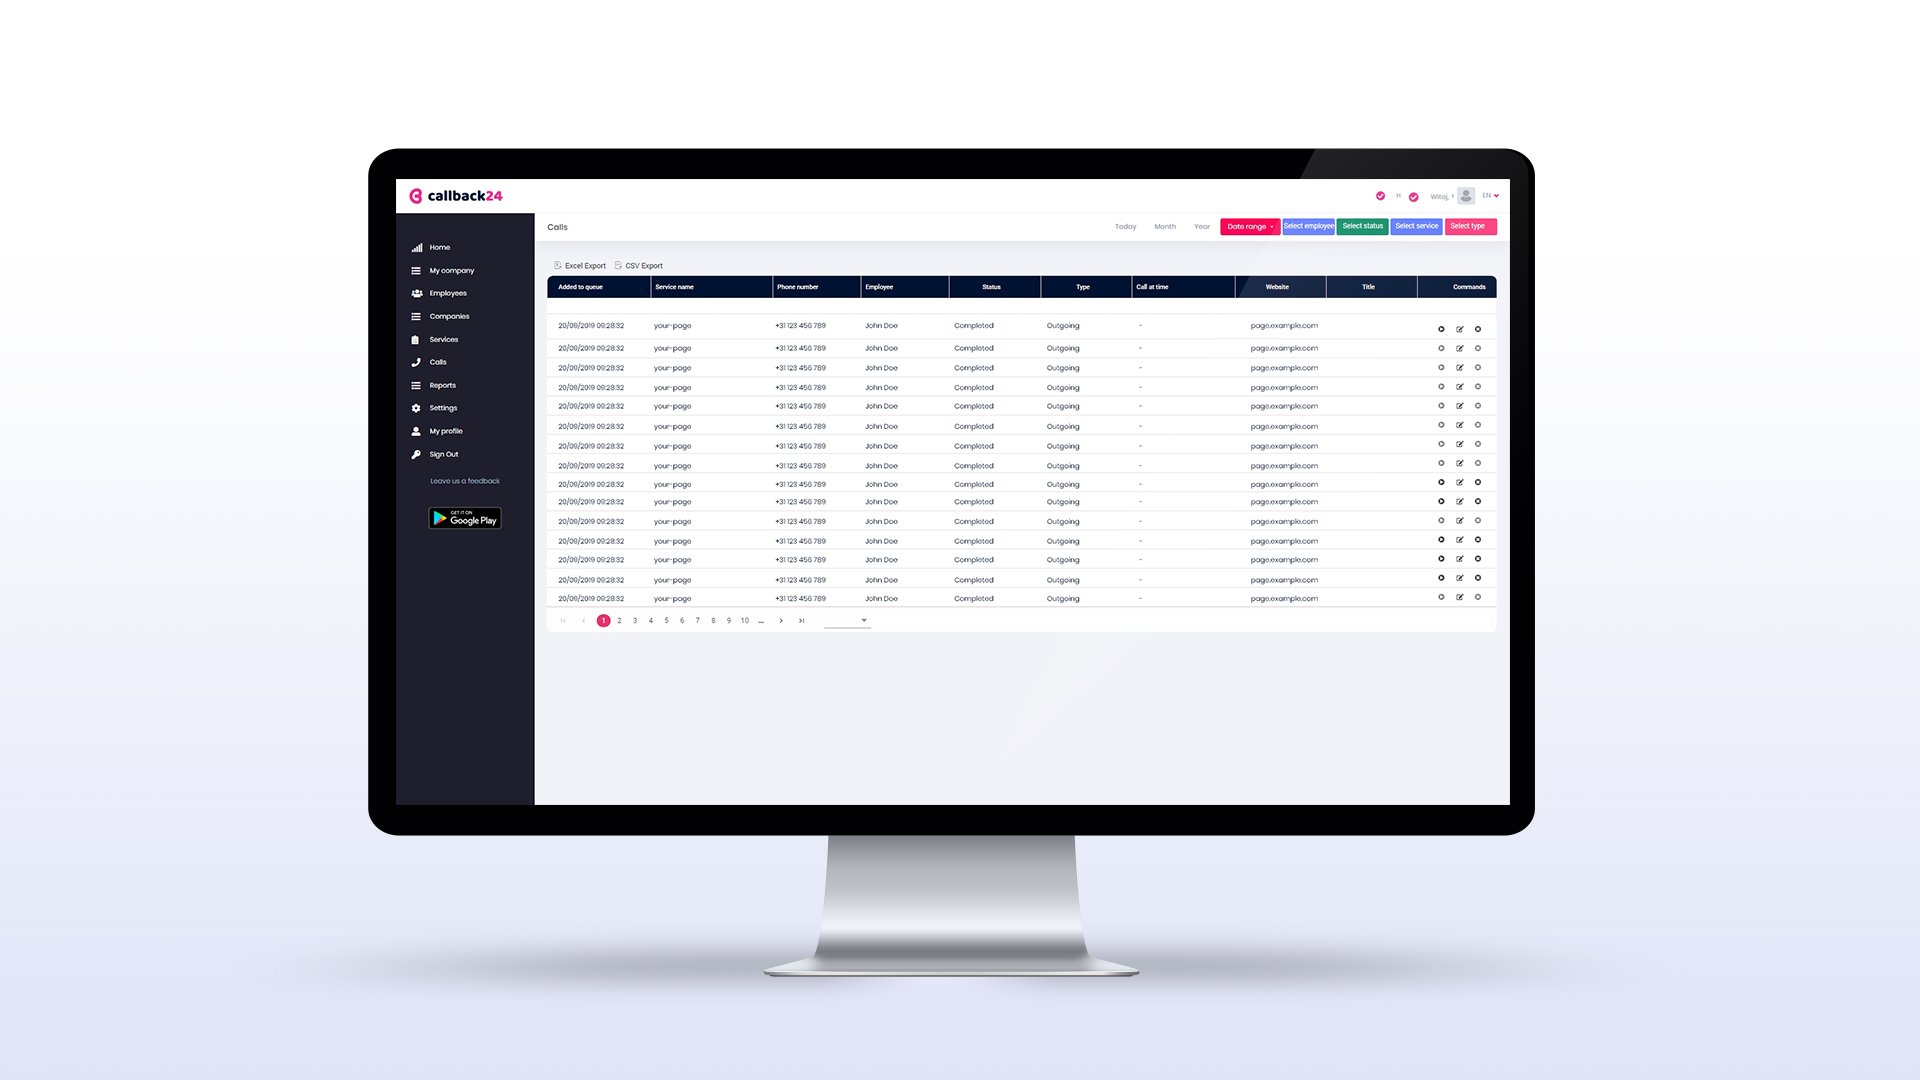
屏幕截图:
常见问题:
- How to create an account?
Go to callback24.pl and click the Register button. Enter your name, surname, e-mail address and password. Read the regulations and accept them. Once you’ve completed all the information, click the Create Account button. You will receive an email with an activation link to this address. Please check your SPAM folder. After clicking the link the account will be ready to use. You can now login by entering your previously entered data. The account has been created, you can start using Callback24.
- How to set up the service?
Now that you have created an account, go to the service. When you start the service for the first time, you will see a short manual which is worth reading. A service is a web service on which the widget will be displayed. Enter the website address. Set working hours for your consultants, for each day these hours may be different. Then move on to personalising the widget. You can choose a different colour for each of the information windows. In addition, you can set the display time, the location of the widget and the consultant's photo. The service configuration is now complete. Copy the code and put it on the website before the tag or use the ready-made plugins located down below. Remember to install the application on your Android device! For Callback24 to work properly you need to install the Callback app on all phones from which calls from the website will be received.
3 How to install the CallBack24 widget on WordPress?
Select the Services tab from the left-hand menu. Double-click the selected service and go to the Installation tab. Copy the generated code. Below you will find available plugins. Download the plug-in to the desktop. Log in to the administration panel of your website. Go to the Plugins tab and select Add new and then Send plugins to the server. Select the file and Install. Turn on the plug-in. Select Callback24 from the Plugins list and click Settings. Paste the code and save your changes. Widget is ready. It’s done!
更新日志:
- Pierwsza wersja
- Dodano konfigurator do rejestracji
- Poprawa błędów (widget czasami się nie wyświetlał)
- Poprawa błędów (błąd z www w domenie usługi)
- Poprawa błędów (wyświetlanie w Firefox i Edge)
- Poprawa błędów (wyświetlanie w niektórych przeglądarkach, odczytywanie adresu email administratora jako login do usługi)
- Przetestowano z najnowszym wydaniem Wordpress
- Przetestowano z najnowszym wydaniem Wordpress


