CoinGate for WooCommerce
| 开发者 | CoinGate |
|---|---|
| 更新时间 | 2025年9月8日 20:43 |
| 捐献地址: | 去捐款 |
| PHP版本: | 7.3 及以上 |
| WordPress版本: | 6.8.2 |
| 版权: | MIT |
| 版权网址: | 版权信息 |
详情介绍:
Accept Crypto Payments with CoinGate for WooCommerce
Easily accept cryptocurrency payments on your WooCommerce store using CoinGate. Our CoinGate for WooCommerce plugin provides fully automated payment processing and invoicing, making crypto payments simple, secure, and seamless for both you and your customers.
With just a quick setup, your customers can pay using 15+ cryptocurrencies like Bitcoin, USDC, Ethereum, and Litecoin across multiple networks—including Layer 2 solutions like Polygon, Arbitrum, Base, Optimism, Solana, and more.
You can receive settlements directly to your bank account in EUR, USD, or GBP—or choose to keep crypto.
Features
- Fully automated gateway – no manual processing needed
- Real-time exchange rates – convert crypto to fiat instantly at checkout
- Multi-chain support – accept crypto on Ethereum, Polygon, Arbitrum, Solana, Base, Optimism, and more
- Customizable invoices – choose supported coins, accept underpaid or overpaid orders, and adjust invoice settings
- Automatic order updates – payment confirmations trigger status changes
- Test mode available – experiment in a sandbox environment
- Crypto refunds – issue full and partial refunds
- Exportable reports – access accounting and payout data in just a few clicks
- Role-based account management – control permissions for team members
- Built-in AML/KYC tools – stay protected and compliant
- Flexible fees – starting at 1%, with lower rates available for high-volume merchants
- No chargebacks – all crypto payments are final
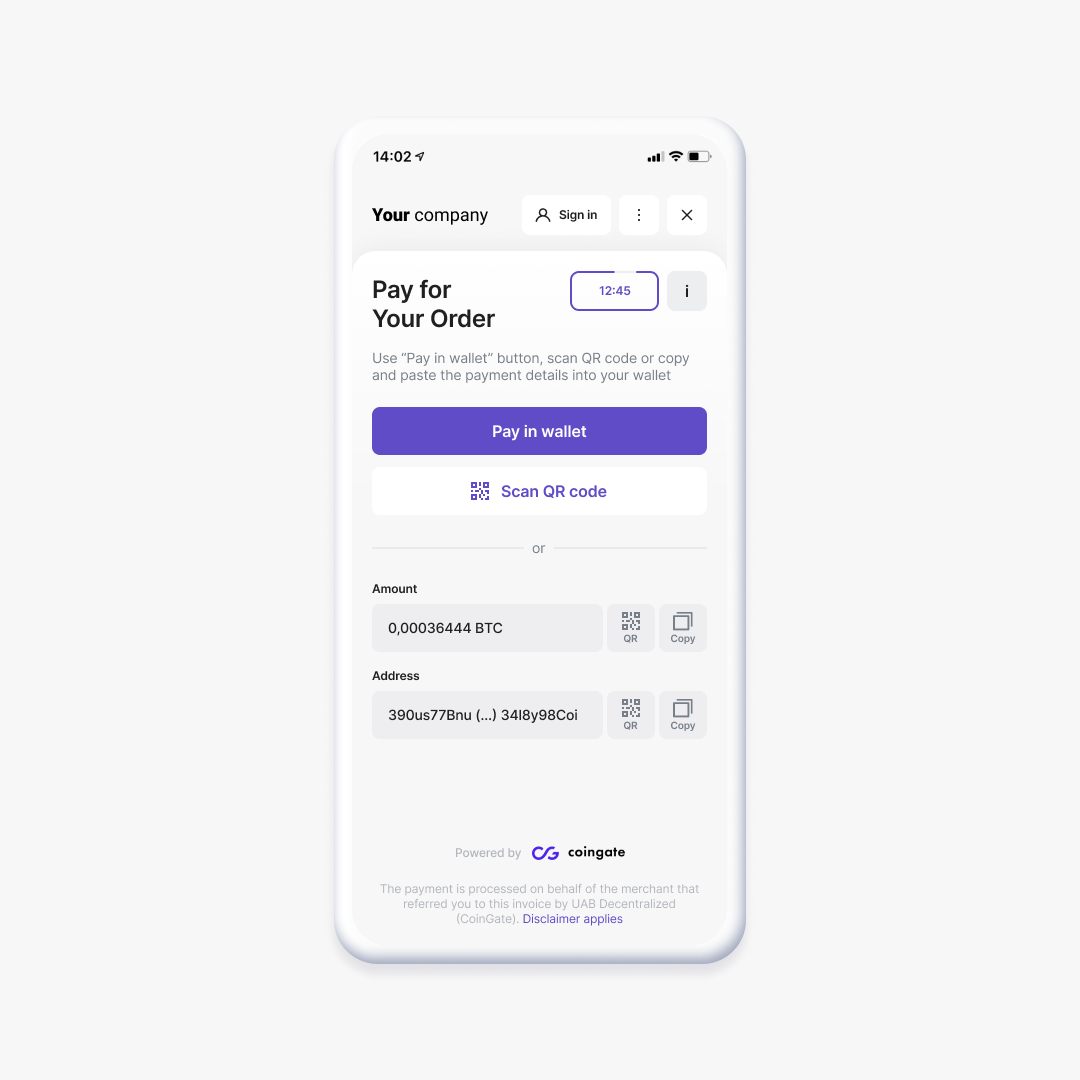
- A customer selects crypto as the payment method for a €100 order.
- Based on real-time rates, they’re shown the amount to pay in their chosen cryptocurrency.
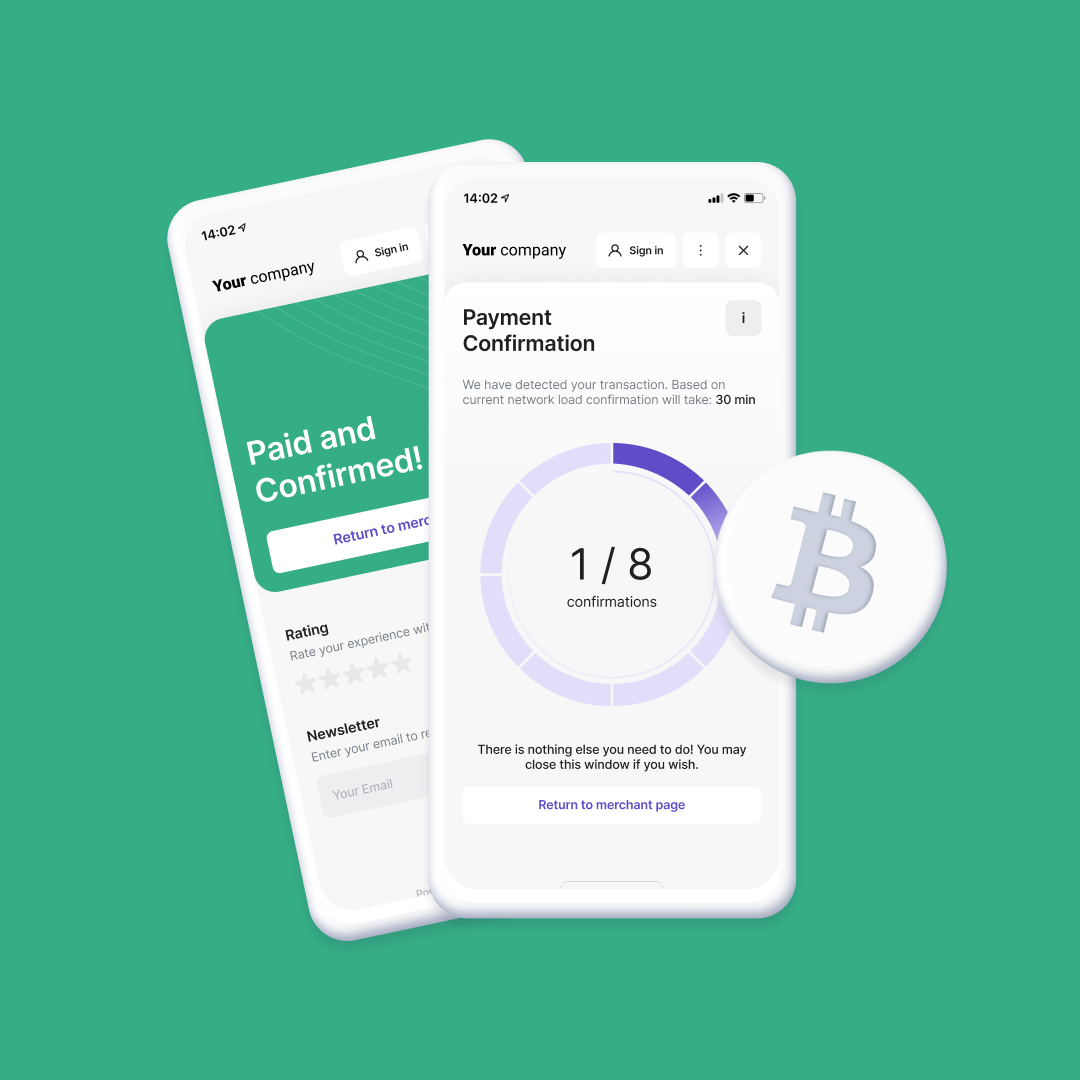
- After payment confirmation, you receive ~€99 (minus fees) in your CoinGate account.
- You can withdraw funds to your bank in EUR, USD, or GBP—or hold them in crypto.
安装:
First and foremost, you will need to sign up for an account on CoinGate. For production, use our main website: https://coingate.com/. But before you go live, you may want to do some testing, to make sure everything works nicely. For this purpose, we have a sandbox environment: https://sandbox.coingate.com – just remember to create an account here even if you already have one on our main website.
The installation of our WooCommerce payment module is quite easy. In order to ensure that CoinGate payment gateway is working properly on your website, we will go over these two quick steps:
- Create API credentials and configure "Settlement Currency" on CoinGate.
- Install the CoinGate payment module for WooCommerce.
- Login to your WordPress admin panel and go to Plugins > Add New.
- In the Search Plugins field, type in “coingate”. When the CoinGate for WooCommerce plugin is displayed, click “Install Now” (if asked, enter your FTP credentials).
- After the plugin is installed, click “Activate”.
- Go to WooCommerce > Settings > Payments > Method : “Cryptocurrencies via CoinGate” and then click the check box “Enabled”. After Enabled is clicked then press on CoinGate on the same page. If needed, change the Description and the Title according to your preferences.
- Enter your API credentials on the WooCommerce configuration page. At this point, you can also configure how CoinGate order statuses will correspond to WooCommerce order statuses. Leave the default options if you are not sure.
- If you are using Sandbox API credentials, then turn Test Mode on.
- Finally, click “Save changes”, and you are good to go!
屏幕截图:
更新日志:
v2.3.1 - 2025-07-22
- Added “Transfer shopper billing details to payment processor” option. Improves guest checkout experience by prefilling billing details. Supports compliance with the Travel Rule: https://coingate.com/blog/post/travel-rule-explained
- Added: Support for Block-Based Checkout.
- Deprecated: Currency element.
- PHP Deprecated: Creation of dynamic properties.
- Fixed: token validation on a callback.
- Fixed: Undefined array key "woocommerce_coingate_test".
- Added: Ability to send customer email to CoinGate's checkout form.
- Fixed: Send app info from the API auth token validation action.
- Added: WordPress coding standards.
- Added: Github workflow.
- Changed: Updated composer libraries.
- Fixed: Not showing payment settings page [Issue #11]
- Plugin now requires Wordpress 5.3 version or greater.
- Plugin now requires PHP 7.3.0 or greater.
- Updated CoinGate PHP library up to 4.1.0.
- Changed: Plugin refactored from the ground.
- Added: API auth token validation.
- Added: New status - "Do nothing" in the payment gateway settings page.
- Added: New CoinGate payment status - "Confirming".