
Bitcoin payment for Gravity Forms
| 开发者 | coinsnap |
|---|---|
| 更新时间 | 2026年5月25日 02:02 |
| WordPress版本: | 7.0 |
| 版权: | GPL2 |
| 版权网址: | 版权信息 |
详情介绍:
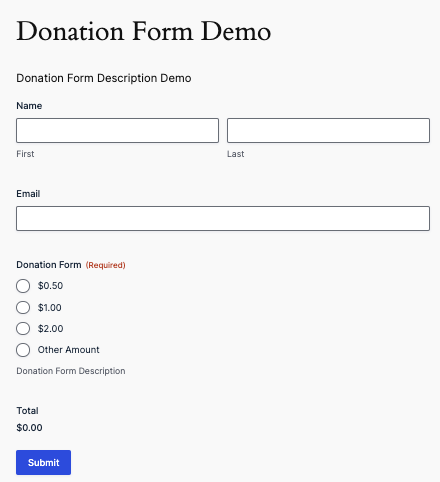
Enable your visitors to make purchases with Bitcoin in Gravity Forms, support you with donations, pay for downloads or book events or meetings.
With the Coinsnap Bitcoin payment plugin for Gravity Forms you only need a Lightning wallet with a Lightning address, a Coinsnap account, and a minute to set up Gravity Forms to accept Bitcoin Lightning payments on your WordPress website.
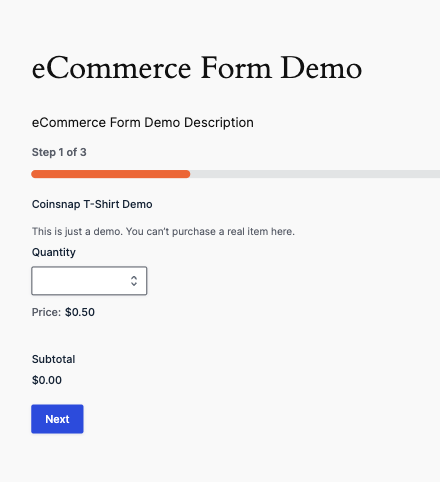
With this plugin you can then offer Bitcoin transactions of all kinds directly within forms you create with Gravity Forms – you need no shop system, no other payment provider or anything else to sell, i.e. merchandise, content, bookings or reservations and even receive donations.
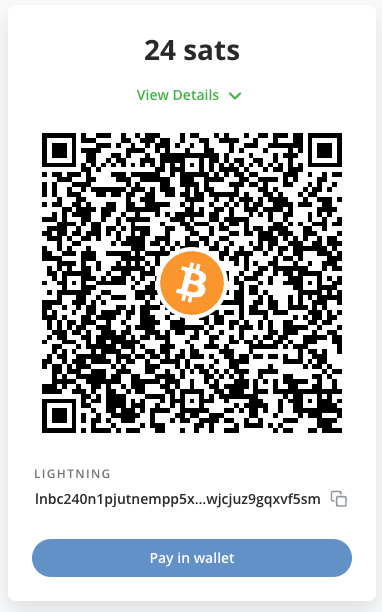
Coinsnap’s Bitcoin payment plugin for Gravity Forms makes it amazingly simple for your customers to purchase your offerings with Bitcoin-Lightning: They can make their transactions with just a scan of the QR code generated by the Coinsnap plugin for Gravity Forms, and their authorization of the payment. When authorized, the payment will be credited directly and immediately to your Lightning wallet.
安装:
1. Install the Coinsnap Gravity Forms add-on from the WordPress directory.
The Coinsnap Gravity Forms add-on can be searched and installed in the WordPress plugin directory.
In your WordPress instance, go to the Plugins > Add New section.
In the search you enter Coinsnap and get as a result the Coinsnap Gravity Forms plugin displayed.
Then click Install.
After successful installation, click Activate and then you can start setting up the plugin.
1.1. Add plugin
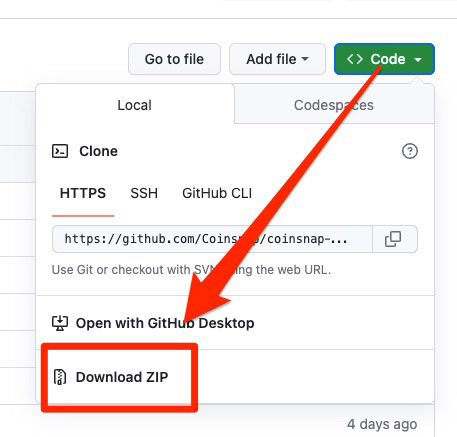
If you don’t want to install add-on directly via plugin, you can download Coinsnap Gravity Forms add-on from Coinsnap Github page or from WordPress directory and install it via “Upload Plugin” function:
Navigate to Plugins > Add Plugins > Upload Plugin and Select zip-archive downloaded from Github.
Click “Install now” and Coinsnap Gravity Forms add-on will be installed in WordPress.
After you have successfully installed the plugin, you can proceed with the connection to Coinsnap payment gateway.
1.2. Configure Coinsnap Gravity Forms add-on
After the Coinsnap Gravity Forms add-on is installed and activated, a notice appears that the plugin still needs to be configured.
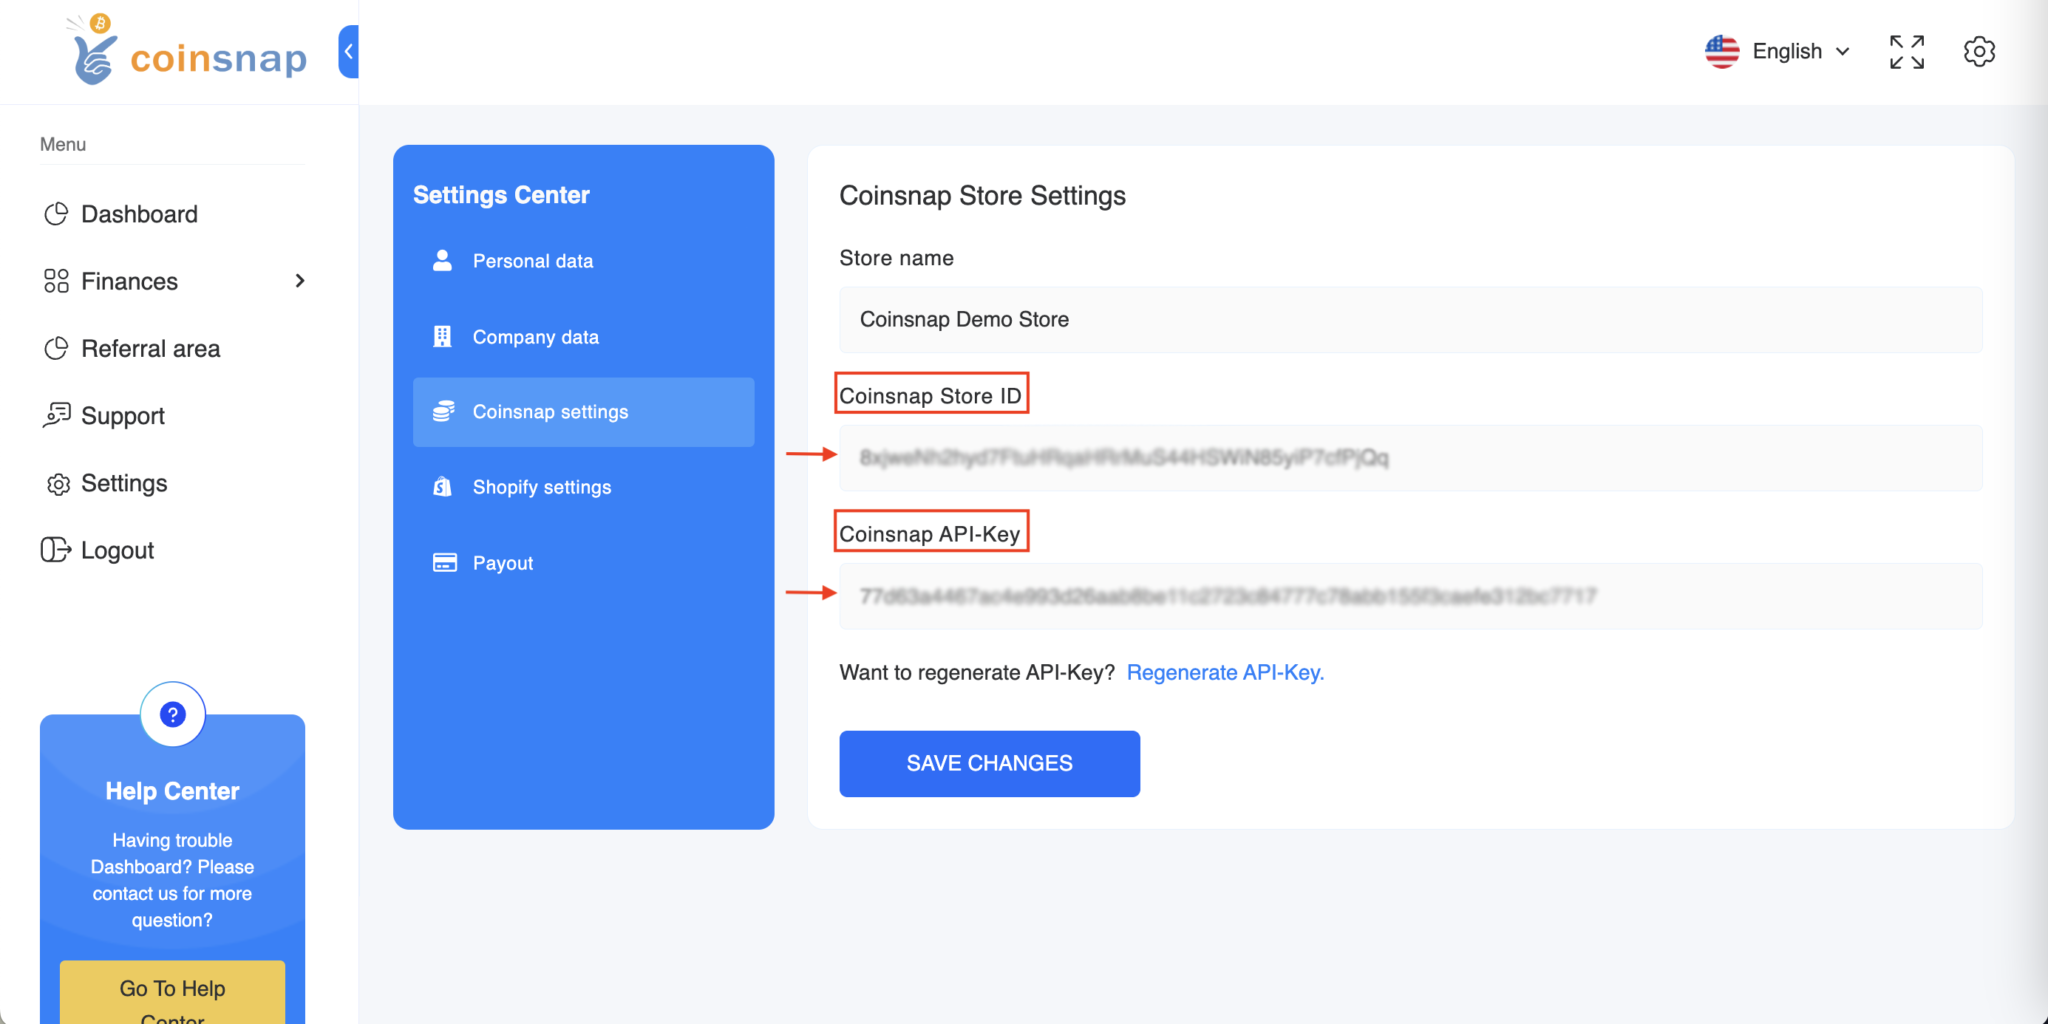
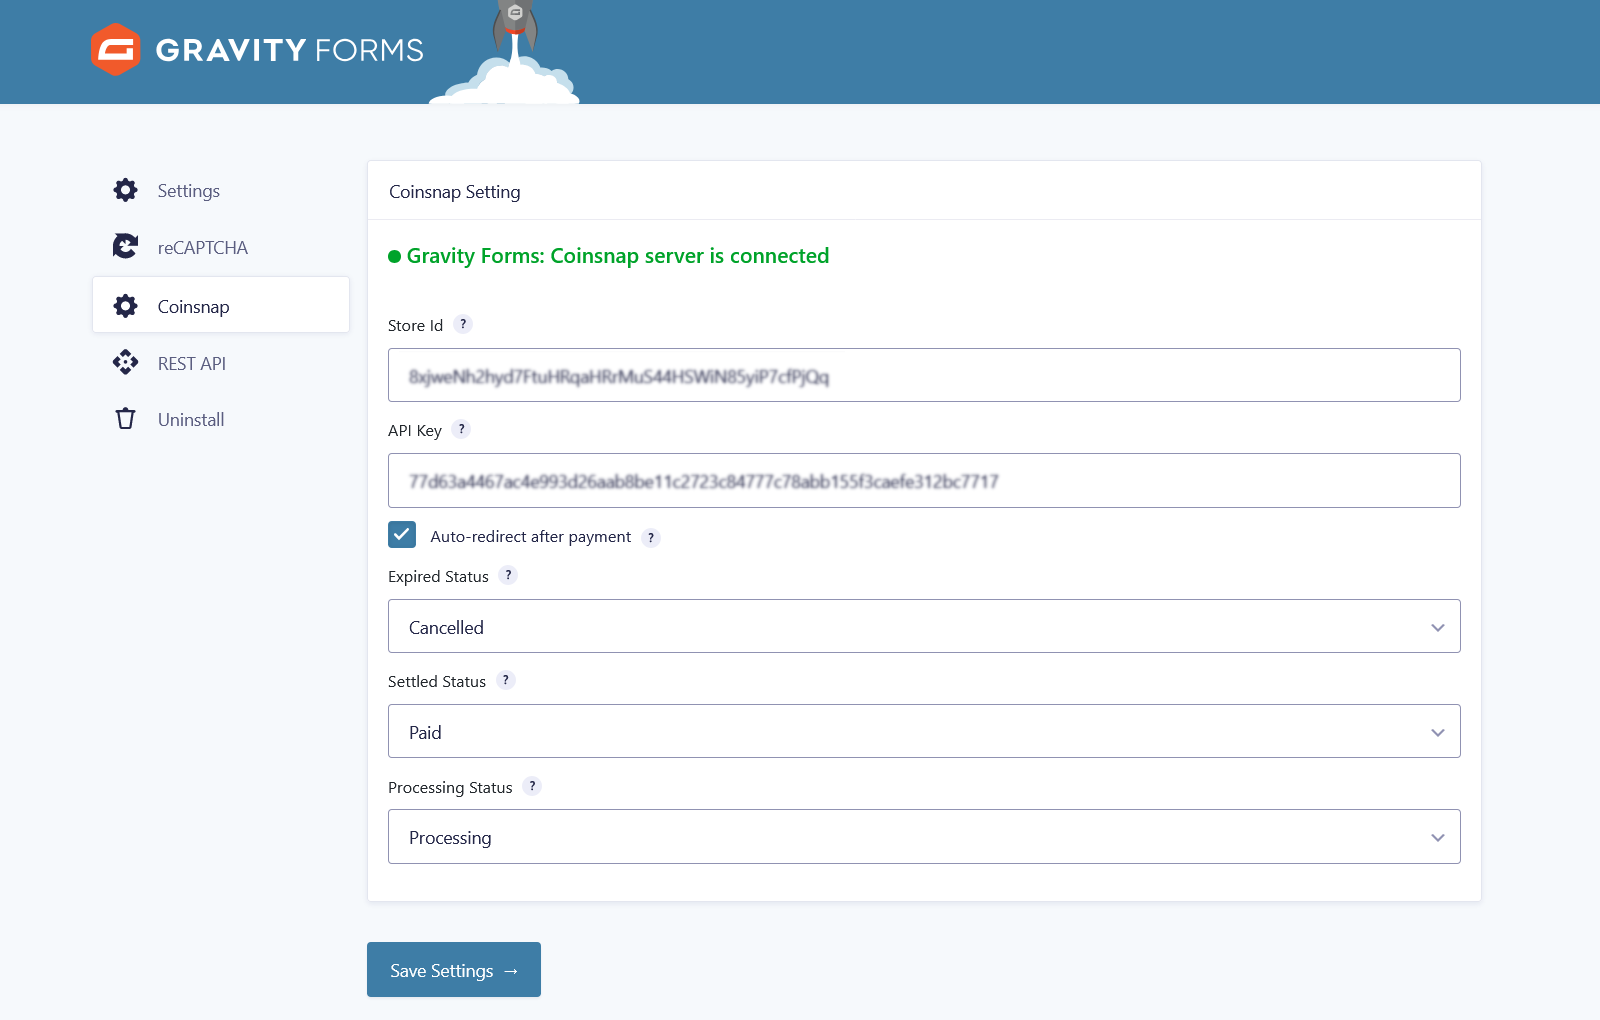
1.3. Deposit Coinsnap data
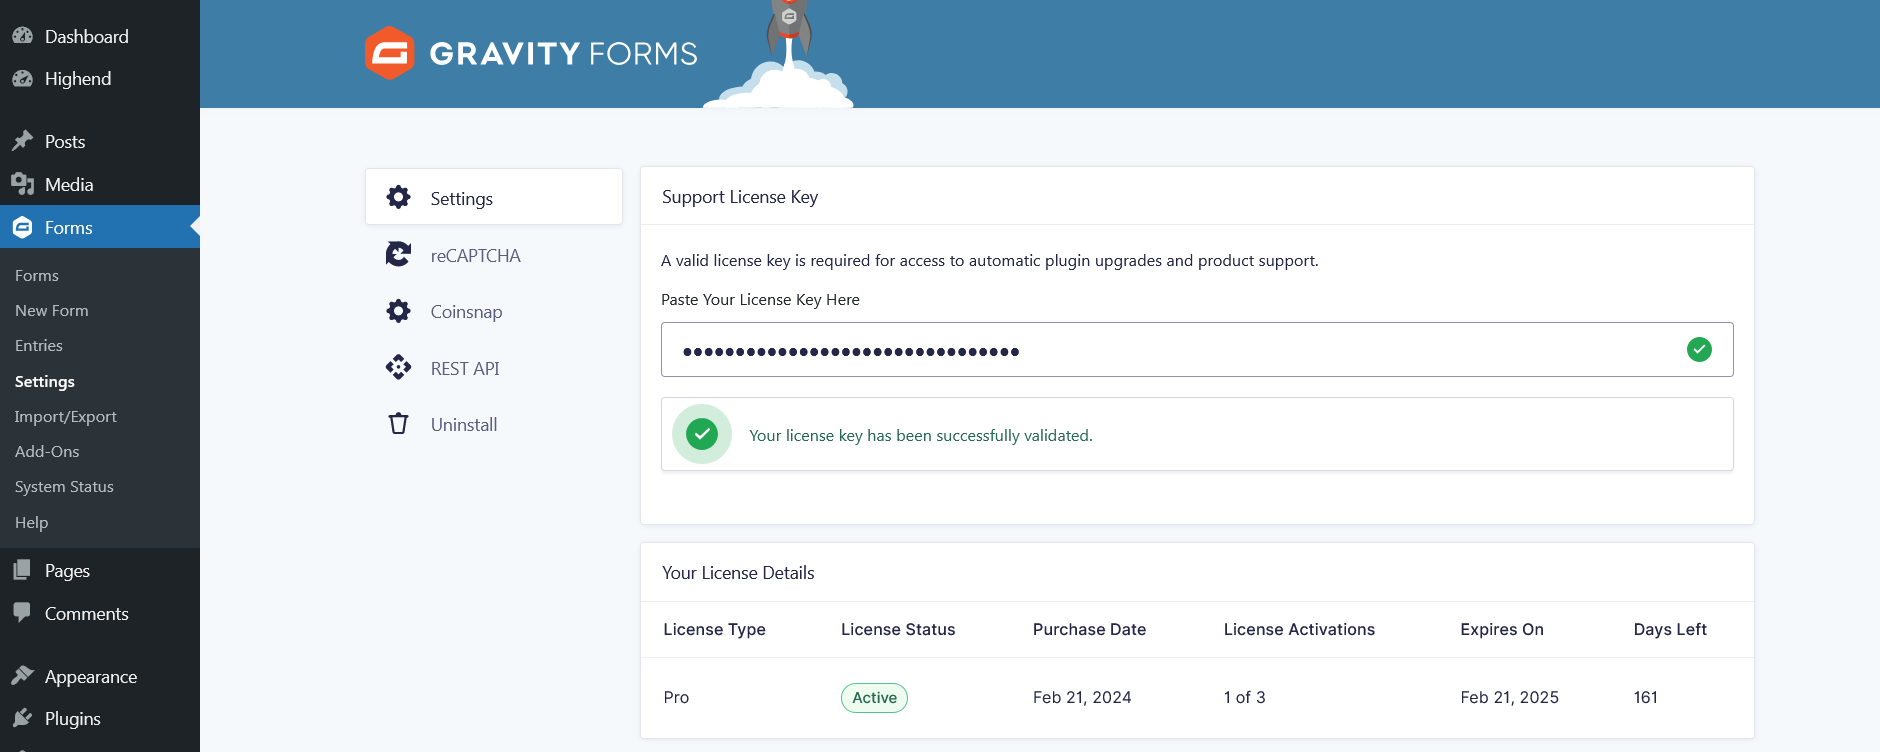
- Navigate to Forms > Settings and select coinsnap
- Enter Store ID and API Key
- Click Setting Save
- Navigate to Forms > New Forms > Settings > Coinsnap > Add New Feeds and Save Settings
- Navigate to Forms > Settings and select coinsnap
- Enter Store ID and API Key
- Click Setting Save
- Navigate to Forms > New Forms > Settings > Coinsnap > Add New Feeds and Save Settings
屏幕截图:


更新日志:
1.0.0 :: 2025-04-04
- First public release for testing.
- Compatibility with Wordpress 6.8 is tested.
- Update: Coinsnap Wordpress library.
- Update: BTCPay server added as a Bitcoin payment gateway
- Update: Prevented redirect to BTCPay server if payment amount is less than 0.000005869 BTC (0.50 EUR) for onchain payments, 0.000001 BTC (1 SAT) for Lightning payment or currency is not supported.
- Update: BTCPay setup wizard is added in BTCPay server settings.
- Update: Minimum order amount is added to connection status notice.
- Update: Unique name for BTCPay server setup Wizard return URL is set.
- Update: Webhook data is saved as setting in Wordpress database.
- Update: Added secret string check in webhook payload process.
- Updated notices indication.
- Updated BTCPay server minimum payment amount calculation system
- Updated BTCPay server events and webhook handler
- Updated Coinsnap WP library
- Update: Added nonce check for BTCPay server request in Wizard setup flow.
- Update: Added non-supported by BTCPay server currencies handler on invoice request flow.
- Update: Added custom redirect after payment page in module settings.
- Fixed bug in BTCPay server webhook payload flow.
- Updated \Coinsnap\Client\Store::getStore() method data usage.
- Compatibility with Wordpress 6.9 is tested.
- Compatibility with Gravity Forms 2.9.24 is tested.
- Updated PHP files protection.
- Updated database requests.
- Updated plugin description.
- Compatibility with Gravity Forms 2.9.25 - 2.9.28 is tested.
- Updated \Coinsnap\Client\Invoice class.
- Updated \Coinsnap\Client\Store class.
- Compatibility with Gravity Forms 2.9.31 is tested.
- Compatibility with Wordpress 6.9.4 is tested.
- Compatibility with Gravity Forms 2.10.2 is tested.
- Compatibility with Wordpress 7.0 is tested.