Plugin Name
| 开发者 | we_tell |
|---|---|
| 更新时间 | 2012年12月20日 05:16 |
| 捐献地址: | 去捐款 |
| PHP版本: | 3.0.1 及以上 |
| WordPress版本: | 3.5 |
| 版权: | GPLv2 or later |
| 版权网址: | 版权信息 |
详情介绍:
安装:
- Upload
css-spritesfolder to the/wp-content/plugins/directory - Activate the plugin through the 'Plugins' menu in WordPress
- The plugin creates a menu item within the Media menu group
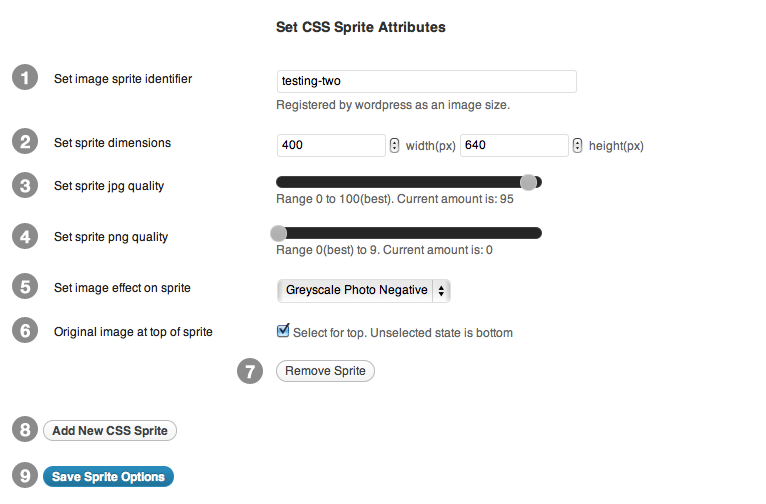
- Set image sprite identifier Set the unique identifier that you will later use to reference your image within your wordpress site. Wordpress will register this as a custom image size.
Access image like so eg:
wp_get_attachment_image_src( get_post_thumbnail_id($post->ID), 'image-identifier'); - Set sprite dimensions Specifies the sprite image size dimensions in pixels.
- Set sprite jpg quality Set the level of jpg compression on any jpg images you upload. 100 is best quality. Default is 95.
- Set sprite png quality Set the level of png compression for any png images you upload. 0 is best quality.
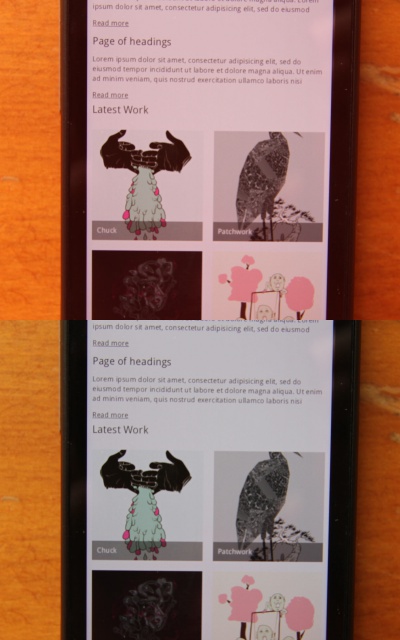
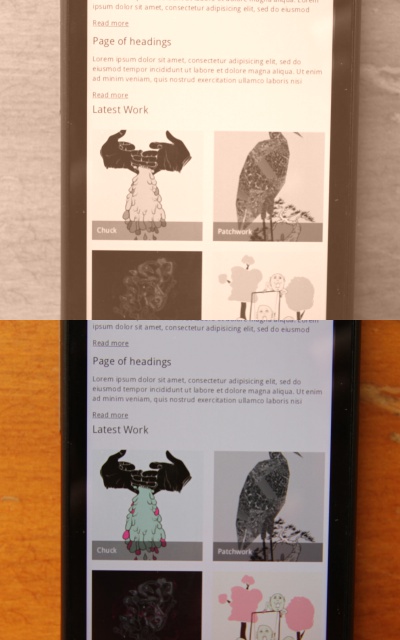
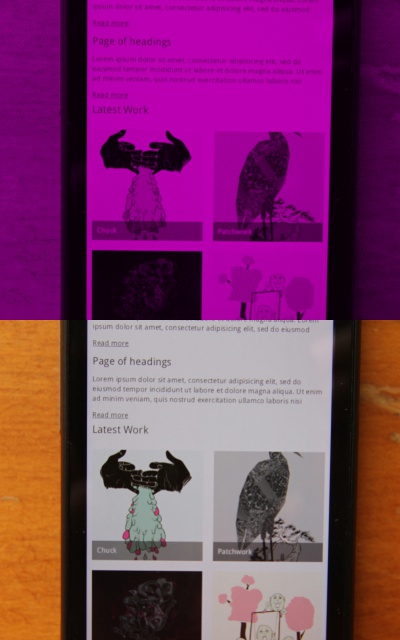
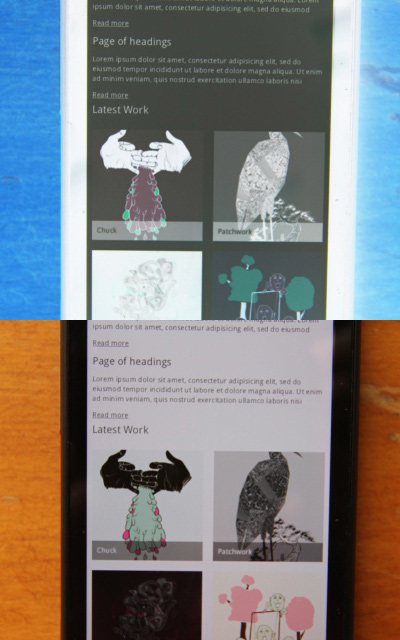
- Set image effect on sprite Choose the image effect to apply to your CSS sprite. Depending on what option you select, further configuration options may display.
- Set image effect position Controls the position of the image effect on the sprite. Select for the image effect to appear at the top of the sprite. Deselect for it to appear at the bottom.
- Save Sprite Options Saves options. All options are validated.
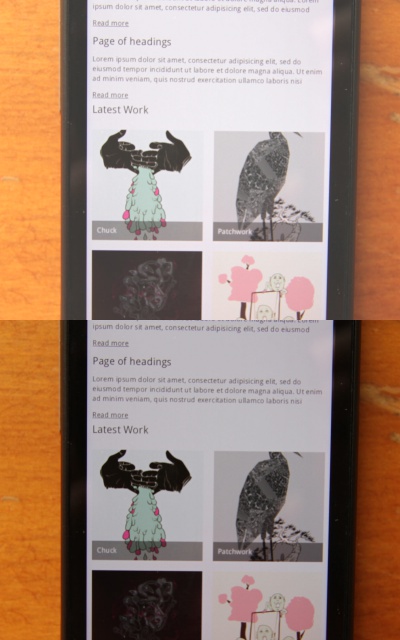
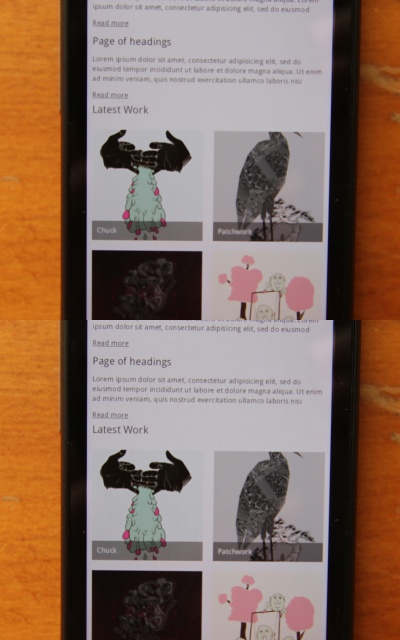
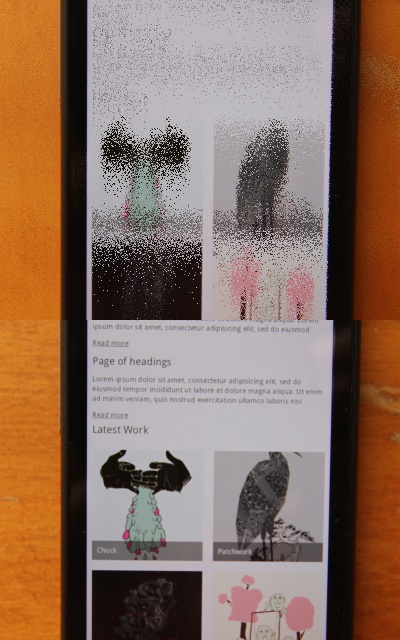
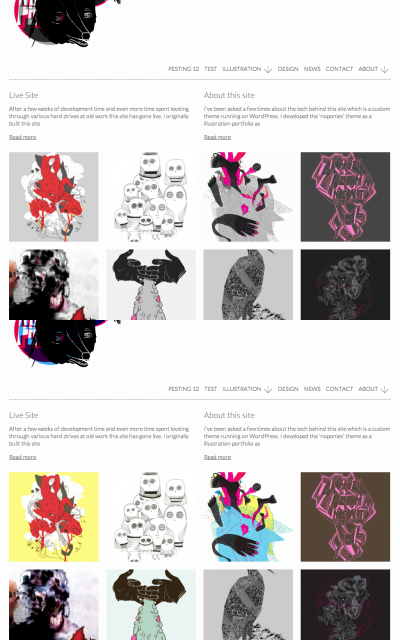
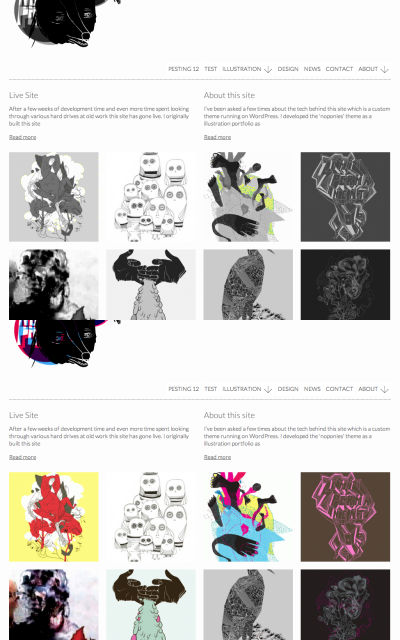
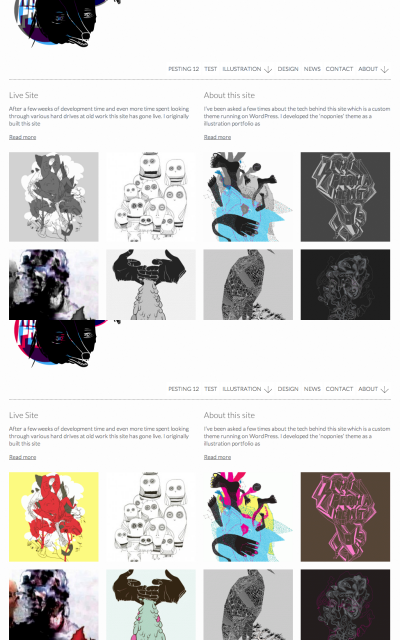
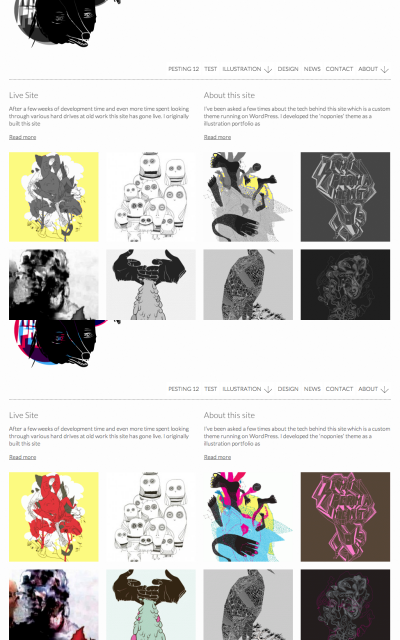
屏幕截图:


常见问题:
How do I access the sprite using php?
Each sprite is registered as a custom image size. So to access that image you simply need to specify the image identifier you used when registering your sprite; Access image like so eg: 'wp_get_attachment_image_src( get_post_thumbnail_id($post->ID), 'image-identifier');`
How do I animate the sprite?
You can use either JavaScript or CSS to animate your sprite. To begin you will need to set the containing block element of your sprite to the width of your sprite and 1/2 of its height. Something like the following; CSS: .css-thumb { width: 200px; height: 150px; overflow: hidden; position: relative; } .css-thumb img { position: absolute; top: 0; left: 0; } Once you have your sprites within a CSS container, you need to animate the sprite, or simply change it's position. The actual positions and dimensions will depend on what you have set within the plugin. Position change with CSS: .css-thumb img:hover { top: -150px; } Animating with Javascript (jQuery): $('#container .css-thumb').on({ mouseenter: function(event) { $('img', this).animate({'margin-top': -($(this).height()) },200); }, mouseleave: function () { $('img', this).animate({'margin-top': '0' }, 500); } });
Can I have multiple sprite sizes and effects?
Yes, as many as you want.
更新日志:
- Initial release