Autolinks Manager - SEO Auto Linker
| 开发者 | DAEXT |
|---|---|
| 更新时间 | 2026年5月20日 17:58 |
| 捐献地址: | 去捐款 |
| PHP版本: | 5.3 及以上 |
| WordPress版本: | 7.0 |
| 版权: | GPLv3 |
详情介绍:
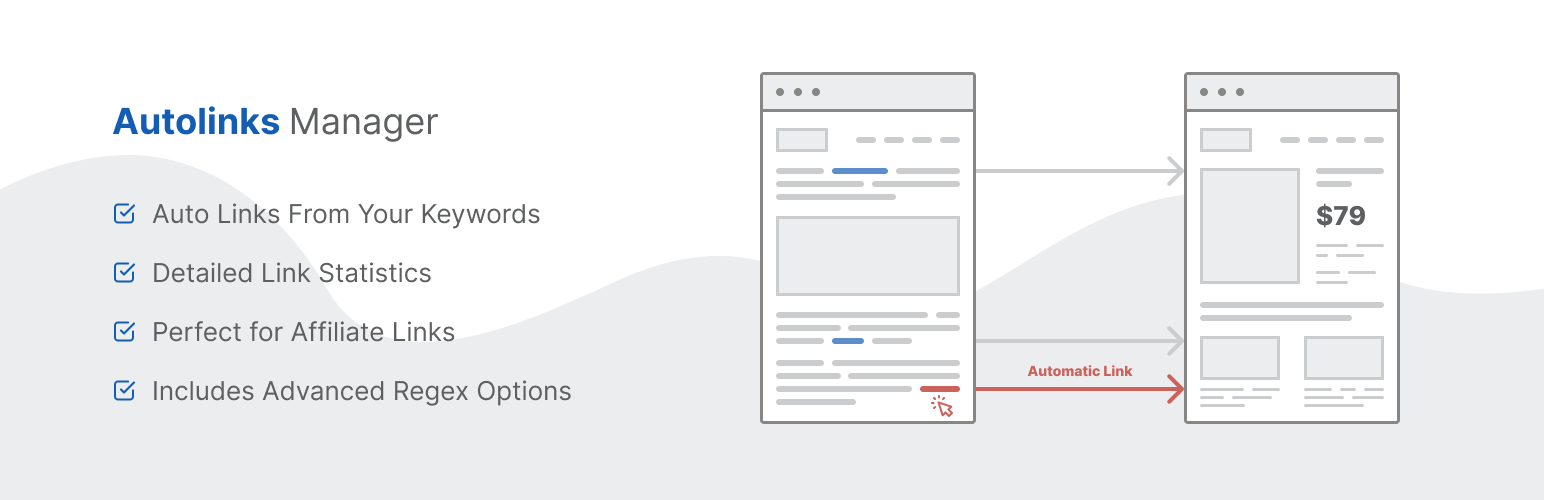
Applying autolinks in your website is a smart strategy to generate more visits on your pages, sell more products, earn money with a referral system or to improve your SEO.
The Autolinks Manager plugin, with its advanced autolinks system and a great number of options, gives you the ability to apply this strategy at its maximum level.
Pro Version
For professional users, we distribute a Pro Version of this plugin.
Technical Details
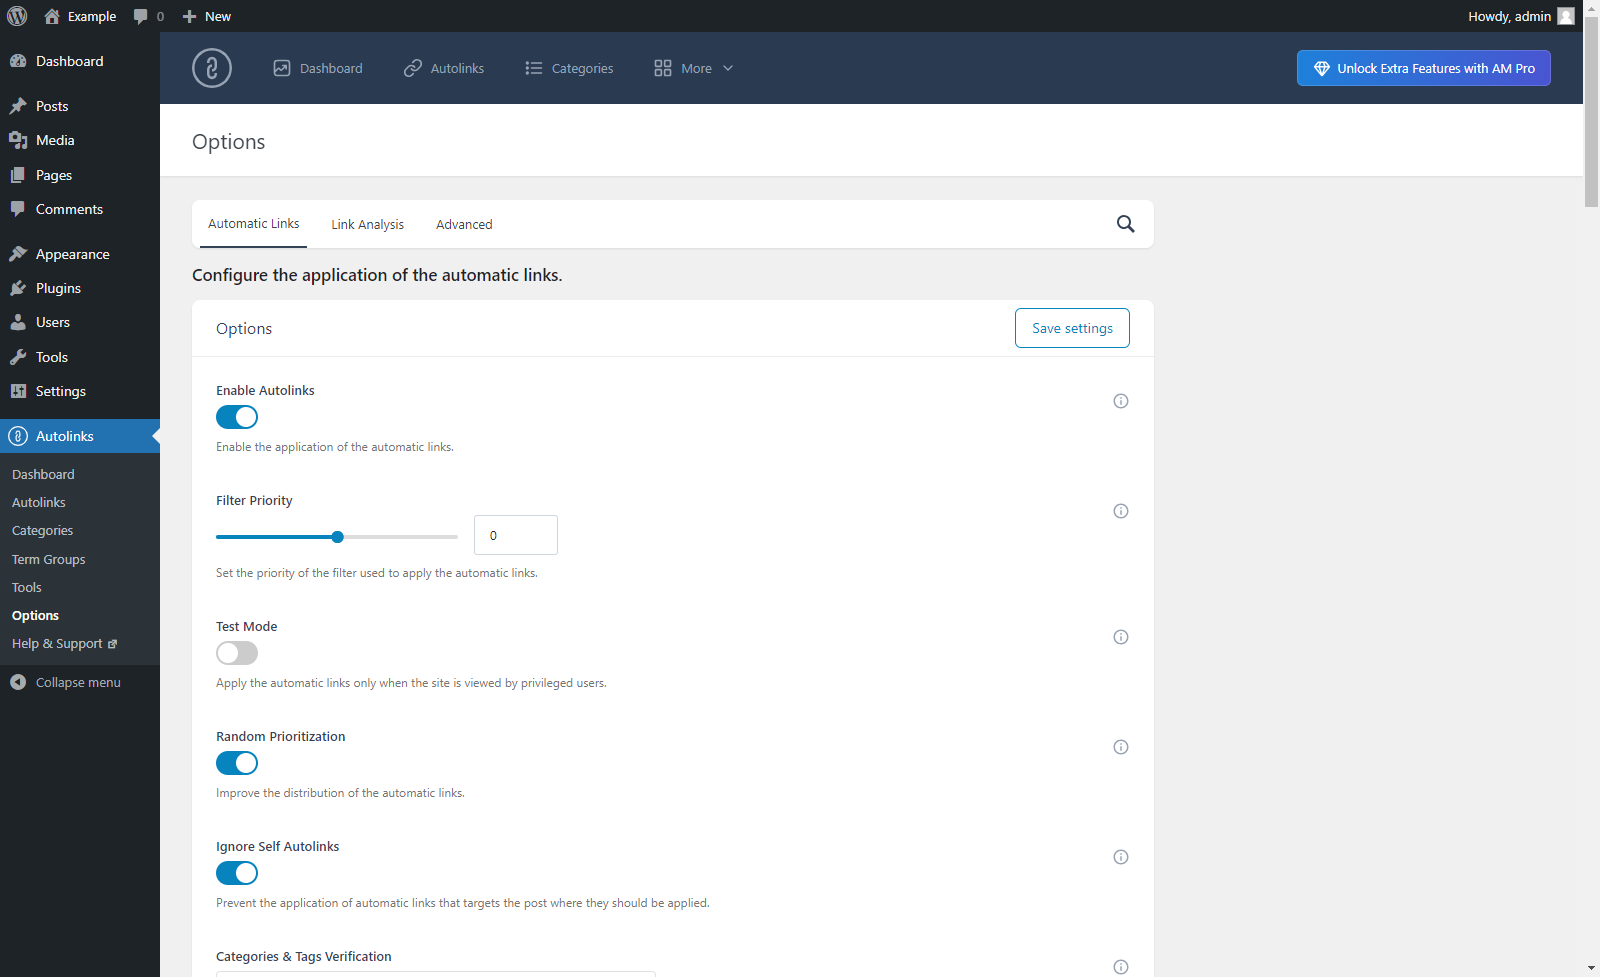
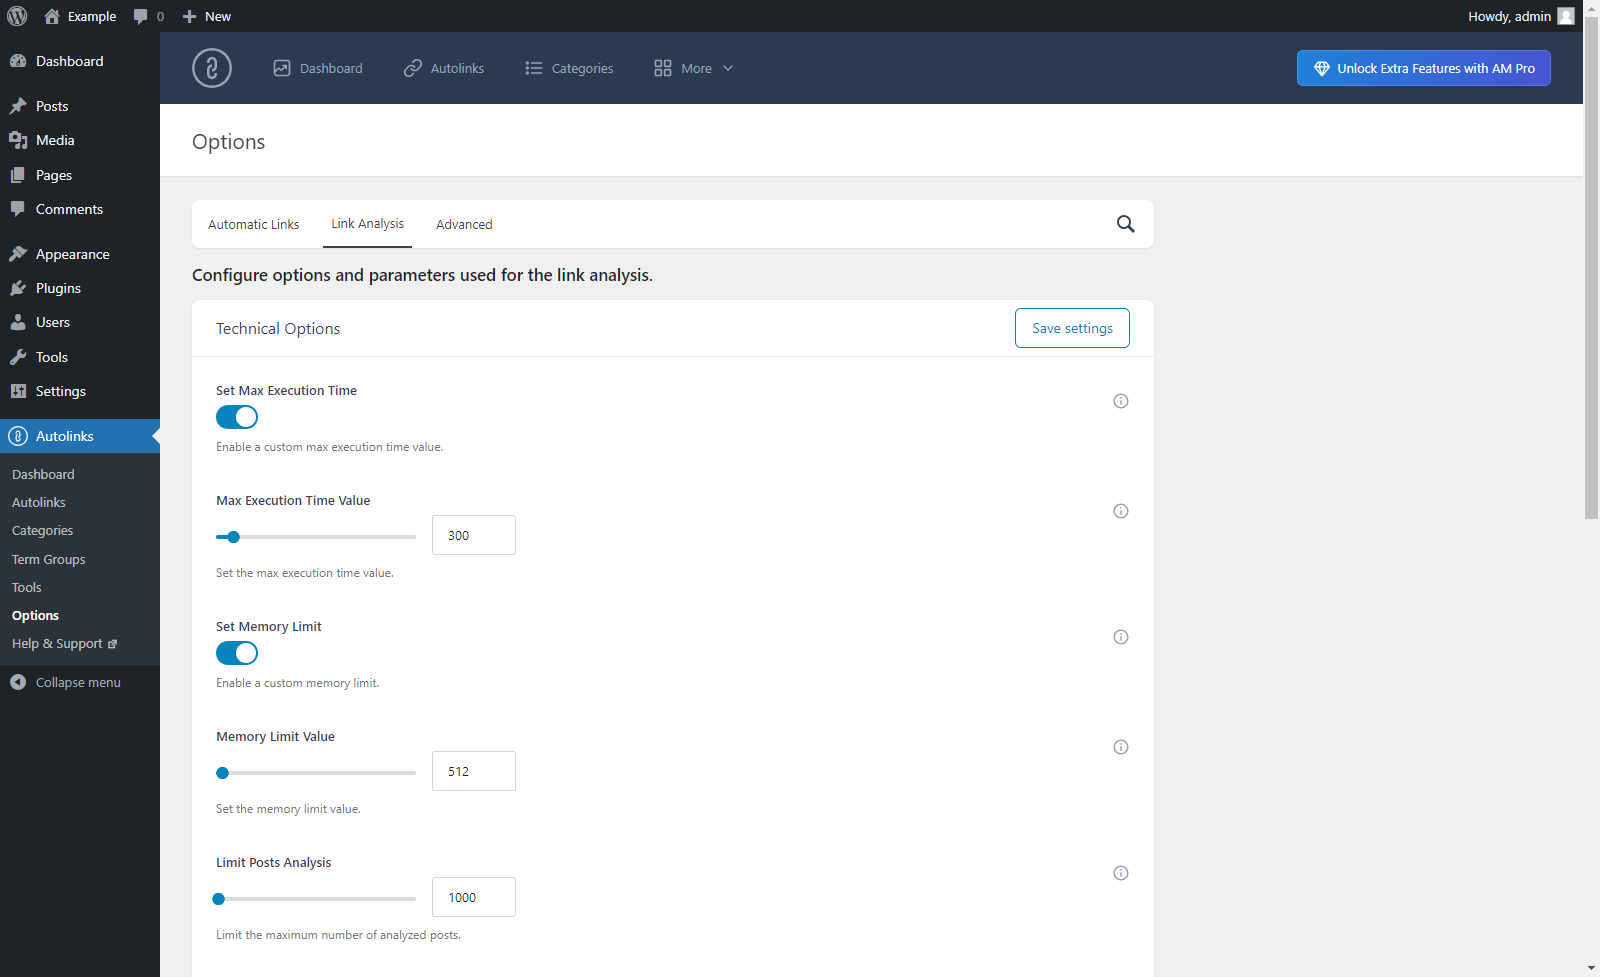
The total control on the application of the autolinks is what really matters in an autolink plugin.
Unaltered HTML
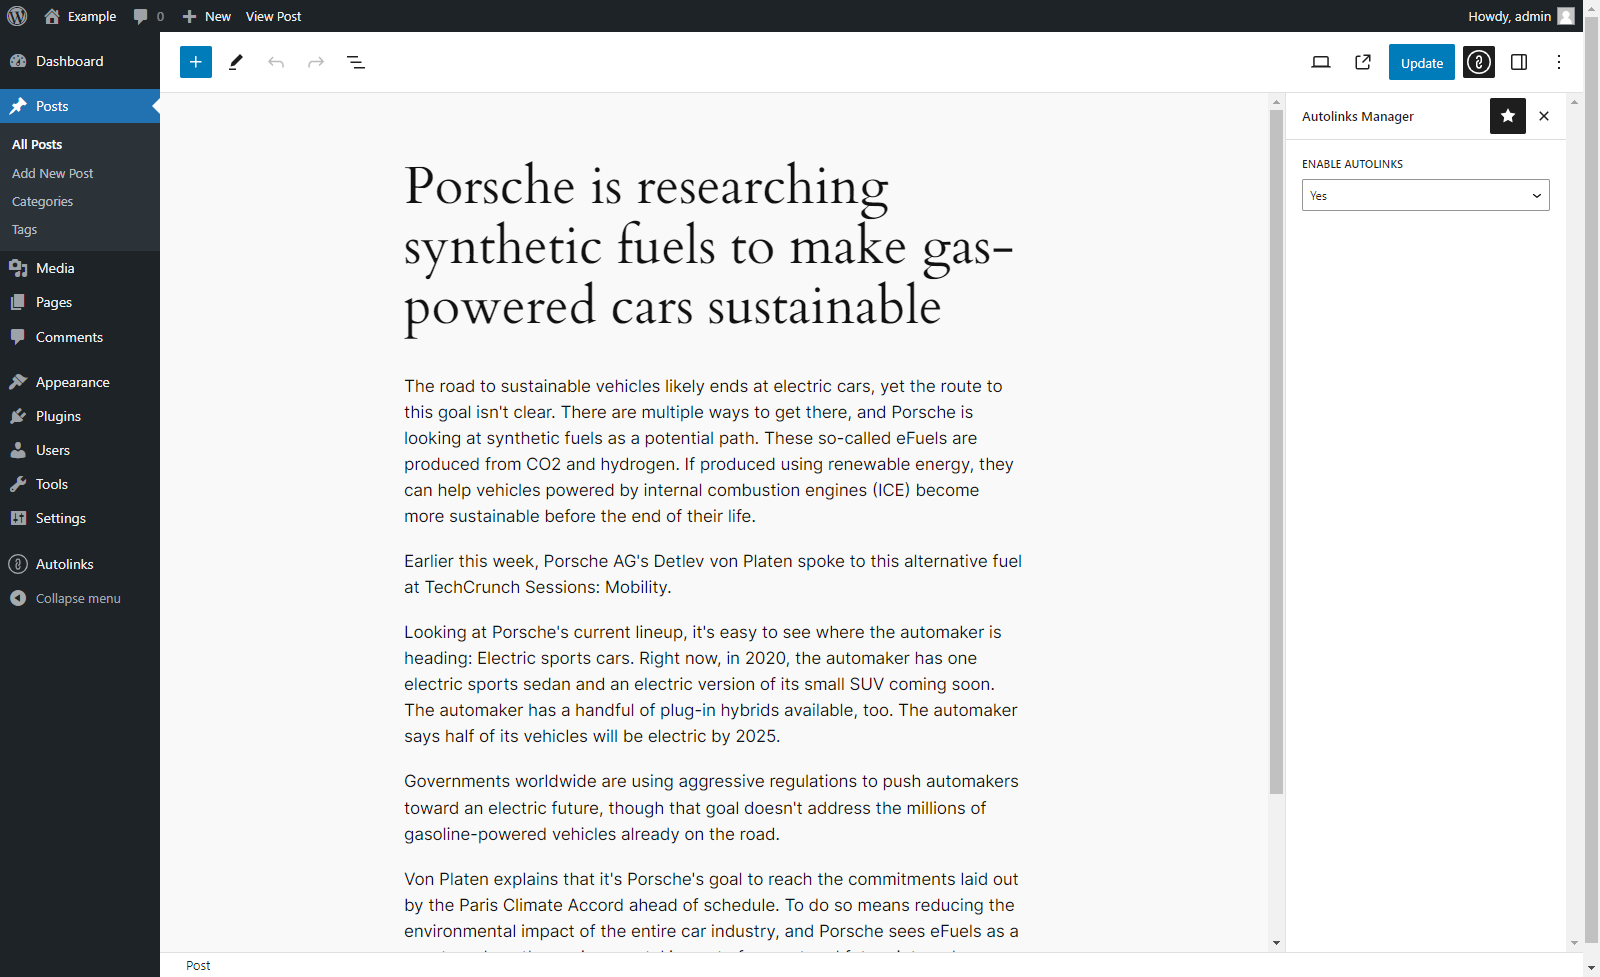
The autolinks are applied on the fly by PHP when the post are displayed in the front-end and no changes are performed on the actual HTML of the post stored in the database. So you can at anytime add, remove or modify your autolinks without negative implications for your website.
Custom Attributes
The HTML link elements generated with the applications of autolinks can be created with:
* Custom Title attribute to describe the linked document
* Custom Target attribute to open the linked document in a new window or tab
* Custom Nofollow attribute to instruct the search engines that the link should not influence the ranking of the link’s target
Affected Posts
Sometimes specific autolinks should not be applied on the entire website, but only activated with specific topics.
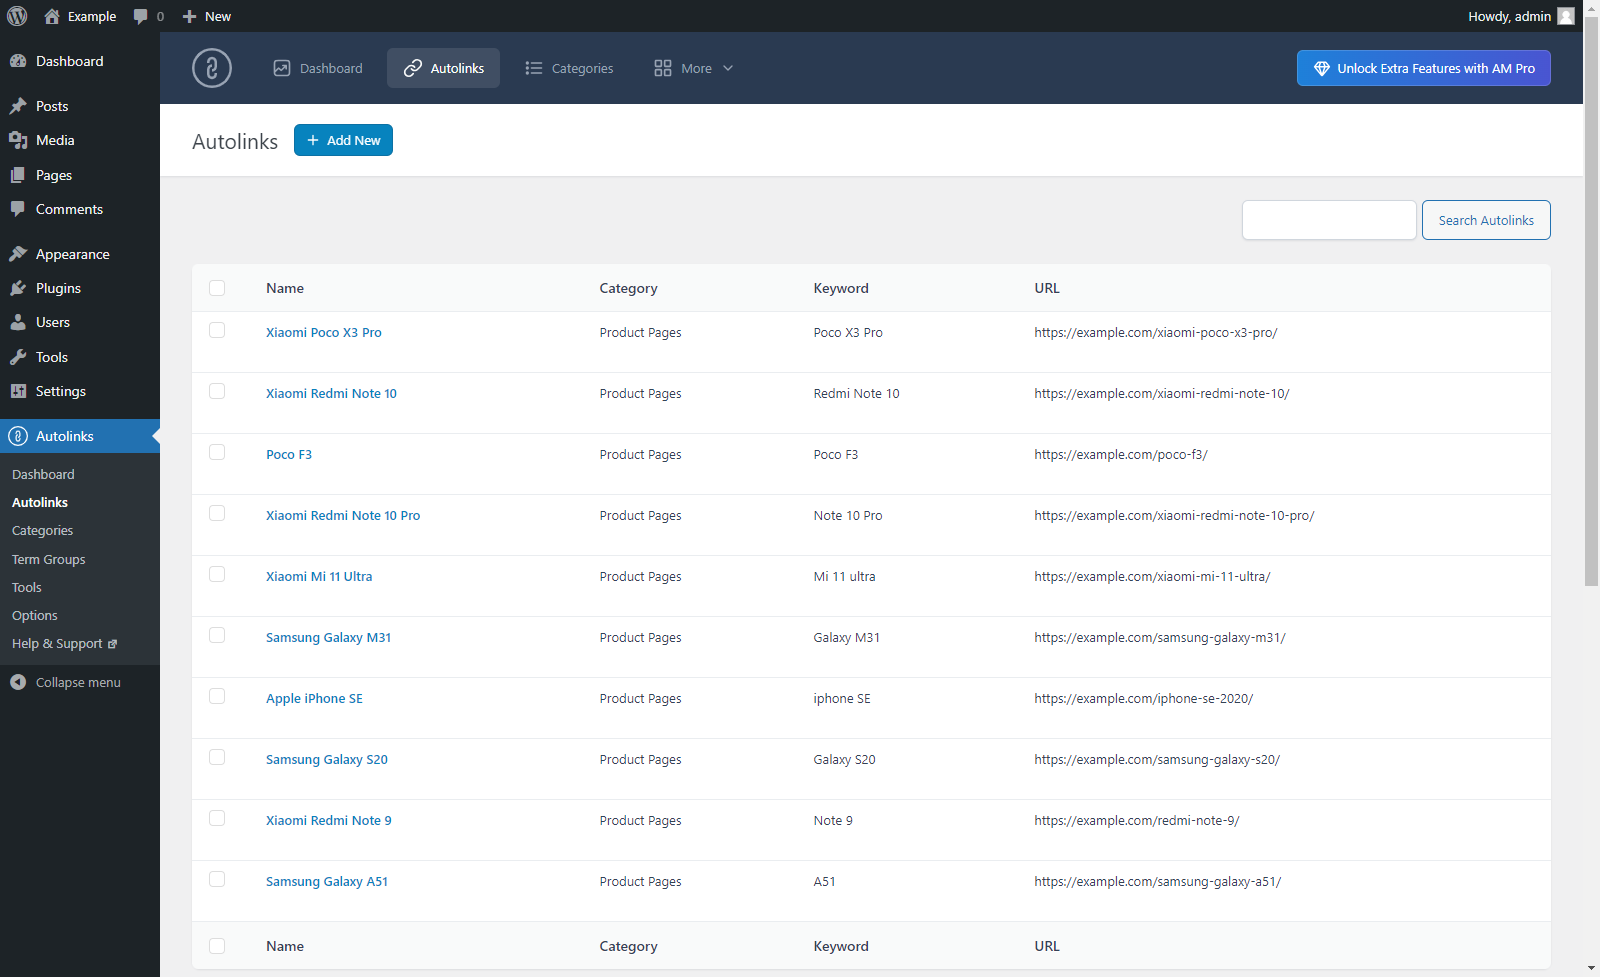
That’s why with this plugin for each autolink you can determine:
- In which post types the defined keyword should be automatically converted to a link
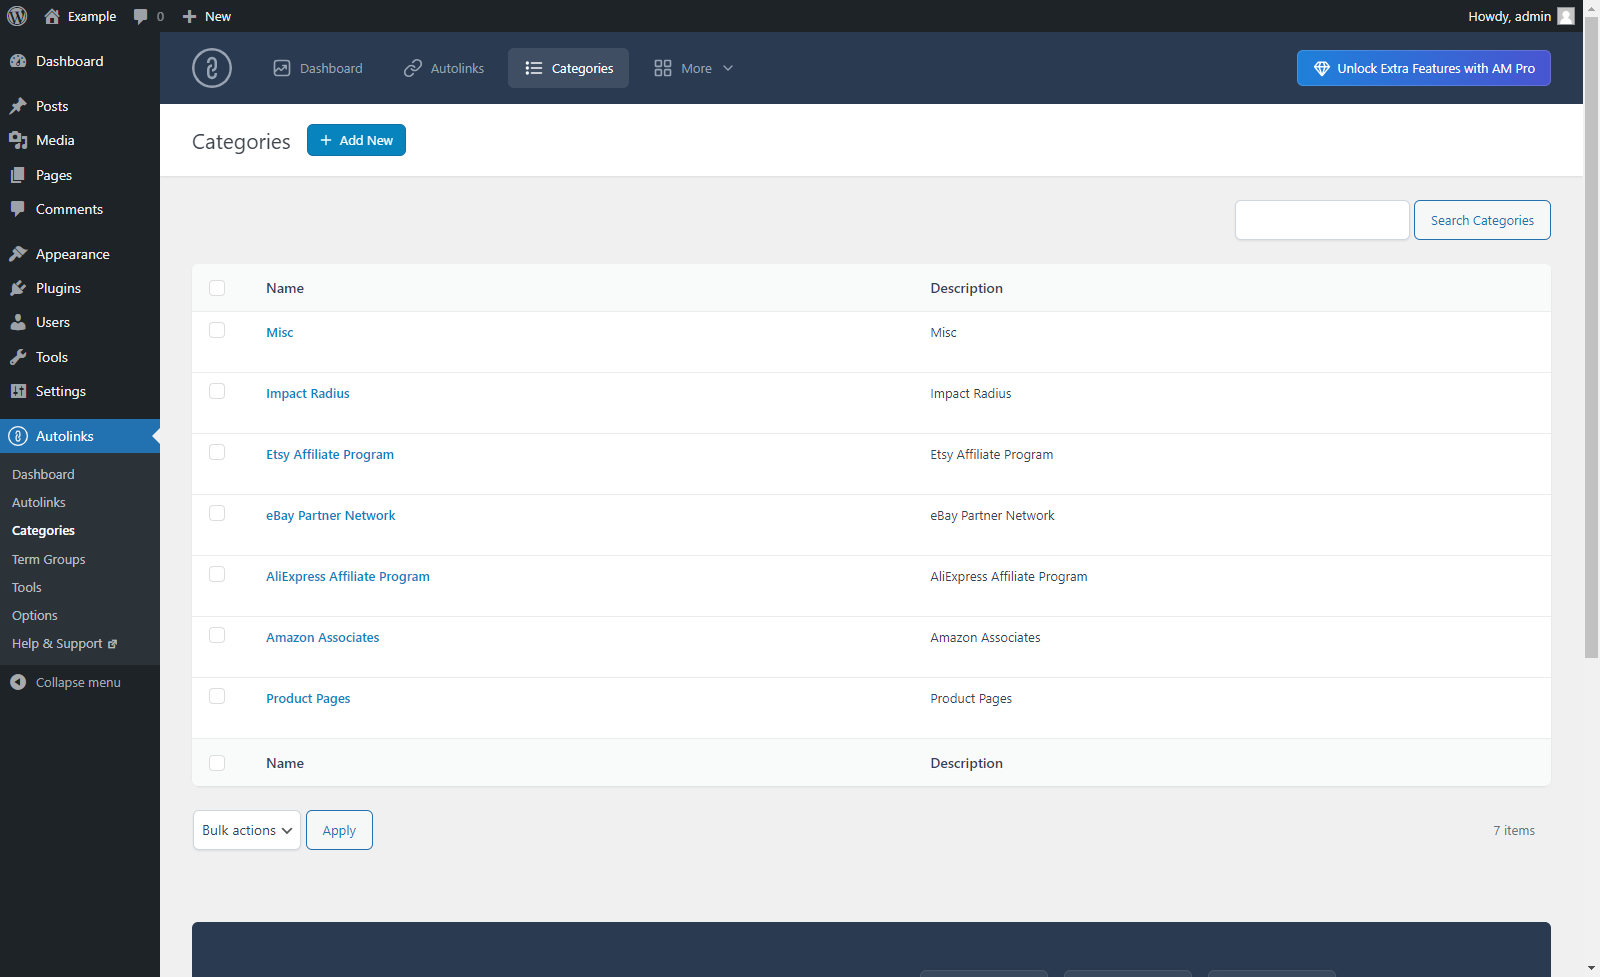
- In which categories the defined keyword should be automatically converted to a link
- In which tags the defined keyword should be automatically converted to a link
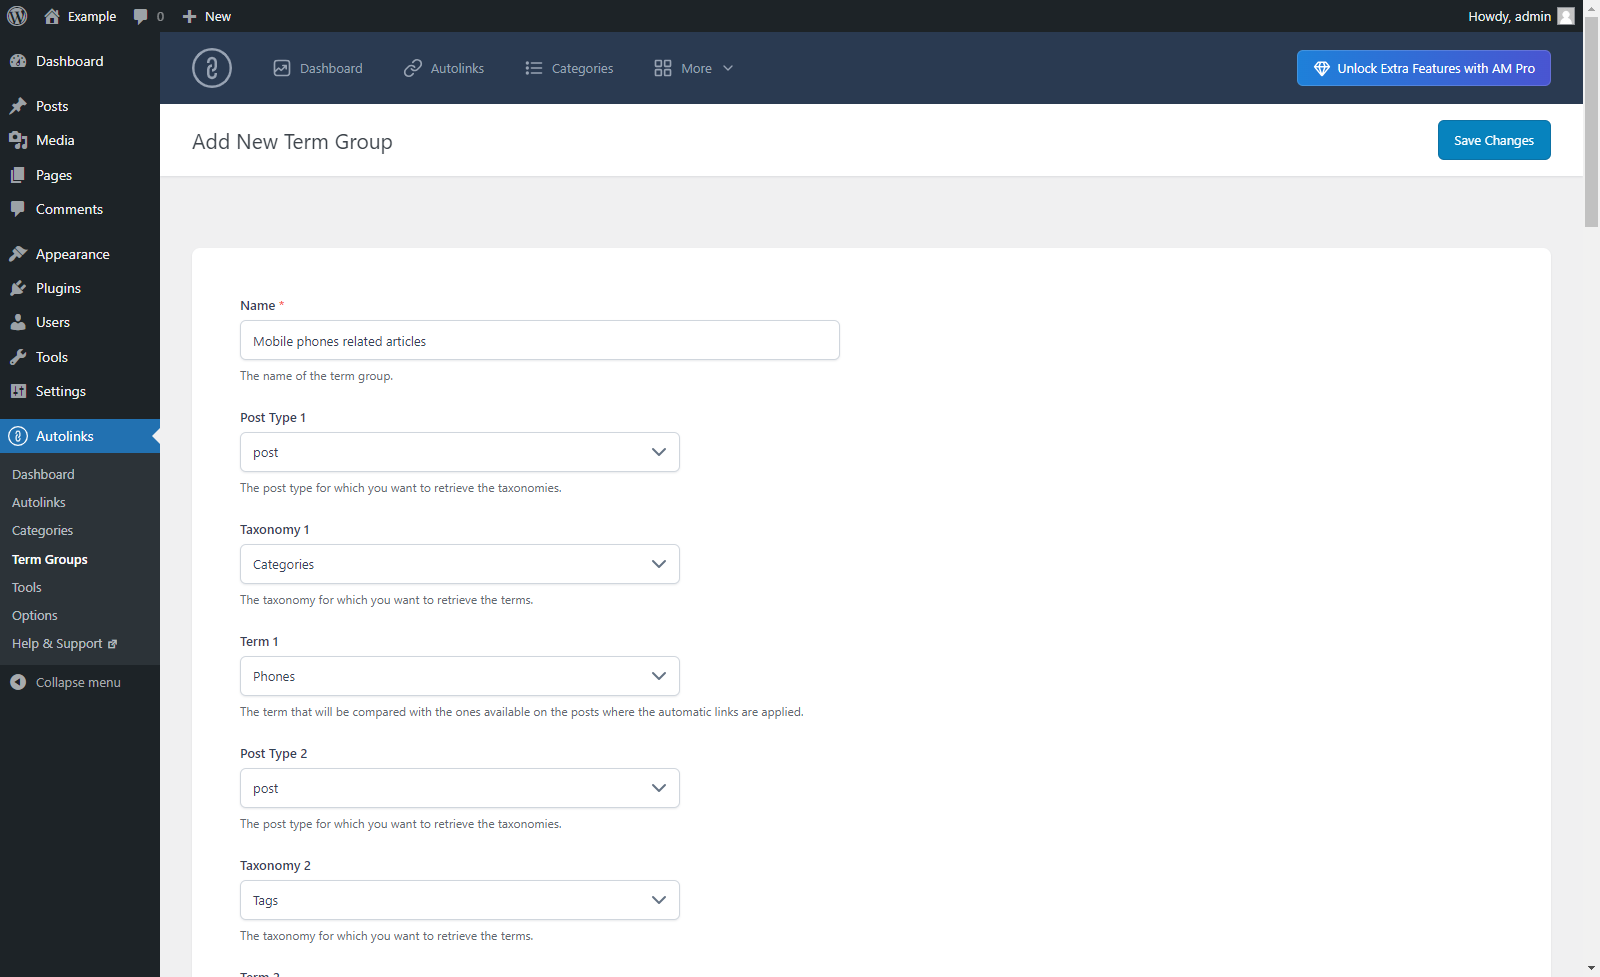
- The term group, which is a list of terms that should be compared with the ones available on the posts where the autolinks are applied
- Create autolinks to convert keywords that are part of a glossary and include them in the “Wiki” category
- Create autolinks to convert keywords associated with products sold by an external website and include them in the “Referral” category
- Create autolinks to convert keywords associated with your best articles and include them in the “Internal Links” category
安装:
Installation (Single Site)
With this procedure you will be able to install the Autolinks Manager plugin on your WordPress website:
- Visit the Plugins -> Add New menu
- Click on the Upload Plugin button and select the zip file you just downloaded
- Click on Install Now
- Click on Activate Plugin
- Visit the Plugins -> Add New menu
- Click on the Upload Plugin button and select the zip file you just downloaded
- Click on Install Now
- Click on Network Activate
- Visit the specific site of the WordPress Network where you want to install the plugin
- Visit the Plugins menu
- Click on the Activate button (just below the name of the plugin)
屏幕截图:

更新日志:
1.10.11
March 13, 2026
- Fixed JavaScript notices in the block editor.
- Improved the style of the block editor sidebar tool.
- Improved the style of the classic editor meta box and moved it to the sidebar.
- Select2 is no longer used in the classic editor meta box.
- Improved statistics retrieval queries to prevent SQL errors.
- Fixed PHP notice caused by early use of translation functions.
- Fixed JavaScript deprecation notices for back-end functionality.
- Resolved CSS style issue.
- The load_plugin_textdomain() function now runs with the correct hook.
- The input fields of type "text" in the Autolinks, Categories, and Term Groups menu now have the proper maxlength attribute value assigned.
- The descriptions of the screenshots have been updated.
- Major back-end UI update.
- Fixed a bug (started with WordPress version 6.5) that prevented the creation of the plugin database tables and the initialization of the plugin database options during the plugin activation.
- Nonce fields have been added to the back-end menus.
- General refactoring. The phpcs "WordPress" ruleset has been partially applied to the plugin code.
- Bug fix.
- The "Protect Attributes" option has been added.
- Links to rate the plugin have been added in the back-end menus.
- The "Export to Pro" menu has been added.
- Changelog added.
- Improved internationalization.
- Updated links to resources.
- Added the load_plugin_textdomain() function.
- Added text domain in plugin header information.
- Improved data sanitization and validation.
- Minor back-end improvements.
- Improved internationalization.
- Minor back-end improvements.
- Initial release.