
DAP to Autoresponders Email Syncing
| 开发者 |
bhuvnesh
thathsingh1988 |
|---|---|
| 更新时间 | 2017年5月30日 15:16 |
| 捐献地址: | 去捐款 |
| PHP版本: | 3.9.0 及以上 |
| WordPress版本: | 4.0.1 |
| 版权: | GPLv2 or later |
| 版权网址: | 版权信息 |
详情介绍:
This plugin is used to sync the email address of Digital Access Pass (DAP) orders to Autoresponders.
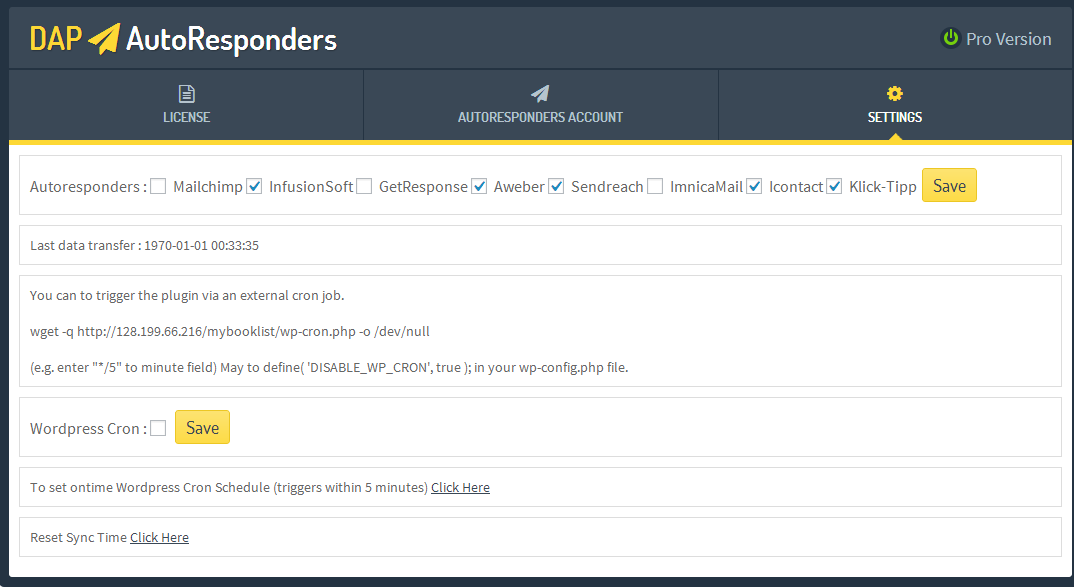
Whenever the plugin's cron hit, it fetches all the complete DAP orders email ids and sync them to the connected Autoresponders account.
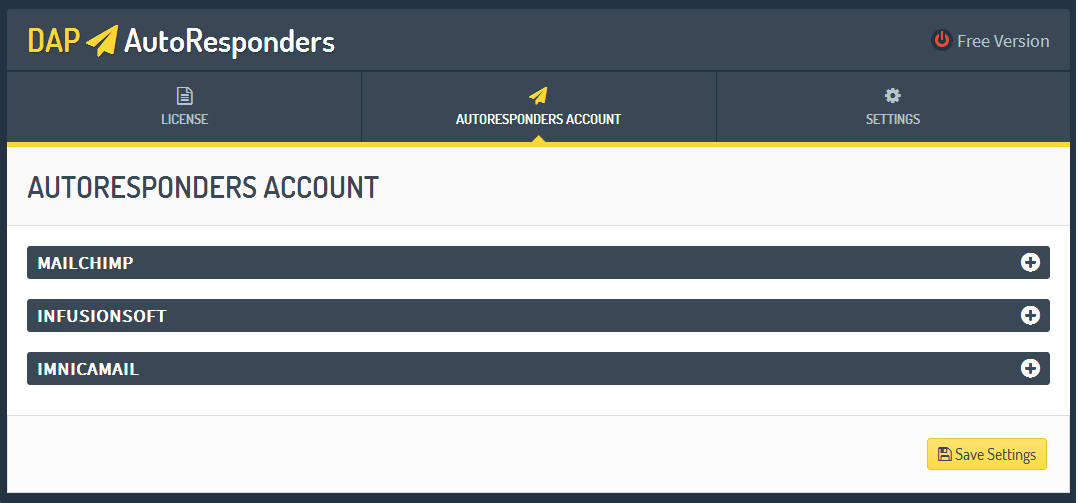
Free Version
Sync DAP Orders Email of Customers to connected account of Mailchimp, Imnicamail and Infusionsoft.
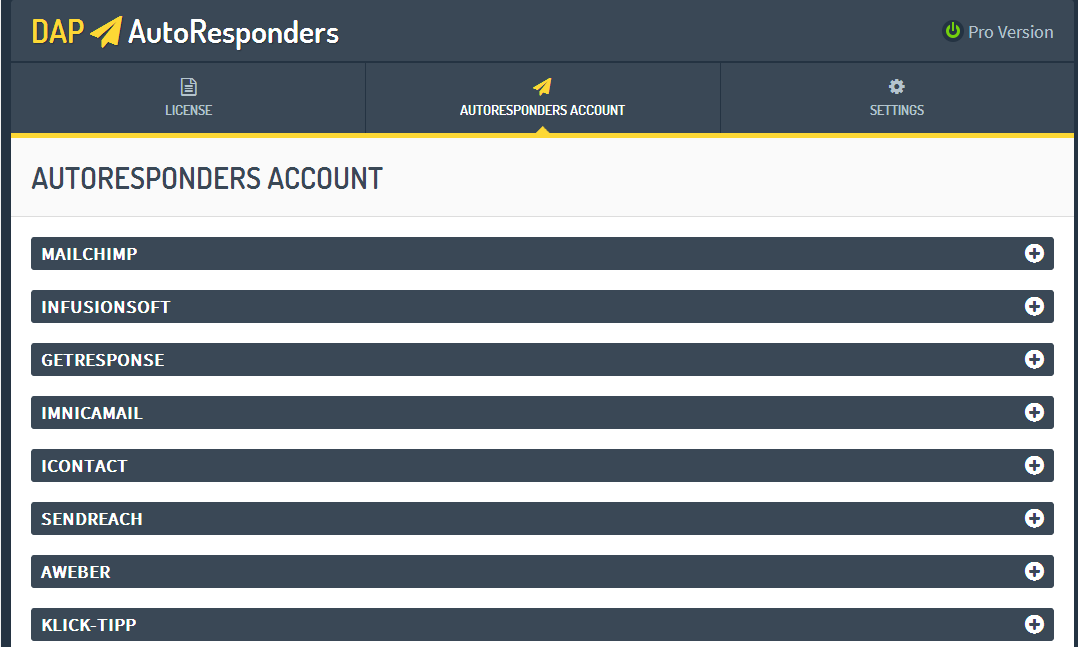
Premium Plugin Version
Sync DAP Orders Email of Customers to connected account of Mailchimp, GetResponse and Infusionsoft, Aweber, Klick-Tipp, Sendreach, iContact and Imnicamail.
APIs of separate Autoresponders are used to sync emails.
Support: This is my second plugin after the success of WOAR (WooCommerce to Autoresponder Plugin). I am available 24-7 for support and lucky to have your feedback.
Get Pro License on www.spideb.in/daar/
== Installation ==
For a manual installation via FTP:
- Extract the downloaded plugin and upload to the '/wp-content/plugins/' directory
- Activate the plugin through the 'Plugins' screen in your WordPress admin area
- You will see a menu at the left hand side named with "DAAR"
- Enter Email id and License Key in License Tab (skip this if using Free version)
- Enter Corresponding Autoresponder's detail to connect in Autoresponders Tab
- Either Check WP cron to use Wordpress cron or you can set cpanel cron also.
- Upload the downloaded zip file on the 'Add New' plugins screen (see the 'Upload' tab) in your WordPress admin area and activate.
- Activate the plugin through the 'Plugins' screen in your WordPress admin area
- You will see a menu at the left hand side named with "DAAR"
- Enter Email id and License Key in License Tab (skip this if using Free version)
- Enter Corresponding Autoresponder's detail to connect in Autoresponders Tab
- Either Check WP cron to use Wordpress cron or you can set cpanel cron also.
屏幕截图:

更新日志:
1.0
first stable release
tested with WooCommerce 2.2.x