Droppa Shipping WooCommerce Plugin
| 开发者 | droppagroup |
|---|---|
| 更新时间 | 2025年10月8日 14:23 |
| 捐献地址: | 去捐款 |
| PHP版本: | 8.1 及以上 |
| WordPress版本: | 6.5.0 |
| 版权: | GPLv2 or later |
| 版权网址: | 版权信息 |
详情介绍:
The Droppa Shipping for WooCommerce application or plugin allows you to ships goods everywhere across South Africa.
- This Shipping method uses a variety of couriers.
- The service is available nationwide.
- No collections/deliveries on weekends
安装:
- Navigate to the Products link on the sidebar.
- Tick the checkbox to Select all the listed Products in your store and clink Edit, then Apply.
- On the right hand side, you will notice a Product data section, look for Shipping dropdown and pick Droppa Shipping, then click the Update button.
- Navigate to WooCommerce > Settings > Shipping
- Under the Shipping tab, Add a Shipping Zone and give it any name of your choosing or Droppa shipping
- Click on the Add Shipping Method button and select Droppa shipping then yor Save Changes
- Click the Shipping options under the Settings tab and set the options
- Then click the Save changes button
- Click the Shipping Classes under the Settings tab and add a Shipping Class
- Click the Save shipping Classes button to set the action
- Select the Droppa shipping method and add in the [Droppa shipping] on the Method Title, add [Droppa ships everywhere across ZAR] on the Method Description
- Add in your API key on the [API Endpoint] field and the Service ID on it's field.
- Fallback cost is an optional field that if the plugin isn't getting read, then your clients will the amount you've placed in, please set it to 0 (Zero)
- Minimum free shipping is the minimum cart amount required for the plugin to allow free shipping.
- The [Debug] and [Disable Shipping Cache] checkboxes have to be set to true or checked.
- Then click the Save change button
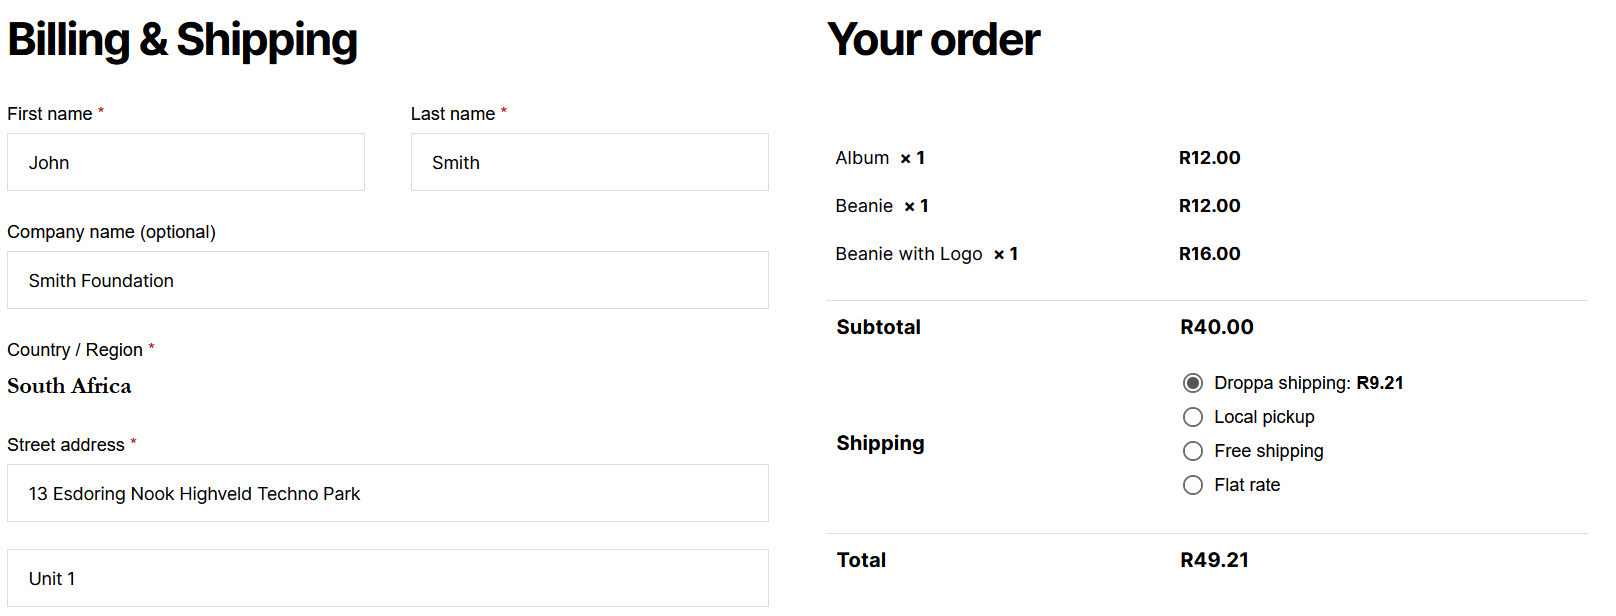
屏幕截图:
更新日志:
1.0.0
- This is the official release of this version.
- The new update allows users to save their Api and Service Keys to the database for better interaction with the plugin.
- Introduced header banners and icons, tested the plugin on version 5.7 of Wordpress
- Updated the plugin to run on wordpress 5.7.* as well as WooCommerce 5.0.
- Introduced a new API service to determine the entered pick and drop off postal codes to get the accurate suburs.
- Added a new rate calculator service that determines the quotation based on the product mass only.
- Allow the user to see the rates on the cart.
- Re-evaluated the mass rate calculator and opened the plugin to allow the cart to view the proceed-to-checkout button.
- Updated the developer name and appended suburb, postal code and province on the booking boby.
- Updated the plugin to allow multiple couriers and support free shipping functionality.
- Updated the plugin to allow syncing with orders.
