EngageBay Live Chat Support
| 开发者 | engagebay |
|---|---|
| 更新时间 | 2025年9月12日 00:37 |
| 捐献地址: | 去捐款 |
| PHP版本: | 7.2 及以上 |
| WordPress版本: | 6.8 |
| 版权: | GPLv2 or later |
| 版权网址: | 版权信息 |
详情介绍:
EngageBay Live Chat Support helps you connect with your website visitors instantly.
Add a powerful live chat widget to your WordPress site and provide real-time customer support to boost engagement and capture more leads.
🌟 Why Businesses Use EngageBay Live Chat
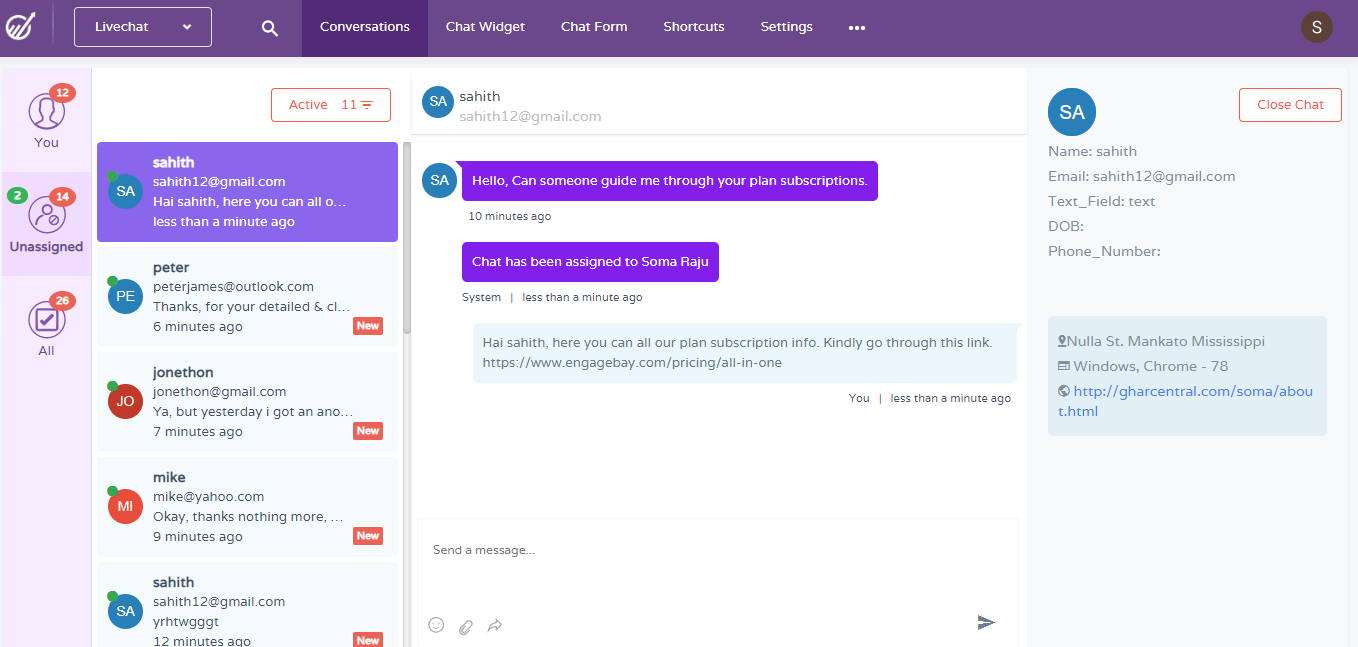
- 💬 Communicate with visitors in real time
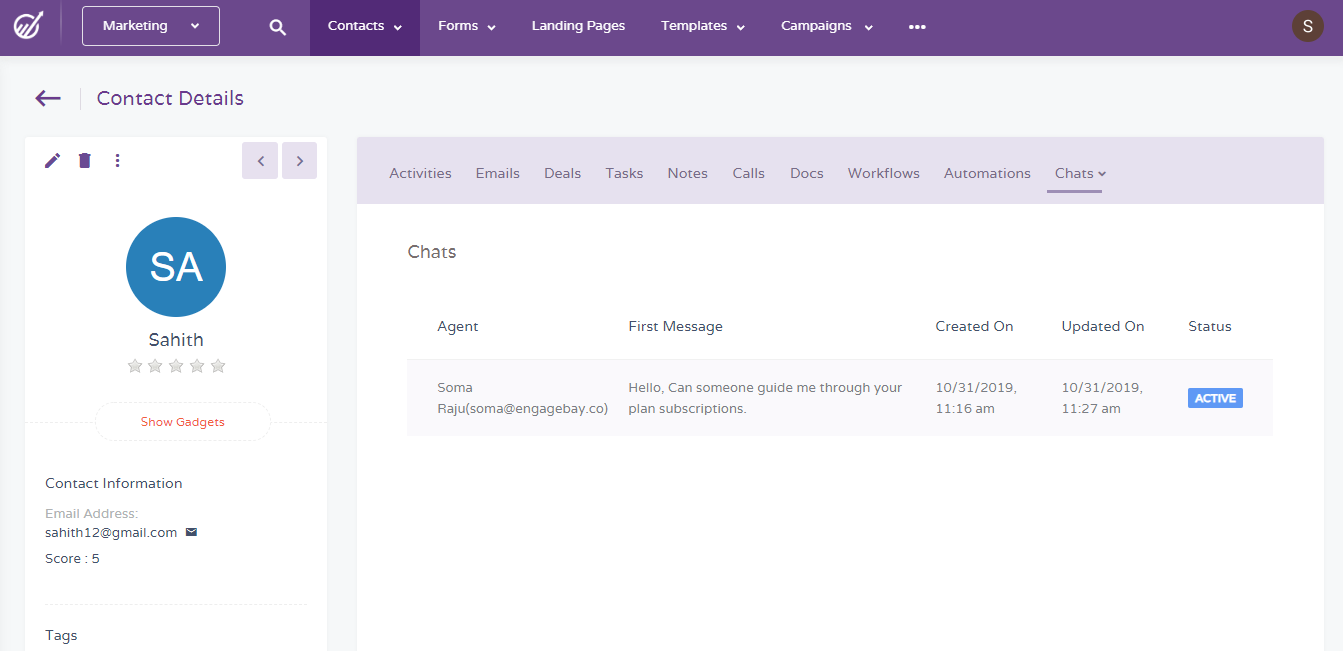
- 🛤️ Track the entire customer journey in one place
- 📢 Send proactive messages to invite visitors to chat
- 📑 Access detailed chat transcripts for insights
- 🤝 Build trust and enhance your brand reputation
- 👥 Provide agents with full customer information during chats
- ⭐ Collect customer feedback after each session
- 👨👩👧 Collaborate as a team for quick solutions
- 📊 Measure performance with in-depth reports & analytics
- 🤖 Use the upcoming chatbot feature for automated engagement
- 🖥️ Install the chat widget on unlimited websites at no extra cost
- 🎨 Fully customize the chat widget to match your brand style
- ⌨️ Create shortcuts for common replies to save time
- 🔄 Seamlessly transfer chats between agents
- 👀 Track visitors as they browse your site for context-based support
- 📧 Send chat transcripts via email once sessions end
安装:
Follow any of the methods below to install and set up EngageBay Live Chat Support.
A) Install from WordPress admin (recommended)
- Log in to your WordPress admin panel.
- Go to Plugins → Add New.
- In the search box type EngageBay Live Chat Support and locate the plugin.
- Click Install Now and then Activate.
- After activation, you will see a new EngageBay menu item in the admin sidebar.
- Download the plugin ZIP from our website.
- In WordPress admin go to Plugins → Add New → Upload Plugin.
- Choose the plugin ZIP file, click Install Now, then Activate.
</head>) or use a “Header & Footer Scripts” plugin.
Connect and enable Live Chat
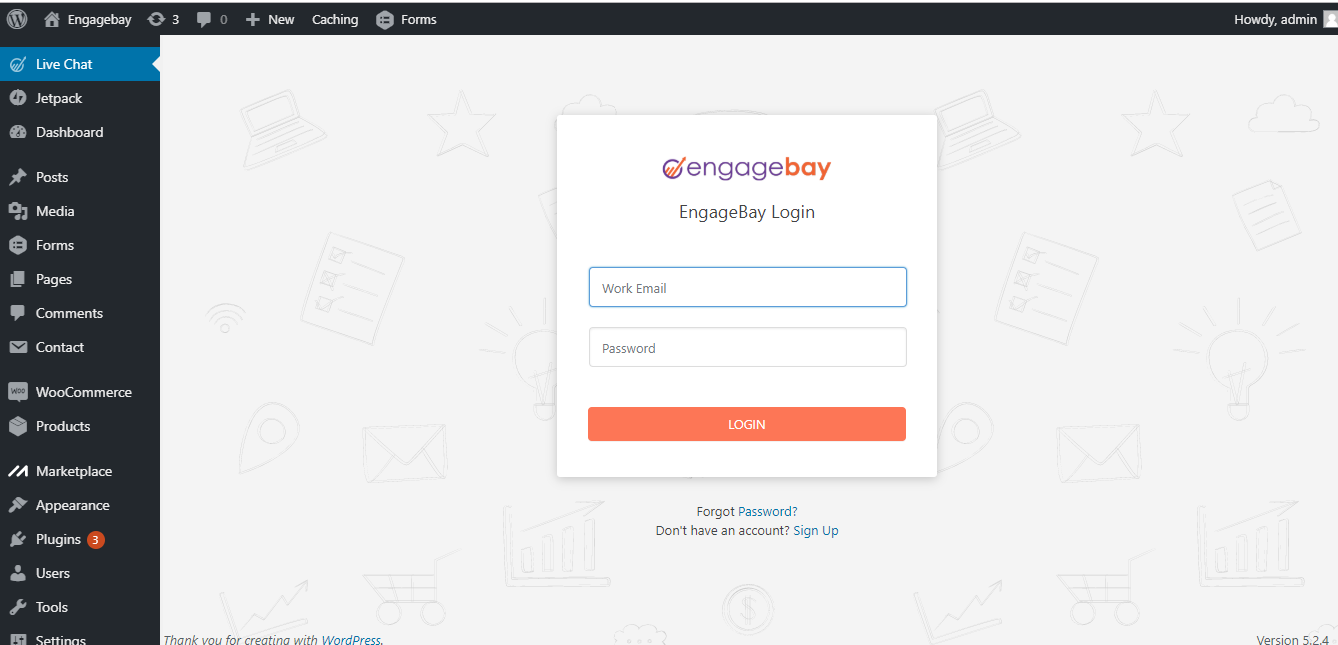
- After plugin activation, go to EngageBay → Settings (or Settings → EngageBay Live Chat).
- Paste your EngageBay API & Tracking Code or Widget Code from your EngageBay dashboard.
- In your EngageBay account, go to the Live Chat module → Chat Widget, toggle Enable Live Chat, customize widget settings, and save.
- Return to your site and confirm the chat widget appears on the frontend.
- Open your site in an incognito/private browser window and check for the chat bubble.
- In your EngageBay Live Chat dashboard you should see incoming visitor sessions.
- If nothing shows, clear server / plugin / CDN caches and reload.
- Ensure you pasted the correct API & Tracking Code.
- Make sure the Chat Widget is enabled in your EngageBay account.
- Check if your site has CSP rules blocking EngageBay scripts.
屏幕截图:
常见问题:
Do I need an EngageBay account?
Yes. This plugin requires a free EngageBay account.
Is EngageBay Live Chat free?
Yes! EngageBay offers a free plan with Live Chat features. Paid plans are available for advanced features.
Can I capture leads directly into EngageBay CRM?
Absolutely. Every chat session can be saved as a contact in EngageBay CRM, so you can follow up later.
Does it slow down my site?
No. The chat widget is lightweight and loads asynchronously, so it won’t impact your site speed.
Can I customize the chat widget?
Yes. You can fully customize the colors, text, and behavior of the chat widget from your EngageBay dashboard.
My question is not listed
Please visit out our support page for help documentation and access other support channels or simply send us an email to support@engagebay.com.
更新日志:
1.1.5
- Updated readme