GM Community Gallery
| 开发者 | gabrielmioni |
|---|---|
| 更新时间 | 2017年10月24日 13:03 |
| PHP版本: | 5.2.4 及以上 |
| WordPress版本: | 4.8.1 |
| 版权: | GPLv2 or later |
| 版权网址: | 版权信息 |
详情介绍:
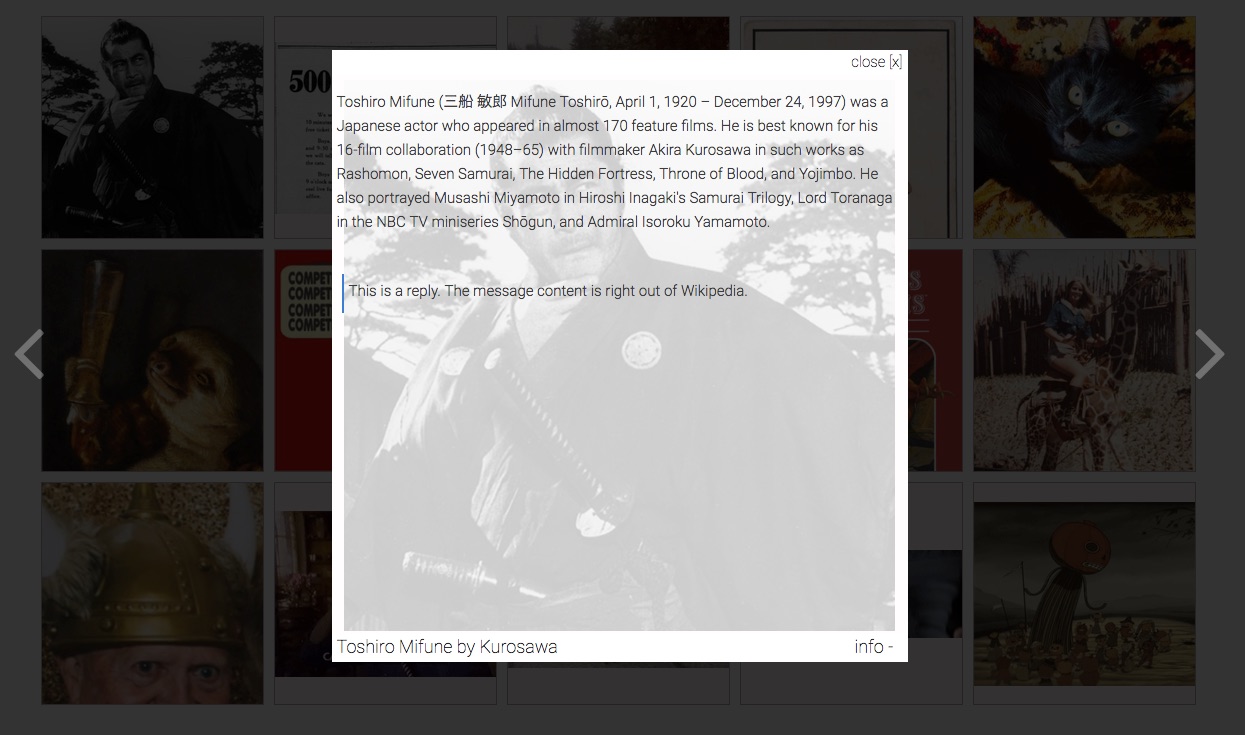
GM Community Gallery allows WordPress users to administer a gallery and accept images from site visitors. It requires zero configuration to start using immediately.
There's three basic parts to the GM Community Gallery:
- GM Submit Form: This is where your site visitors can upload images.
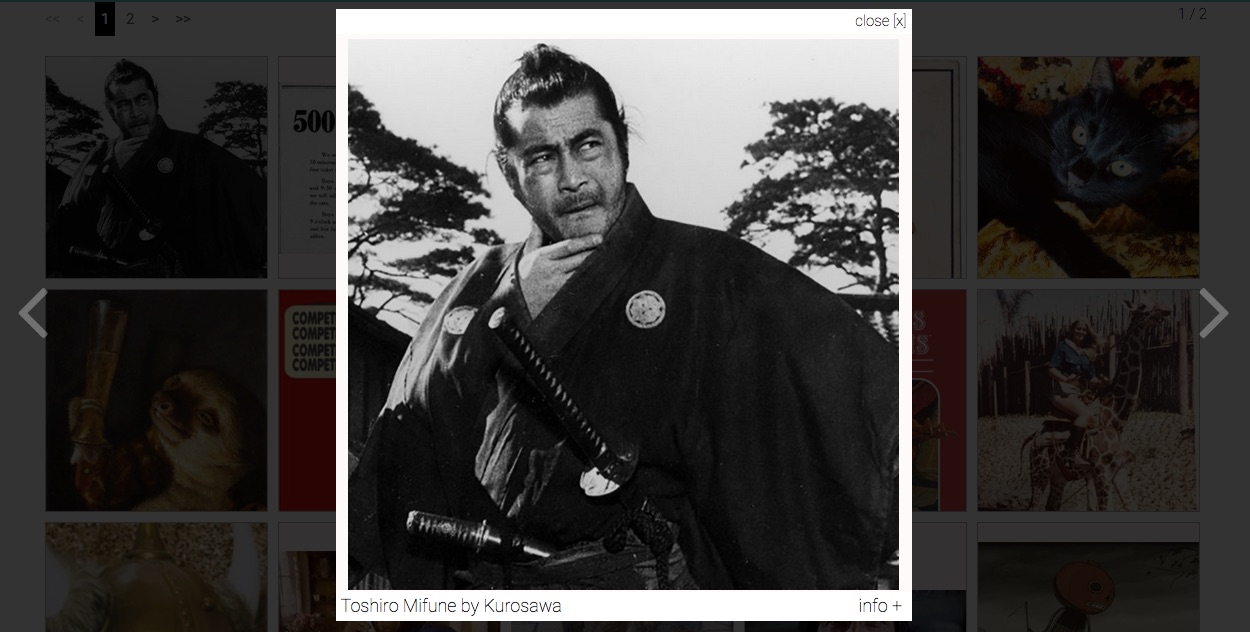
- GM Public Gallery: Where uploaded images are displayed.
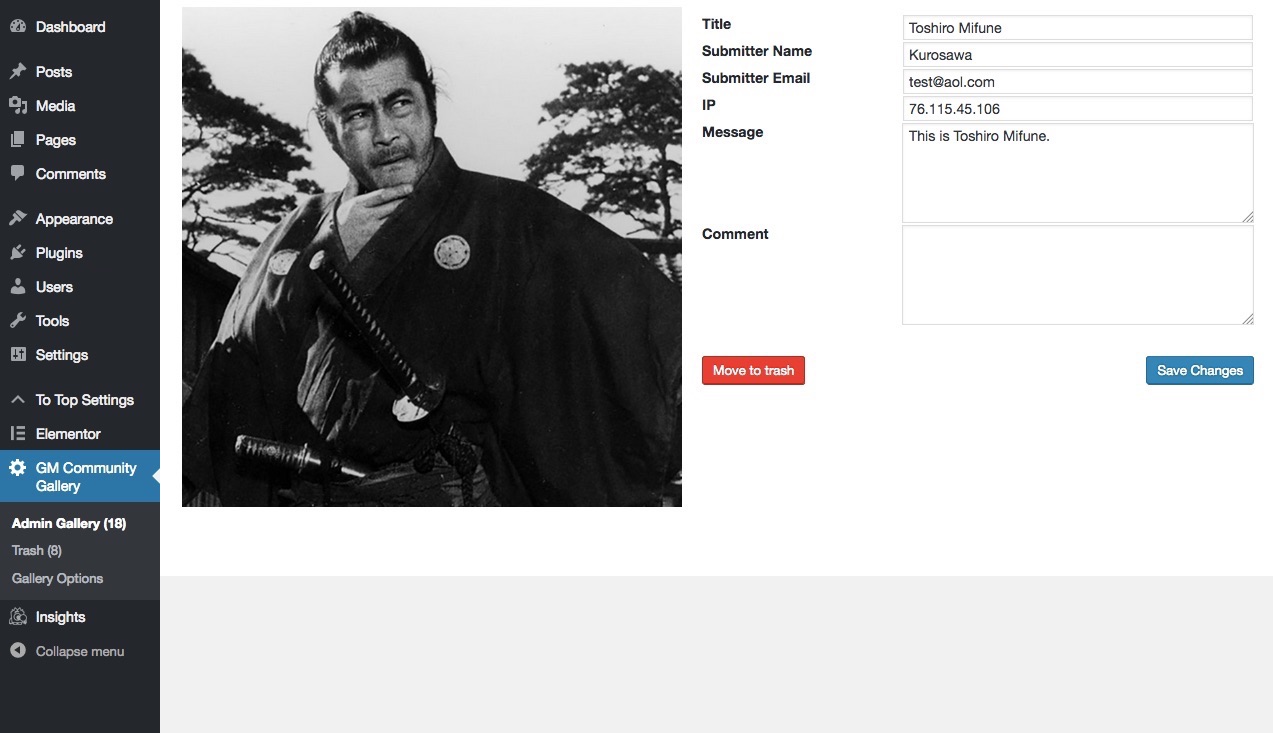
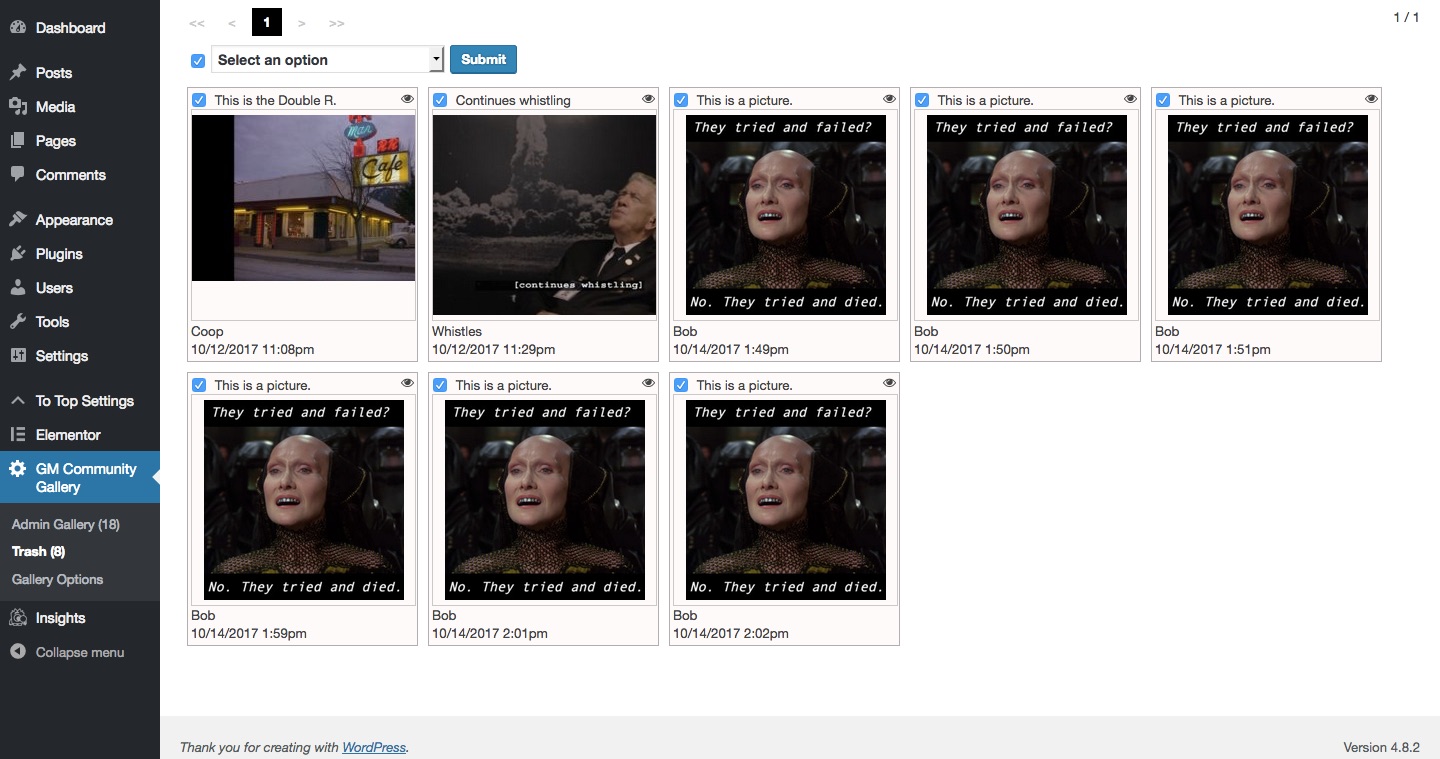
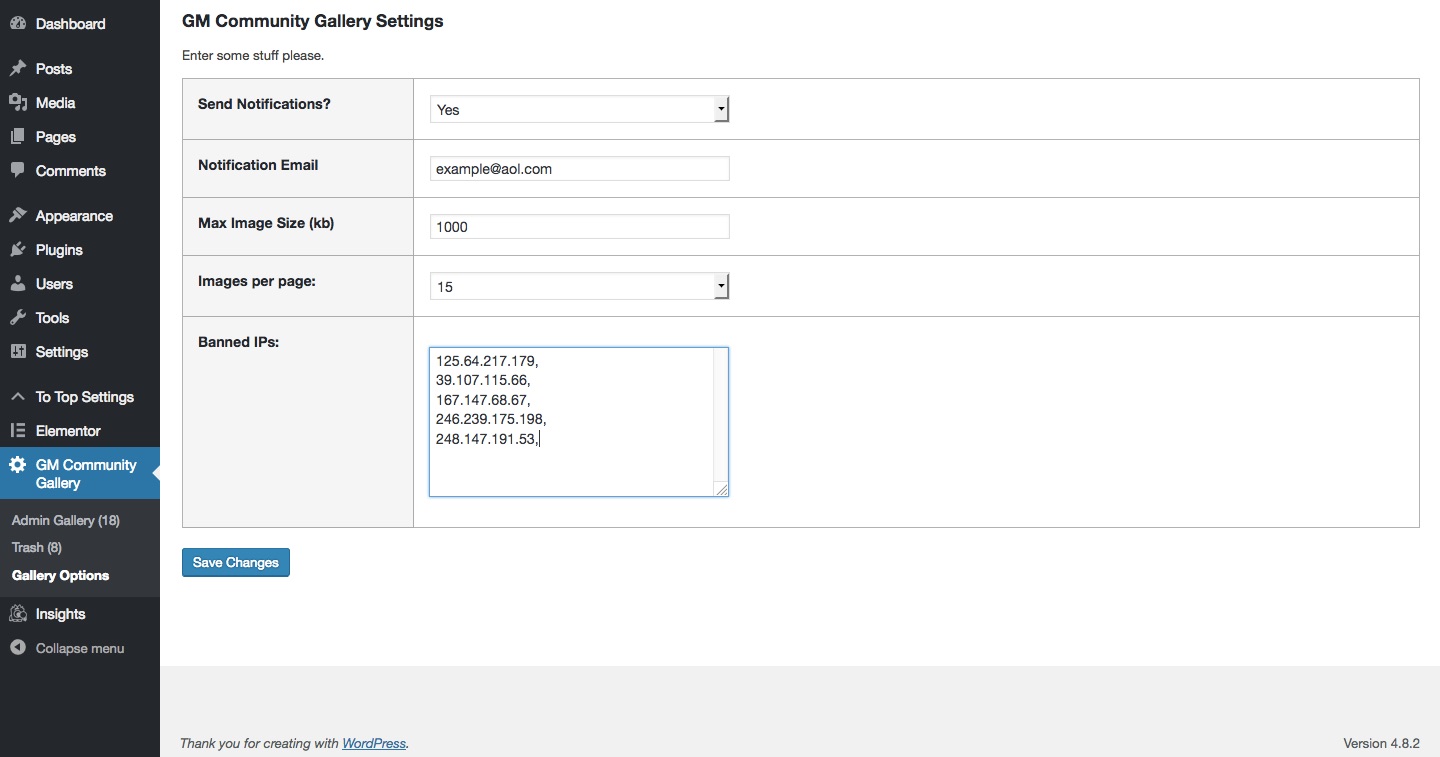
- GM Community Gallery Admin: When you administer and make changes to uploaded images. Also (optional) settings! To create a GM Submit Form on a WordPress Page:
- Use the shortcode [gm-submit-form][/gm-submit-form] To create a GM Public Gallery on a WordPress Page:
- Use the shortcode [gm-public-gallery][/gm-public-gallery] Once the GM Community Gallery plugin is installed, the admin panel is found in the beneath 'Settings' in WordPress Admin.
安装:
Basic installation:
GM Community Gallery is hosted on WordPress. You can add it easily right from your WordPress installation’s admin panel.
- Login into your WordPress Admin page.
- Navigate to the ‘Plugins’ page and select ‘Add New.’
- Search for ‘GM Community Gallery.’ Install and activate.
- That’s it. You’re ready to start receiving and displaying images.
- Upload the gm-community-gallery folder and its contents to the
/wp-content/plugins/directory - Activate the plugin through the 'Plugins' menu in WordPress
- Besides downloading direct from WordPress, you can download or clone the GM Community Gallery from GhitHub.
屏幕截图:
更新日志:
1.0
- Initial release!


