
Helcim for WooCommerce
| 开发者 | Helcim |
|---|---|
| 更新时间 | 2026年8月12日 01:08 |
标签
下载
详情介绍:
- A Helcim account (free to create)
- Generated Helcim API token
- WordPress and WooCommerce installed and active
- A valid SSL certificate (HTTPS) on your store
- Supported versions:
- WordPress: 6.6+
- PHP: 7.4+
- WooCommerce: 10.5+
- A business based in the United States or Canada, processing in USD or CAD
安装:
- Log in to your WordPress admin dashboard.
- Navigate to Plugins > Add New Plugin.
- Search for Helcim for WooCommerce.
- Select the Helcim plugin from the search results to view its details.
- Click Install Now, then Activate once the installation is complete.
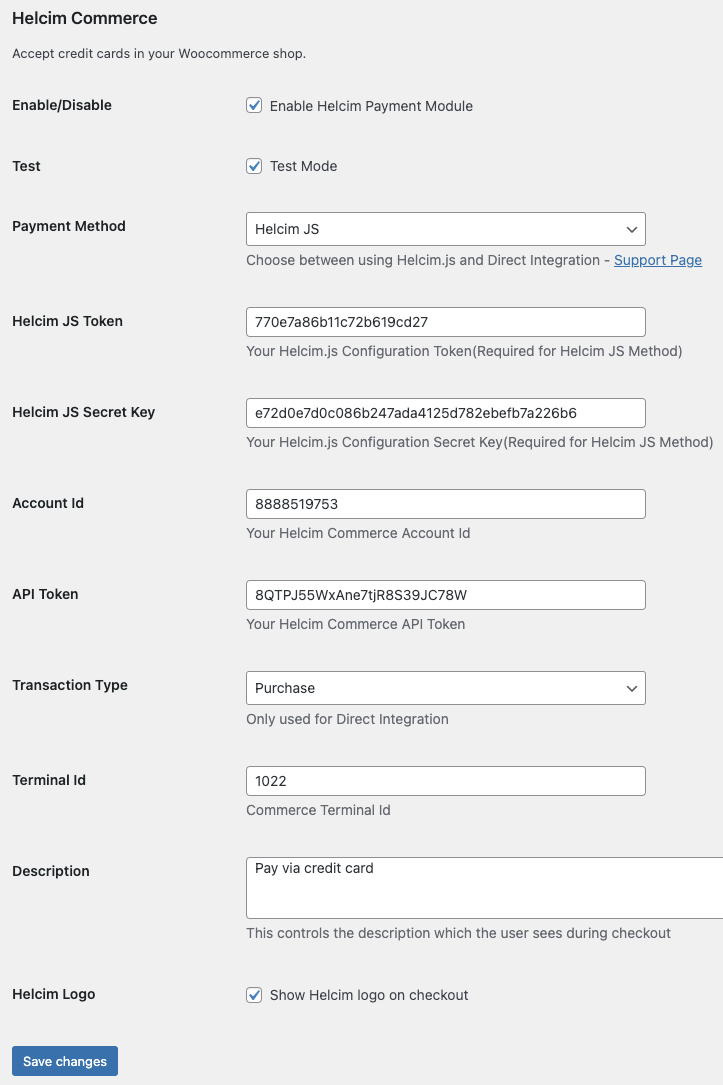
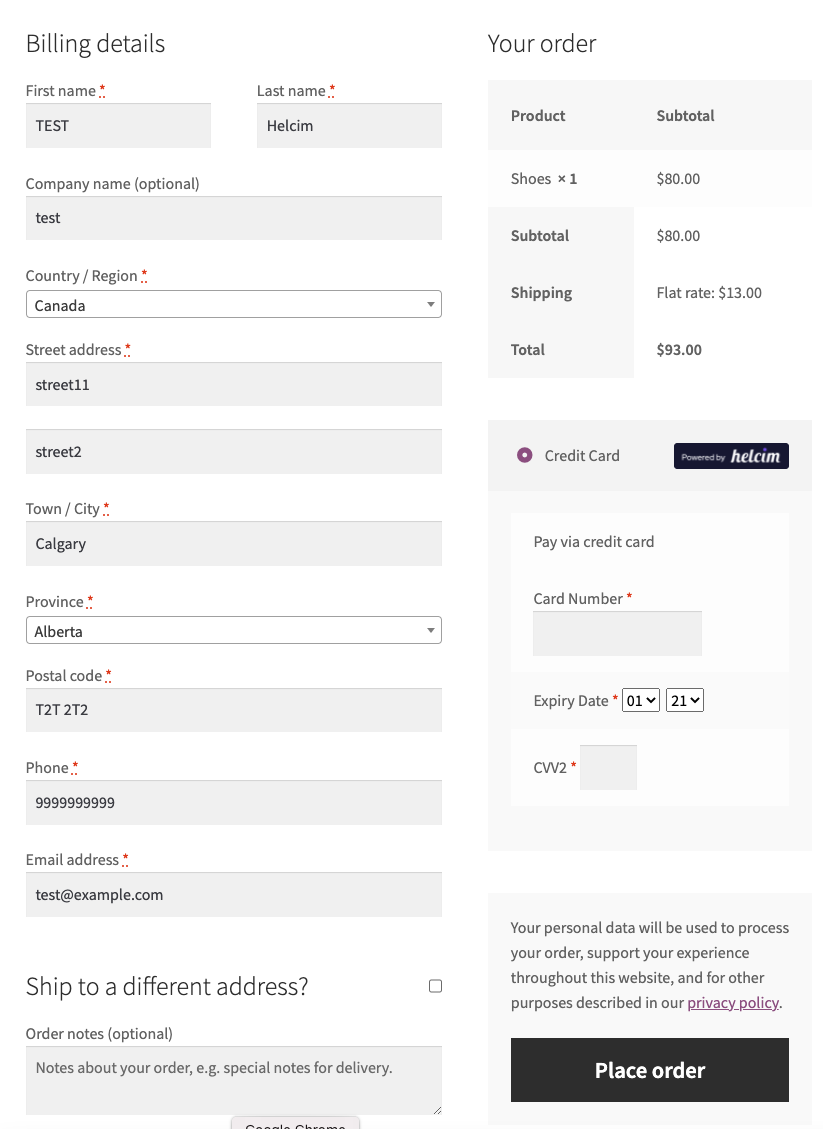
- Title: The payment method name your customer sees at checkout.
- Description: The payment method description shown to customers at checkout.
- Environment: Choose where to deploy the plugin — Sandbox (testing) or Live.
- Live API token: The token you created, linking WooCommerce to Helcim.
- Branding and others: Add your logo and brand colors, enable Google Pay, and let customers securely save their card for future purchases Step 5: Test a live transaction. Run a real payment end-to-end to make sure everything's wired up correctly before you go live. Your first $5 in card transactions is fee-free — test it through and through, on us.
屏幕截图:


常见问题:
Can Helcim reduce WooCommerce transaction fees?
Yes. Processing your WooCommerce payments through Helcim uses transparent interchange-plus pricing, which is often lower than typical flat-rate WooCommerce payment options — and the margin drops automatically as your monthly volume grows.
Does the integration require an API?
Yes. The plugin uses a Helcim API token to process payments and sync refunds and tokenized customer payment details through Helcim's payment system. Order management stays in WooCommerce.
How do I access the integration?
Install the Helcim for WooCommerce plugin in WordPress, then connect your Helcim API credentials in your WooCommerce payment settings.
Is there a cost to use the integration?
No. The plugin is free, and you only pay standard Helcim processing fees on the transactions you run.
Does it support recurring payments or subscriptions?
Not in this release. WooCommerce Subscriptions and automated recurring billing are planned for a future version.
Which currencies are supported?
Both CAD and USD are supported.
更新日志:
- Fixed a successful payment being reported as failed at checkout on stores where another plugin, theme, or PHP notice adds unexpected output to the page — the confirmation is now read through that interference and the order completes as normal.
- Checkout now tries a second time to confirm a payment when the store is briefly unreachable, and a shopper whose payment was already recorded is taken to the order confirmation page instead of an error.
- A shopper whose card has been charged is no longer told to try again or use another card — the message now confirms the payment was received and asks them to contact the store, so nobody pays twice.
- The WooCommerce log now records whether WooCommerce accepted a payment that Helcim approved, and notes browser-side confirmation failures under their own entry, making an order left in "Pending payment" far easier to trace.
- Zero-rate orders now send their shipping address to Helcim, so the order is not rejected when the store requires a shipping address.
- Tested up to WordPress 6.9.5
- Tested up to WooCommerce 10.9
- Fixed credit card payments failing with a generic "Could not complete transaction" message on some carts — most often with tax-inclusive pricing, quantities greater than one, or coupons — caused by a rounding mismatch in the invoice line items.
- Fixed an issue where retrying the same cart after a declined or cancelled payment could fail.
- Fixed the payment window occasionally failing to open, or checkout getting stuck with no message, when the payment provider was slow to respond — a clear "please try again" notice now appears instead.
- Fixed successful payments not being recorded on the order — leaving it stuck in "Pending payment" and later cancelled — on stores not installed at the main website address, such as sites in a subfolder, multisite networks, or multilingual sites.
- Helcim invoices now describe the tax by rate with each amount, such as "Sales Tax: $6.14, State Tax: $3.07", rather than showing only a total.
- Helcim invoices now note the discount total and the coupon codes used when an order has a coupon applied.
- Checkout failures that happen in the shopper's browser — such as the payment window not opening — are now recorded in the WooCommerce log for easier troubleshooting.
- Debug logging now masks identifying customer details, so logs can be shared with support more safely.
- Tested up to WooCommerce 10.9
- Fixed invoice number generation for orders.
- Fixed entryPoint parameter in payment request.
- Tested up to WordPress 6.9.5
- Tested up to WooCommerce 9.9.3
- New platform release built on the HelcimPay.js checkout modal.
- Sandbox and live environments with separate API tokens and an in-settings API connection test.
- Branding & appearance controls (logo, brand color, light/dark/system theme, corner radius, payment button text).
- Optional Google Pay and Apple Pay in the modal.
- Support for the WooCommerce Cart/Checkout blocks and High-Performance Order Storage (HPOS).
- Automatic migration of v4 settings on upgrade.
- Tested up to WordPress 6.8.0
- Tested up to WooCommerce 9.8.1
- Fix UI bug
- Tested up to WordPress 6.7.2
- Tested up to WooCommerce 9.7.1
- Fix UI bug
- Tested up to WordPress 6.7.2
- Tested up to WooCommerce 9.7.1
- Fix UI bug
- Tested up to WordPress 6.7.1
- Tested up to WooCommerce 9.4.2
- Fix UI bug
- Tested up to WordPress 6.6.2
- Tested up to WooCommerce 9.3.3
- Support for Block-Based Checkout
- Tested upto WordPress 6.6.2
- Tested upto woocommerce 9.3.1
- Bug fix regarding empty phone number
- Tested upto WordPress 6.4.2
- Tested upto woocommerce 8.5.1
- Bug fix regarding countries
- Tested upto WordPress 6.4.1
- Tested upto woocommerce 8.2.2
- Optimized transaction processing
- Bug fix regarding taxes
- Tested upto WordPress 6.3
- Tested upto woocommerce v8.0
- Optimized transaction processing
- Tested upto WordPress 6.2
- Tested upto woocommerce v7.9
- Tested upto WordPress 6.2
- Tested upto woocommerce v7.8
- Tested upto WordPress 6.1
- Tested upto woocommerce v6.4
- Tested upto WordPress 6.1
- Tested upto woocommerce v6.4
- Allow customers to choose card expiry year that is 5 years from now
- Tested upto WordPress 5.8
- Tested upto woocommerce v6.3
- Allow customers to choose card expiry year that is 5 years from now
- Tested upto WordPress 5.8
- Tested upto woocommerce v5.7
- Fix UI bug with expiry dates
- Tested upto WordPress 5.8
- Tested upto woocommerce v5.7
- Fix Refunds
- Fix Approval Code not showing
- Tested upto WordPress 5.8
- Tested upto woocommerce v5.7
- UI Fix
- Tested upto WordPress 5.8
- Tested upto woocommerce v5.7
- Bug Fix - Duplicate Transaction when checkout fails
- Tested upto WordPress 5.8
- Tested upto woocommerce v5.7
- Bug Fix - Void/Reverse Approved Transactions when checkout validation fails
- Tested upto WordPress 5.8
- Tested upto woocommerce v5.7
- Bug Fix - Void/Reverse Approved Transactions when checkout fails
- Tested upto WordPress 5.8
- Tested upto woocommerce v5.7
- Bug Fix - transactions expiring after 1min from approval time
- Tested upto WordPress 5.8
- Tested upto woocommerce v5.6
- Added Refund Capability
- bug fixes
- Tested upto WordPress 5.8
- Tested upto woocommerce v5.6
- Added Refund Capability
- bug fixes
- Tested upto WordPress 5.8
- Tested upto woocommerce v5.6
- Added Refund Capability
- Tested upto WordPress 5.8
- Tested upto woocommerce v5.6
- Added Refund Capability
- Tested upto WordPress 5.8
- Tested upto woocommerce v5.6
- Tested upto WordPress 5.8
- Optimized Plugin
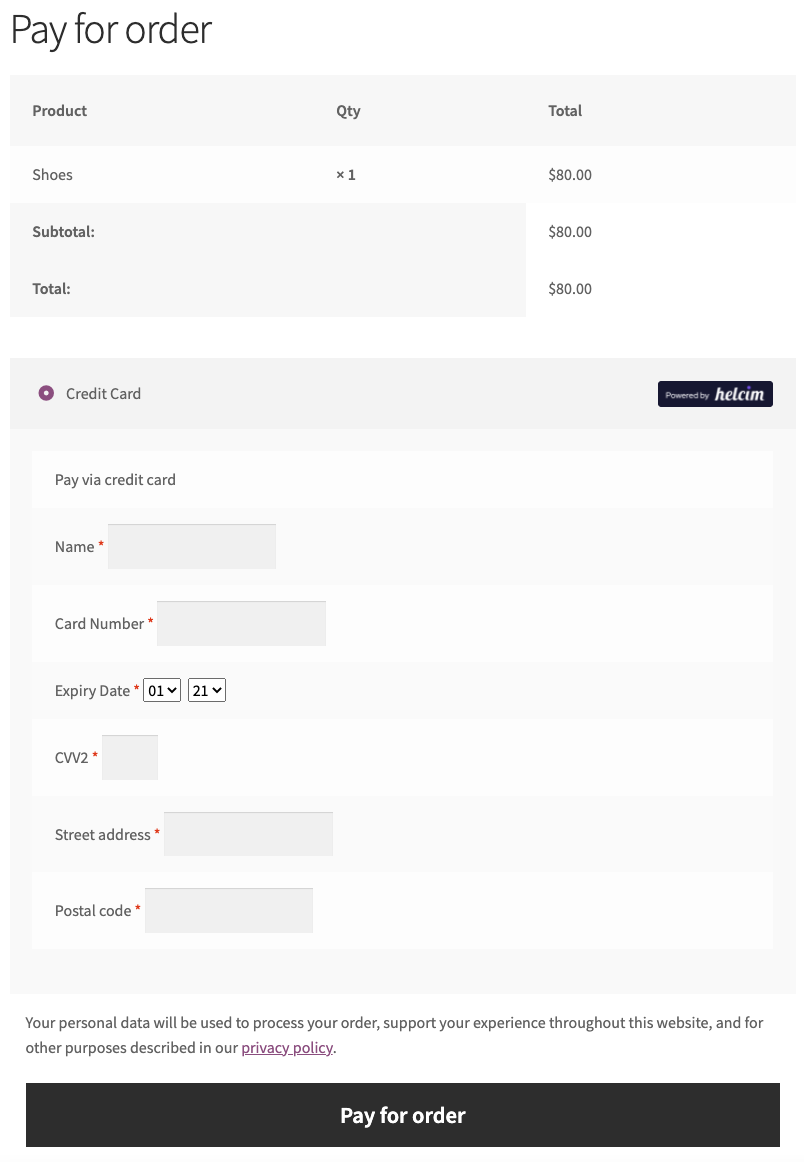
- Added AVS fields when paying for Orders
- Tested upto woocommerce v5.4
- Optimized Plugin
- Added AVS fields when paying for Orders
- Tested upto woocommerce v5.4
- Optimized Plugin
- Added AVS fields when paying for Orders
- Tested upto woocommerce v5.3
- Optimized Plugin
- Updated plugin to work with Create an Account on Checkout
- Tested upto woocommerce v5.1.0
- Optimized Plugin
- Updated plugin to work with Create an Account on Checkout
- Tested upto woocommerce v5.1.0
- Optimized Plugin
- Updated plugin to work with Create an Account on Checkout
- Tested upto woocommerce v5.1.0
- Optimized Plugin
- Updated plugin to work with Create an Account on Checkout
- Tested upto woocommerce v5.0.0
- Optimized Plugin
- Updated plugin to work with Create an Account on Checkout
- Tested upto woocommerce v5.0.0
- Optimized Plugin
- Tested upto wordpress v5.6
- Optimized Plugin
- Register and Checkout feature is now available
- Google reCAPTCHA v3 now available for Helcim.js payment method
- Optimized Plugin
- Register and Checkout feature is now available
- Google reCAPTCHA v3 now available for Helcim.js payment method
- Optimized Plugin
- Register and Checkout feature is now available
- Google reCAPTCHA v3 now available for Helcim.js payment method
- Optimized Plugin
- Register and Checkout feature is now available
- Optimized Plugin
- Bug fix for ip address
- Optimized Plugin
- Bug fix for invalid expiry error
- Optimized Plugin
- Updated for latest version of woocommerce (v3.6.0)
- Optimized Plugin
- Fixed Shipping Info Not Saving In Commerce
- Added Payment Method(Direct Integration)
- Helcim.js Method will only tokenize your card
- Fixed Shipping Info Not Saving In Commerce
- Added Payment Method(Direct Integration)
- Helcim.js Method will only tokenize your card
- Added Test Field in Plugin Configuration
- Added Transaction Logs
- Fixed Order Notes not showing in Commerce
- Fixed Error When Country Dropdown is changed to Input Field.
- Fixed button to toggle between payment gateways.
- Fixed bug - can now be used with other payment gateways
- Fixed title
- Fixed plugin naming to avoid clashes with old Helcim plugin
- Fixed bug - can now be used with other payment gateways
- Feature - can be used for previously generated order
- Initial release.