AI Chatbot for WordPress - Hyve Lite
| 开发者 |
themeisle
hardeepasrani |
|---|---|
| 更新时间 | 2025年5月27日 17:55 |
| PHP版本: | 8.1 及以上 |
| WordPress版本: | 6.8 |
| 版权: | GPLv3 |
| 版权网址: | 版权信息 |
详情介绍:
Hyve Lite is an AI-powered chatbot plugin for WordPress that transforms your website content into interactive conversations. It uses your posts and pages as a knowledge base, enabling dynamic user engagement. Easily manage the chatbot from your WordPress dashboard, control data via your OpenAI API key, and integrate custom data—no coding required.
Hyve Lite offers customizable features such as welcome messages, moderation tools, and FAQ tracking for improved responses. It also allows fine-tuning of AI behavior with settings like temperature and predefined starter questions.
For AI processing, Hyve relies on the OpenAI API to provide certain features, such as text generation and language processing. You can learn more about their Terms of use here: OpenAI Terms of Use.
More with Hyve Pro
By upgrading to Hyve Pro, you unlock enhanced capabilities that enrich your chatbot's performance:
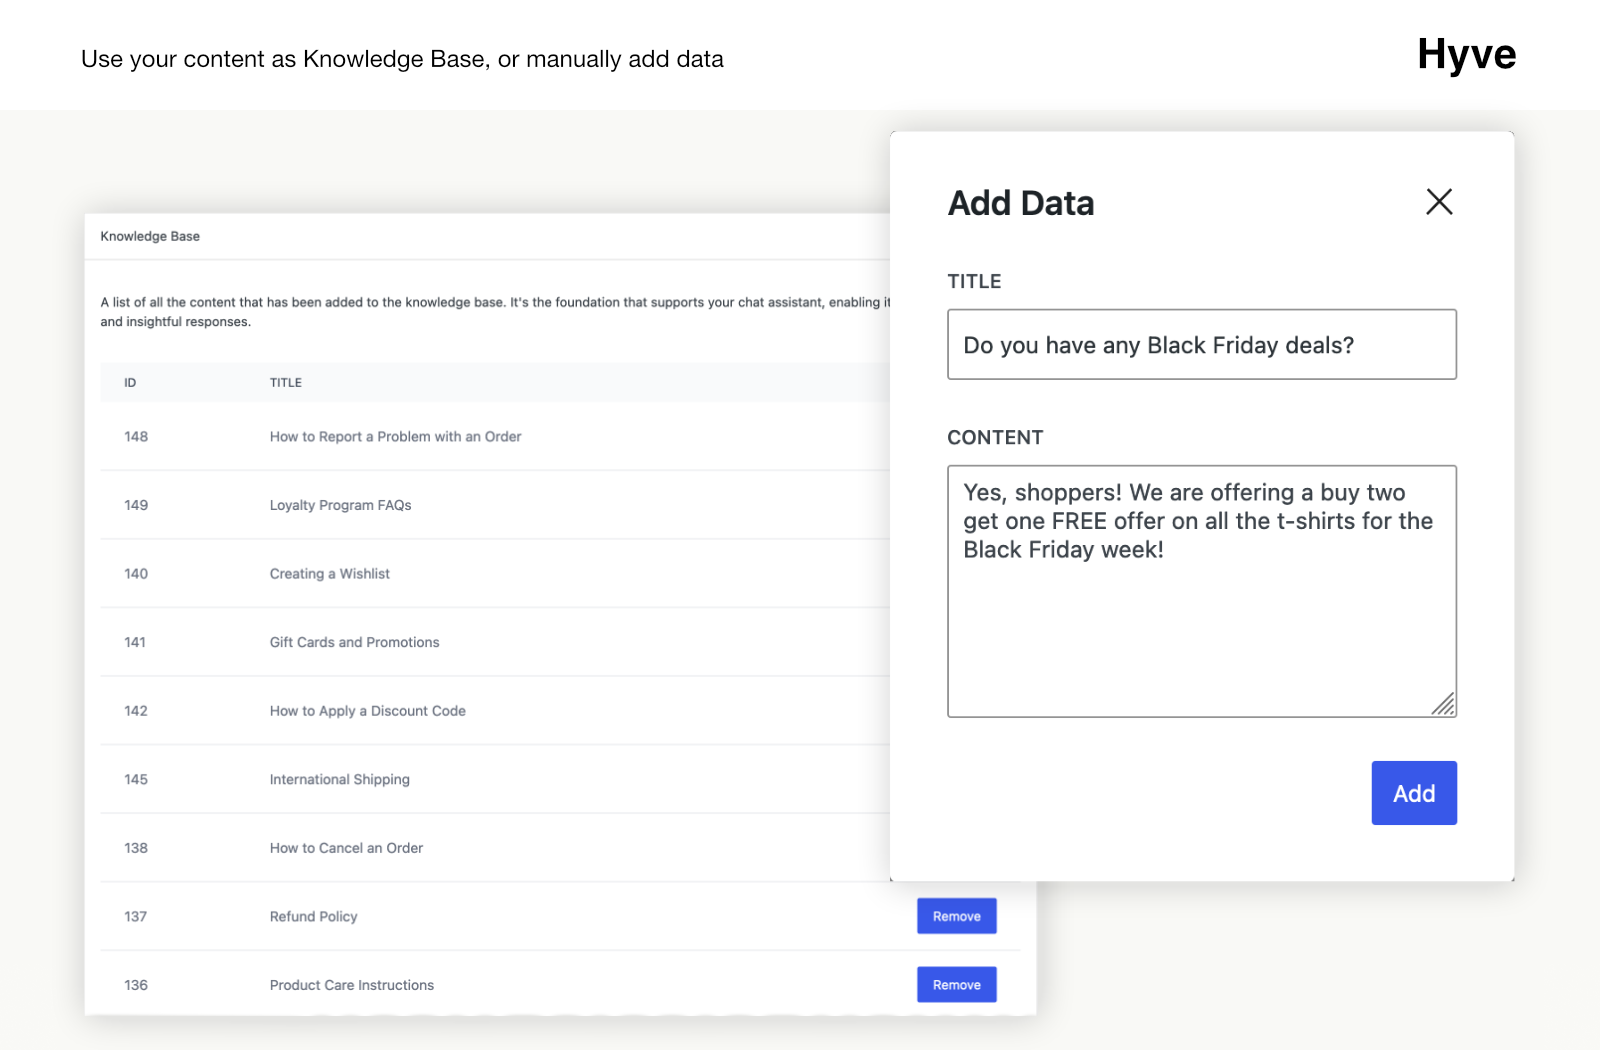
- Custom Data: Add custom information to your chatbot’s knowledge base for data that may not be suitable for public display on your website.
- Website & Sitemap Crawling: Use Website URLs and Sitemaps to add data to your knowledge base from external sources.
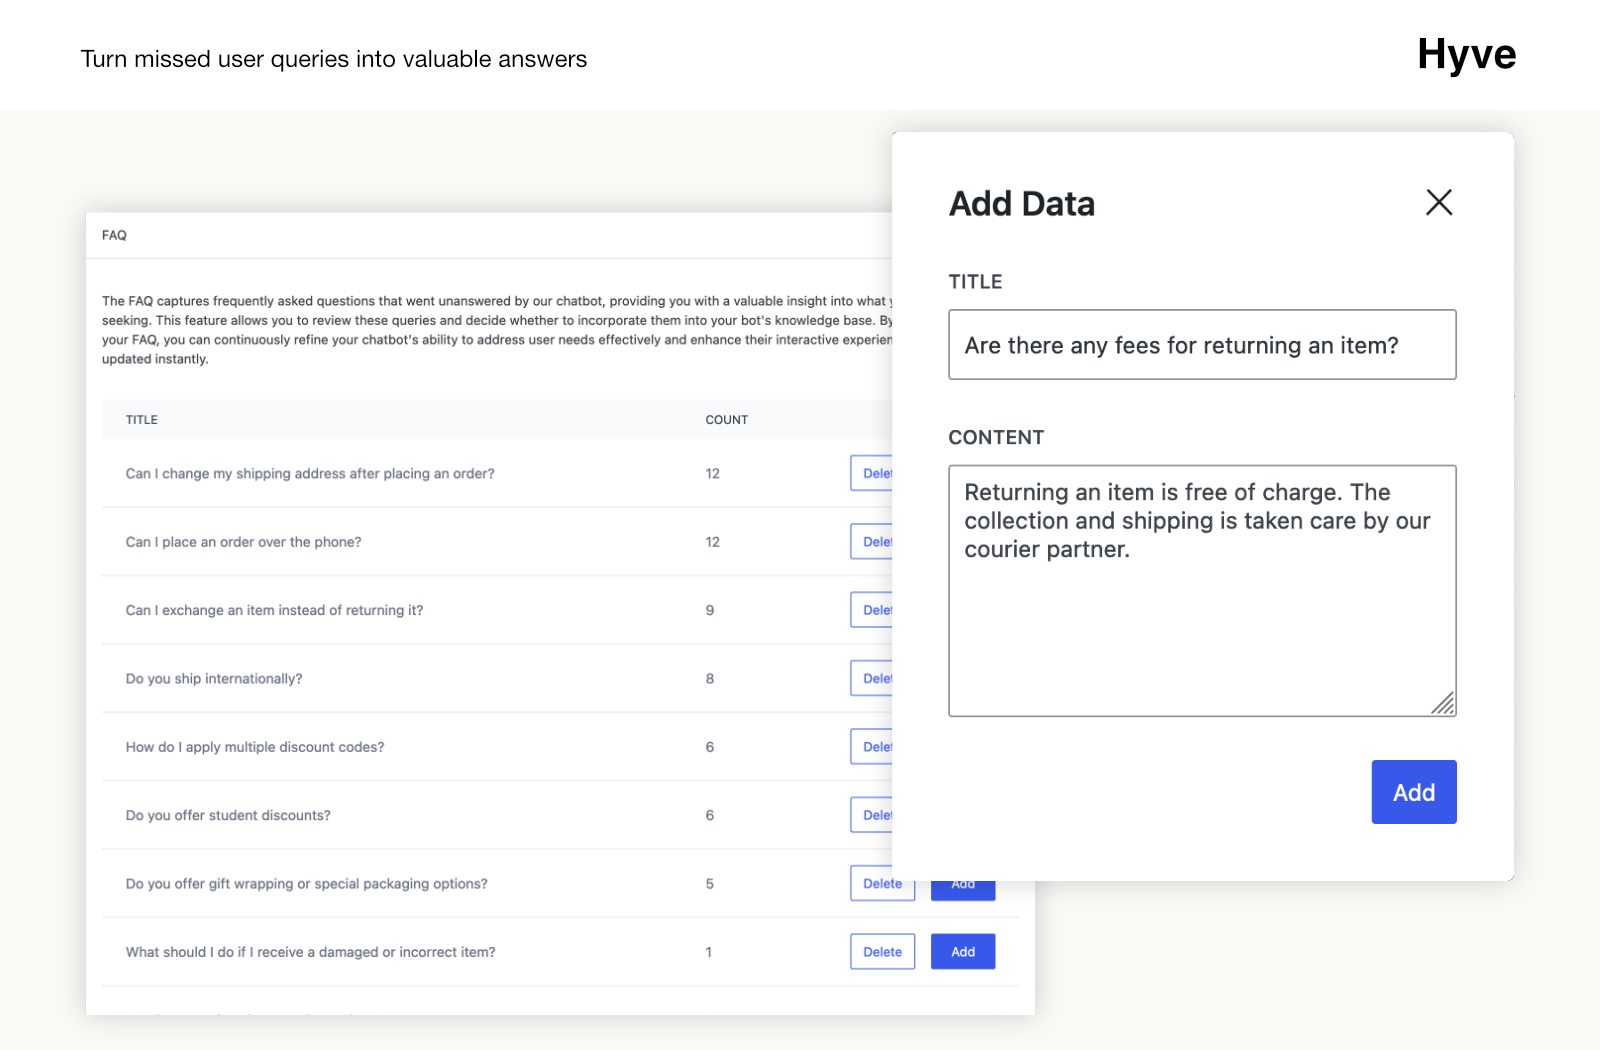
- FAQ Insights: Review frequently asked but unanswered questions to improve your bot's knowledge base.
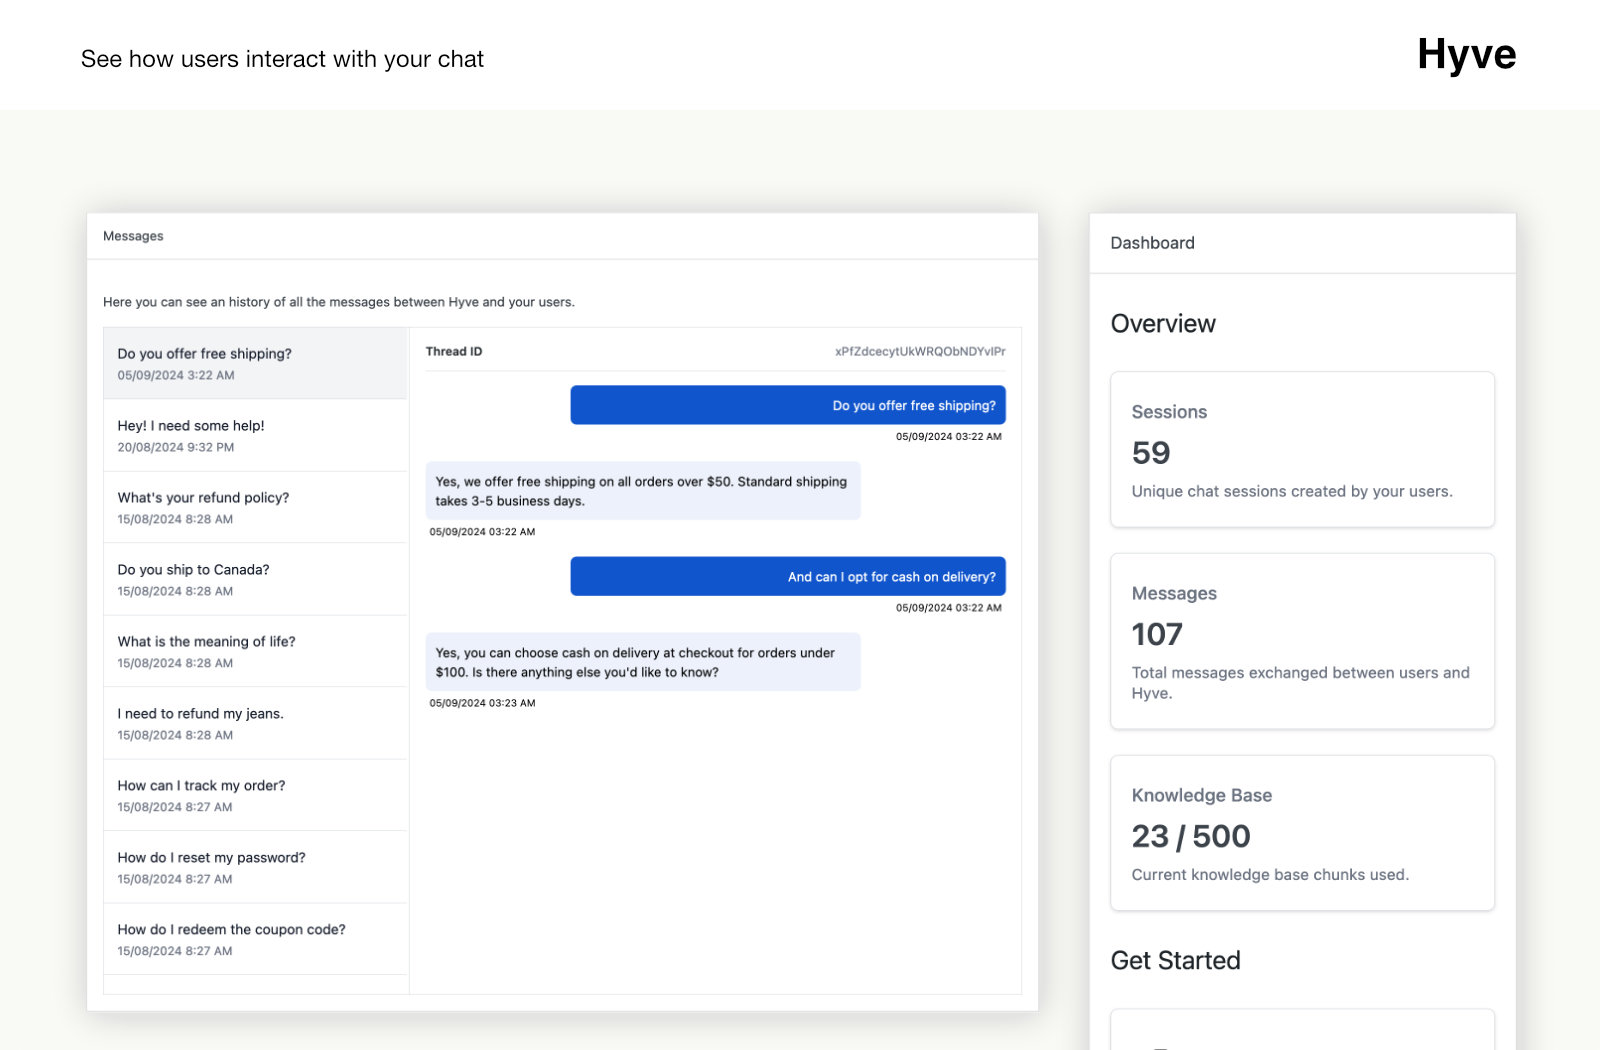
- Chat History: Access full chat history to analyze and enhance user interactions.
- Suggested Questions: Encourage engagement with predefined starter questions.
- Appearance Customization: Customize your chatbot's design to match your site’s branding.
- Priority Support: Enjoy peace of mind with premium customer support, helping you resolve issues quickly.
安装:
Automatic Installation
To download and install the Hyve plugin, make sure you follow the steps below:
- Navigate to the WordPress Dashboard > Plugins.
- Click the Add New button and type in the Search Bar "Hyve Lite".
- When the plugin appears, click on the Install button and then on Activate.
- Log into your website admin page, then go to Appearance > Plugins. You will see all the plugins currently installed in your dashboard listed there.
- To install a new WordPress plugin, simply click on the Add New tab.
- Click the Upload Plugin button in the WordPress Dashboard.
- Click the Choose File button, select the ZIP archive of the Hyve Lite plugin from your local computer and press the Install Now button.
- Click on the Activate button under the "Plugin installed successfully" message.
屏幕截图:
常见问题:
Is Hyve Lite free?
Yes, Hyve Lite is available for free with essential features. For additional functionality, you can upgrade to the premium version.
Do I need coding skills to use Hyve Lite?
No, Hyve Lite is designed for users without coding skills. You can manage everything directly from the WordPress dashboard.
How does Hyve Lite use the OpenAI API?
Hyve Lite uses the OpenAI API for language processing tasks like text generation. Data is sent to OpenAI’s servers for processing during these tasks.


