InPlayer Paywall
| 开发者 | inplayerwordpress |
|---|---|
| 更新时间 | 2018年2月6日 17:41 |
| PHP版本: | 3.0.1 及以上 |
| WordPress版本: | 4.9.2 |
| 版权: | GPLv2 or later |
| 版权网址: | 版权信息 |
标签
下载
详情介绍:
安装:
- Upload the plugin files to the
/wp-content/plugins/plugin-namedirectory, or install the plugin through the WordPress plugins screen directly - Select the InPlayer Paywall from your Wordpress menu and follow the on screen instructions to create your account
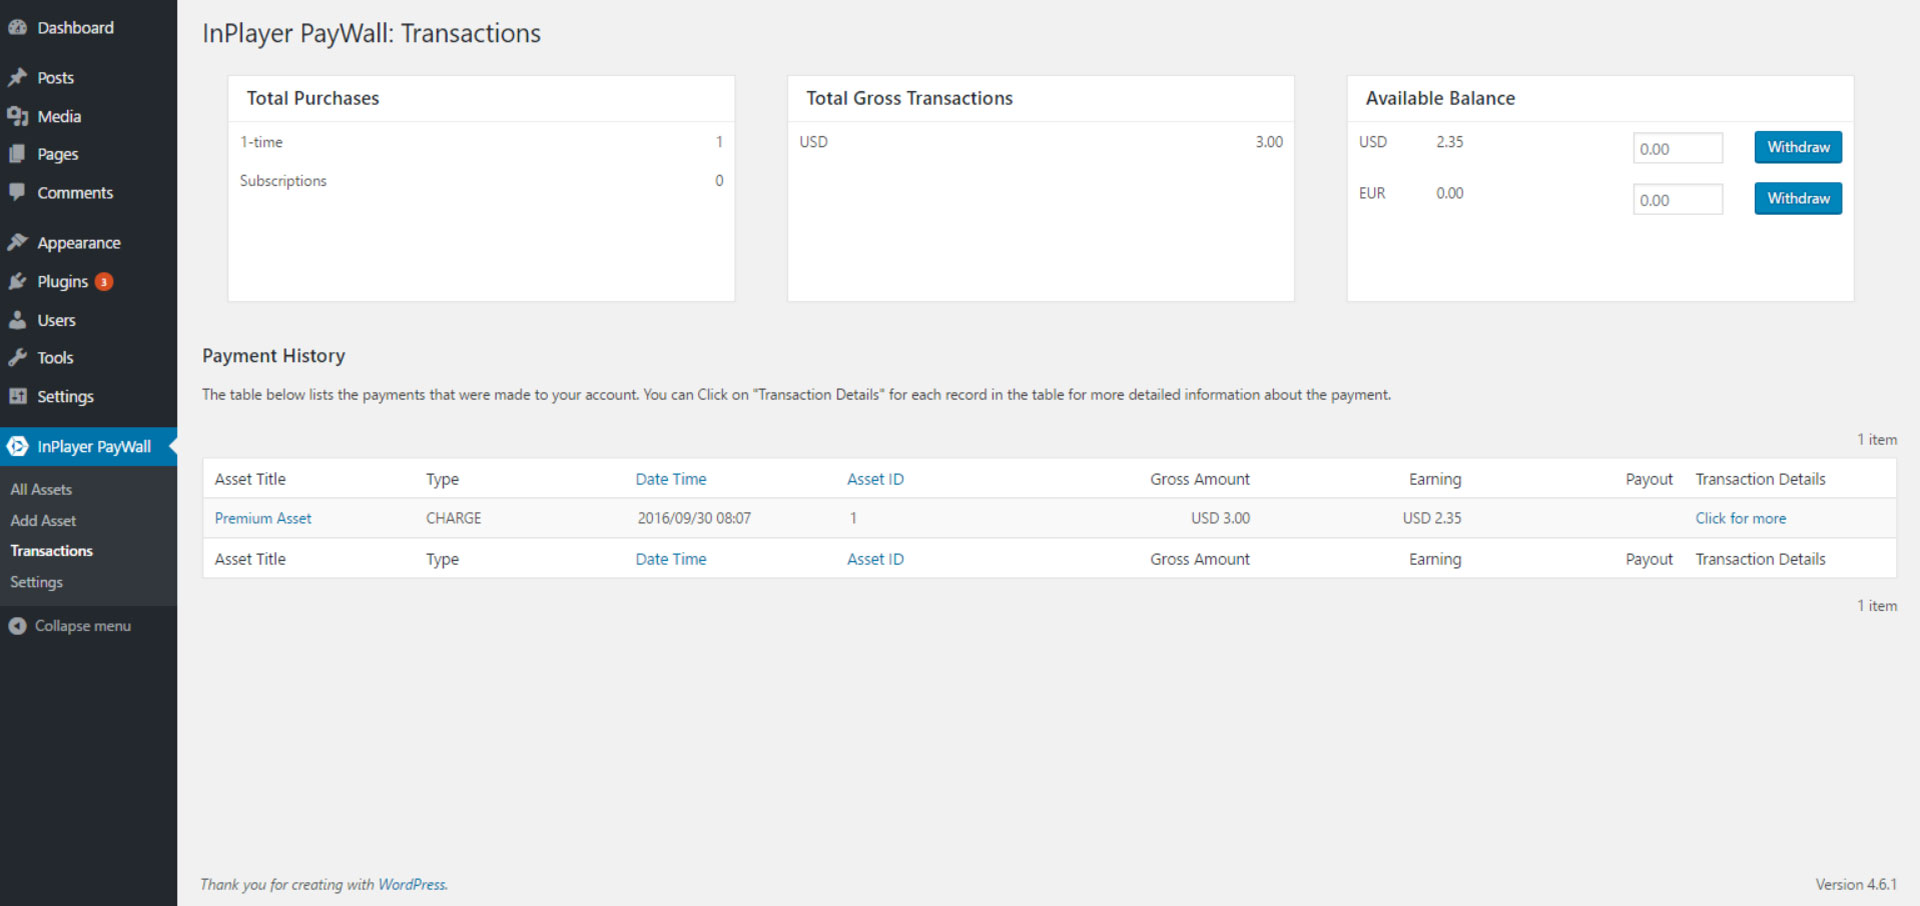
- You will need to link a valid PayPal account with providing email, first name and last name
屏幕截图:
常见问题:
What is InPlayer Paywall?
InPlayer Paywall is a powerful monetization tool that allows a publisher to protect and monetize any digital asset. Built with WordPress users in mind, this is an enterprise-grade tool for selling access to any kind of digital content. We enable publishers and content creators to charge any amount, on their own sites, with pricing rules that they control.
How much does it cost?
InPlayer Paywall is free for Wordpress users to download and use within their CMS. We only charge when you make money, on a revenue share basis. The revenue share will be automatically deducted from your Paypal account. For further information please contact sales@inplayer.com
What can I protect?
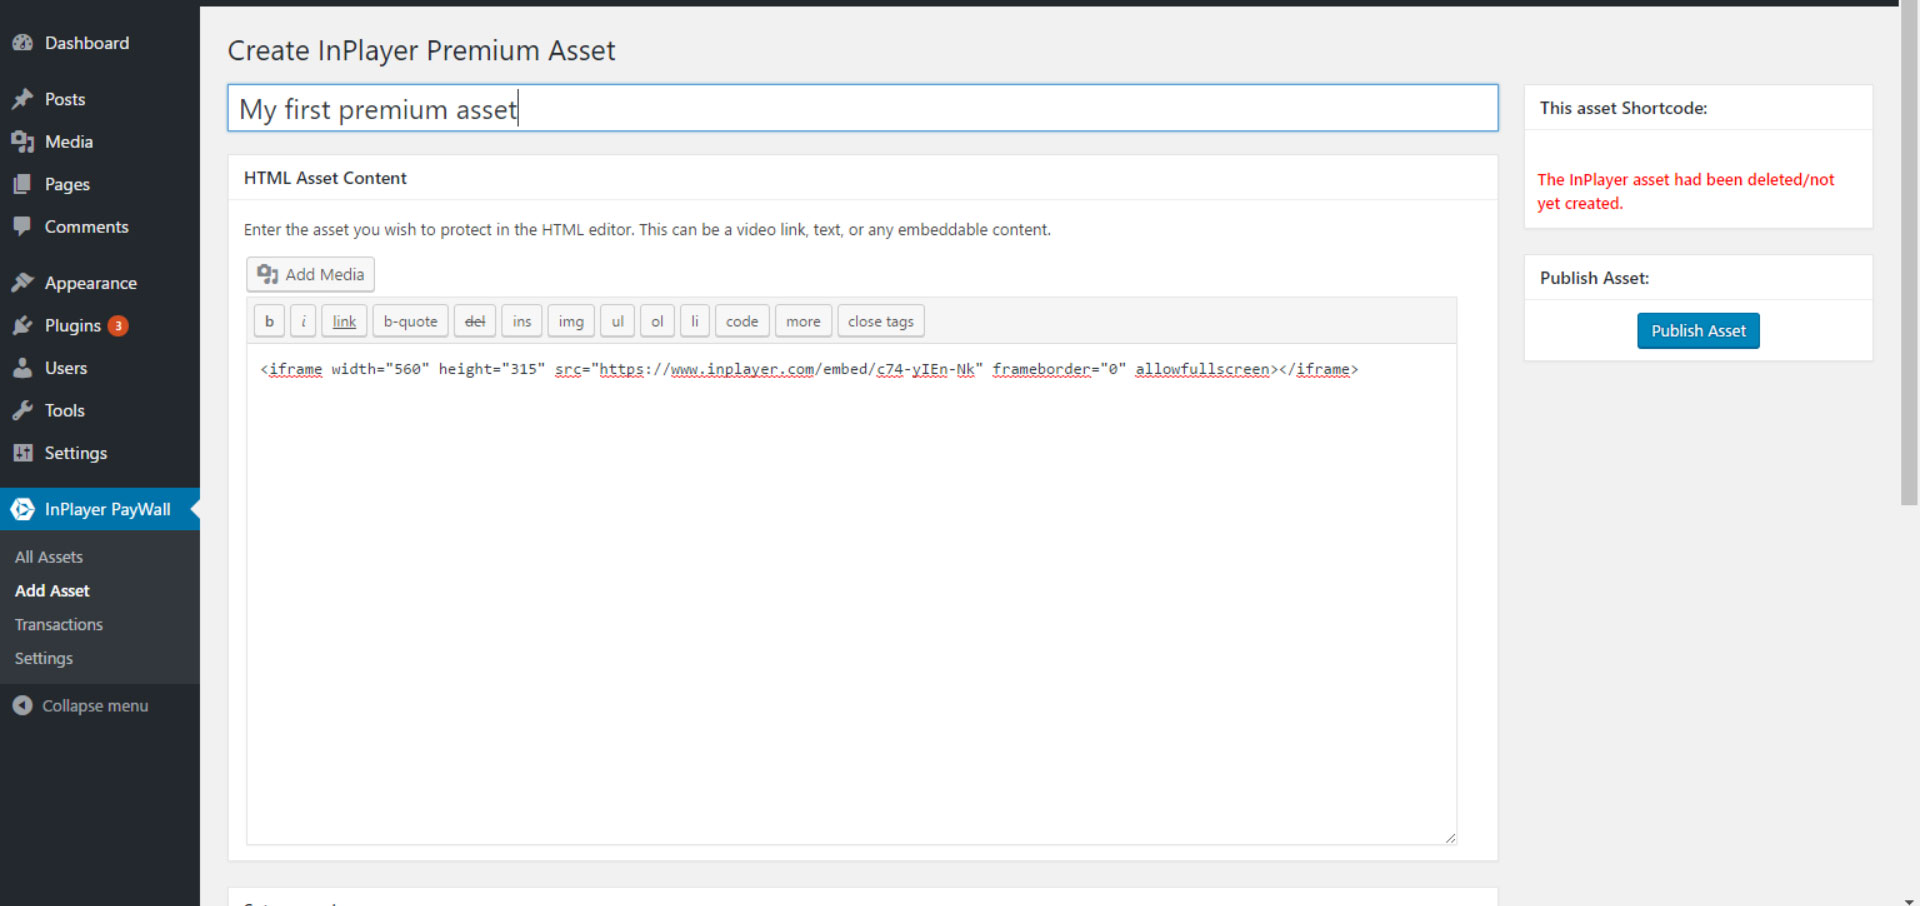
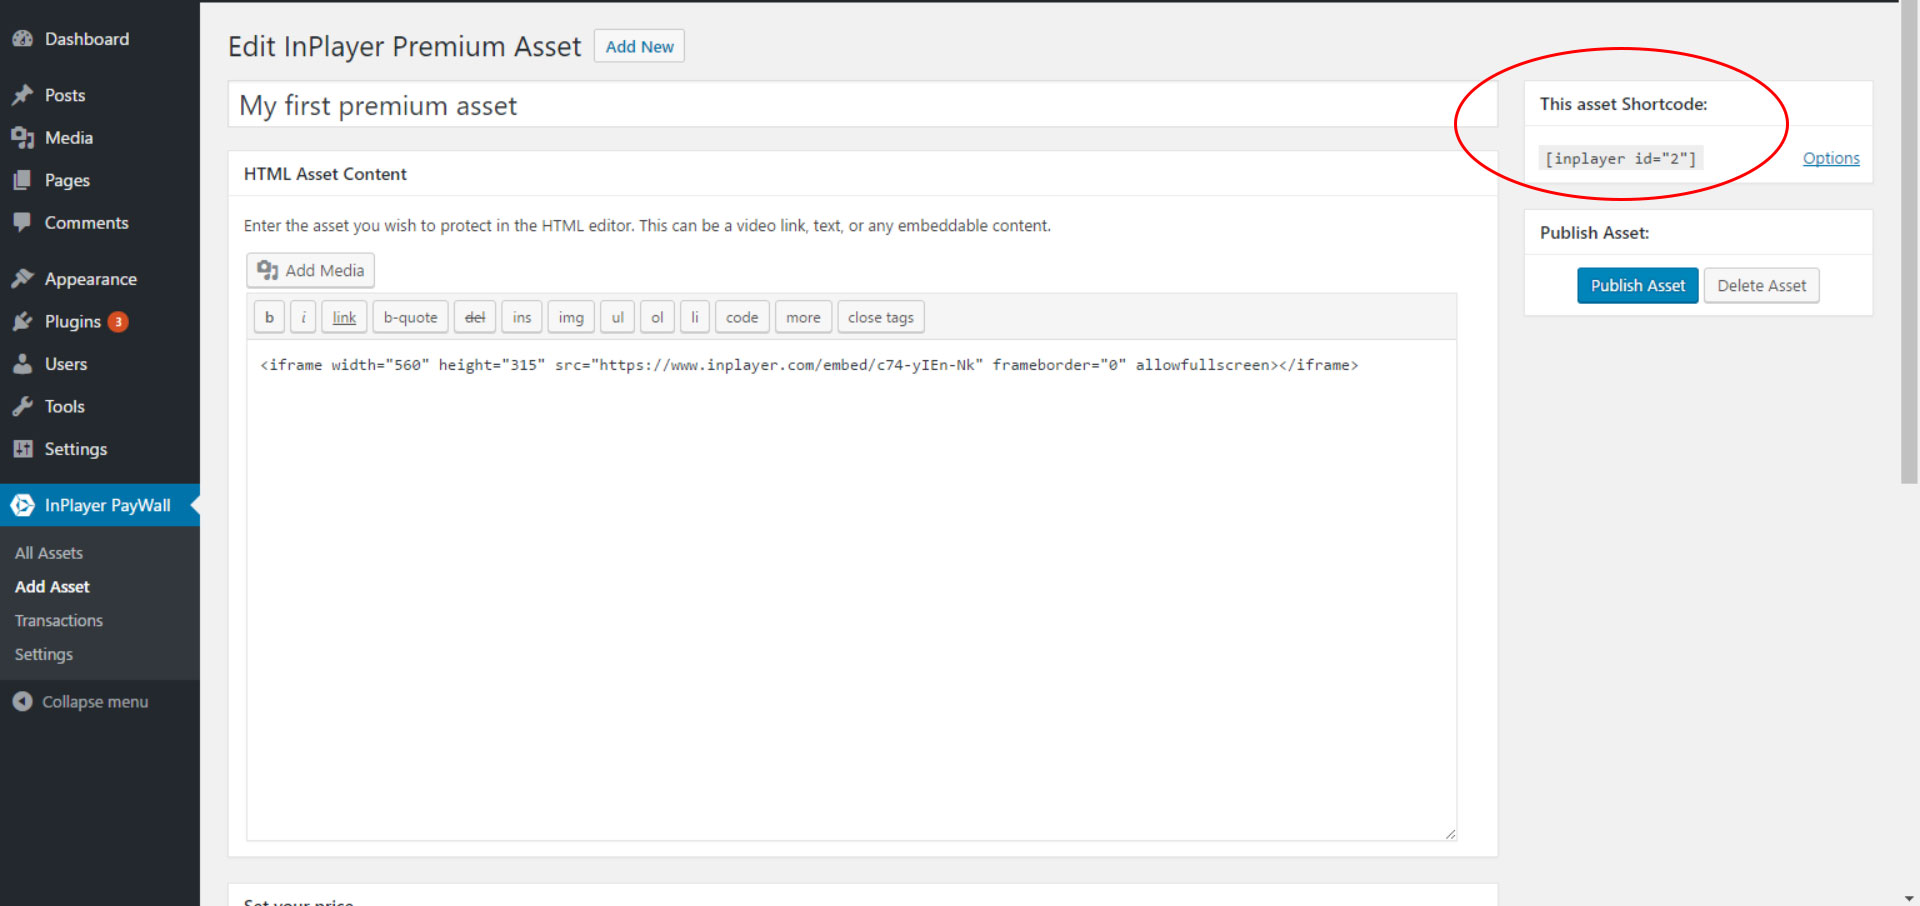
InPlayer Paywall can be used as a monetization layer across any embeddable Wordpress content, from text to videos to music. You simply paste the asset you wish to protect into our Asset wizard, choose tariffs and branding, and you'll receive a Shortcode which can be used in place of the original embed.
Is payment on your site secure?
No sensitive data will ever hit your servers, saving you from massive security headaches. InPlayer is certified to PCI Service Provider.
What is the experience like for my users?
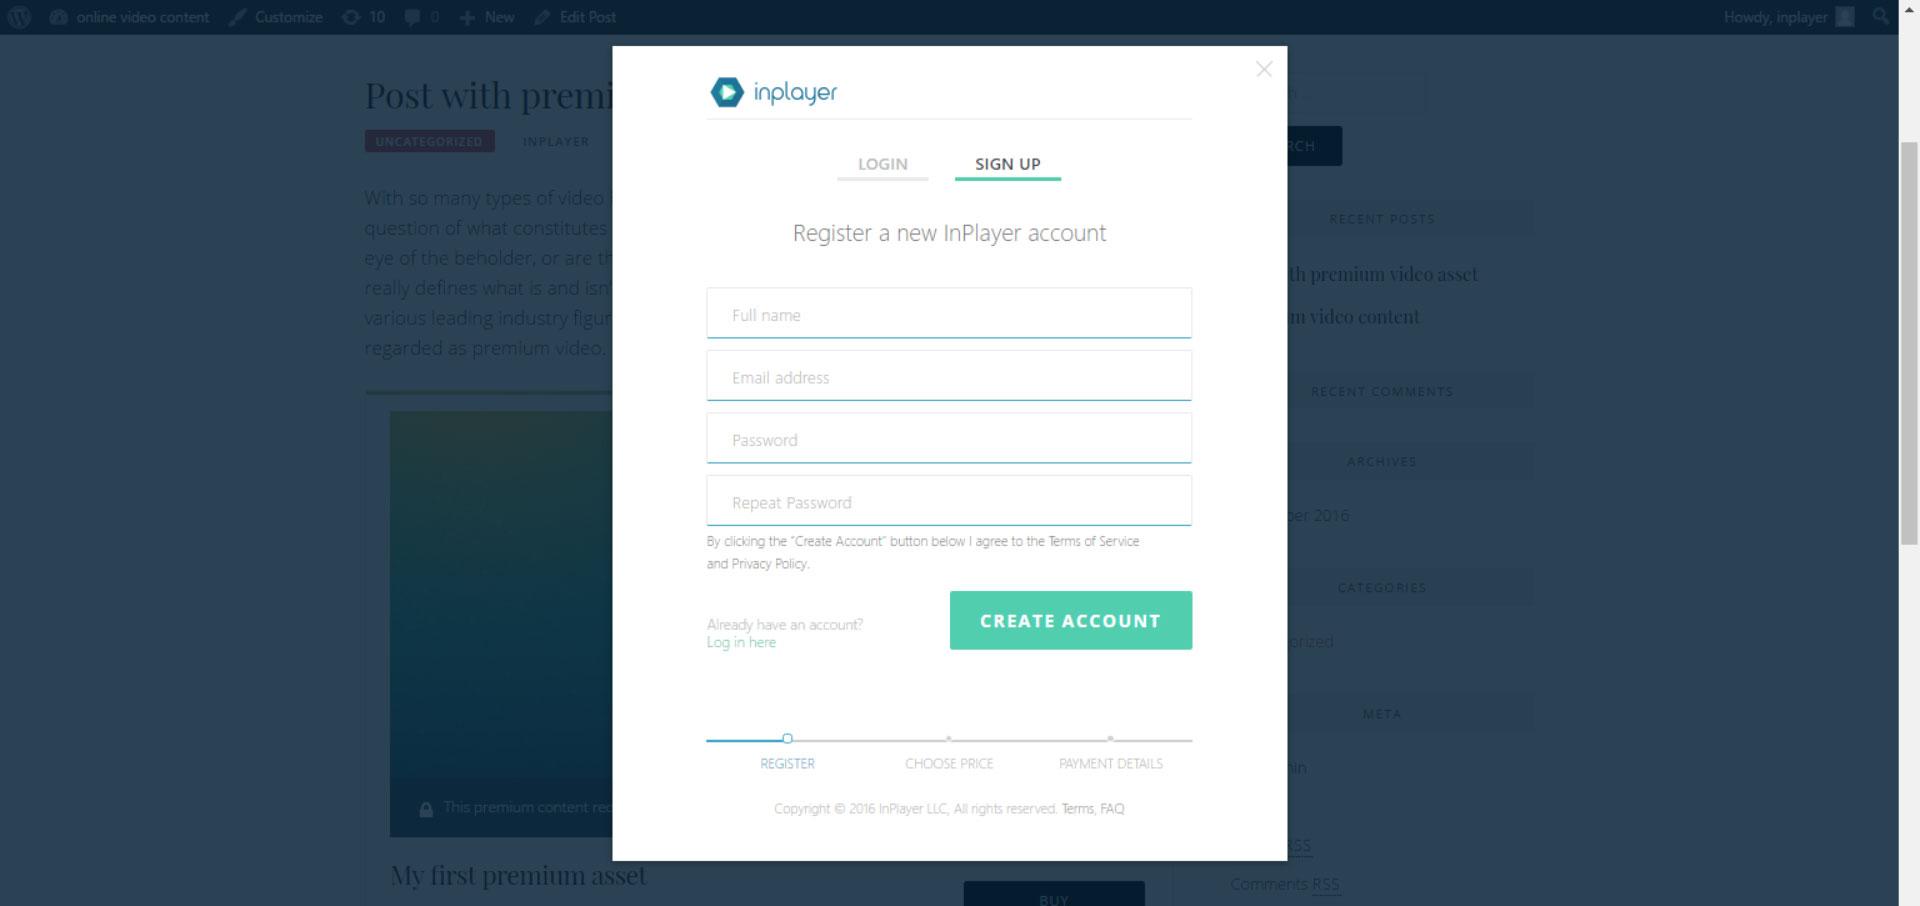
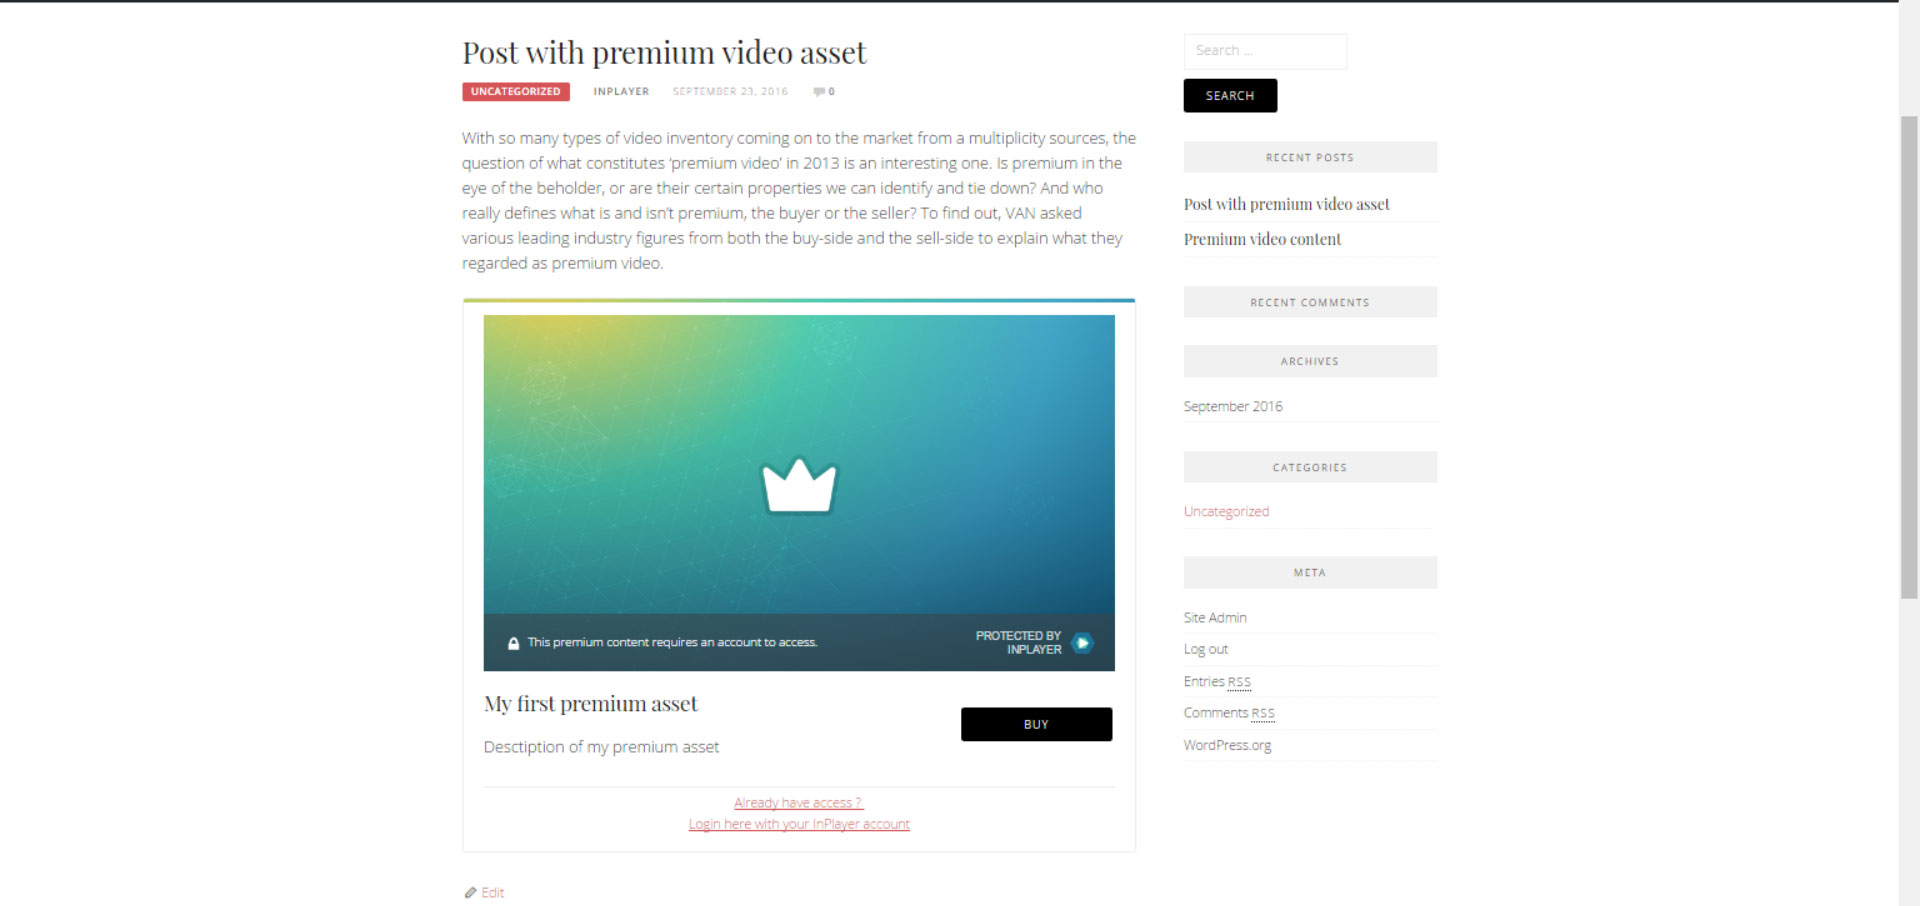
When a user visits your page, they will click on the preview image or buy button and an overlay will appear. Here they can create an InPlayer account which will allow them to pay for your premium asset. The paywall will disappear for the duration of time you set for your asset, and reappear when the period has elapsed. If they are allowed access, the paywall will disappear and they can view the premium asset.
What is an InPlayer asset?
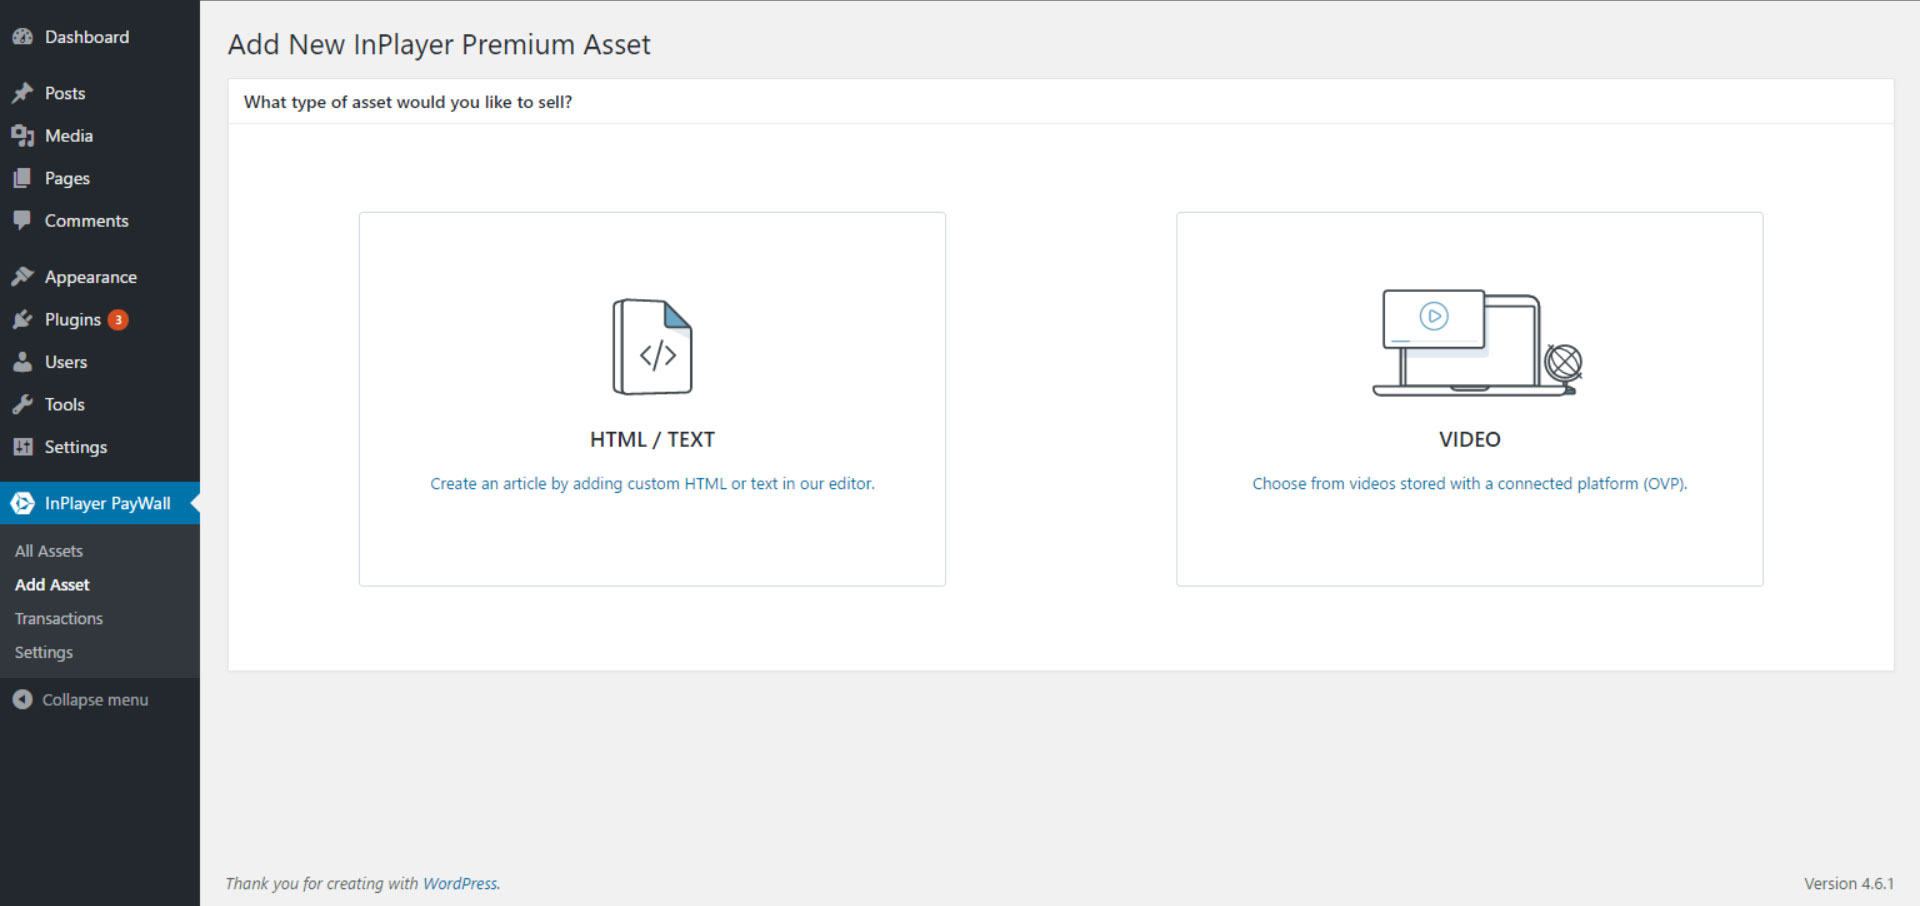
InPlayer asset is the content that you like to protect behind the InPlayer Paywall. Currently provided asset types are: Any HTML Content or iframe with the HTML Asset Any video hosted on OVP platforms. The first integrated OVP VIDEO Asset is Ooyala. We will frequently work on updating the support for more OVP integrations and CDN hosted videos with variety of different players.
How to create InPlayer asset?
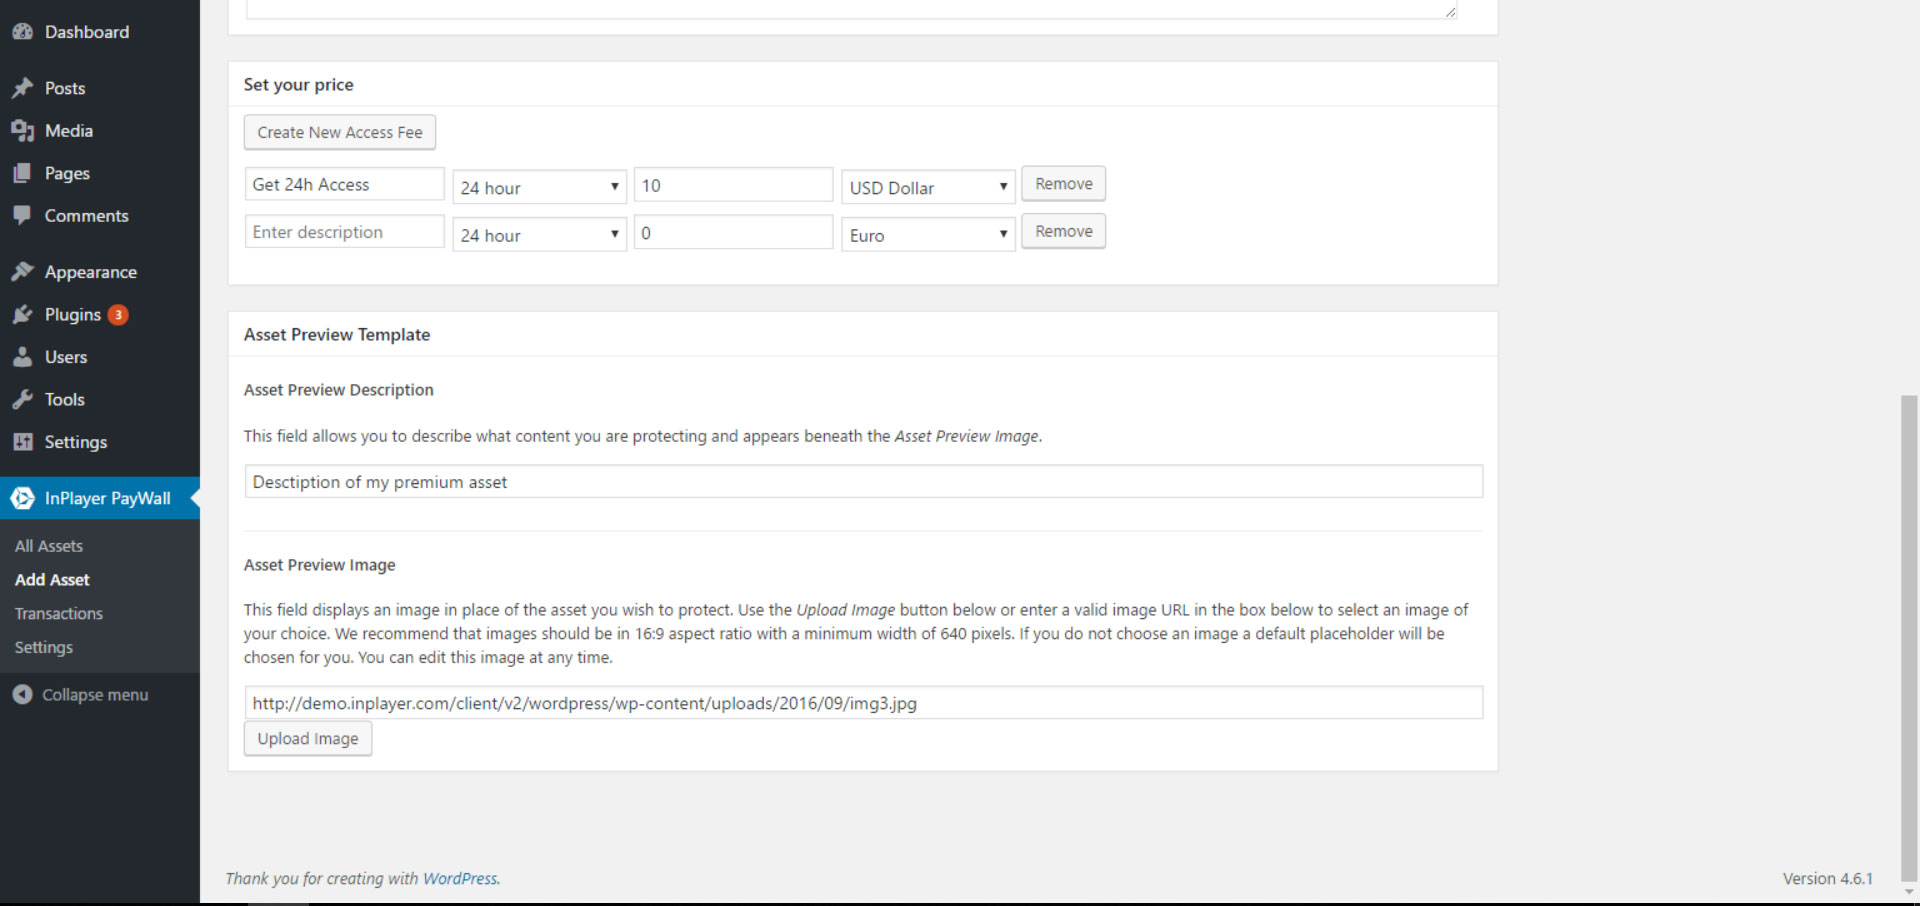
Creating Asset Name your asset. Give the asset a title that you will recognize later on. Selecting Asset Before creating your Ooyala asset you must connect your Ooyala account with InPlayer account in settings section of the plugin in the Accounts tab. Once you link your Ooyala account you can choose from your created videos. If you select HTML asset you will have an editor where you can create your html code. You can also use any iframes and other embed code. Set the price and create the access options Once you name your asset and fill the content you need to create a price tags by creating new access fees. You can create multiple access fees for one asset. The description, the access period, the amount, and the currency are the properties of the Access Fee. Create preview template Describe what content you are protecting in the description field. Add any image url or upload your own image in the preview image field. The preview template defines how the visitors on your websites will see the content before they can purchase the asset.
How to sell InPlayer asset?
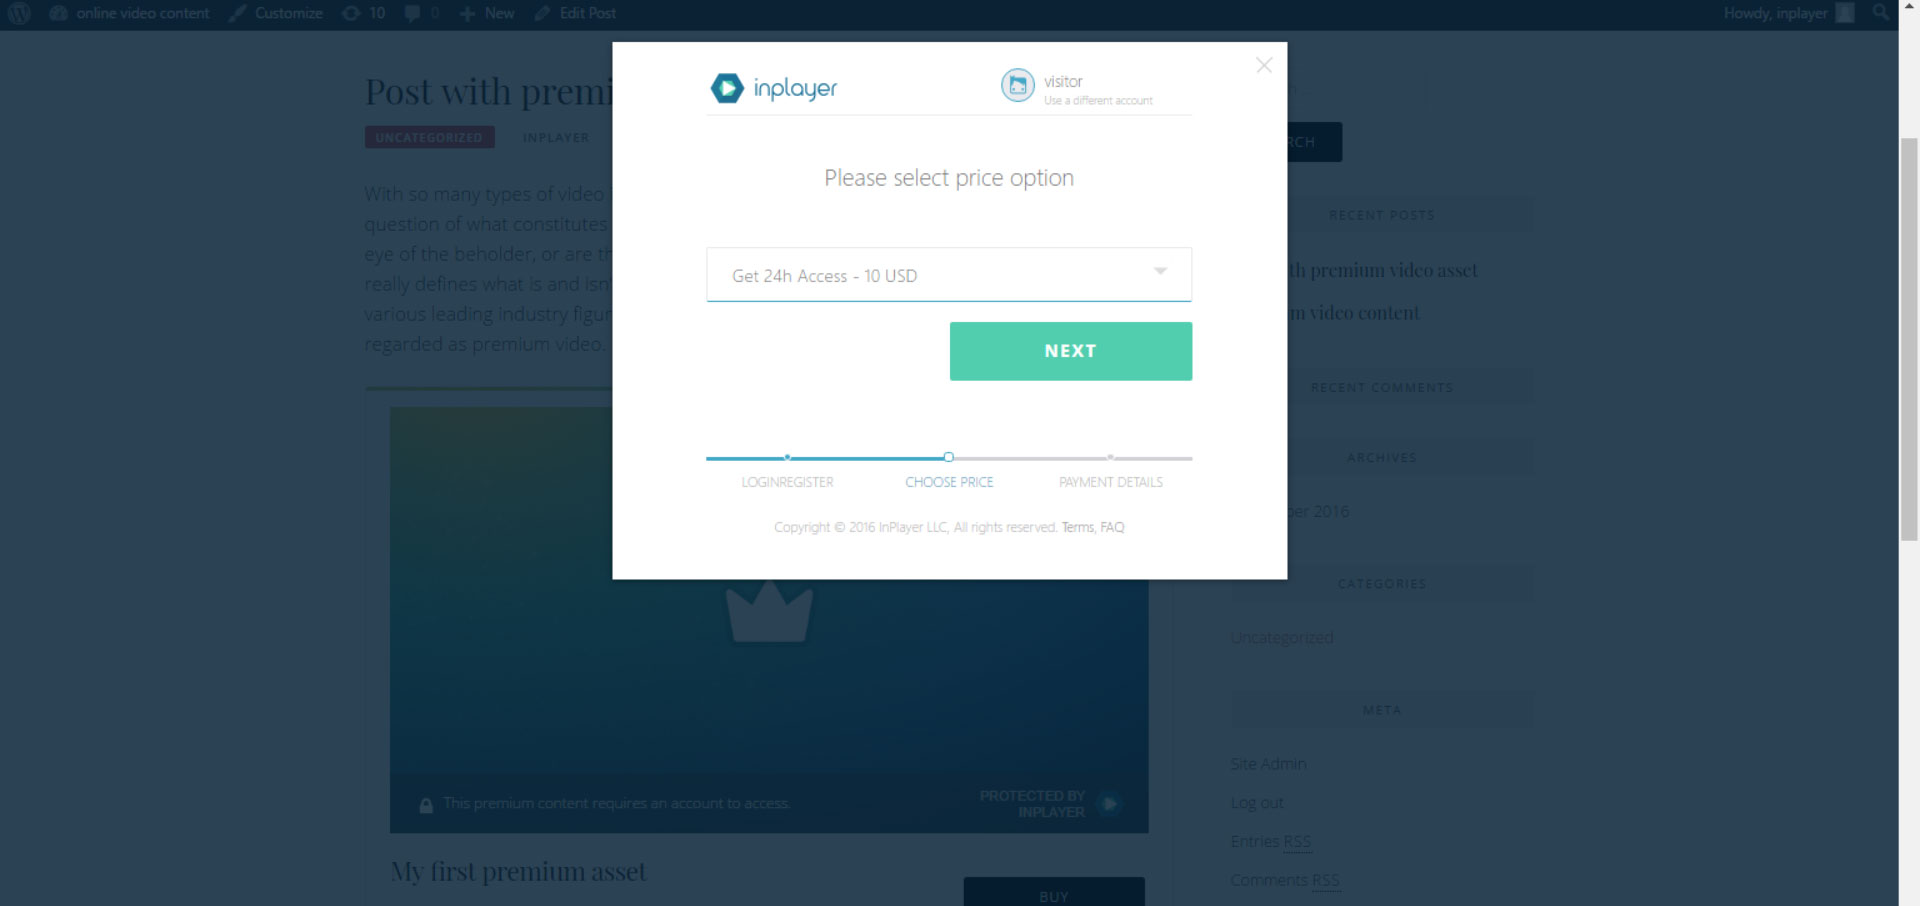
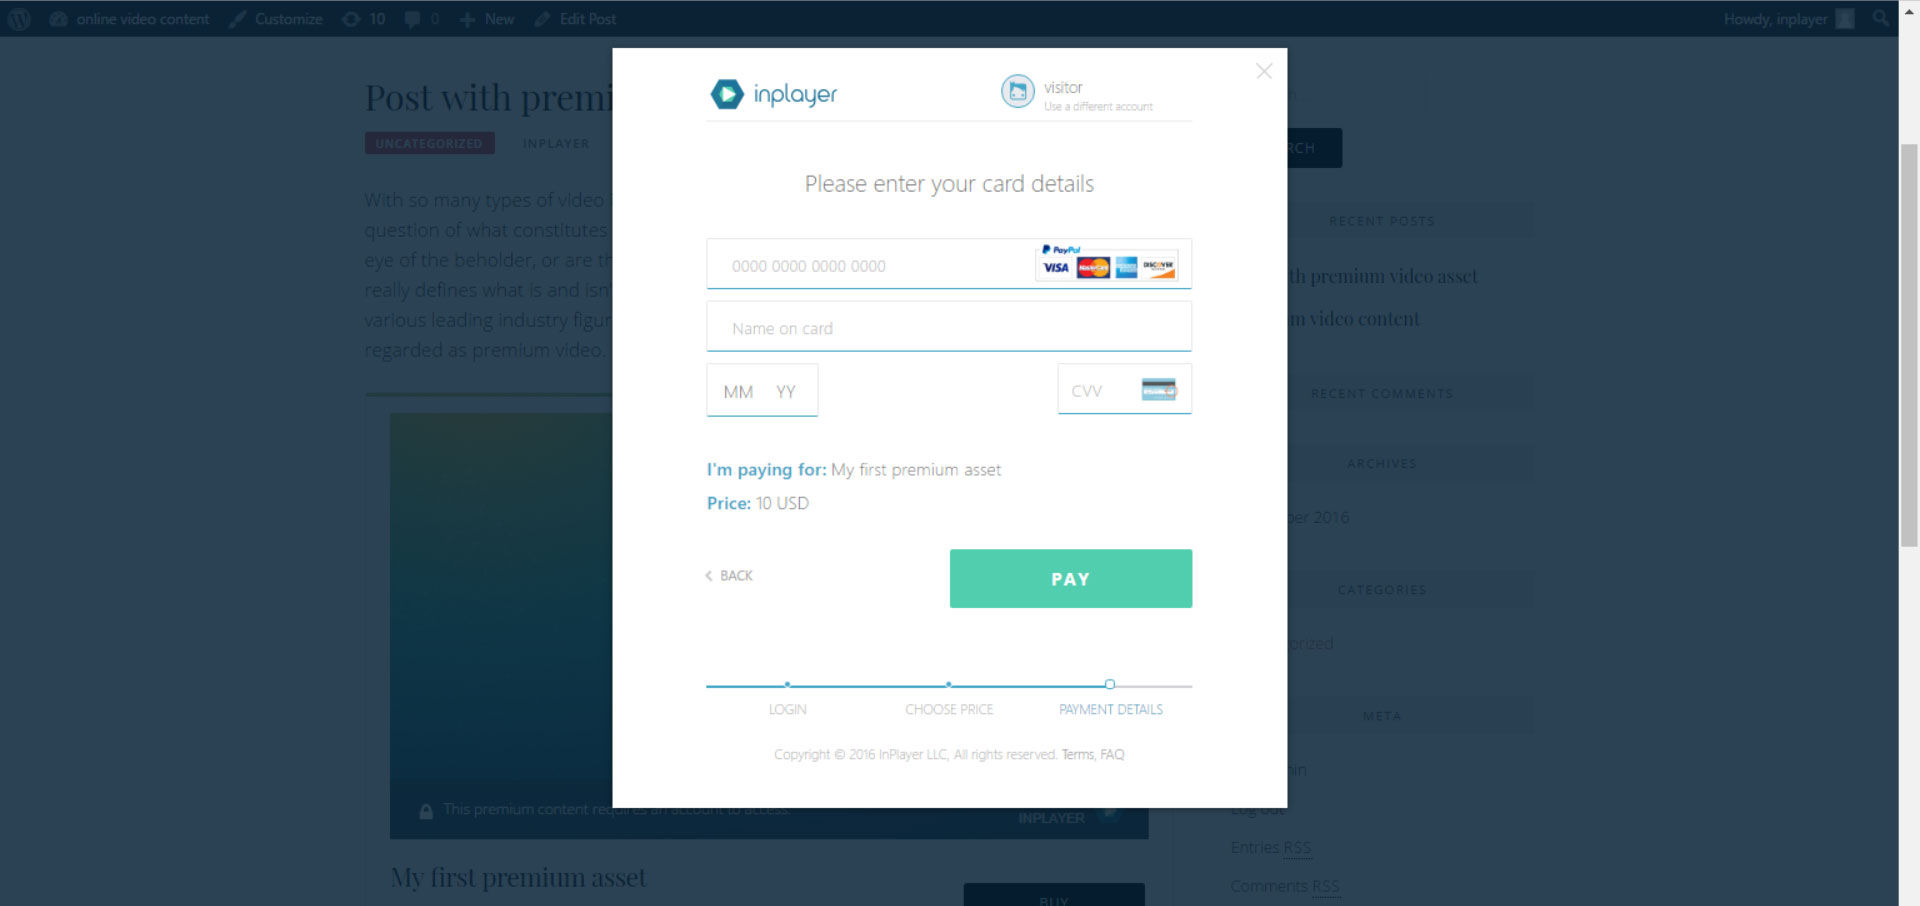
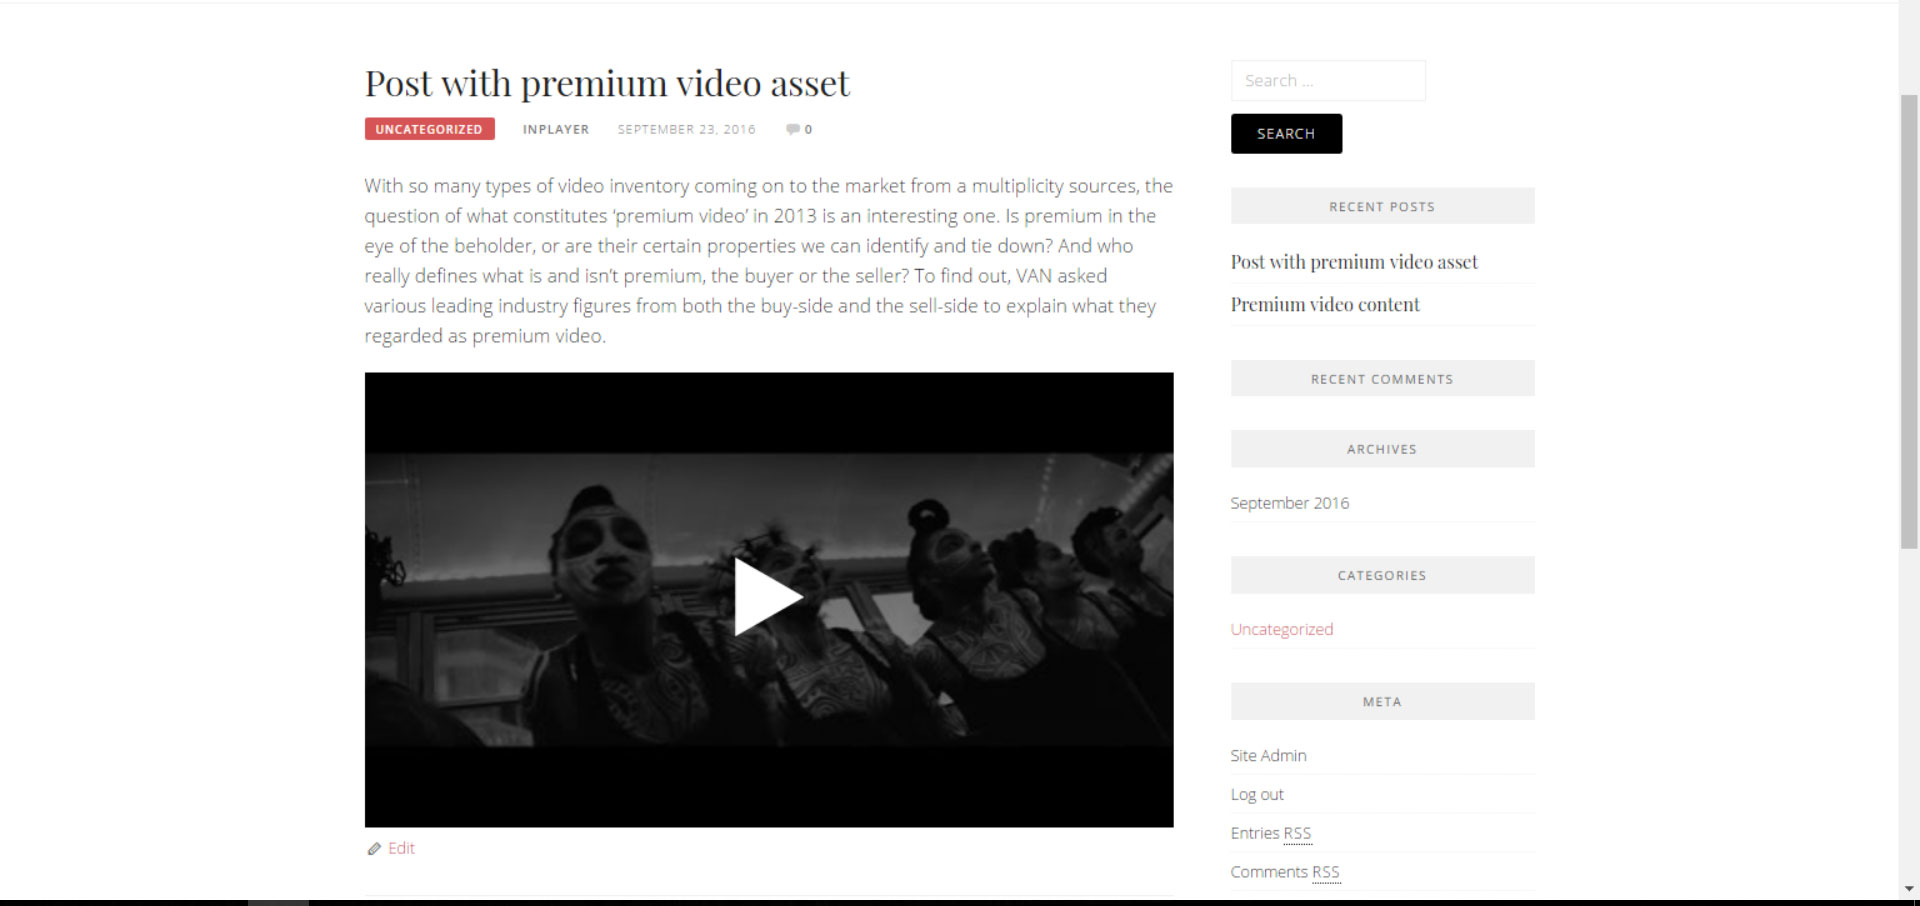
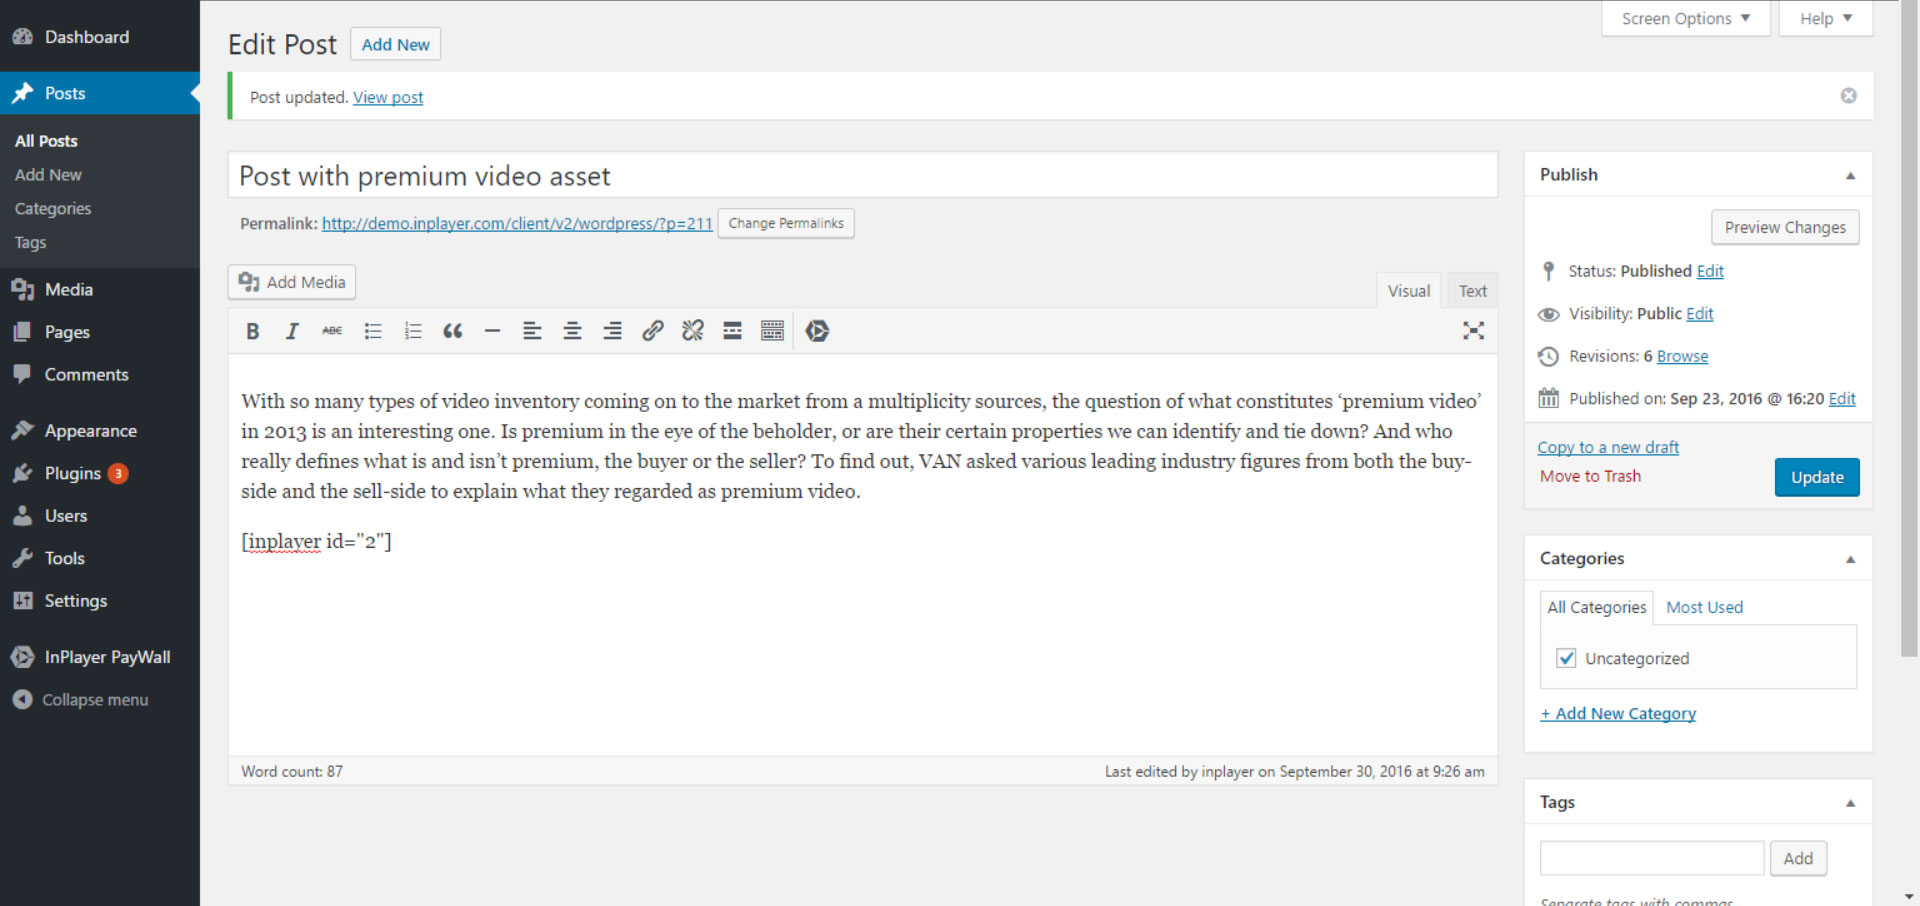
Once you create your asset you will get a shortcode in the top right corner of the page. You can copy and paste that shortcode anywhere in your posts. When the users visit a post with a shortcode in it, the plugin will serve the preview template and button for purchasing, instead of the shortcode in your post content. Once users want to buy an asset, they will be prompted with an option for creating customer account in the InPlayer platform or logging in with an existing one. The customers that are registered in the InPlayer platform can be used only with your InPlayer merchant account. They are only your audience. If you decide to change the merchant account after you deactivate and activate your plugin you will lose your audience from the first account. We will soon add the audience section in the plugin where you can check the details of your customers. Once the customer is logged in the paywall, he can choose the price option or the access fee that fits best for him. Lastly, he will need to fill out a form with his credit card details and purchase the asset. After the successful purchase, the InPlayer plugin will replace the preview template section of your website with the paid content from your premium asset. Having troubles with the plugin? Contact us at wordpress@inplayer.com
Requirements
Minimum PHP version of 5.4
更新日志:
- Removed withdraw inputs
- Total Purchases table fix
- Stable tag fix
- Stable tag fix
- Refund column fix
- Minimum PHP requirement 5.4
- Small refactor for saving key
- Removed deprecated view
- Modified forgot password flow
- First public release

