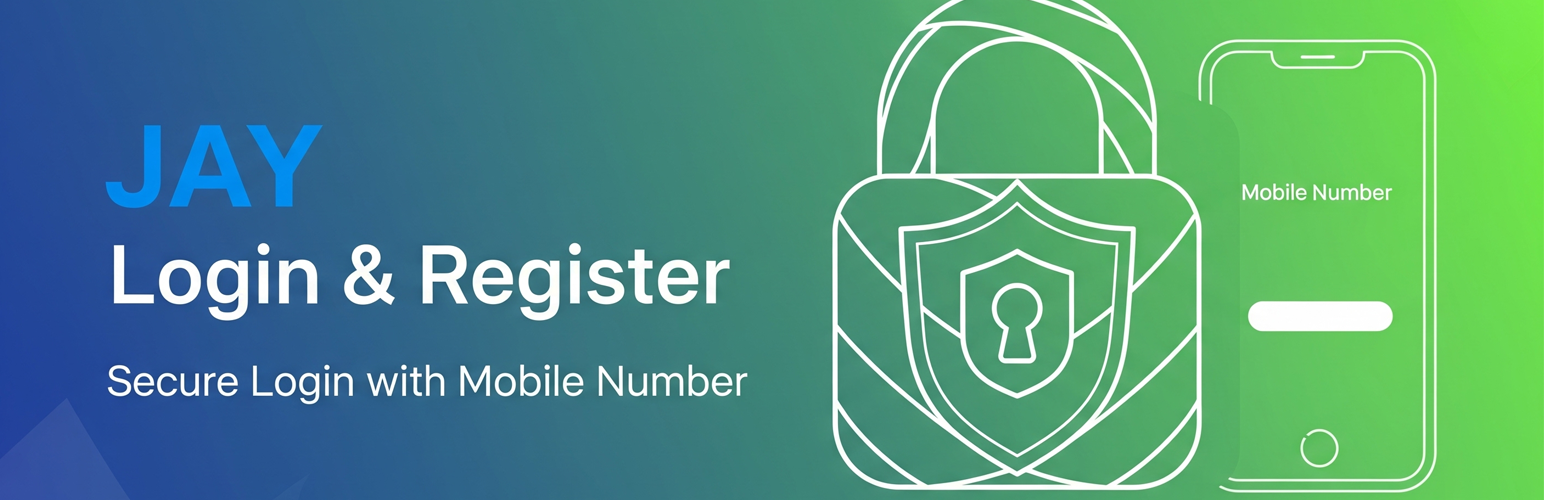
JAY Login & Register
| 开发者 | jayarsiech |
|---|---|
| 更新时间 | 2026年2月18日 19:15 |
| PHP版本: | 5.5 及以上 |
| WordPress版本: | 6.9 |
| 版权: | GPLv2 or later |
| 版权网址: | 版权信息 |
详情介绍:
Developed with ❤️ in Iran. 🇮🇷
JAY Login & Register is not just a login plugin; it is a complete authentication and access control ecosystem for WordPress.
While it creates a seamless Mobile OTP (One-Time Password) login and registration flow compatible with Digits, its true power lies in its Advanced Content Restriction capabilities. Whether you are selling courses, running a membership site, or simply want to grow your user base, JAY allows you to lock specific parts of your content and unlock them effortlessly via an inline AJAX form or smart redirects.
Why JAY Login & Register?
- **Performance Optimized: Built-in smart HTML Minifier automatically compresses shortcode output and AJAX responses, removing unnecessary whitespace to ensure perfect layout compatibility with all themes.
- Beyond Basic Login: Don't just verify users; engage them. Lock exclusive content inside your blog posts and reveal it instantly after a quick SMS/Email verification.
- Editor Friendly: Now featuring a native Gutenberg Container Block and smart Classic Editor buttons for protecting content without coding.
- Maximum Compatibility: Works perfectly with Gravity Forms (includes a dedicated OTP field Addon), Elementor, and WooCommerce, ensuring scripts load correctly even after AJAX login.
get_avatar).
* Jalali Date Picker: Full support for Persian dates in profile fields.
* Secure Validation: All conditional logic is re-validated on the server to prevent tampering via Inspect Element.
🚀 NEW: Gravity Forms OTP Add-on (Fully Integrated)
We've built a native Add-on for Gravity Forms! You can now verify user phone numbers directly inside any Gravity Form before submission.
* Native Field: Adds a dedicated "JAY Mobile Verification" field to the Gravity Forms editor.
* Seamless AJAX Validation: Verifies the OTP code via AJAX without breaking the form's natural flow.
* Auto-Login: Optionally log in or register the user automatically upon successful form submission.
* Anti-Fraud Security: Fully connected to JAY's global IP and Phone number Lockout system to prevent SMS bombing on your forms.
Key Features
- Protect Specific Content Sections (Shortcode): Use the
[jay_content_lock]shortcode to restrict access to portions of your content within posts and pages, independent of the full-page meta box settings. Choose between two modes: - Redirect Mode: Shows a blurred preview and prompts non-logged-in users to log in by redirecting them to the main login page. After successful login, they are returned to the original page, and the specific locked section can be highlighted.
- Inline Mode: Displays a compact login/registration form directly within the content area where the shortcode is placed. This allows users to authenticate seamlessly without navigating away from the current page, unlocking the content immediately upon success.
- Enhanced Editor Experience (New):
- Gutenberg Container Block: A dedicated "Content Lock" block that allows you to drag and drop other blocks (images, forms, text) inside it effortlessly.
- Smart Classic Editor: Simply click on any existing shortcode to edit its settings instantly. No need to select the text manually.
- Advanced Compatibility: Solves loading issues with complex plugins like Gravity Forms or Elementor inside locked content by using smart page reloading. Advanced User Data Collection (New)
- Custom Fields Builder: Easily add unlimited custom fields to your registration form directly from the settings. Supports:
- Text Inputs
- Dropdown Selects
- Radio Buttons
- Checkboxes
- Custom Username Support: Allow users to choose a unique "Username" during registration with live AJAX availability checking.
- Smart Login: Users can now log in using their Mobile Number, Email, or Username seamlessly.
- Smart Login & Registration: Automatically detects if a user's mobile number is new (directing to registration) or existing (directing to login).
- Digits Plugin Compatibility: Seamlessly recognizes and logs in users previously registered with the Digits plugin.
- Optional Identity Verification: Enable or disable the requirement for users to provide a National ID or Passport number during registration, with built-in duplicate ID prevention. The system intelligently asks for this information only once.
- Password & Phone Management: Logged-in users can easily change their registered mobile number or update their password through a dedicated shortcode.
- Profile Details: Option to enable "First Name" and "Last Name" fields in the final registration step to collect user details.
- Multiple CAPTCHA Options: Choose from four levels of protection to prevent bot attacks:
- Disabled: No CAPTCHA.
- Simple Math CAPTCHA: A basic math question (addition, subtraction, multiplication, division).
- Invisible Honeypot: An invisible security trap for bots that doesn't interrupt the user experience.
- Google reCAPTCHA v3 (Recommended): The most secure, invisible option to intelligently identify bots without user friction.
- Google Social Login: Enable one-click login and registration using Google accounts. This provides a fast, secure, and password-free authentication method, automatically creating an account for new users or logging in existing ones based on their email.
- Bale OTP (Safir API): A cost-effective alternative to SMS. Users who have the Bale messenger app can choose to receive their verification code directly in the app.
- Eitaa Social Login: Seamless and automatic login/registration for users coming from Eitaa Mini Apps. Provides a frictionless experience with secure authentication using the official Eitaa SDK.
- Multi-Gateway SMS Support: Natively integrates with popular Iranian SMS providers:
- iPPanel (and providers like FarazSMS, ModirPayamak, Taban SMS)
- Kavenegar
- SMS.ir
- melipayamak
- Voice OTP Support: In addition to SMS, deliver verification codes via automated voice calls using the Kavenegar gateway. Advanced Email & SMTP Features
- Email OTP for Login & Registration: Allow users to register and log in securely using a one-time password sent to their email. The registration flow now requires email verification before password creation for enhanced security.
- Built-in SMTP Mailer: Configure the plugin to send emails directly via SMTP for maximum reliability and deliverability, bypassing the default WordPress mail function.
- Customizable Email Templates: Full control over the subject and body of the OTP email using a rich text editor and helpful shortcodes.
- Test Email Functionality: Easily send a test email from the settings panel to verify that your SMTP configuration is working correctly.
- Protect against OTP and CAPTCHA guessing attacks with configurable settings for:
- Maximum failed attempts.
- Lockout duration (in minutes).
- Blocking method (by phone number, IP address, or both).
- Hide wp-login.php: Secure your site by completely hiding the default WordPress login page and redirecting all access to your custom login page.
- Secure by Design: Built with WordPress security standards in mind, utilizing nonces in all AJAX communications and proper data sanitization.
- Configurable OTP Settings: Customize the length of the OTP code and its validity period (in minutes), complete with a resend timer on the form.
- Admin Area Access Control: Restrict access to the WordPress dashboard (/wp-admin) based on specific user roles.
- User Switching: For administrators and support staff, easily switch to any user's account to view the site from their perspective without needing their password.
- Customizable User Columns: Take full control of the "Users" table in the admin area:
- Adds sortable "Mobile Number" and "Jalali Registration Date" columns.
- Allows hiding of default WordPress columns.
- Allows creating new custom columns based on any user meta key.
- Smart Redirects: Automatically redirects users back to the page they were trying to access before logging in, creating a seamless and uninterrupted browsing experience.
- Modern & Customizable Form: A beautifully designed, modern form with an optional logo that can be uploaded from the settings panel.
- Custom Landing Page: Set a specific default page to redirect users to after they log in or register.
- Custom Logout URL: Create a user-friendly logout link (e.g., yoursite.com/logout).
- Logged-in Welcome: Users who are already logged in see a welcoming message with a countdown and an automatic redirect to their dashboard, instead of the login form. Powerful Content & Access Control
- Content Protection Meta Box: A powerful meta box on the post/page editor allows you to restrict access to content based on:
- Whether the user is logged in.
- Specific user roles.
- Whether the user has a specific meta key in their profile.
安装:
- پوشه
jay_login_registerرا در مسیر/wp-content/plugins/آپلود کنید. - افزونه را از طریق منوی 'افزونهها' در وردپرس فعال کنید.
- به منوی تنظیمات 'jay_login_register' در پیشخوان رفته و تنظیمات لازم (API Key، کد پترن و ...) را وارد کنید.
- شورتکد
[jay_login_register_form]را در برگهای که میخواهید فرم ورود / عضویت نمایش داده شود، قرار دهید. - شورت کد
[jay_login_register_user_panel]را در برگه ای که میخواهید پنل کاربری داشته باشید قرار دهید - برای محافظت از محتوا، در صفحه ویرایش برگه یا نوشته، از «باکس تنظیمات دسترسی jay_login_register» استفاده کنید.
- برای استفاده از تایید پیامکی در فرمساز گراویتی، به منوی "ادانها" در تنظیمات افزونه بروید و ادان Gravity Forms را فعال کنید.
常见问题:
از چه سرویسهایی برای ارسال کد تایید پشتیبانی میشود؟
این افزونه از روشهای زیر برای ارسال کد پشتیبانی میکند:
- پیامک: از طریق پنلهای iPPanel, فراز اس ام اس, مدیر پیامک, تابان اس ام اس, کاوه نگار, ملی پیامک, SMS.ir, RayganSMS
- پیامرسان بله: از طریق سرویس OTP سفیر بله (به عنوان یک جایگزین ارزانتر برای پیامک).
- تماس صوتی: از طریق پنل کاوه نگار.
- ایمیل: از طریق SMTP یا تابع پیشفرض وردپرس.
آیا میتوانم طول کد تایید را تغییر دهم؟
بله، از طریق صفحه تنظیمات افزونه میتوانید طول کد تایید را بین ۴ تا ۸ رقم انتخاب کنید.
کپچای honey pot
این کپچا یک فیلد برای ربات ها میسازد اما کاربر از آن بی خبر است نکته: علاوه بر فیلد زمان پر کردن فیلد ها هم بررسی میشود یعنی چنانچه ربات ها فیلد مخفی شما را پر نکنند باید سرعت خود را در پر کردن فیلد اصلی رعایت کنند مگرنه از طرف سیستم باز هم بلاک میشود پس از فعال سازی اگر از افزونه های کش استفاده میکنید یکبار کش را پاک کنید
آموزش افزونه
بعد از نصب افزونه در زیر منو به نام آموزش دارد که تمامی امکانات و موارد در آنجا به شما با زبان راحت آموزش داده شده است
How do I set up Google Login?
Setting up Google Login involves creating credentials in the Google Cloud Console. Follow these steps carefully:
- Go to Google Cloud Console: Log in to the Google Cloud Console Credentials page.
- Configure Consent Screen (if needed): If this is your first time, you may need to configure your "OAuth consent screen".
- Choose External as the User Type and click CREATE.
- Fill in the required fields: "App name" and "User support email".
- Click "SAVE AND CONTINUE" at the bottom. You don't need to fill out the other steps.
- Navigate back to the Credentials tab from the left-hand menu.
- Create Credentials:
- At the top of the page, click + CREATE CREDENTIALS.
- Select OAuth client ID from the dropdown.
- Configure Client ID:
- For Application type, you must select Web application.
- For Name, enter a descriptive name for your own reference (e.g., My Website Login). This is not shown to users.
- Add Redirect URI:
- Under the Authorized redirect URIs section, click ADD URI.
- Paste the redirect URL exactly as it is shown in your plugin's settings page (under the Google Login instructions). It will look like this:
https://yourwebsite.com/?jay-google-auth=1 - Create and Copy Keys:
- Click the blue CREATE button.
- A pop-up will appear showing your Client ID and Client Secret.
- Copy these two values and paste them into the corresponding fields in the plugin's settings under the "Social Login" tab.
更新日志:
2.6.05
- New Feature: Added official Gravity Forms Add-on. Easily add mobile OTP verification to any Gravity Form.
- Feature: Built-in Auto-login & Auto-register option for users verifying their number via Gravity Forms.
- Security: Integrated Gravity Forms verification with the global IP/Phone Lockout and Brute-Force protection system.
- Improvement: Introduced an elegant and isolated UI for the Add-ons manager inside the WordPress dashboard.
- Improvement: Replaced external icons with high-performance inline SVG vectors.
- Fix: Resolved WordPress Plugin Checker warnings regarding Nonce Verification and Database direct queries using safe practices.
- Performance: Introduced a smart on-the-fly HTML Minifier engine to strip whitespace from shortcodes and AJAX responses, ensuring clean rendering and compatibility with all themes.
- Security & Standards: Extensive codebase refactoring to strictly follow WordPress.org Coding Standards.
- Security: Applied rigorous input sanitization, unslashing, and output escaping across all AJAX handlers and settings pages.
- Improvement: Optimized database queries in the User Permission module to prevent slow query warnings.
- Fix: Resolved Regex delimiter issues in the minification logic to prevent server warnings.
- SECURITY FIX: Addressed WordPress coding standards regarding input sanitization (phpcs warnings).
- Fix: Minor improvements in the Ajax handler for file uploads.
- SECURITY FIX: Critical authentication bypass vulnerability fixed in the User Switching module (CVE-2025-14440). Special thanks to kr0d and the WP Security Team.
- New Feature: Advanced User Panel Form Builder with Drag & Drop interface.
- New Feature: Conditional Logic for User Panel fields (Show/Hide fields based on Meta Keys or other field values with AND/OR support).
- New Feature: Native Avatar Upload integrated with WordPress Media Library.
- New Feature: Repeater functionality for conditional logic rules.
- Improvement: Enhanced security validation for all user panel inputs (Server-side logic checks).
- Improvement: Fixed RTL styling issues for Select boxes in the User Panel.
- New Feature: Added a Global Custom Fields Builder. Admins can now add Text, Select, Radio, and Checkbox fields to the registration form via settings.
- New Feature: Added optional Username field for registration with live AJAX validation (availability & format check).
- Improvement: Enhanced the main login form to accept Mobile, Email, or Username intelligently in a single input field.
- Improvement: Unified "First Name" and "Last Name" settings into a single toggle for better UX.
- Style: Applied modern glassmorphism styling to custom Radio buttons and Checkboxes.
- Fix: Resolved session errors when requesting OTP for a user logged in via Username.
- Fix: Fixed "0" response issue in AJAX handlers for logged-in administrators during testing.
- Security: Enhanced sanitization for custom field data storage.
- New Feature: Added options to collect First Name and Last Name during registration.
- Fix: Resolved the issue where the "Content Lock" button was missing in the Gutenberg block editor.
- Improvement: Optimized editor scripts for better performance and security.
- Feature: Introduced a new Gutenberg Container Block for easier content locking. You can now drag and drop content inside the lock block.
- Improvement: Enhanced Classic Editor button with Smart Detection. Clicking inside a shortcode now automatically switches the button to "Edit Mode".
- Fix: Resolved AJAX loading issues for third-party scripts (like Gravity Forms, Elementor, and WooCommerce) inside inline forms by implementing a smart page reload logic with scroll retention.
- UX: Improved the "Custom Fields" UI in the settings modal to prevent layout overflow.
- Security: Added strict sanitization and unslashing to all AJAX handlers to meet WordPress.org standards.
- New Feature: Added options to collect First Name and Last Name during registration.
- Fix: Resolved the issue where the "Content Lock" button was missing in the Gutenberg block editor.
- Improvement: Optimized editor scripts for better performance and security.
- New Feature: Added support for Bale's Safir OTP service, allowing users to receive verification codes directly in the Bale messenger app as a cost-effective alternative to SMS.
- Improvement: The user interface now provides a choice between SMS and Bale for receiving the code during registration if the Bale OTP feature is enabled.
- Fix: Correctly handled the JSON response from the MeliPayamak API to prevent incorrect error messages on successful sends.
- New Feature: Added one-click login/registration with Google (Gmail) accounts.
- Tweak: Added a detailed step-by-step guide for generating Google OAuth credentials within the plugin settings.
- New Feature: Added support for the SMS.ir gateway.
- Fix: Resolved a bug where Eitaa social login settings were sometimes erased when saving other settings tabs.
- Tweak: Corrected the main form shortcode in the readme file.
- انتشار اولیه افزونه. توسعه دهنده جلال رضایی چاهوکی