
Mapasso DPP
| 开发者 | ddgossen |
|---|---|
| 更新时间 | 2026年11月18日 22:44 |
| PHP版本: | 7.4 及以上 |
| WordPress版本: | 7.1 |
| 版权: | GPLv2 or later |
| 版权网址: | 版权信息 |
详情介绍:
Mapasso hosts the Digital Product Passport (DPP) of your products under a stable GS1 Digital Link address. This plugin connects your WooCommerce shop with your Mapasso account:
- Sends your products and variations with SKU, GTIN, name, brand, category, image and product URL to Mapasso.
- Fetches passport status, passport link and QR code back and stores them at the product or variation.
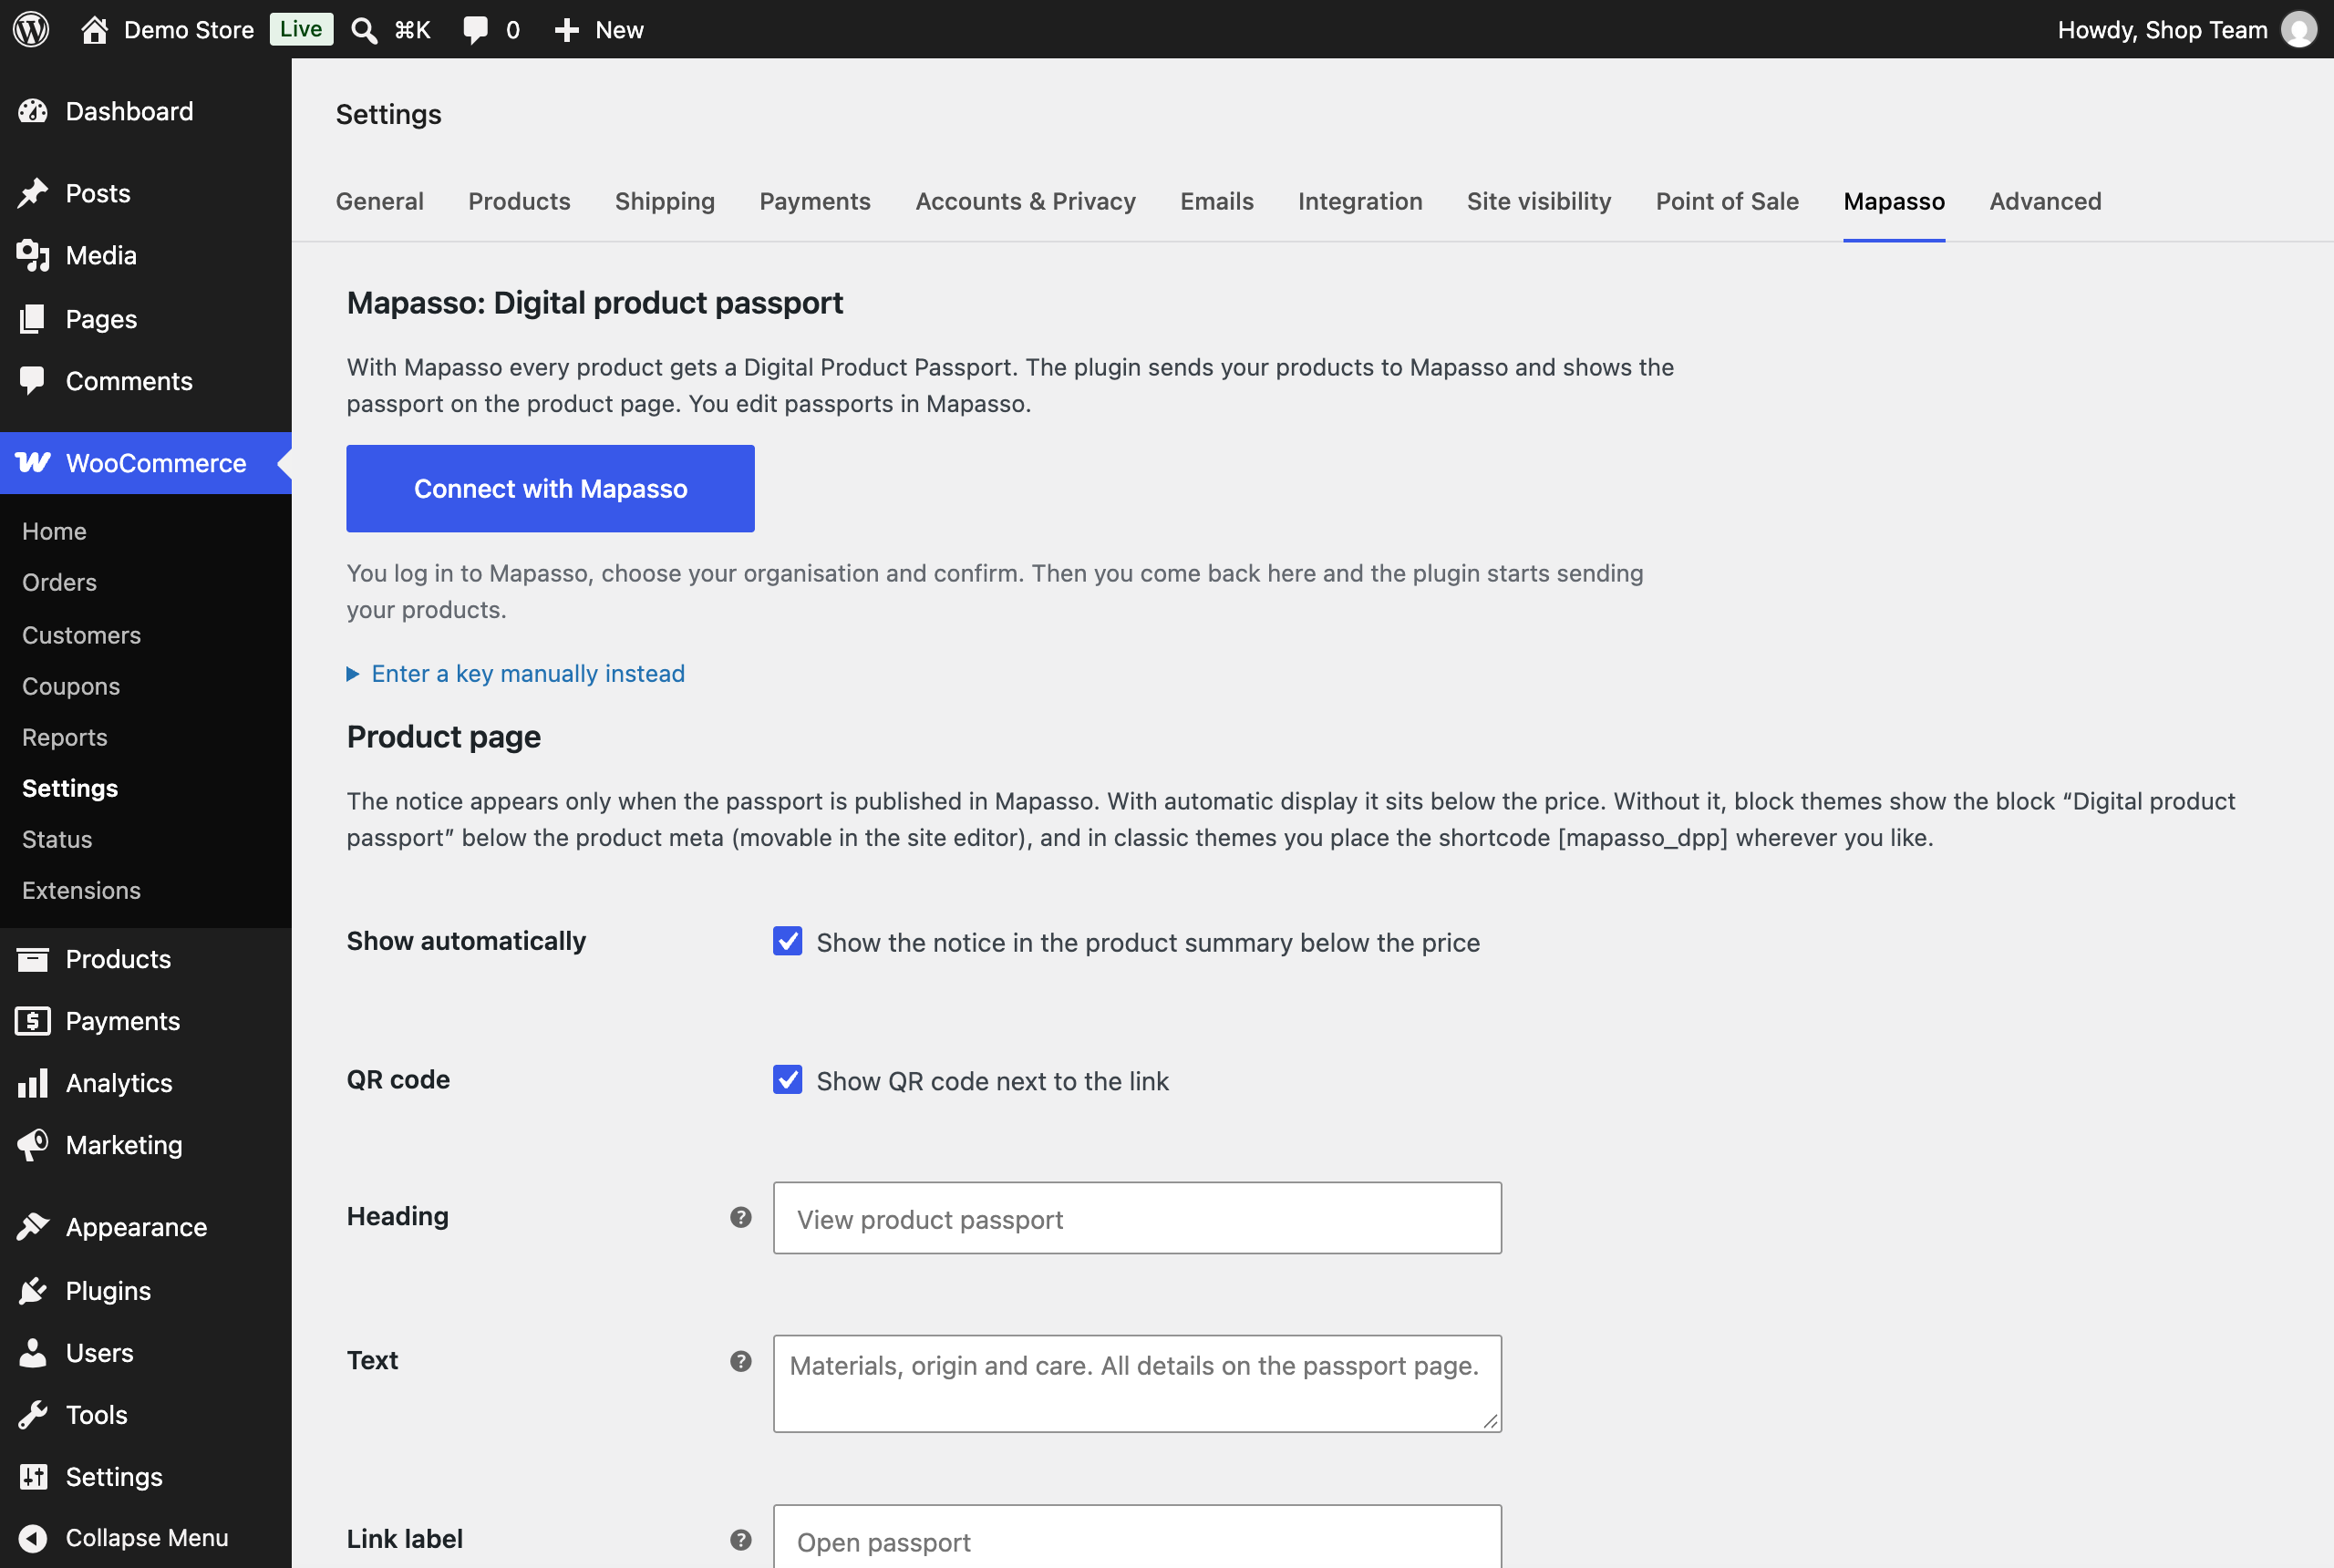
- Optional notice with link and QR code on the product page, off by default. Switch it on in the settings or place the block or shortcode yourself. It appears only when the passport is published. Works with block themes (block "Digital product passport") and classic themes (automatic or shortcode
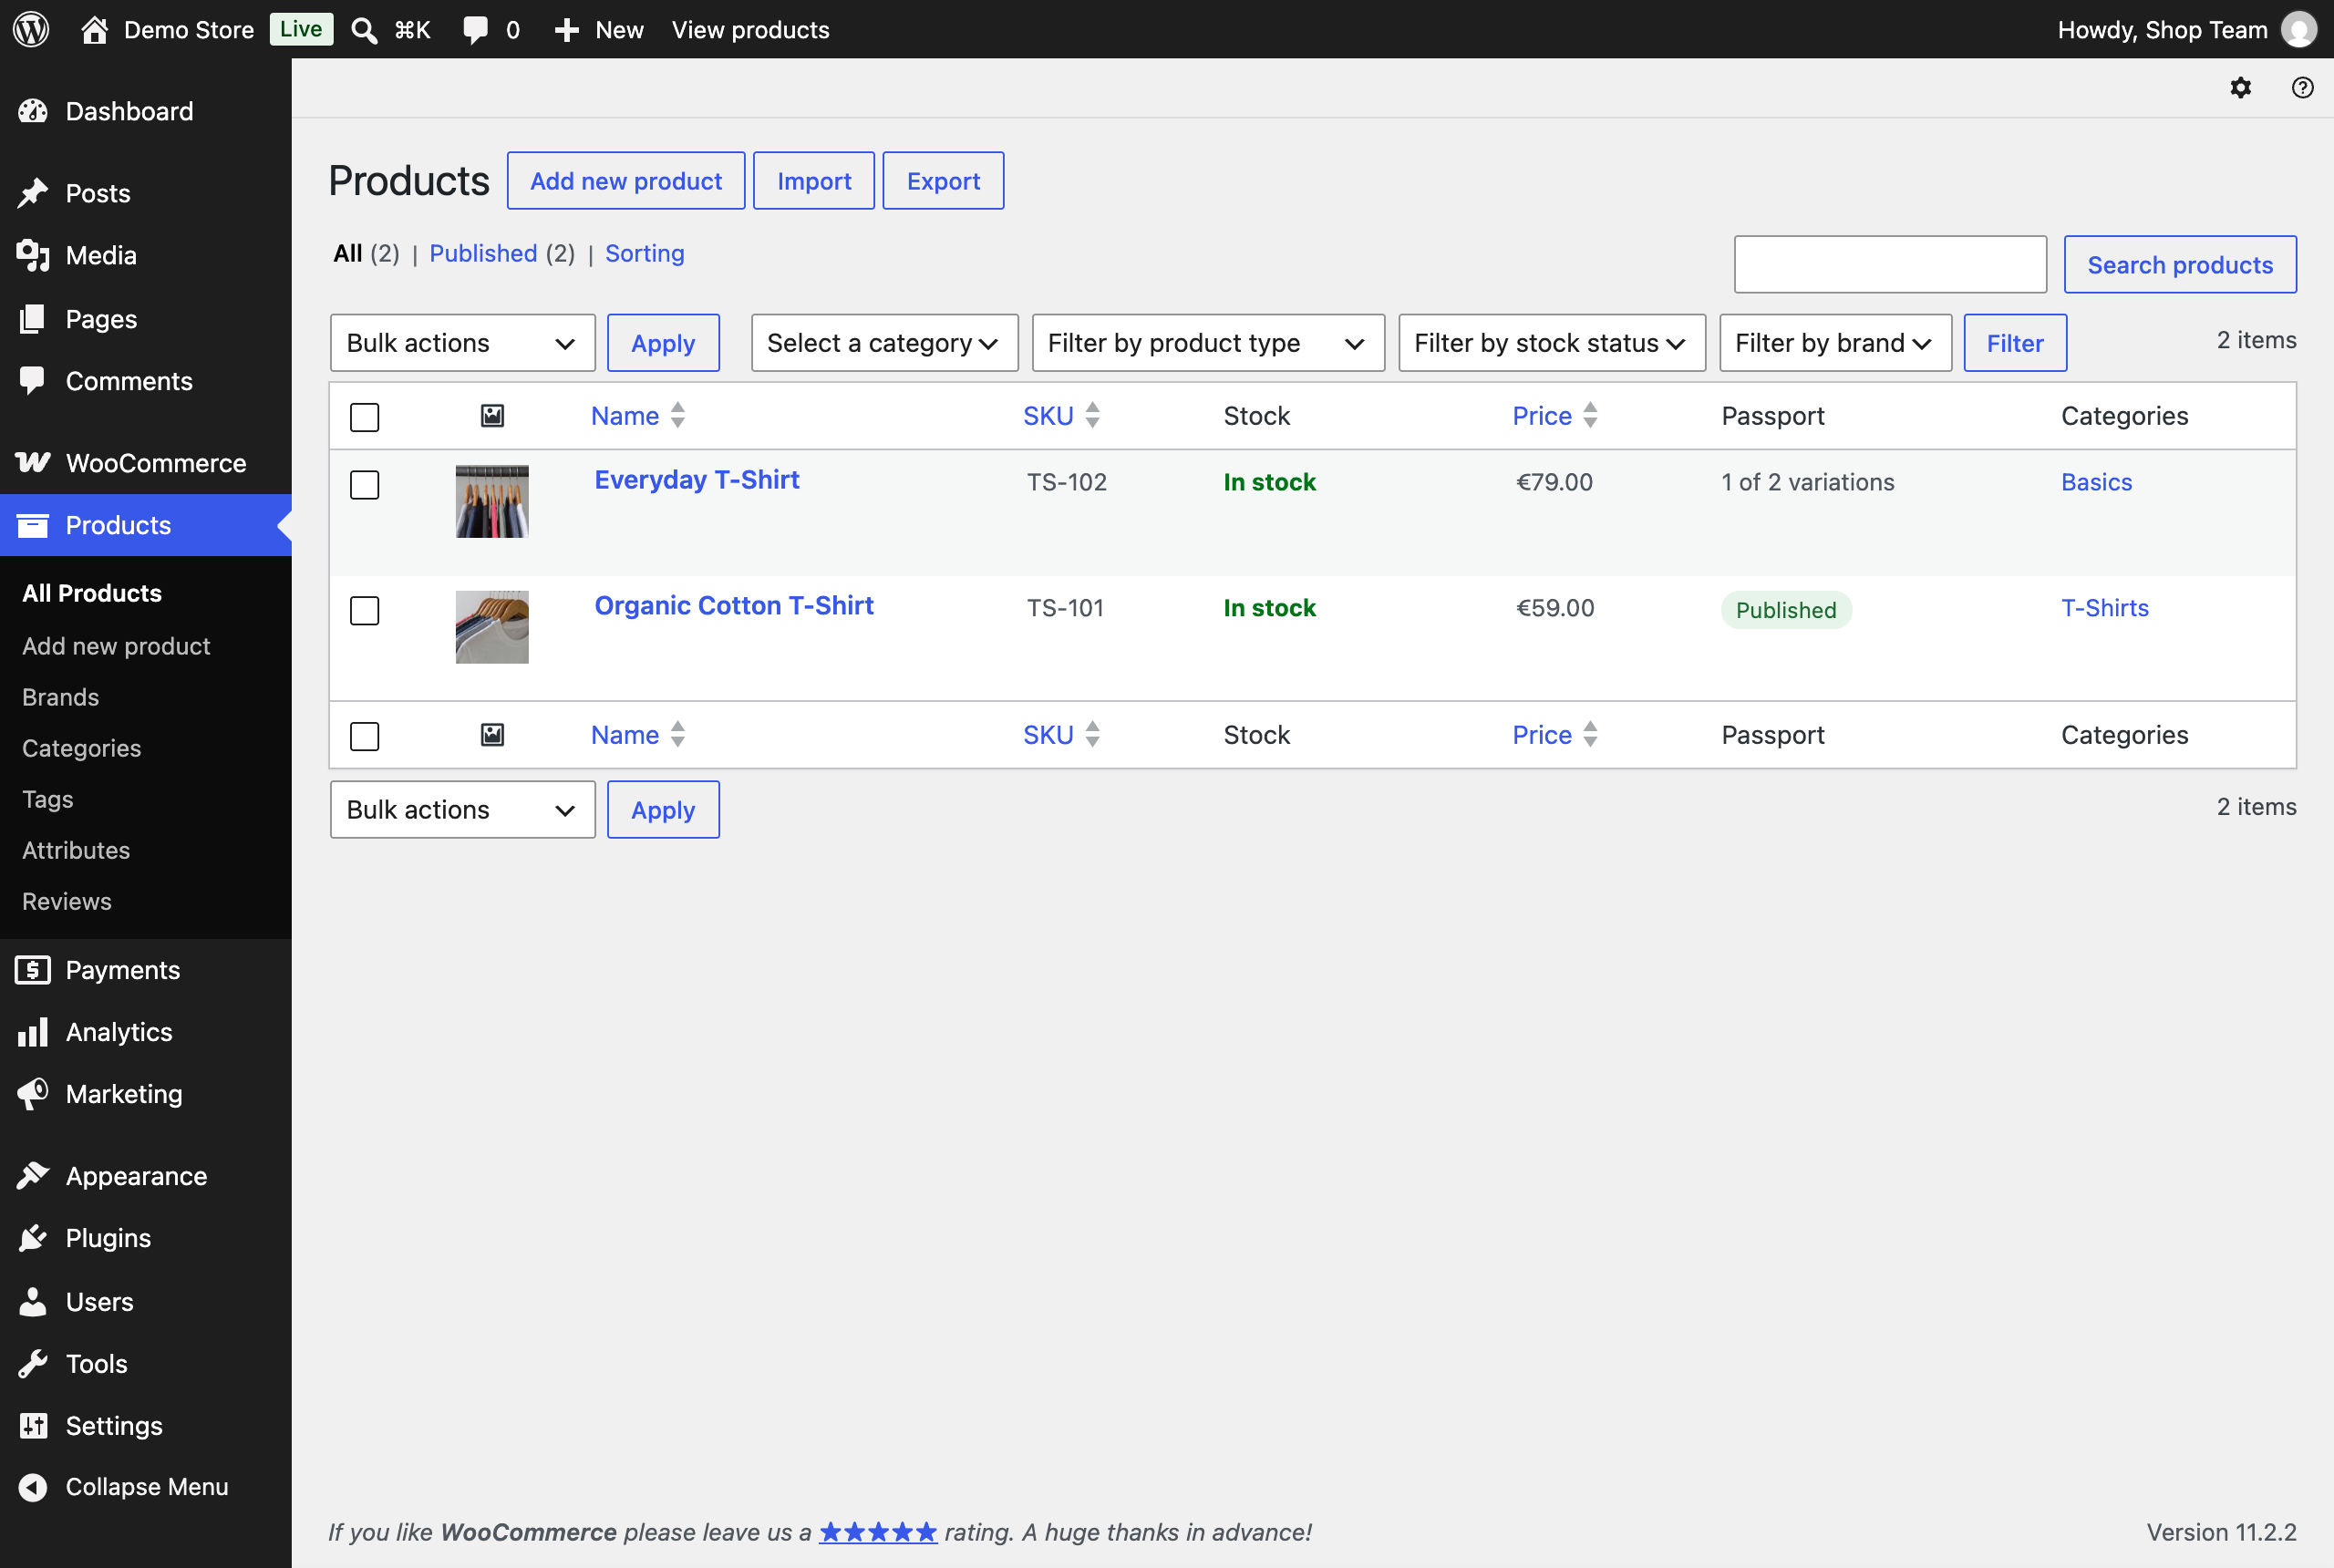
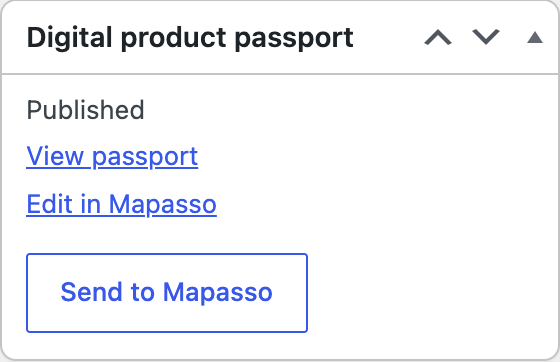
[mapasso_dpp]). Variations show their own passport. - Shows the passport status in the product list and on the product edit screen, with a bulk action "Send to Mapasso".
安装:
- Install and activate the plugin (requires WooCommerce 9.2 or later).
- Go to WooCommerce > Settings > Mapasso and click "Connect with Mapasso".
- Log in to Mapasso, choose your organization and confirm. You come back to WordPress and the plugin starts sending your products.
- To show a notice with a link to the passport on your product pages, check "Show a notice with a link to the passport on the product page" in the same settings. You can also place the block "Digital product passport" or the shortcode
[mapasso_dpp]yourself.
define( 'MAPASSO_DPP_API_KEY', 'mps_live_...' );屏幕截图:
常见问题:
Where does the GTIN come from?
From the WooCommerce field "GTIN, UPC, EAN or ISBN" (inventory tab). If it is empty, the plugin also reads common fields of Germanized, German Market and EAN plugins. Without a GTIN a product reaches Mapasso but cannot get a passport.
What happens when I disconnect or delete the plugin?
Your passports stay in Mapasso and remain reachable under their link. If you connected with the button, the connection is removed in Mapasso and its key stops working. If you pasted a key, the webhook is unregistered and you delete the key in Mapasso yourself. Deleting the plugin also removes its settings and product data in WordPress.
更新日志:
0.2.4
- Links to the Mapasso website point to mapasso.com. Passport links on mapasso.com and mapasso.de are accepted.
- Readme: Mapasso stores each passport outside your shop, so it stays reachable without the plugin.
- The notice with the link to the passport is off by default. Switch it on in the settings or place the block or shortcode yourself.
- Product edit screen: passport status and each link on a line of their own.
- Tested with WordPress 7.1.4 and WooCommerce 11.2.2.
- Plugin name shortened to Mapasso DPP. Clearer status texts in the settings.
- Passport link in the language of the shop, if the passport is translated into it.
- Connecting to a different Mapasso connection removes the passports of the old one from the product pages.
- Security: a custom Mapasso address only works with the constant MAPASSO_DPP_DEV, never in live shops, and only over https.
- Security: API requests never follow redirects, passport links only on mapasso.com or mapasso.de over https, QR codes only from the passport host.
- Security: webhook replays detected via the signed header, passport data only for products sent by this plugin.
- Uninstall also removes cached data, on multisite for every site.
- Connect with one click ("Connect with Mapasso"), key bound to the connection. Pasting a key still works.
- Disconnecting or deleting the plugin removes a button connection in Mapasso.
- QR code embedded in the product page, visitors load nothing from Mapasso.
- Prototype: connection, product sync, passport status via webhook and polling, product page notice, block, shortcode, product list column, bulk action.