Netcash WooCommerce Payment Gateway
| 开发者 | @netcashpaynow |
|---|---|
| 更新时间 | 2026年1月13日 22:03 |
| PHP版本: | 7.0 及以上 |
| WordPress版本: | 6.9 |
| 版权: | GPLv3 |
| 版权网址: | 版权信息 |
详情介绍:
- Easy setup and installation
- Custom integration supported via API
- Friendly customer service with a dedicated account manager
- Choose when to get paid out and receive your funds in 24 hours.
- 3D Secure and PCI DSS Level 1 Compliant
- A Netcash account
- Pay Now service activated
- Netcash account login credentials (with the appropriate permissions setup)
- Netcash - Pay Now Service key
- Cart admin login credentials
安装:
- Log into your Netcash account
- Type in your Username, Password, and PIN
- Click on Account Profile on the top menu
- Select Netconnector from the left side menu
- Click on Pay Now from the subsection
- Activate the Pay Now service
- Type in your email address
- It is highly advisable to activate test mode & ignore errors while testing
- Select the payment options required (only the options selected will be displayed to the end user)
- Remember to remove the "Make Test Mode Active" indicator to accept live payments
- Click "Save" and copy your Pay Now Service Key
- Accept, Decline, Notify, and Redirect URLs: https://YOUR_DOMAIN.co.za/
- Install WordPress
- Log into WordPress as an administrator (wp-admin folder)
- Go go to Plugins / Add New
- Search for "woocommerce" and once it's found click on 'Install Now'
- Activate WooCommerce
- Login to your WordPress website as admin (wp-admin folder)
- Click "Plugins" / "Upload", "Browse", and selected the downloaded file
- Click 'Install' and Activate the Plugin.
- Select "WooCommerce" in the admin menu, click on "Settings" and under "General" select "Currency South African Rand" and Save Changes.
- Select "Payment Gateways", "PayNow", and tick "Enable PayNow" and Save Changes.
- Enter your Netcash Service key
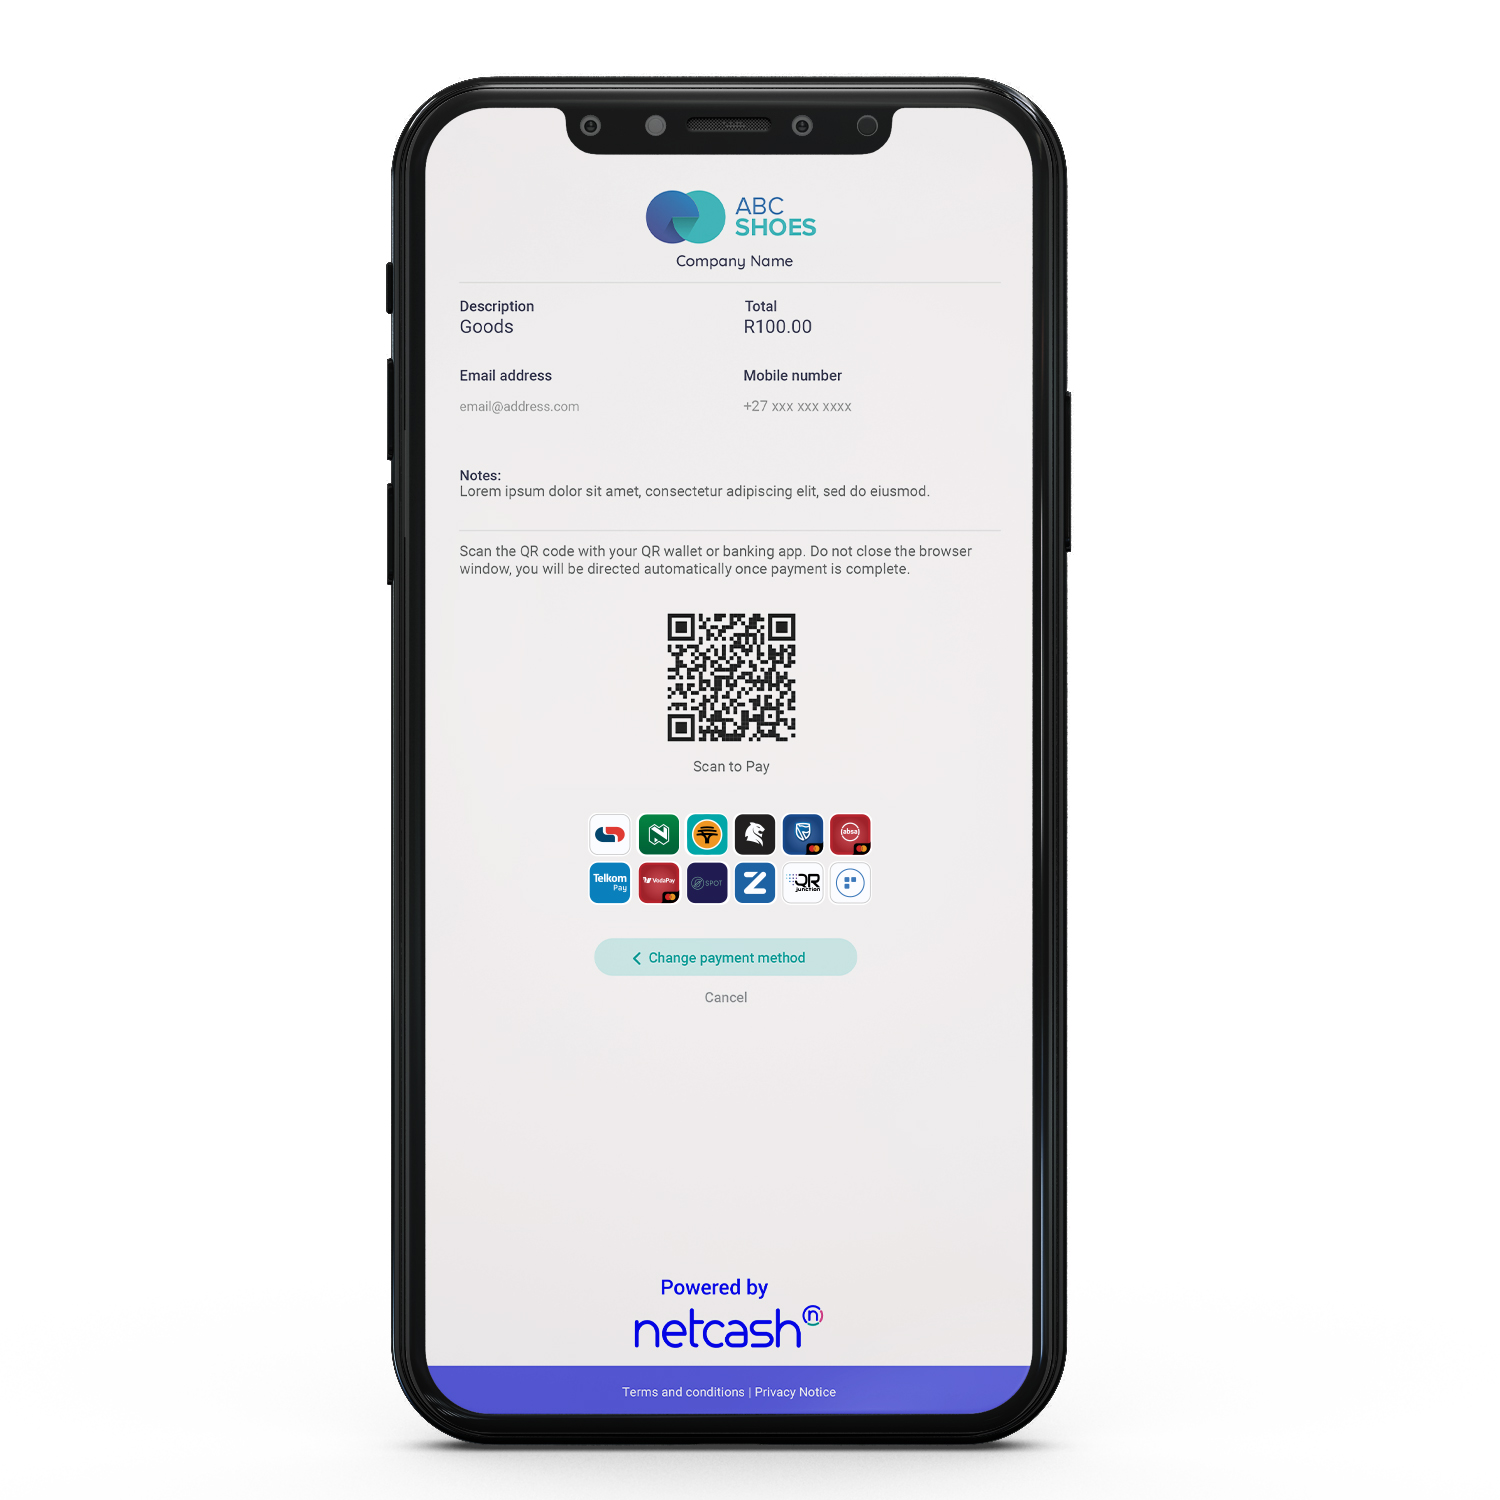
屏幕截图:
常见问题:
Does this require a Netcash merchant account?
Yes, you can register for a new account here or use your existing Netcash account to login and activate the service.
I need support with this plugin. Who can I contact?
You can reach out to support@netcash.co.za with any queries.
Can I accept foreign currency through Pay Now?
Unfortunately, all transactions are processed in ZAR. You can however accept foreign credit and debit cards, as long as they are 3D secured.
What are the transaction fees?
To receive our latest fees, please email sales@netcash.co.za.
Does Netcash support custom integration?
Yes, you can use our developer-friendly API to create custom integrations for your online store. Please contact support@netcash.co.za for assistance and documentation.
Can I use recurring payments??
Yes. Netcash Pay Now for WooCommerce integrates with WooCommerce Subscriptions.
What should the redirect URL be set to?
In the WooCommerce setting a notice with the heading "Netcash Connecter URLs" will display the full URL to the redirect URLs.
Where can I find the debug log?
If debugging is enabled we will log to the default PHP error log. Please ask you system administrator for the exact location.
更新日志:
- Security fix: Address CVE-2025-14880 - Missing Authorization vulnerability
- Add server-side transaction verification with Netcash TransactionStatus API
- Prevent unauthorized modification of order status via callback endpoint
- Fix 'load_textdomain was called incorrectly' notice
- Fix issue where cancelling a subscription sometimes didn't cancel it on the gateway
- Add WordPress / WooCommerce Blocks support
- Add back notify URL and update compatibility
- Fix CC token return
- Add auto redirect
- Declare incompatibility for WooCommerce checkout blocks
- Update WooCommerce linting
- Update "tested up to"
- Update readme links
- Add ability for customer to cancel subscription from the frontend
- Add ability to create subscriptions with a free trial and no signup fee.
- Fix some orders not being reconciled correctly
- Fix deprecated magic properties
- Update to quarterly subscription period
- Update banners, screenshots, FAQs
- WordPress.org release
- Fix quarterly subscription period
- Netcash PHP updates
- Use Github Tags
- Implement subscriptions
- Use same URL for all post backs
- Implement Pay Now SDK
- Fix EFT payment issues


