Payop Official
| 开发者 | |
|---|---|
| 更新时间 | 2026年10月5日 17:40 |
| PHP版本: | 7.4 及以上 |
| WordPress版本: | 7.1 |
| 版权: | GPLv2 or later |
| 版权网址: | 版权信息 |
详情介绍:
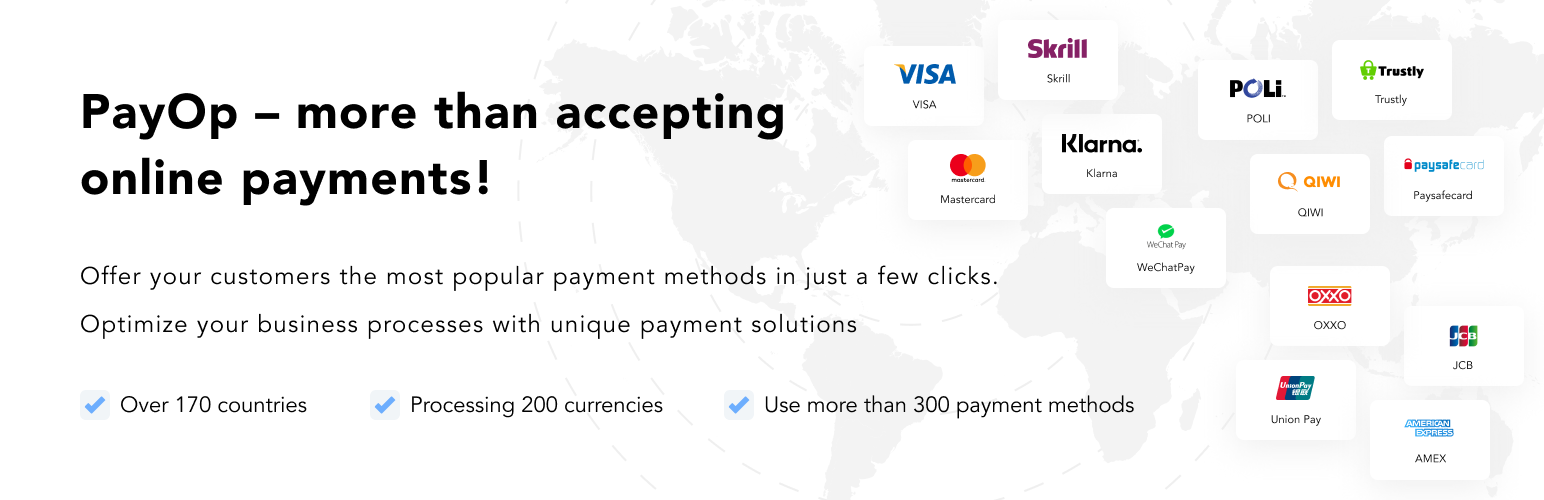
Payop: Online payment processing service ➦ Accept payments online by 150+ methods from 170+ countries.
Payments gateway for Growing Your Business in New Locations and fast online payments.
What this module does for you:
- Free and quick setup
- Access 150+ local payment solutions with 1 easy integration.
- Highest security standards and anti-fraud technology
安装:
Minimum Requirement: WooCommerce 8.3 or higher must be installed and activated.
Install via WordPress Plugin Repository
- Go to your WordPress admin dashboard.
- Navigate to Plugins → Add New.
- Search for Payop WooCommerce.
- Click Install Now, then Activate.
- Go to WooCommerce → Settings → Payments.
- Find Payop in the list and click Enable, then click Set up.
- Enter your credentials:
- Public Key – Available in your Payop merchant dashboard.
- Secret Key – Available in your Payop merchant dashboard.
- JWT Token – Used to load payment methods available to the project.
- Choose the integration type:
- Hosted Page – Show all payment methods available through Payop.
- Hosted Page with Payment Method ID – Open one specific payment method.
- For Hosted Page with Payment Method ID, select a method loaded from your Payop project.
- Open the primary Payop gateway settings.
- Save a valid Public Key and JWT Token to load the methods available to the project.
- In Additional Payop payment buttons, click Add payment button.
- Configure the name, description, integration type, and payment method in the repeater row.
- Add or remove more rows as needed, enable the required buttons, and save.
- In the Payop settings section, you'll find an automatically generated Callback / IPN URL: Example: https://your-domain.com/?wc-api=wc_payop&payop=result
- Go to https://payop.com and log in.
- Navigate to Projects → Details of your selected project.
- Open the IPN section and click Add new IPN.
- Paste the copied URL into the appropriate field and save.
- Log in to your merchant account at https://payop.com.
- Go to Projects → Project List.
- Click Details for your project.
- Copy your Public Key and Secret Key.
- Paste them into the corresponding fields in WooCommerce Payop plugin settings.
更新日志:
3.2.2
- Fixed: Delayed pending IPNs and browser returns no longer reopen cancelled or refunded orders or downgrade paid orders.
- Improved: Record ignored pending status updates in order notes while preserving the current order status.
- Added: Send the x-integration-tag: wordpress header with Payop invoice creation requests for all Payop gateway instances.
- Security: Validate callbacks and order binding before writing order notes or callback metadata.
- Security: Prevent rejected IPN and browser return requests from modifying orders, including orders using other payment gateways.
- Security: Sanitize, escape, and limit callback field values included in order notes.
- Added: Multiple independently configurable Payop payment buttons at checkout.
- Added: Hosted Page with Payment Method ID integration through the invoice API paymentMethod field.
- Added: Dynamic Payop gateway support for both classic checkout and WooCommerce Checkout Blocks.
- Added: JWT-authenticated loading of payment methods available to the Payop project.
- Added: A single-page repeater for adding, removing, and configuring checkout buttons.
- Added: Conditional Payment Method selection that is shown and required only for Hosted Page with Payment Method ID integrations.
- Fixed: Automatically replace an overdue stored invoice before redirecting to Payop Checkout.
- Fixed: Create a new invoice when the customer returns and changes the Payop button or Payment Method ID.
- Improved: Keep an immutable invoice history so late callbacks remain securely bound to the order without allowing superseded failures to affect the current attempt.
- Improved: Additional Payop gateways inherit credentials and callback settings from the primary gateway.
- Improved: Payment button settings layout, validation, and table spacing in the WooCommerce administration panel.
- 2019-02-18
- Small fixes.
- 2017-01-21
- Update docs.
- Add more transaltions.
- 2017-01-23
- Update translation.
- Change logo.
- 2019-03-01
- Added POST JSON payload processing.
- Update docs.
- Code standardization.
- Update callback response.
- Add multi-currency
- Add setting button in plugin area
- Add skip checkout page option
- Add select default payment group
- Add select directpay payment method
- Add caching for payment methods
- Fix payment methods error
- Small fix
- Temporarily removed the option "Payment method group"
- Small fixes
- Bug fixes
- Add new API support
- Add JWT Token in settings area
- Add changes related to WooCommerce API update
- Directpay quickfix
- Remove warning 'Undefined index data' message
- Add empty JWT token check
- Checkout bugfix
- Disallow override of page "order-received" by other plugins
- Small fixes
- General: plugin improvements
- Optimized: General plugin improvements
- Added: WordPress 6.4.x Compatibility
- Added: WooCommerce 8.6.x Compatibility
- Added: Support for High-Performance Order Storage (HPOS)
- Added: Support for WooCommerce Checkout Blocks (Gutenberg)
- Added: Failed Order page
- Fixed: Error stating "No payment methods available"
- Fixed: Bug related to reordering
- General: minor changes
- General: minor changes
- Fixed: php errors
- General: minor changes
- General: Plugin improvements
- General: Removal of 'Direct payment' functionality
- Added: WordPress 6.5.x Compatibility
- Added: WooCommerce 8.8.x Compatibility
- Added: Compatibility with WooCommerce 8.9.x
- Fixed: Resolved 404 error on the checkout page
- General: changed the domain for the API
- Optimized: General plugin improvements
- Added: WordPress 6.6.x Compatibility
- Added: WooCommerce 9.1.x Compatibility
- Added: WooCommerce 9.3.x Compatibility
- Fixed: Fixed an issue where a space was sent if the first name and/or last name were missing in the payment data, causing validation errors. Now, if one or both fields are empty, an appropriate string is sent.
- Optimized: Centralized status mapping logic for better maintainability.
- Improved: Enhanced readability and consistency in
process_result_requestmethod. - Added: WooCommerce 9.7.x Compatibility
- Added: WordPress 6.7.x Compatibility
- Fixed: Addressed redundant status checks by introducing a dedicated mapping method.
- Added: Read-only IPN URL field in plugin settings
- Updated: Installation and configuration documentation
- Improved: Internal code refactoring for better maintainability and readability
- Fixed: Fixed Incorrect behaviour when pressing the
Backbutton in the browser
- Security: Fixed critical vulnerability where forged GET request could mark any order as paid.
- Security: Added strict validation to prevent processing non-Payop orders via Payop endpoints (payment method check + invoice meta binding).
- Security: Improved IPN validation by binding Payop invoice/txid to WooCommerce order and rejecting mismatches.
- Fixed: Prevented the hosted payment form from reopening on the thank-you page after browser redirects.
- Improved: Normalized success and fail callback URLs before sending them to Payop.
- Fixed: Sensitive Data Leakage to Third-Party API.
- Added: Detailed Payop order notes and WooCommerce logs for IPN/callback attempts, validation failures, payment status outcomes, and status update failures.
- Added: Gateway setting to enable detailed technical WooCommerce logs when needed.
- Added: Payment flow order notes for checkout initiation, Payop invoice creation, and redirect/payment page display.
- Added: Delayed possible-abandonment order note when no callback arrives after the payment page step.
- Security: Verify Payop V2 IPN payment status with the Payop invoice API before marking orders as paid.
- Security: Validate invoice ID, order ID, amount, and currency against trusted Payop API data before completing orders.
- Security: Enabled SSL certificate verification for Payop API requests.