
PDF Form Filler
| 开发者 | pdffillerintegrations |
|---|---|
| 更新时间 | 2020年2月11日 19:19 |
| 捐献地址: | 去捐款 |
| PHP版本: | 4.5 及以上 |
| WordPress版本: | 4.9 |
| 版权: | GPLv2 or later |
| 版权网址: | 版权信息 |
详情介绍:
Attention! The plugin is not supported.
Easily embed surveys, order forms, registration templates and applications on your WordPress site and securely collect information from customers and partners
Make it easy for your visitors to submit their data directly from your blog or website. Embed fillable fields from interactive fillable forms stored in your PDFfiller account on a WordPress-powered website in just a few clicks. Your customers and partners can quickly fill out surveys, order forms, registration templates and applications from any internet connected device. No more pens, clipboards or illegible handwriting.
How PDF Form Filler plugin works:
- Connect your PDFfiller account to a WordPress site to access interactive fillable forms
- Embed fillable fields from interactive fillable forms on your WordPress website using shortcodes
- Choose how your customers and partners will access the fillable form from your WordPress site: via a button or a customized widget
- Receive an instant email notification after a customer completes your form. The completed PDF copy will be attached to the email as well as stored on your secure PDFfiller account.
- Don’t waste time exporting data from fillable forms. Collect information from filled in documents and easily add it to a CRM or export it to an Excel spreadsheet.
- Easily integrate PDF Form Filler with Contact Form 7 to expand the functionality of both plugins
安装:
- In your Wordpress dashboard, select Plugins > Add New
- Use Search to find PDF Form Filler
- Activate the plugin from Plugins > Installed Plugins
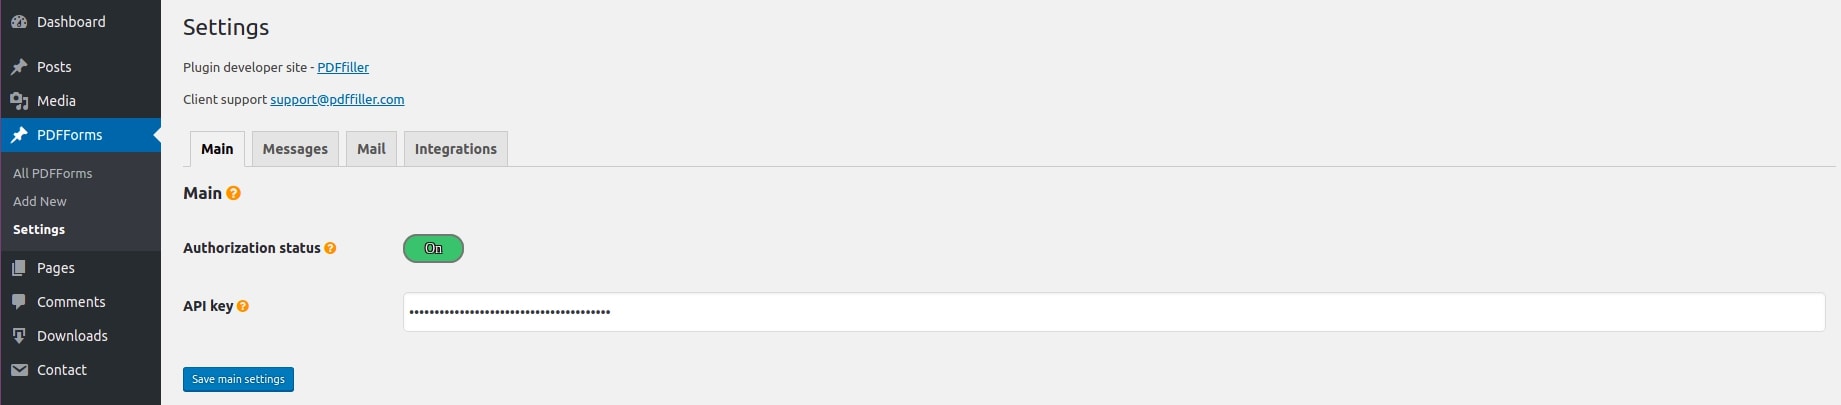
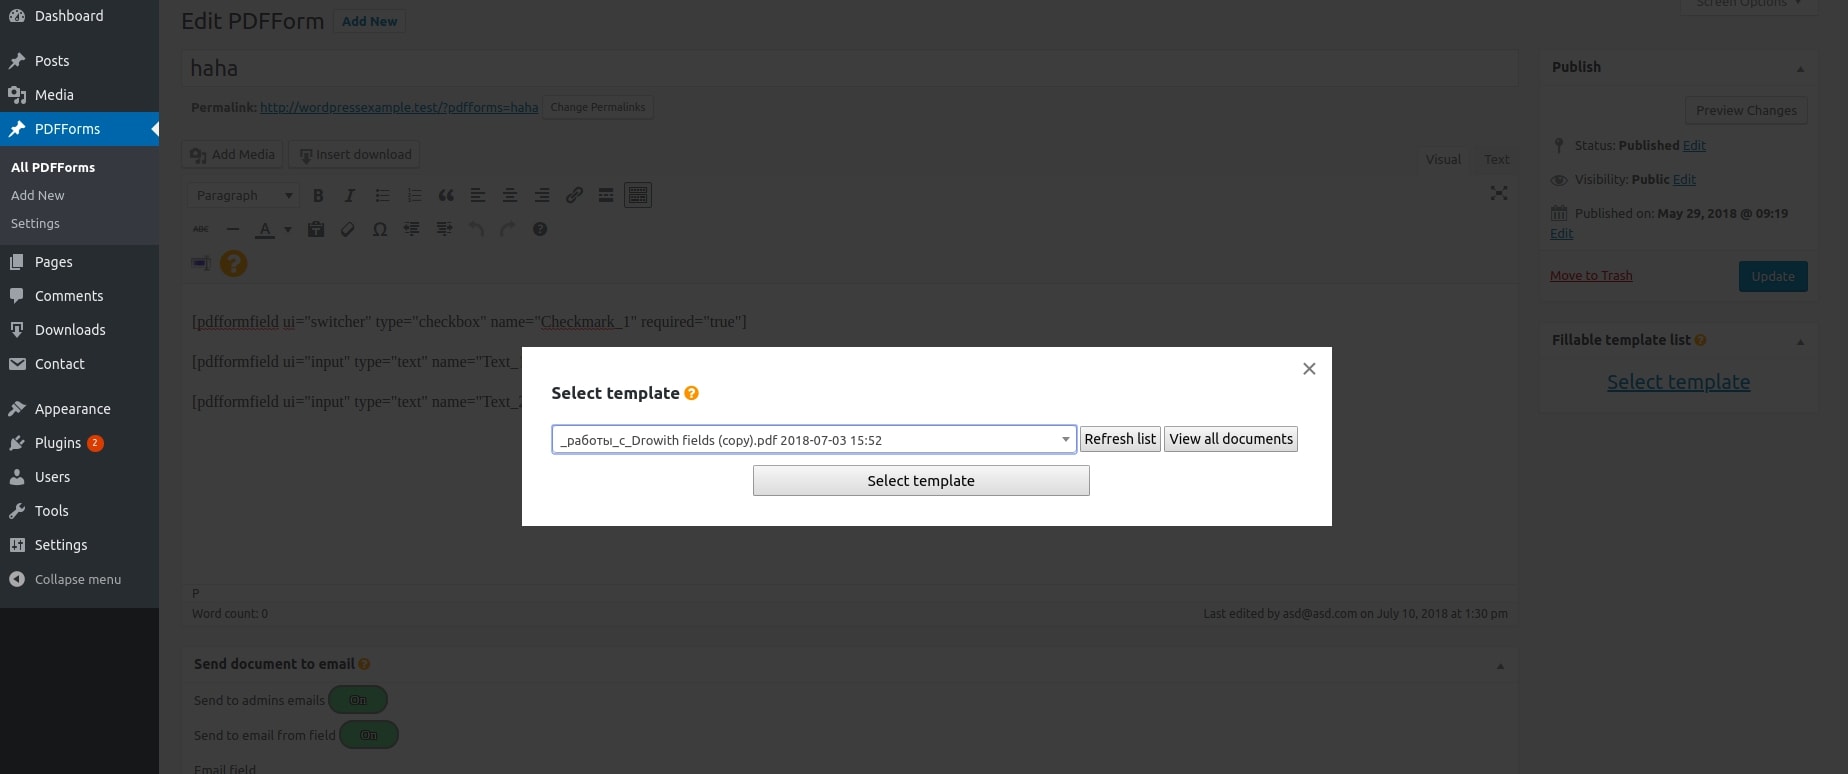
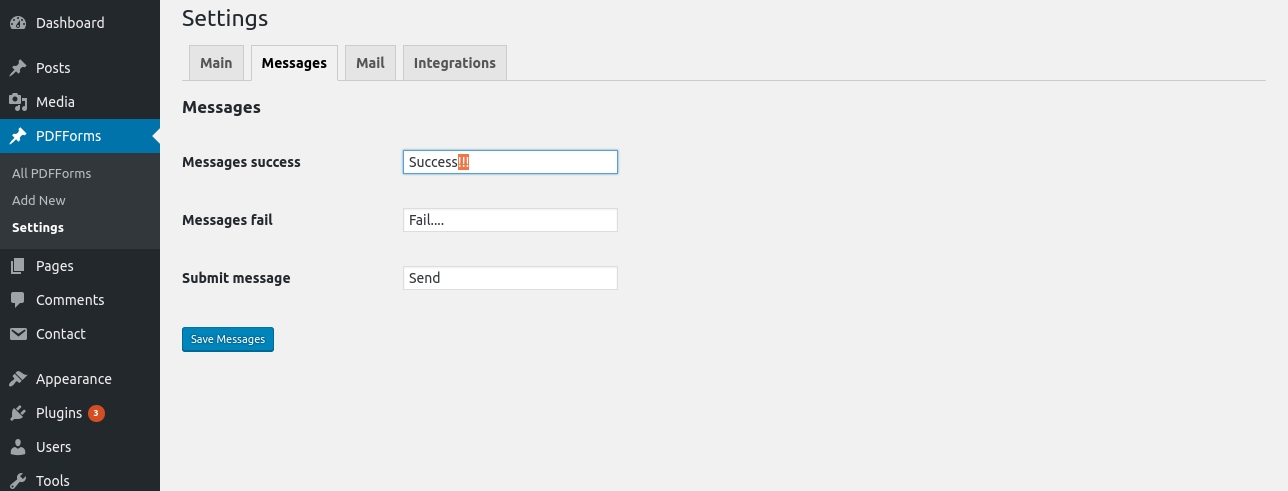
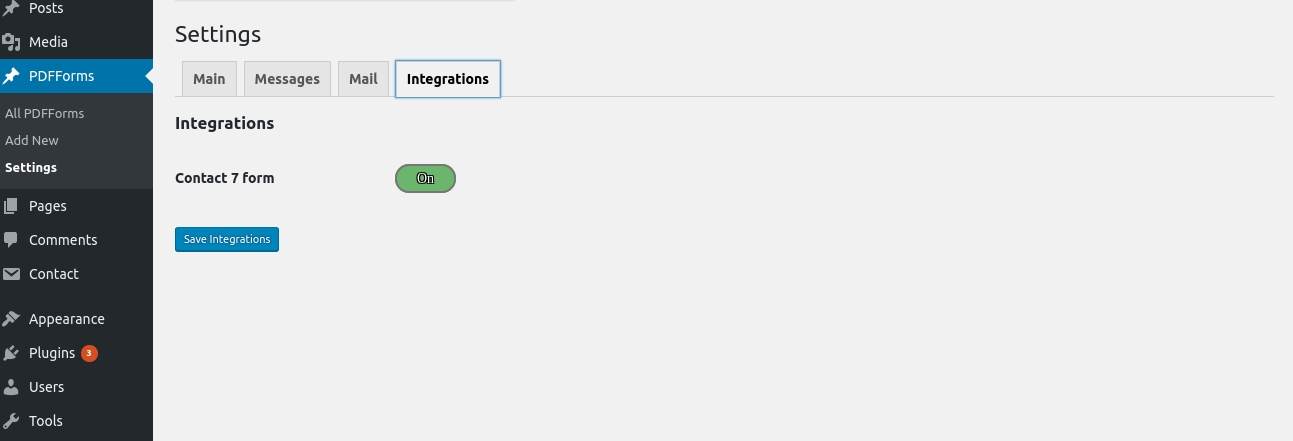
- Plugin Configuration: 4.1. In your Wordpress dashboard, select PDFForms > Settings 4.2. Select Main and enter your authorization data from your PDFfiller account. To view your authorization data go to https://www.pdffiller.com/. Log in or register at PDFfiller and go to Developers -> Settings -> Settings, or just follow the link https://developers.pdffiller.com/#tab-settings-settings. Copy API V1 Key and paste this authorization data into the PDF Form Filler plugin’s API key. Click Save. That’s it, now your WordPress website is synchronized with your PDFfiller account. 4.3. Select Messages to customize messages for successful and failed form submission. Submit Message allows you to customize the text and title of the submission message and button. 4.4. Select Mail to customize the subject and text of the email you’re sending. 4.5. Select Integrations to enable and disable available integrations. The basic PDF Forms Filler package is integrated with the Contact Form 7 plugin. Ensure that Contact Form 7 has been installed before using.
屏幕截图:
常见问题:
How can I create a new form and embed it on the website?
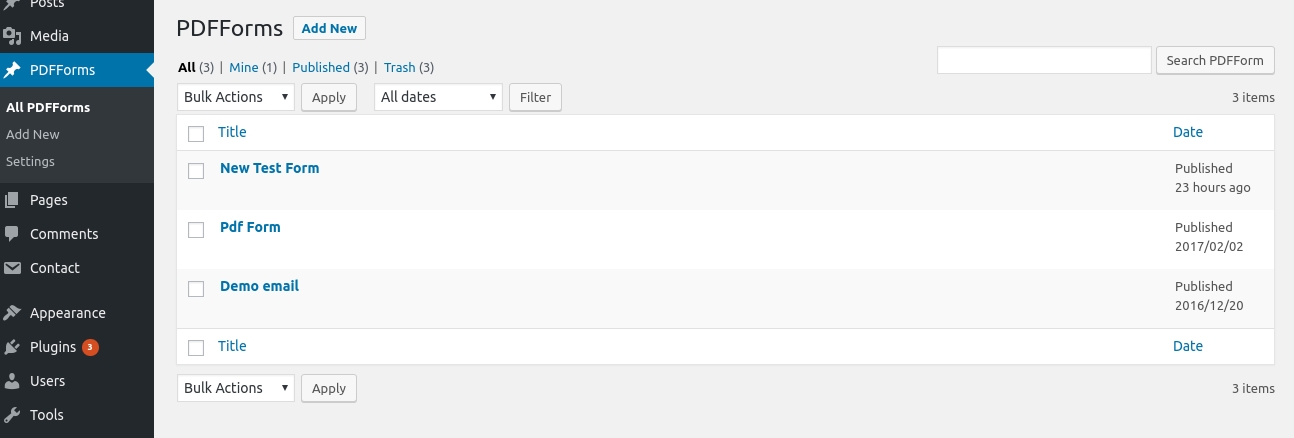
- To create a new form go to your Wordpress dashboard and select PDFForms > Add new. Enter a title for your form.
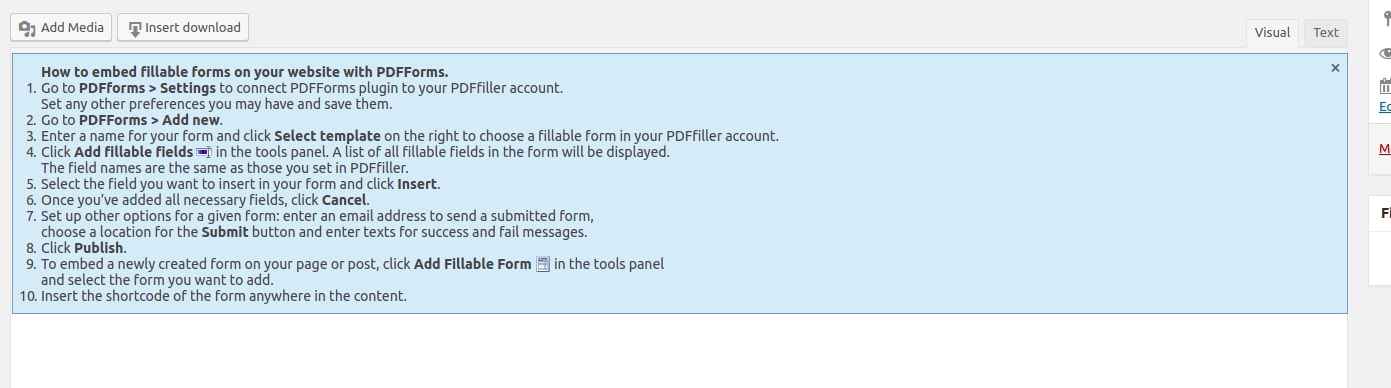
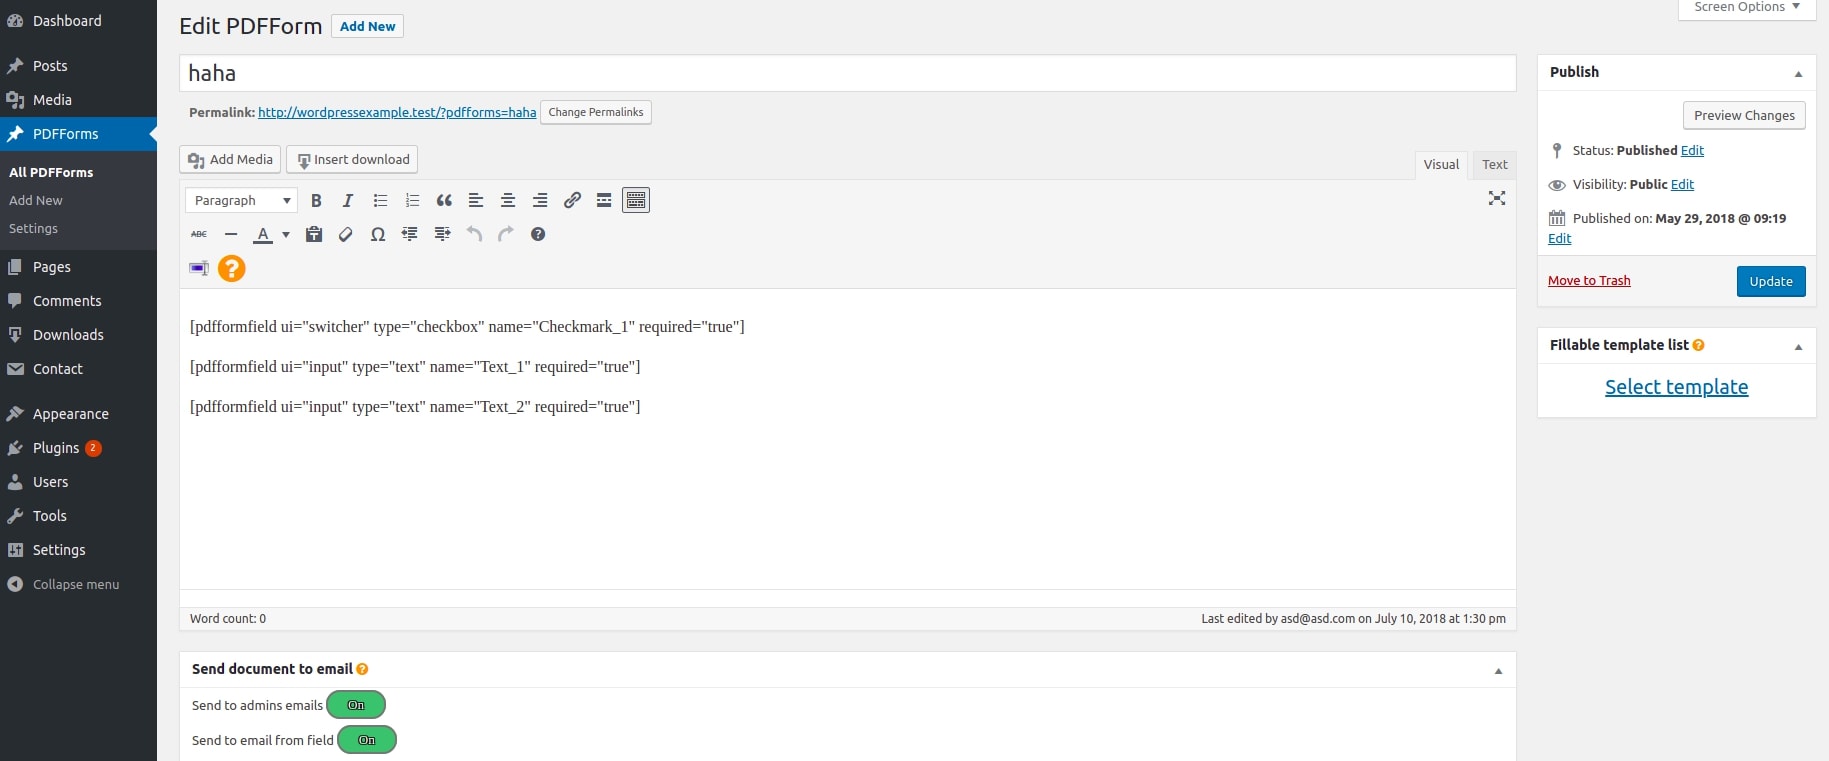
- Select the required fillable document from your PDFfiller account from the drop-down menu on the right. If the list is empty, go to https://www.pdffiller.com/en/forms.htm and add fillable fields to the required document using PDFfiller’s drag and drop wizard or upload a new document. 2.1. Click on Publish. Refresh the page. 2.2. The fillable fields from the uploaded PDF are now available for inserting.
- Click Add Form Field in the third row of the tools panel. The window with available fillable fields opens instantly. 3.1. Select the fields to be embedded in your Wordpress content. 3.2. Close the window and you’ll see the shortcodes of fields with specific parameters. This content can contain text, HTML layout and more.
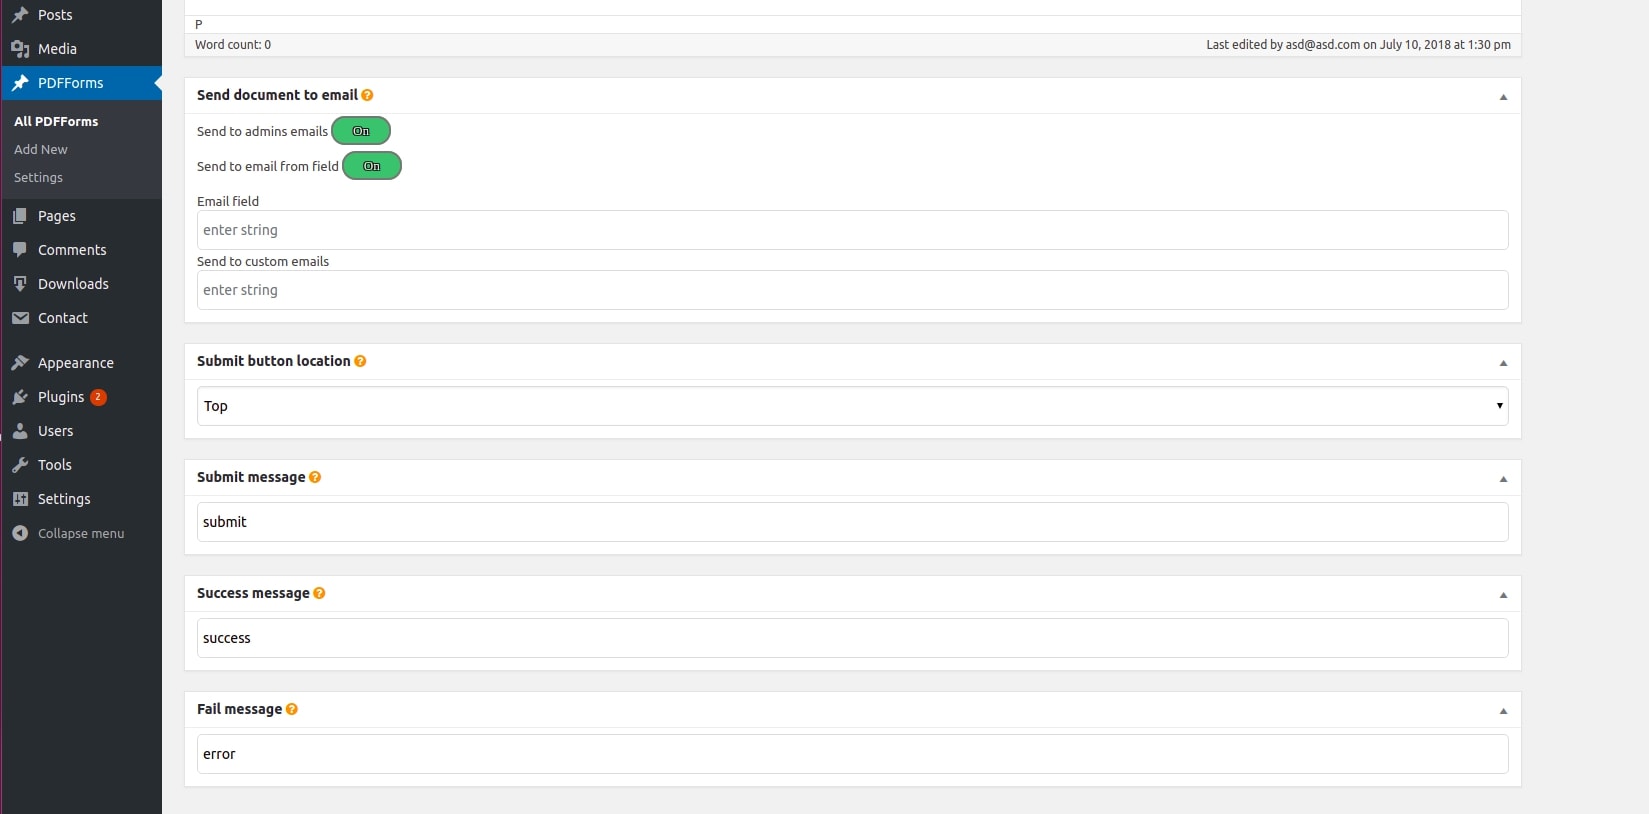
- The content field features the following meta boxes applicable for a given form: 4.1.Send document to email: Select options for sending a PDF file to a specific email address. 4.2. Submit button location: Select the position of the Submit button. 4.3. Success message: Customize the text for the successful submission of your form. 4.4. Fail message: Customize the text for the failed submission of your form. Click Update when you have finished with fillable fields and other content.
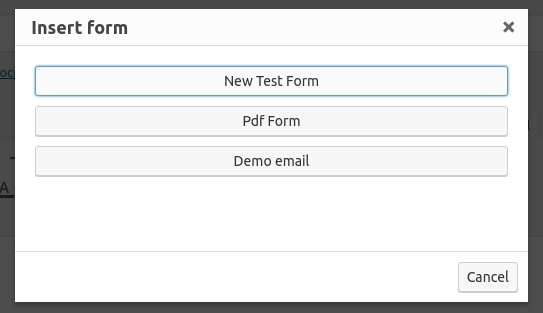
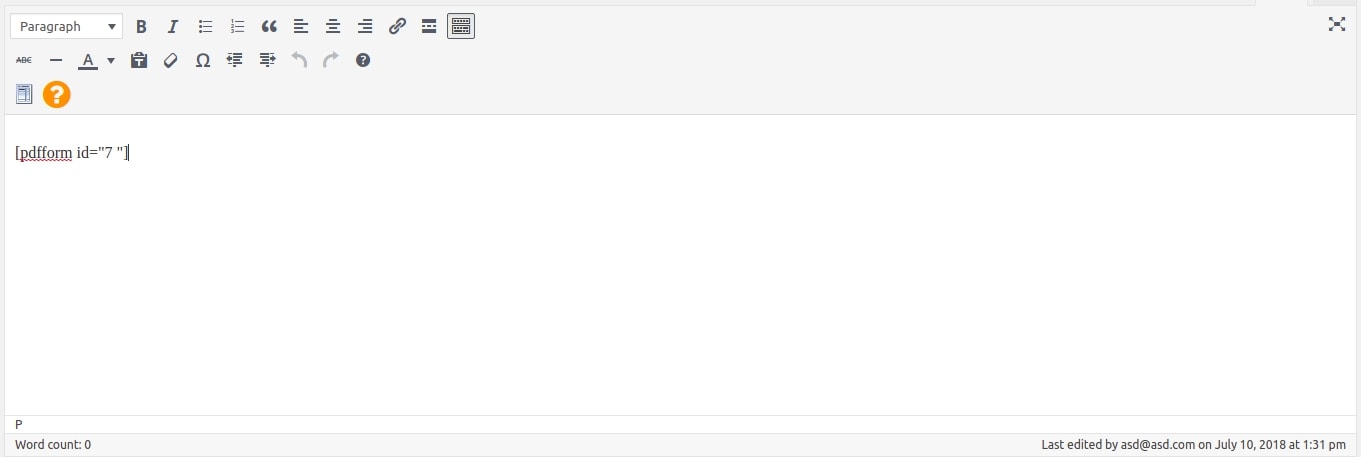
- To publish the new form on your Wordpress website: 5.1. Add a new page or post. 5.2. Click Add Fillable Form in the third row of the tools panel. 5.3. Select the form you want to embed on your website. 5.4. Insert the shortcode of the form anywhere in the content. 5.5. Publish the page and check the created form on your website.
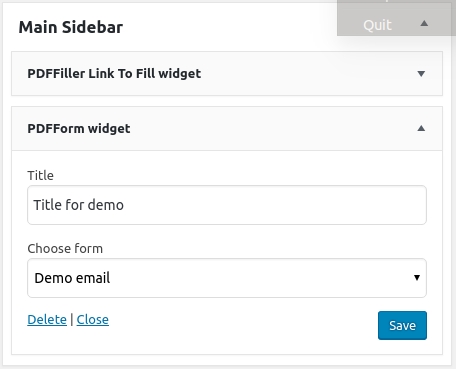
How can I embed my form in a widget area (sidebar)?
To place your form in a widget area and make it publicly accessible for filling:
- Go to the standard widget section in your WordPress admin panel and add the PDF Form Filler widget to any sidebar.
- Enter the title in Settings and select a form from the drop-down menu.
- This form should now appear on your website.
Can I use PDFFiller’s LinkToFill feature?
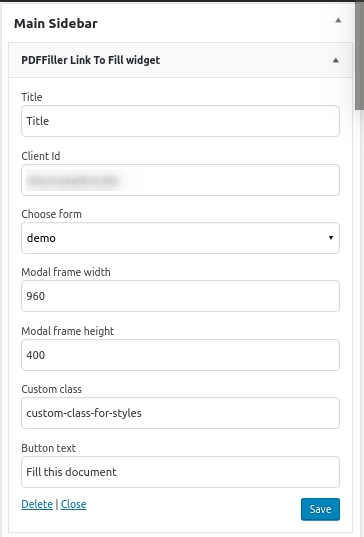
Yes, you can. The PDF Form FIller plugin enables users to add widgets with a LinkToFill button. Clicking on it will open a popup window with a fillable form in the PDFfiller editor. You can also adjust the size of the popup window and add CSS class for the button styling. To add the widget to the sidebar go to the standard widget section in the WordPress admin panel:
- Place the PDFFiller ‘LinkToFill’ widget on any sidebar.
- Open the Settings page and enter your titles for the form and button.
- Enter the client_id and choose the LinkToFill document from your PDFfiller account. Reminder: the app with a specified client_id must include the required settings of an Embedded JS Client with the activation for your domain name. To embed the LinkToFill button using the Text widget: Simply insert the HTML code from the LinkToFill activation page on PDFfiller website.
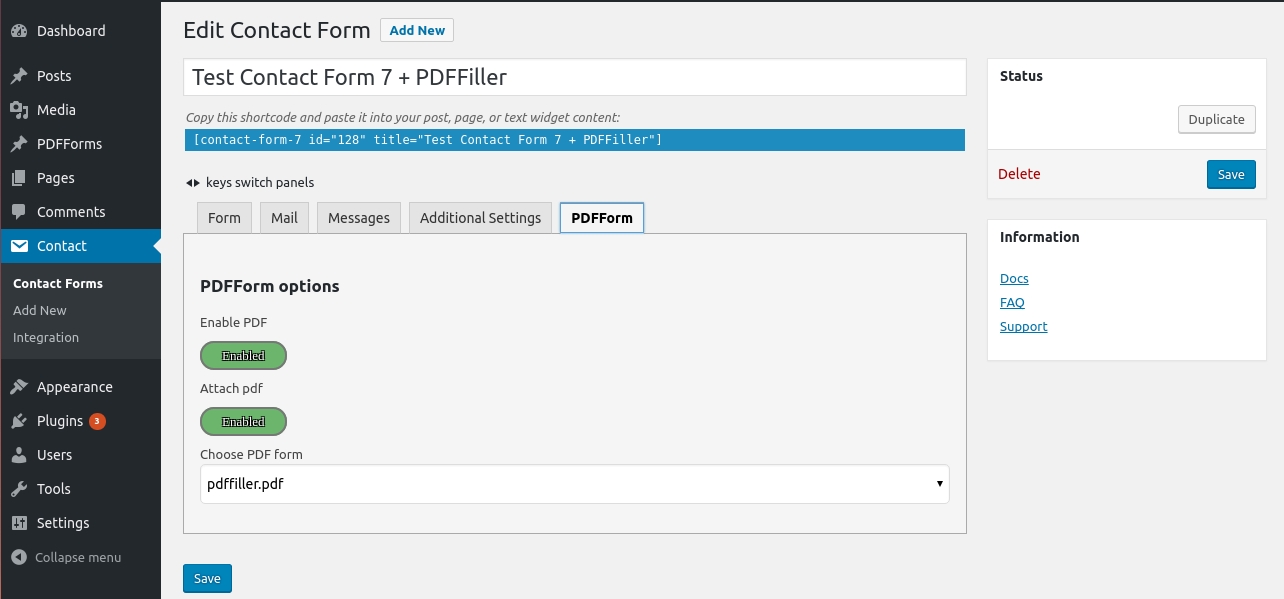
How can I integrate the PDF Form Filler plugin with the Contact Form 7 plugin?
To integrate the PDF Form Filler plugin with Contact Form 7:
- Ensure that the Contact Form 7 plugin has been installed.
- Go to PDF Form Filler > Settings and click Integrations.
- Enable the integration with Contact Form 7.
- Now you can create a new form using this plugin. Reminder: The field names must correspond with the fields in the document stored in your PDFfiller account. To connect or disconnect with the specified document and enable the attachment of your created PDF document сlick on the PDF Form Filler tab.
更新日志:
0.2.78
Change description
0.2.76
Change to PDFFIller API V2
0.2.61
- Simplified authorization process: users can now connect their website with their PDFfiller account by simply pasting their API key into the plugin settings.
- Added synchronization with PDFfiller account: users can view a current list of templates.
- Improved template selection: users can now sort using filters.
- Updated fillable field types: users can choose among text, number, date and checkbox fields.
- Added Help section to the tools panel.
- Added popup tips.