Responsive Images by Pixtulate
| 开发者 |
kkarski
konisto sodux |
|---|---|
| 更新时间 | 2015年3月11日 12:24 |
| PHP版本: | 3 及以上 |
| WordPress版本: | 4.1 |
| 版权: | MIT |
| 版权网址: | 版权信息 |
详情介绍:
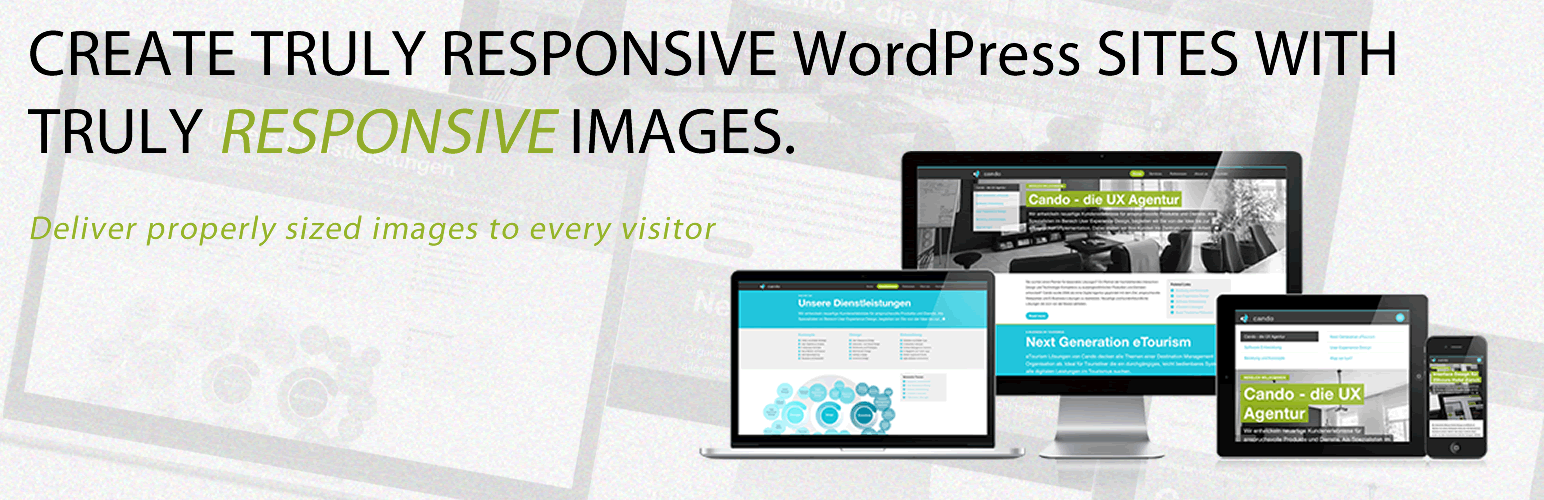
The responsive images plugin connects wordpress sites to the on demand image services of Pixtulate. Our image optimization dramatically speeds up websites with image content. The service scales, crops and optimizes responsive images on demand using Pixtulate's servers.
Features
Pixtulate provides further image enhancements via focal points which ensure images are always cropped and scaled to feature their main subject. All sites also automatically benefit from Pixtulate's global CDN for fast image delivery worldwide.
Docs & Support
The plugin simplifies configuration and automates certain otherwise manual tasks on WP sites. Please visit our docs section for full documentation. Immediately start optimizing images by signing up.
Feel free to contact Support if you have any problems. We want to know about them and fix them.
安装:
Plugin
- Upload the entire Pixtulate folder to the /wp-content/plugins/ directory under your WordPress installation.
- Activate the Pixtulate plugin from the 'Plugins' menu in WordPress
- Signup for an account
- Complete the signup process and register your desired domain name
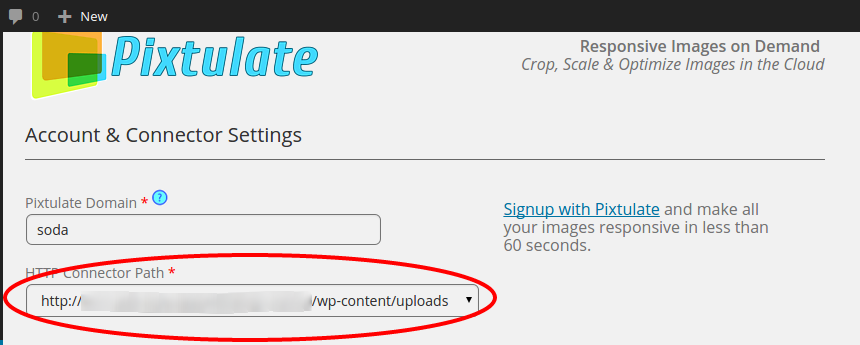
- Come back to the plugin settings page in your WordPress installation and enter your domain name
- Select your desired HTTP connector location from the dropdown menu and press 'Update'. All images paths will be relative from this location.
- Select what kids of images you want Pixtulate to optimize and your SSL settings
- When done, press 'Update'
屏幕截图:
更新日志:
1.2.2
- Fixed Header error issue
- Added new validation for domain ids
- Front-end cosmetic changes
- Fixed issue with javascript installing before domain was added
- Fixed regex issues with processing images on nginx
- Updated setup steps with more screenshots
- Fixed issue with properties not saving correctly
- Ehm...very emberrasing issue with post path of form on plugin config page
- Removed jquery dependency since WP already provides it by default
- Combined JSON update and Plugin Settings into one form submission
- Added Tooltips for key items
- Added ability to ignore default image attribute dimensions
- Fixed Misc. Bugs pertaining to the Javascript include
- Minor cosmetic changes
- Added JSON update for connector configuration
- Added new layout format to admin page
- Updated data-src regex to handle a multitude of path types
- Fixed issue with script if an undefined variable was passed as a parameter
- Added all Param options in plugin
- Added Pixtulate Logo
- Added Pixtulate CTA + Summary for sign-ups
- Updated pixtulate.js with latest version
- Fixed issue where data-src did not obtain the proper link structure from image
- Modified Enqueue filter to prioritize the plugin first in load queue
- Added Page Type to options in plugin
- Fixed Issue where Pixtulate function never initialized