
Autopay
| 开发者 | inspirelabs |
|---|---|
| 更新时间 | 2026年6月24日 20:47 |
| PHP版本: | 6.0 及以上 |
| WordPress版本: | 7.0 |
| 版权: | GPLv3 or later |
| 版权网址: | 版权信息 |
标签
下载
4.9.1
4.6.4
4.1.15
4.6.0
4.6.3
4.5.0
2.4.8
4.2.7
4.8.1
4.8.2
4.1.16
4.1.18
4.2.5
4.8.3
4.9.2
4.1.19
4.1.10
4.1.12
4.1.8
4.1.26
4.2.0
4.1.21
4.1.24
4.1.17
4.1.20
4.2.2
4.1.25
4.2.1
4.2.3
4.2.4
4.1.11
4.1.13
4.1.14
4.1.23
4.2.6
4.2.8
4.2.9
4.3.0
4.3.1
4.3.3
4.3.2
4.3.4
4.5.1
4.6.1
4.6.2
4.4.0
4.7.0
4.7.1
4.8
4.9.0
详情介绍:
Autopay is a payment module that enables cashless transactions in a shop based on the WordPress platform (WooCommerce). If you do not already have the plugin, you can download it here.
The Autopay payment plugin offers a range of functionalities to support sales on your shop:
- The most popular payment methods in Poland and Europe
- Online transfers (Pay By Link)
- Fast bank transfers
- BLIK
- Visa Mobile
- Google Pay
- Apple Pay
- Instalment payments
- Recurring payments
- International payments
- The most popular sales methods for the WooCommerce platform
- buy as a guest / buy as a registered user
- step checkout or block checkout
- payment processing with redirection to an external payment page or remaining directly on the shop (selected methods: cards, BLIK)
- test environment support (implementation of test transactions for correct installation and configuration of the plug-in)
- deferred and instalment payments
- native integration into Google Analytics 4 from within the Autopay payment plug-in
- automatic verification of the correct configuration of authorization data in the plug-in
- multilingual support – automatic adaptation to the store language (EN, DE, IT, ES); for other languages, the interface is displayed in English
- ability to manually change the order of Autopay payment methods in the WooCommerce panel using drag & drop
- WordPress - tested on versions
6.0to7.0 - WooCommerce plugin - tested on versions
7.9.0to10.8.1 - PHP version min.
7.4
安装:
Install the plugin via the WordPress admin panel:
- Download the plugin.
- Go to the Plugins > Add New tab and then select the downloaded installation file.
- After installing the plugin, activate the module.
- Go to the WooCommerce ➝ Settings ➝ Payments tab.
- Select Autopay to proceed to the configuration.
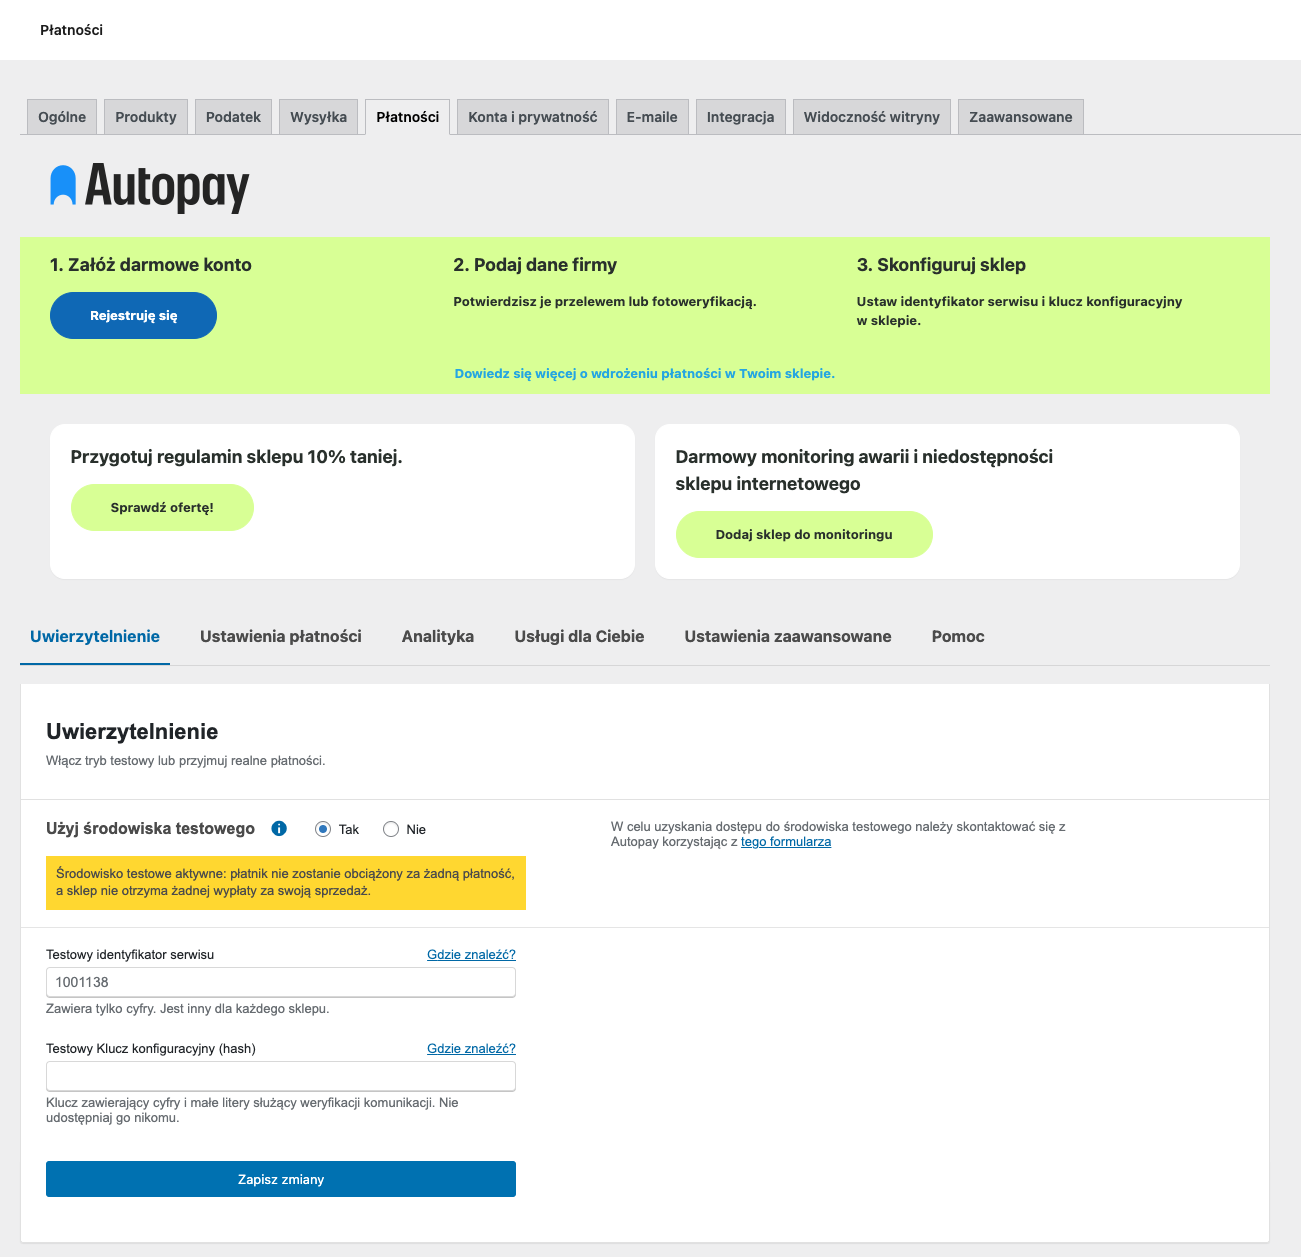
- Test environment.
- set to yes - This is used to test the integration and configuration of the Autopay plugin on your shop. In the test environment, the payer will not be charged for any purchases and you will not receive payment for any sales. Transactions will only be virtual. Remember never to send transactions for transactions paid in test mode!
- set to no - The plugin runs on a production environment. In other words, transactions and payments are really happening. The payer is financially charged for the purchase and the merchant receives funds from Autopay for the sales made.
- Service ID - This is the ID of your Autopay account. You will find it when you log into your account, select ‘Service Settings’ from the menu and then for the ‘Service Technical Configuration’ section click on the ‘Select’ button. The service ID is the value of the ‘Service ID’.
- Configuration key (hash) - This is the value dedicated to your site in your Autopay account. You will find it when you log into your account, select ‘Site Settings’ from the menu and then for the ‘Site Technical Configuration’ section click on the ‘Select’ button. It is signed as Configuration key (hash)
Test environment a Service identifier and Configuration key (hash) The values of the Service ID and Configuration Key are different for the test and production environment. If you have set up a new Autopay account and do not yet have access to the test environment you can obtain it by sending an access request. Select the verification category, fill in your details and in the body of the message provide the id of your current service and request the creation of a test environment for your shop.
屏幕截图:
更新日志:
4.9.2 (24 June 2026)
- Added: a new setting to choose how Google Pay works — redirect to the Google Pay website or pay directly in your store
- Added: settings to match the logo to the checkout color scheme, including light and dark versions
- Improved: interface styles in the plugin settings and on checkout (checkboxes, buttons)
- Improved: button focus visibility and accessibility during keyboard navigation
- Fixed: an error on pages using the block editor when the payment method list could not be retrieved
- Fixed: the selected bank was not preserved after the checkout refreshed on classic checkout
- Fixed: compatibility with PHP 8.4 and 8.5 — resolved issues causing notices on newer PHP versions
- Fixed: the Payment started WooCommerce order status (Advanced → Payment statuses) is now applied when the customer begins checkout payment (standard redirect, Google Pay, and BLIK‑0). Previously the order was always set to Pending payment, ignoring this setting.
- Google Pay on checkout is aligned with WooCommerce: the method is offered when shoppers must accept terms and conditions using a checkbox (classic checkout settings and block checkout with the Terms block checkbox enabled)
- Block checkout: payment method list reflects the same Google Pay availability rules as on classic checkout
- Classic checkout: smoother handling of the place order button in combination with Autopay checkout scripts
- Analytics component - a new optional setting: "ITN SUCCESS triggering the event ‘Completion of transaction’ instead of order status"
- Improved webhook processing logic for better integration with third-party plugins
- Adding a multilingual readme
- Added support for additional currencies: USD (US Dollar) and GBP (British Pound).
- Improvements in ITN processing
- Updated library versions (php-ga4-mp, GuzzleHTTP)
- Fixed handling of unsupported currencies
- Fixed in the “Login during checkout” flow
- Minor fixes and improvements
- Translations of the plugin into Spanish, Italian and German have been added.
- The ability to edit the name and description of payment methods in the administration panel and their presentation on the checkout page has been added.
- Support for saving and reading the display order of payment methods on the checkout page has been added.
- The frontend layer has been adjusted to present payment methods according to the configured order on checkout.
- Paywall v3 – better support for payment option grouping.
- The ‘Test Connection’ function has been expanded with additional verification of the shop configuration on the customer's side.
- Changes to messages for test connection for the new supported version of PHP 8.3
- Changes to the text of the plugin configuration instructions
- Changes to the currency verification logic on the website
- Fix for test connection verification when sandbox mode is enabled for the administrator
- Fixed an issue with the Autopay plugin working in conjunction with other currency plugins
- Added: gatewayList/v3 Added - integration with new endpoint
- Details:
- Extended configuration parameters
- Advanced communication with payment gateways
- Support for more payment options
- Improved: Test Connection - PHP 8.3 integration updated You can find all previous changes on Our Github..