Roost Web Push
| 开发者 |
noticesoftware
danstever |
|---|---|
| 更新时间 | 2018年2月28日 05:53 |
| PHP版本: | 4.1 及以上 |
| WordPress版本: | 4.8 |
| 版权: | GPLv2 or later |
| 版权网址: | 版权信息 |
标签
google
widget
posts
plugin
links
page
dashboard
wordpress
ajax
admin
mobile
social
news
new post
apple
mac
Firefox
notifications
services
push
Android
push notifications
web push notifications
Chrome
web push
mobile notifications
goroost
desktop notifications
Safari
osx
Chrome Notifications
Chrome OS
Mavericks
Yosemite
Roost
goroost.com Post
Roost notifications
下载
详情介绍:
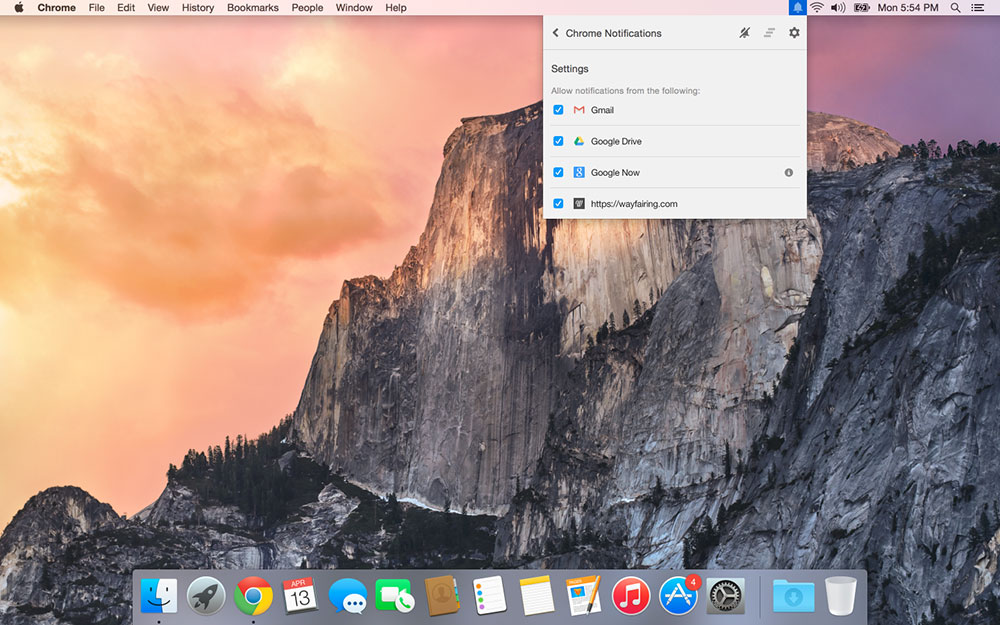
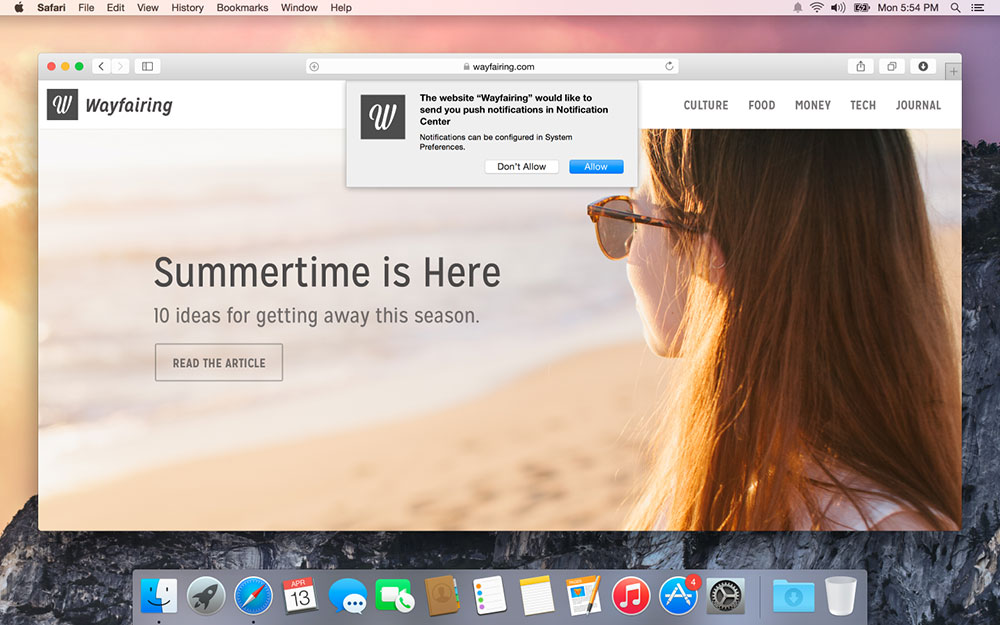
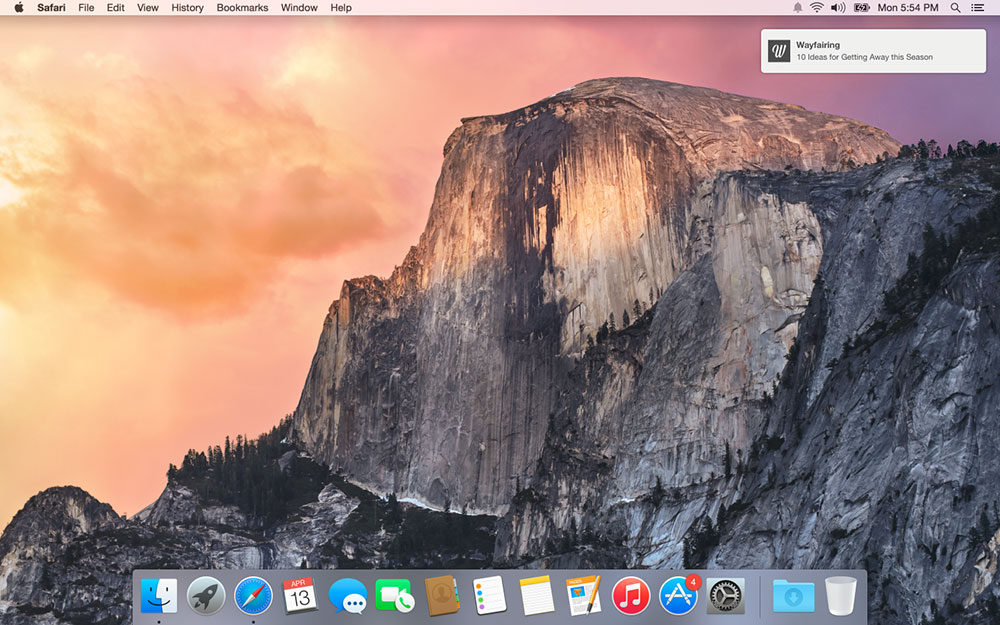
Web Push by Roost allows websites to send notifications to their site visitors for updates about new posts. This plugin supports Chrome notifications and Safari for desktop.
Plugin Features:
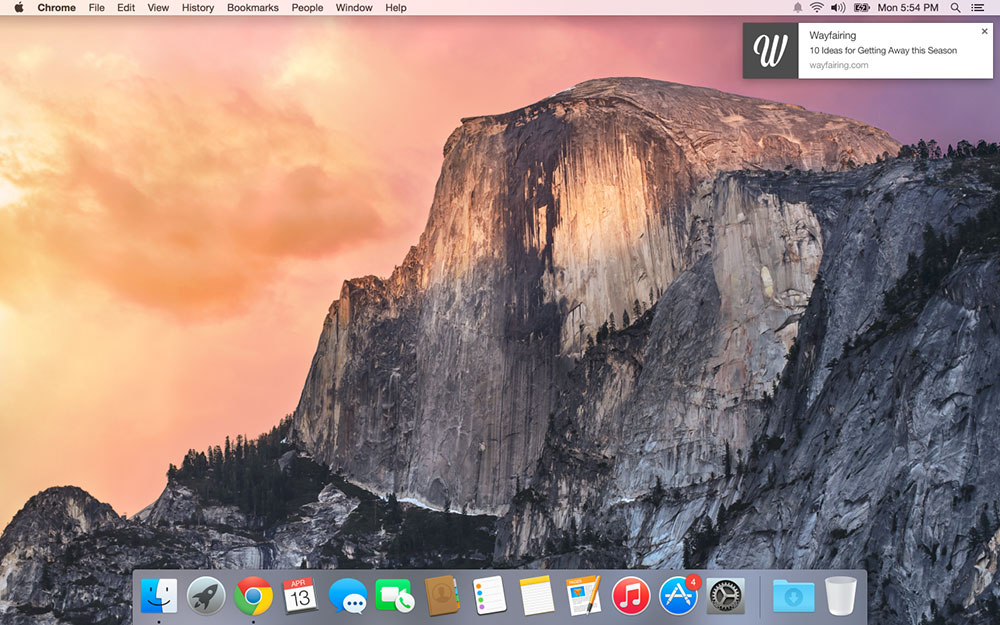
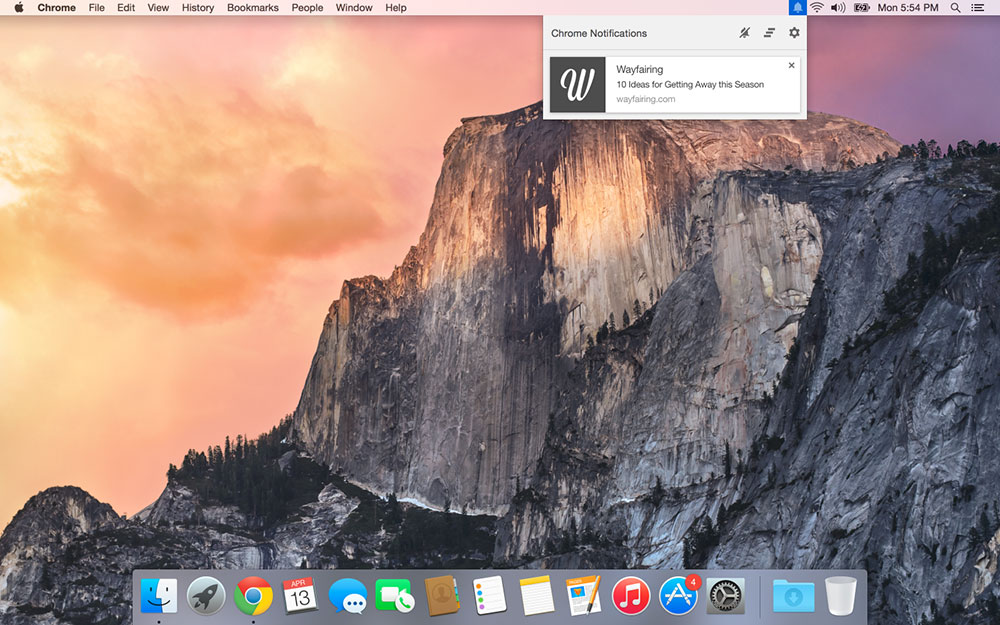
- Chrome Notifications - Use notifications in Chrome (desktop and Android)
- Firefox Notifications - Web Push now supported in Firefox
- Safari Web Push - Take advantage of web push (desktop push notifications)
- The Bell - On-Site notifications AND supported in all browsers (Want to know more about The Bell?)
- Auto Notifications - We take the work out of it. Automatically send notifications to your readers when creating a new post.
- Category Filters - Decide which content triggers a notification based on the category.
- Notifications on Update - Easily send notifications when updating posts.
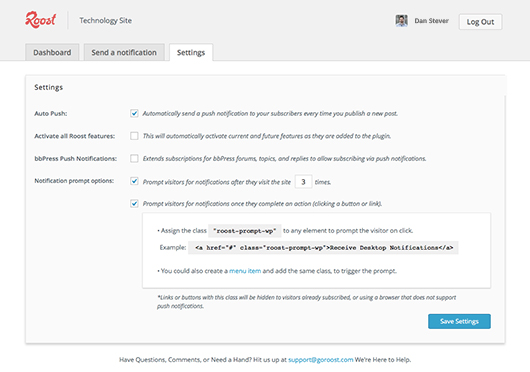
- Notification Prompt Controls - Decide how and when the subscription prompt is shown to your visitors.
- Custom Notification Headlines - Set a custom headline for your notification to be used instead of a post title.
- bbPress Subscriptions - Allows site visitors to subscribe to forums, topics, or individual messages when posting replies.
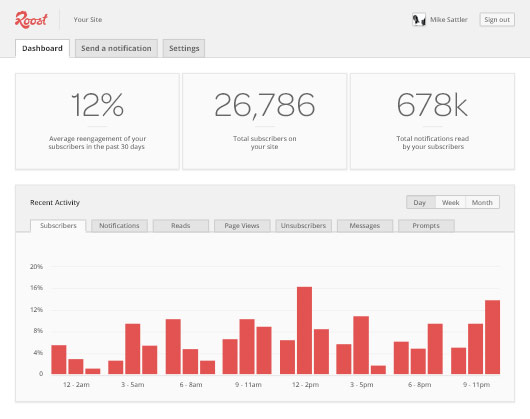
- Detailed Analytics - Charts with detailed metrics about your visitors straight to your WordPress dashboard.
- Manual Post Mode - Send notifications for individual posts when creating. Just check the box.
- Scheduled Post Notifications - Not posting now? Don't worry. Your alerts will go out when your content posts.
安装:
From your WordPress dashboard
- Visit 'Plugins > Add New'
- Search for 'Roost'
- Activate Roost from your Plugins page
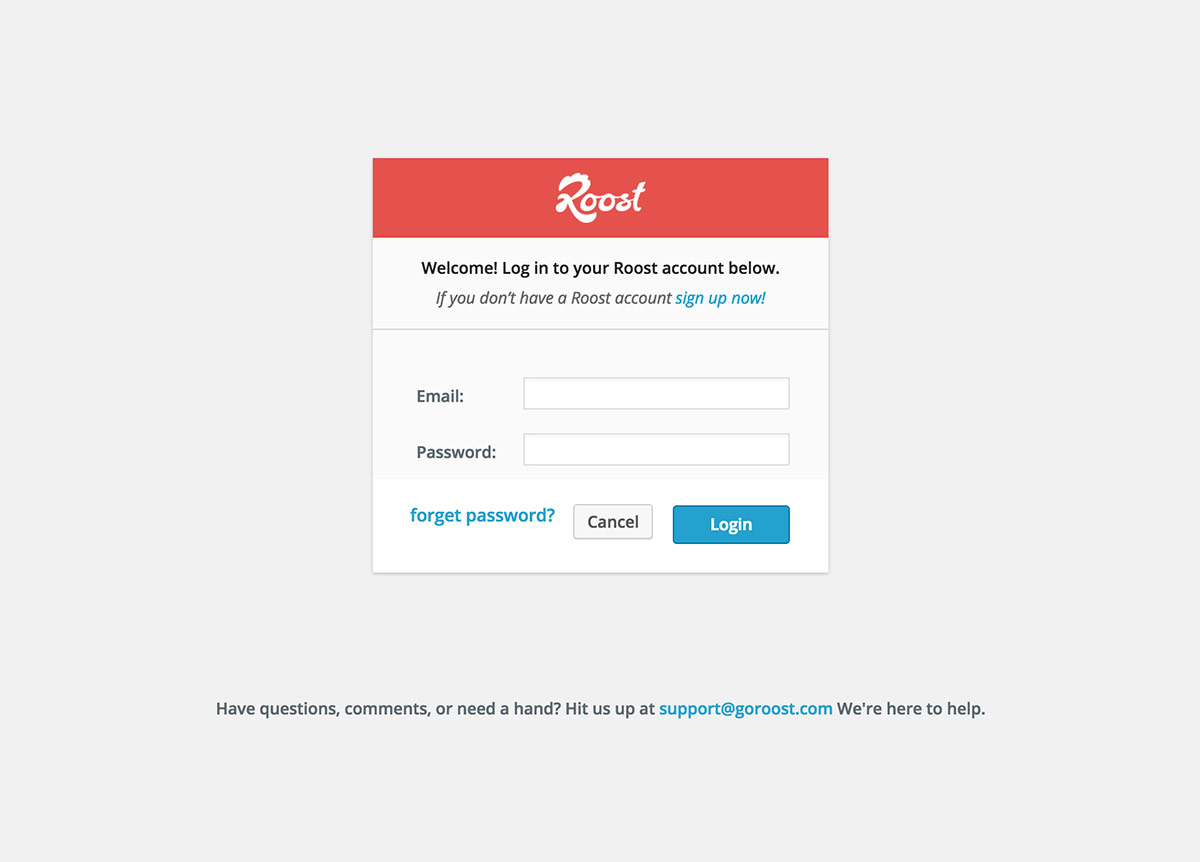
- (a) Create your Roost account - (Click on "sign up now") OR (b) Log In an Existing Account - Click "Log In" and enter your username and password
- Download the Roost Web Push Wordpress Plugin.
- Upload the 'Roost' directory to your '/wp-content/plugins/' directory.
- Activate Roost Web Push from your Plugins page.
- (a) Create your Roost account - (Click on "sign up now") OR (b) Log In an Existing Account - Click "Log In" and enter your username and password
屏幕截图:
常见问题:
What does Roost cost?
Roost offers custom rate plans determined by the features you use, number of notifications per month sent, and depth of segmentation. Plans start at $399 / mo. Contact Roost at goroost.com.
Is it really this easy to use push notifications in Chrome, Android, and Safari on my site?
Yup! Cool right?
Do I need and Apple Developer Account or Google Developer account?
Nah. We've got you covered.
Do you support Firefox web push?
Sure do!
Do my readers / subscribers have to create an account with Roost?
Nope. Just you.
更新日志:
2.5.0
- Updates to required service worker / html files
- File directory structure
- Bugfix - Change API for notifiaction calls
- Text change on sign in page (watch for new pricing!)
- Updates to required service worker / html files
- Do not auto gen files (legacy support)
- Remove old uninstall script (legacy support)
- New API endpoint supports featured images
- Removed Upgrade notice
- Bugfix - Servers with strict PHP throwing errors on number_format() (Used on admin page)
- Added upgrade notice for end-of-life free plans
- Code Cleanup
- Added support for notifications on all post types (custom included) with an "Allow All Post Types" setting! Woo! -- With this selected Auto Push will be disabled and notifications will only be triggered if marked as such when publishing on the post page.
- Bugfix - Changed name on Roost save settings action to avoid namespace collision
- Bugfix - Only show custom Roost headline on post page if applicapble
- Code Cleanup
- MAJOR - Bugfix - Must upgrade to support new releases of Chrome (m45+)
- Compatible with PHP < v5.3
- Added setting to enable/disable featured images on notifications
- Bugfix - Added check to prevent JavaScript error on clients with non-support push browsers
- MAJOR - Bugfix - Old Chrome files need be present until after ServiceWorker upgrade takes place
- Bugfix - Prevent multiple ServiceWorkers from registering
- Ding-a-ling! The Bell is here! - Roost's on-site notifications
- Support for custom images on Chrome notifications
- MAJOR - Chrome files dynamically served - WP friendly fix (Previous versions may have fallen victim to directory and filesystem permissions)
- Bugfix - Prevent invalid login on multi-site selection
- Code Cleanup
- MAJOR - Bugfix - Chrome files not being regenerated after plugin upgrade
- Changed messaging for HTTPS check to a notice not warning (Was throwing false negatives)
- Added safety net for accidental Advanced Settings checkboxes
- Chrome Push Notifications Now Available!!! (#Boom! So much win... This feels good.)
- Small UI tweaks
- Corrected calculation for current subscribers in dashboard
- Remove deprecated settings
- Removes SSO option (May come back...)
- Switched to use permalink in url instead of post ID (We know... Should have been awhile ago.)
- Palm to face fixes
- Ability to exclude posts published in specified categories from automatically sending notifications
- Send notifications when updating a post
- Can automatically use WordPress categories to target notifications based on Roost segments (You must be assigning users segments to send notifications.)
- Use custom script instead of standard Roost JavaScript (Custom script provided by Roost.)
- Code Cleanup
- Bugfixes
- Fixed (encoded) URL that was causing W3C validation error
- Removed outdated metrics from the Roost dashboard inside WP Admin
- Major updates to roost.js (Includes performance boost and new APIs)
- Custom headline field in post screen moved to a meta box instead of injected textfield
- Added 30-day to Roost stats on graph (Yay for history!)
- Bugfix - Fixed bug that prevented notifications for Scheduled Posts
- Bugfix - Show custom headline only when logged into Roost
- 'roost' prefixed some classes / ids
- Hid custom post meta fields on post pages
- Code Cleanup
- Control for Prompt - auto prompt, after number of visits, off, on button / link click
- Added custom headline option for notification when publishing a post
- Cleared for takeoff with WordPress v4.0
- Bugfix - Roost JS now only loaded if logged into plugin.
- Bugfix - Total notifications sent in dashboard now really total notifications Palm to Face
- Code Cleanup
- Bugfix - Fixed bug that prevented stats from displaying when WordPress admin accessed via HTTPS
- Bugfix - Fixed bug that showed blank stats / setting screen on invalid login attempt
- Code Cleanup
- RoostJS now served from CDN (BAM! Blazing fast! You didn't see that one did you?)
- Removed mobile app setting
- Updated API URLs and references to goroost.com (Go Go Gadget Roosters... Or something like that.)
- Fixed bug when manual sending notification to eliminate multiple messages.
- Fixed bug that may have prevented new sites to Roost from being able to send manual notifications from the dashboard
- Fixed bug with charts not loading correct data on tab click
- Fixed bug that prevented Roost admin screen from showing in PHP versions older than 5.3.0
- Some more code cleanup
- Added special support for bbPress subscriptions
- Charts!!! Lots of Charts...
- Plugin redesign - Uses tabs to organize sections
- Changed how the Roost JS script is loaded - Now loading asynchronously
- Included option to send push notifications when publishing posts without using the "Auto Push" feature
- Simplified account creation (in the plugin and on Roost website) and included uploading a logo and naming your site - Auto-login on return
- Added support for signing into the plugin with Facebook, Twitter, and Google+ (SSO)
- Removed upgrade path from v1.0 - Should not impact anyone at this point
- Changed logo and username by log out (in the top right corner) to account email - Context makes more sense with multi-config accounts
- Fixed bug that removed Notification Override setting when doing a Quick Edit
- Put in null check when sending notifications - Prevents sending null alert with can cause errors
- Code cleanup
- Now supports Auto Push when posting from the WordPress mobile app and by email via Jetpack by WordPress.com
- New first time login screen
- Roost API check on activation to see if URL is reachable
- Code cleanup
- Changed hard limit to soft character limit on manual notifications
- Restricted notifications to a "post" post type only
- Added settings link on plugin page
- Roost stats now cached to improve admin page performance
- Fixed bug that caused resending notifications when using "Quick Edit" to modify posts
- Removed shortcodes
- Code cleanup
- Scheduled Notifications can now Trigger Alerts
- Fixed Stats Error on First Login
- Character Count on Manual Notifications
- Corrected Total Time On Site calculation
- Fixed additional bug with character encoding
- Adjusted styling on admin pages
- Fixed bug that prevented notifications from sending
- Automatically activate Safari Web Push with plugin
- Simplified interface
- Pulling All-Time stats for your Roost account into Wordpress Dashboard
- Added a Roost Push override on post pages to prevent notification
- Simplified install process - Plugin no longer creates it's own table
- Added support for featured images from posts (For new Roost app - Soon in Apple App Store and Google Play)
- Settings now all controlled from server
- Added Roost Bar shortcode
- Fixed character encoding issue on auto push notifications
- Added support for Safari Web Push (Desktop Push Notifications) on OS X Mavericks
- Prefixed functions to avoid conflicts
- Updated settings to be removed on uninstall instead of deactivation
- Included Roost JS on every page via wp_footer() - (Needed for Roost analytics such as page views and time on site)
- Initial Release

