S2B AI Assistant - ChatBot, AI Agents, ChatGPT API, Image Generator
| 开发者 | oc3dots |
|---|---|
| 更新时间 | 2025年12月9日 01:35 |
| PHP版本: | 7.0 及以上 |
| WordPress版本: | 6.9 |
| 版权: | GPLv2 or later |
| 版权网址: | 版权信息 |
详情介绍:
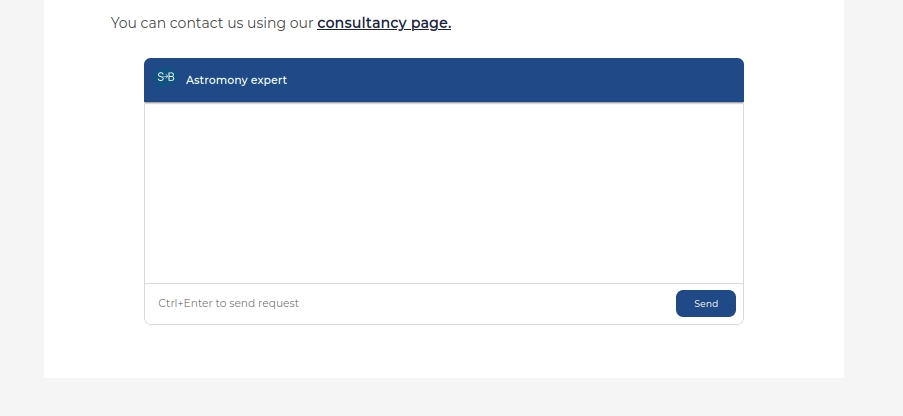
- AI powered chatbot
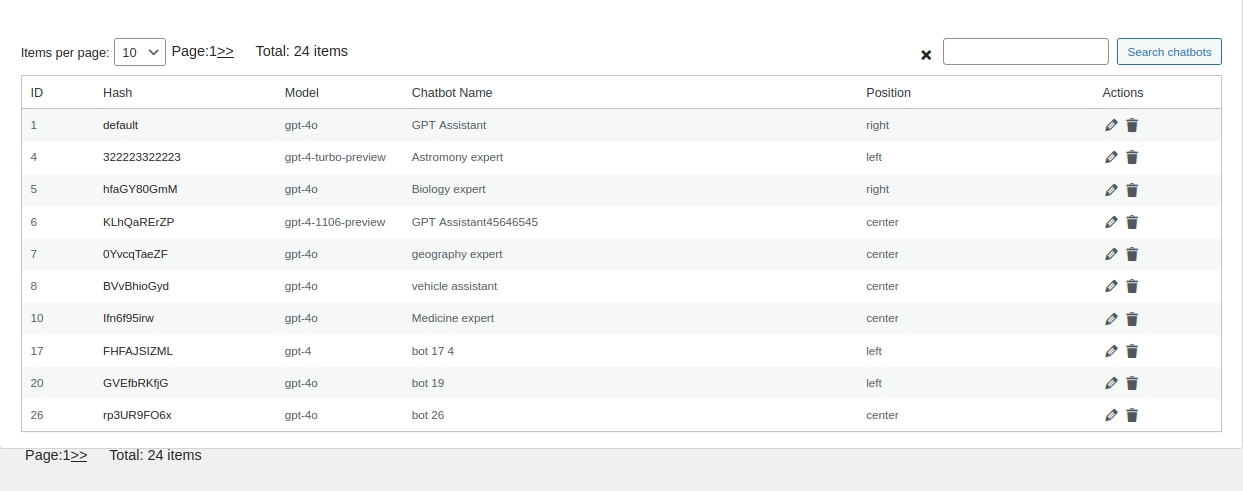
- Multiple different chatbots with different style and behavior for different website pages
- AI Agents using visual OpenAI Agent Builder
- Chat bot that uses a cutting-edge models: GPT-5, GPT-4o , GPT-4.5, o3, Claude, Grok, Deepseek
- Content aware AI chatbot using semantic search via embedding content
- Option to choose if the chatbot is only visible to registered visitors or not
- Choose exactly which users can access each chatbot. Useful for membership sites, gated content, or private support. (Pro) Learn more:
- Link chatbots to WooCommerce virtual products to grant users time-limited access after purchase. This feature is under development and may change.(Pro) Learn more:
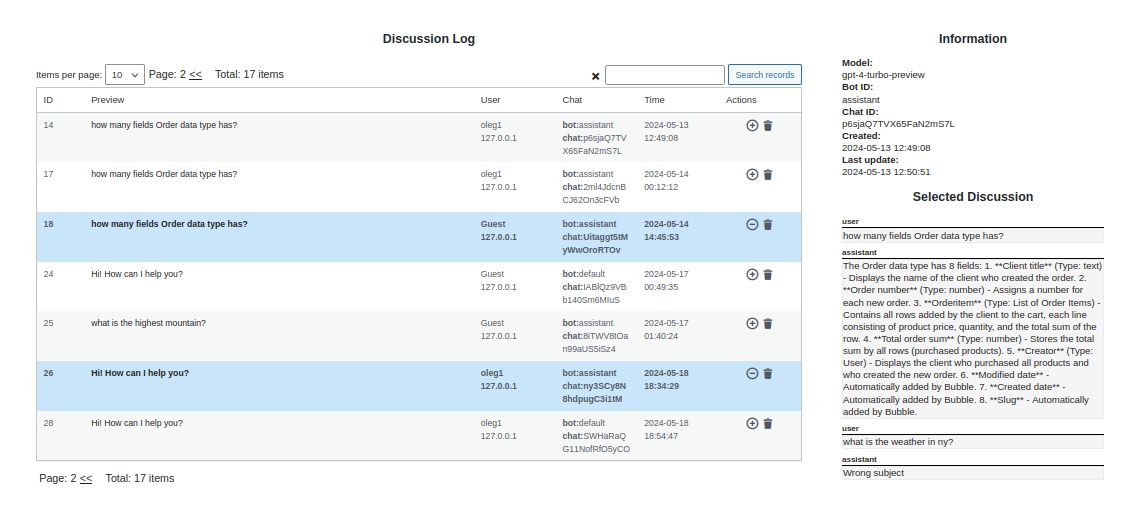
- Conversation Logging. Recording and saving chat interactions between users and the chatbot
- Token statistic logging. Recording and saving tokens used by chatbots
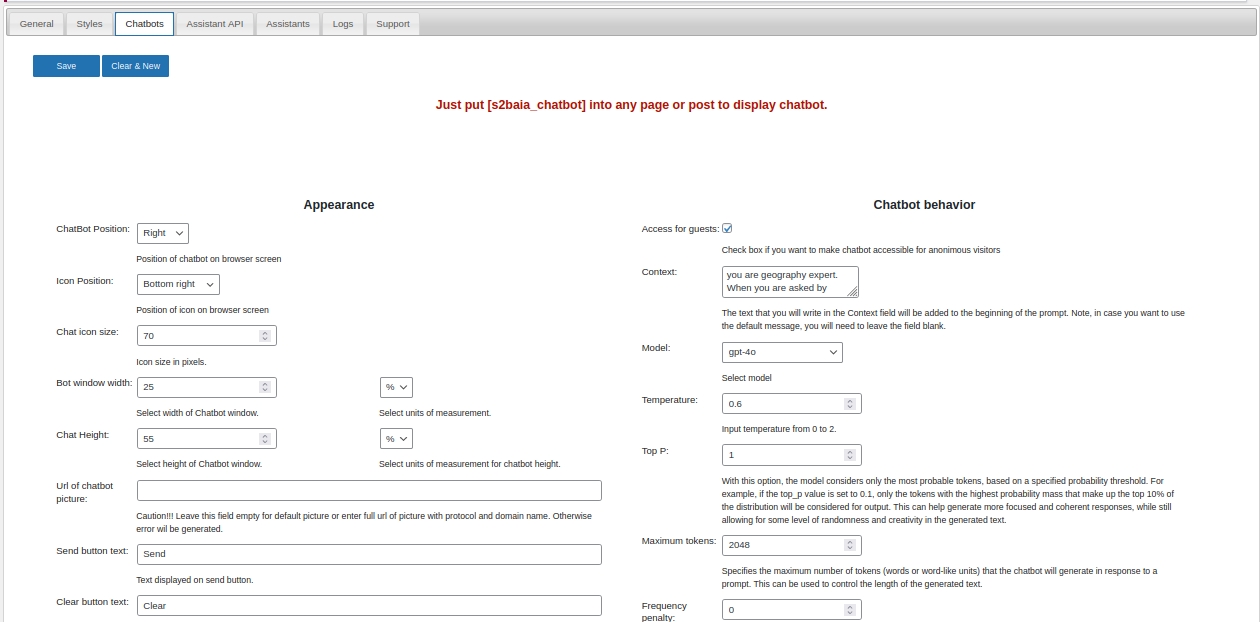
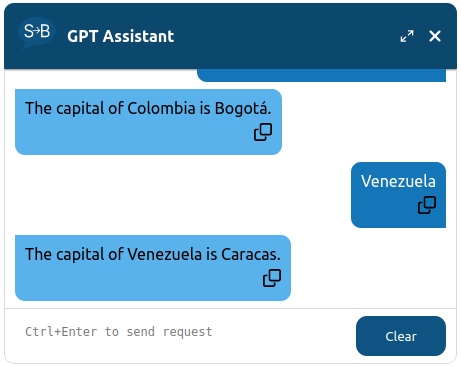
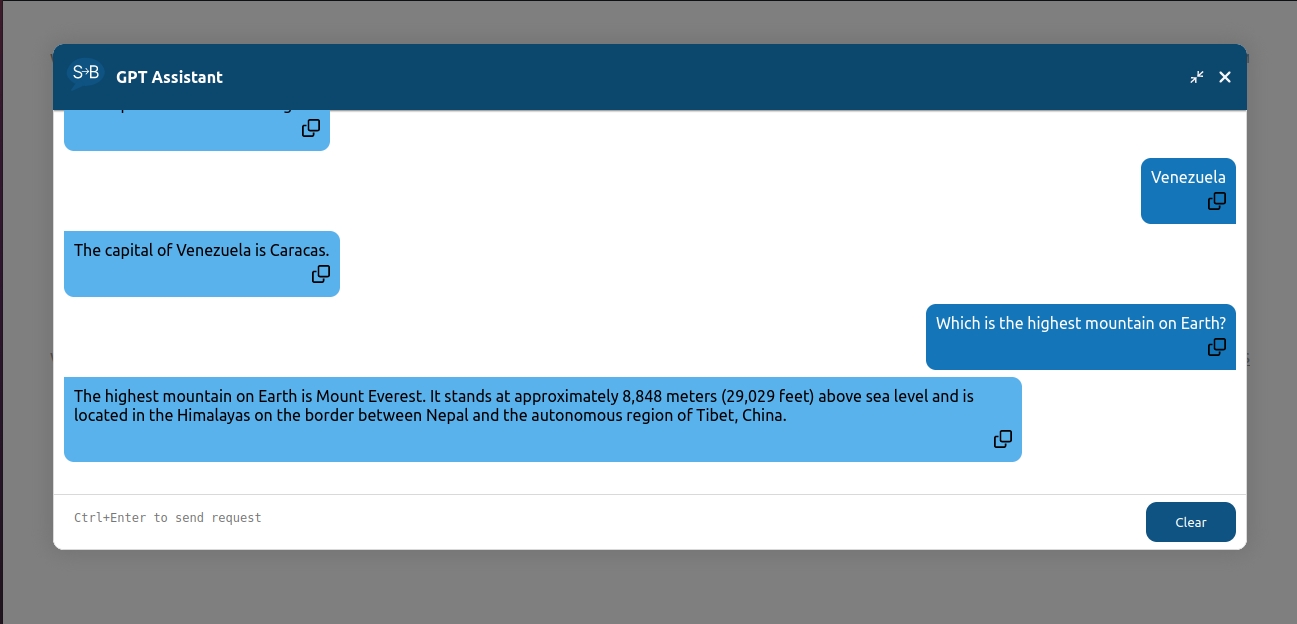
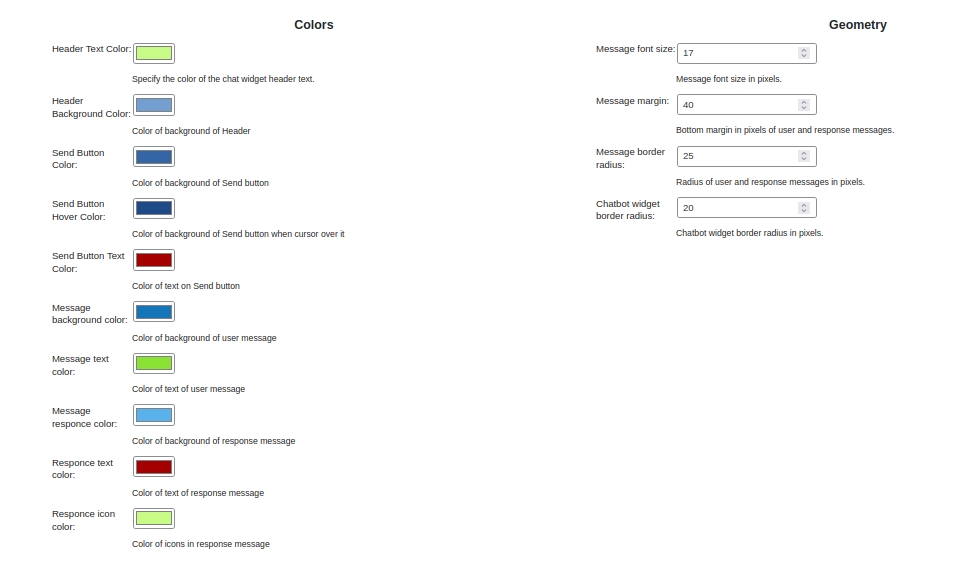
- Personalize the appearance of the chatbot: colors, styles, text
- Personalize view of chatbot using custom css (additional feature for each chatbot)
- Is possible to select position, size of chatbot's window
- Dynamic update of models directly from OpenAI
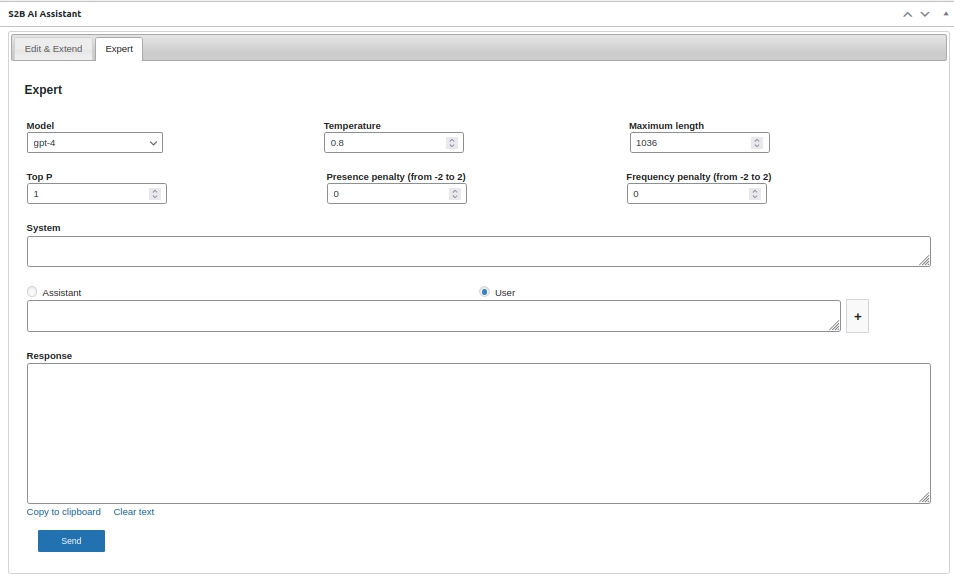
- Select any model which to use in plugin
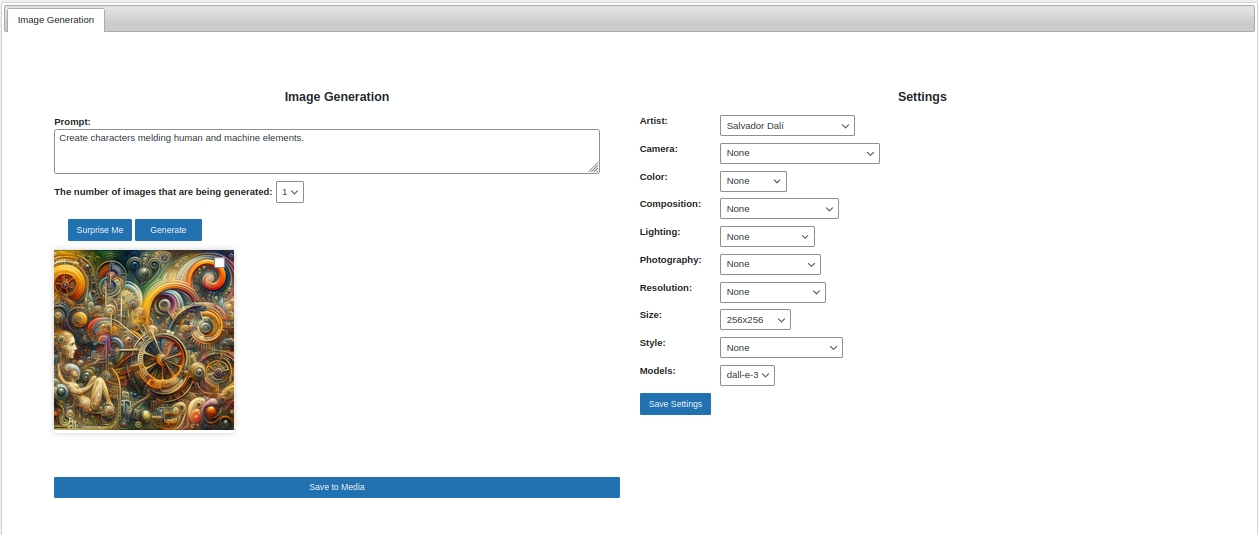
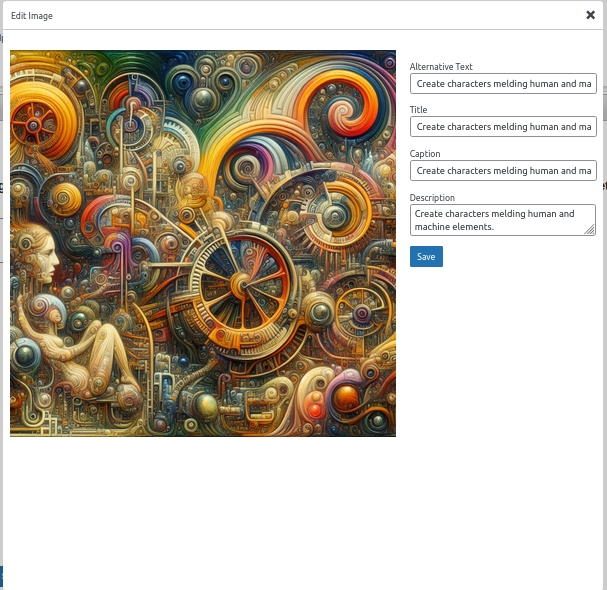
- Plugin can generate images
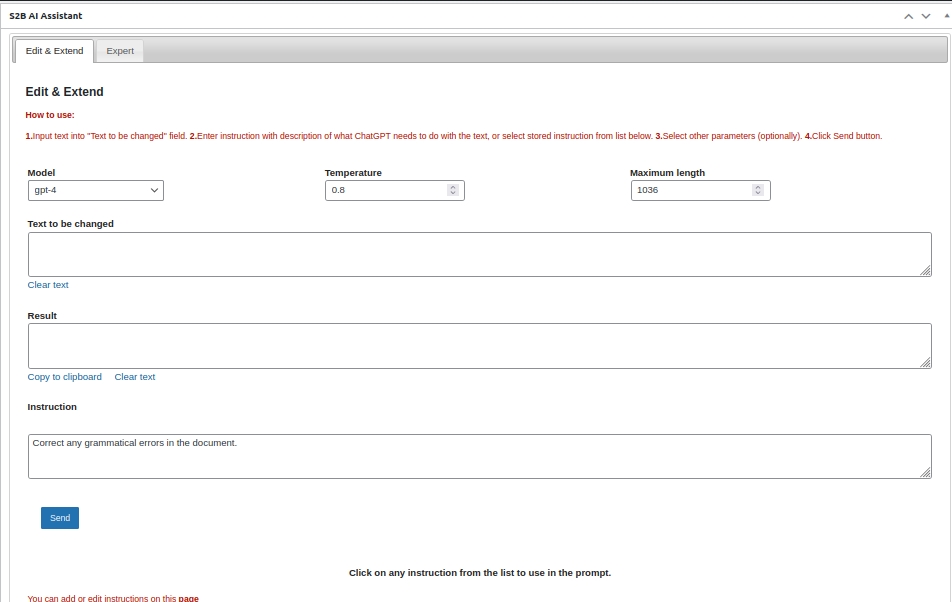
- Summarizing
- Limit sending any requests to ChatGPT that are not related to website content.
- Only send ChatGPT content from your website that is relevant to the user's request. This allows you to reduce the cost of using the Chat Completion API. For more details of how RAG works see this article. Also you can read this page to get idea on how plugin's RAG feature works.
安装:
- Go to Settings page /wp-admin/admin.php?page=s2baia_settings. In the ChatGPT tab fill your API key in the 'Open AI Key:' . You can generate API key on this page: https://platform.openai.com/account/api-keys
- You can fill other fields on this tab or leave them by default.
屏幕截图:
常见问题:
How many different chat bots can I create?
As many as you want. Each chatbot can have different position, size, colors, behavior and other elements.
Can I customize the appearance of the chatbot?
Yes. You can change position, size, colors, behavior of each chatbot separately in Chatbots and Assistants tabs of configuration page.
Which difference between chatbots and assistants?
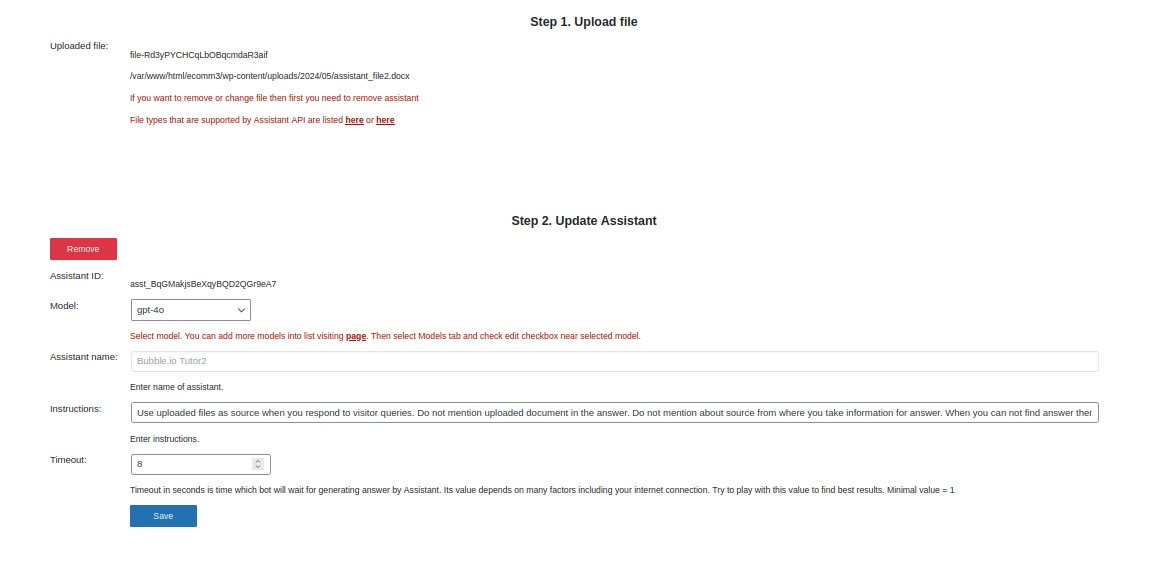
Actually they are two different types of chatbot. Assistants use OpenAI Assistant API, while Chatbots use OpenAI completion API to answer visitor's questions. Using Assistant API you can upload file to add additional information to chatbot's knowledge database. This allows you to create content aware chatbot.
How can I change icon of chatbot
First upload icon to Media Library. Then copy its url and paste it into "Url of chatbot picture:" field.
Which OpenAI models does the plugin use?
Any model that is accessible for your OpenAI account. You just need to open Settings page and switch to Models tab. After click 'Refresh from OpenAI'. All models will be attached to plugin. Then just select models you want to use.
Is it possible to create downloadable files embedded in a chatbot response?
Yes. please read this article
How does S2B AI Assistant handle image generation?
S2B AI Assistant leverages the DALL-E model for image generation. You can specify prompts in the command line within the plugin, and S2B AI Assistant will generate unique images, logos, banners, and more, requiring no design skills from the user.
The S2B AI Assistant is NOT working in the front end.
The primary cause for this issue is often incorrect theme coding and jQuery being loaded from an external source. WordPress core already includes jQuery, and as per WordPress standards, it should be included using wp_enqueue_script. https://developer.wordpress.org/reference/functions/wp_enqueue_script/ . Verify if this is happening in your theme.
How to use Grok model in Chat bot
You need to register in xAI https://x.ai/api and get API key. After open Settings page of S2B AI Assistant plugin and enter API key into xAI Key field. After this you are able to select one of then xAI models in each Chatbot page.
更新日志:
- AI Agents using Visual OpenAI Agent Builder and Chatkit support.
- Added ability to choose exactly which users can access each chatbot and e-commerce integration (Pro feature).
- Add chat persistence feature.
- Security fix. Hardened file upload handling: added strict file type validation and limited uploads to safe document formats.
- Fix chat caching.
- Small addition to usage statistic
- Fix integrations conflict. Add tokens usage statistic
- Quick fix to add basic GPT-5 model support. Only chat completion API. Full support is coming.
- Add Anthropic Claude support
- Add extended Markdown support
- Update xAI models
- Fix access issue to plugin config pages
- Fix links break during Markdown transformation
- Add DeepSeek integration
- Adding partial support of Markdown in API responses
- Refining queries by adding keywords to each search request that is sent to the semantic database
- Adding native way of communication between Chatbot and Assistant API.
- Add xAI Grok model support for chatbot
- Add custom css to embedded view
- Assistant fix
- Add feature that allows to forget uploaded file for Assistant API
- Add feature that allows to download files created by Assistant API
- Security fix
- Fix initial chatbot creation issue
- Add o1 models support:o1-mini, o1-preview
- Improve interface
- Add RAG support
- Fix upload file on Assistant API tab.
- Allow to apply custom css rules to any chatbot and assistant
- Fix sizes of textarea elements in configuration page
- Add feature to copy shordcode of chatbot
- Make default models: gpt-4o, gpt-4o-mini, gpt-4
- Add ability to run chatbot without modal window
- Add view_mode parameter which allows to modify view of chatbot via shortcode
- Added ability to show notification that explains users that conversation is logged
- Feature that allows you to create multiple different Assistants
- Fix deprecation message
- Fix logging feature
- Feature that allows create different chatbots for different pages. Removed outdated gpt 3.5 models as default.
- Conversation Logging feature added for other apis
- Conversation Logging feature added
- Fix configuration
- Added content aware AI chatbot using Assistant API
- Small fixes
- Small fixes
- Added AI chatbot feature == Changelog ==
- Adding fixes
- Image generation feature added
- Security fixes
- Add feature that allows to change access to different parts and functions of plugin.
- Some ui improvement.
- Launch!
