Smart Auto Featured Image - WordPress Plugin
| 开发者 | wpjoli |
|---|---|
| 更新时间 | 2025年11月5日 13:09 |
| PHP版本: | 7.0 及以上 |
| WordPress版本: | 6.8 |
| 版权: | GPLv2 or later |
| 版权网址: | 版权信息 |
详情介绍:
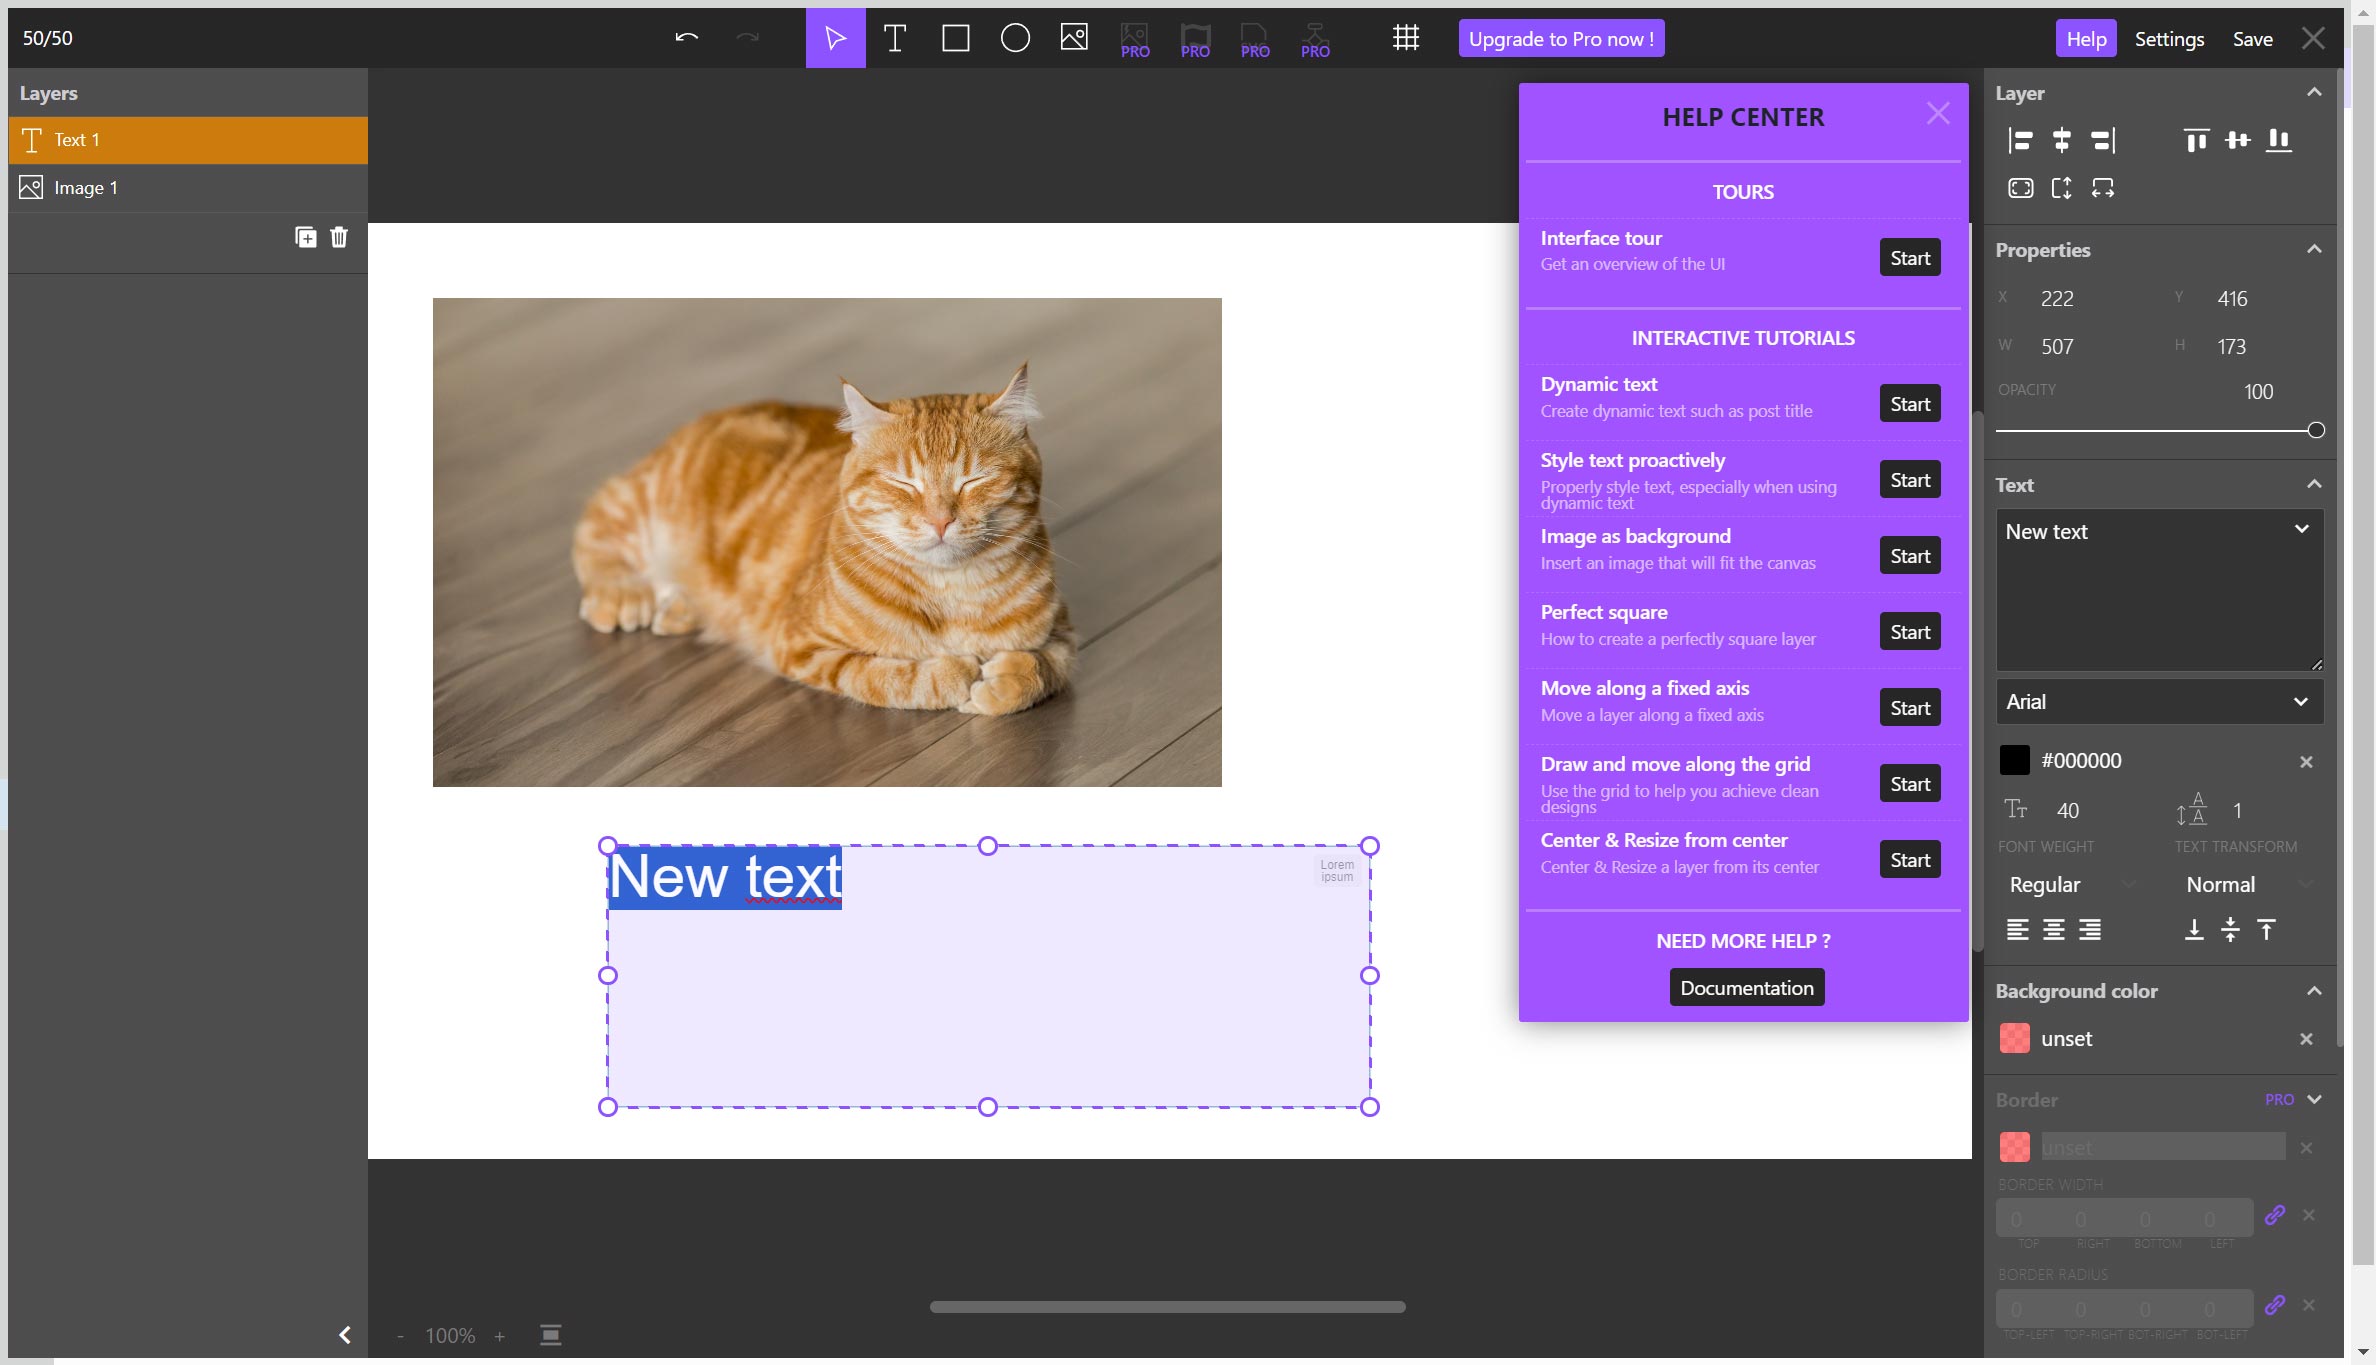
- Hold Ctrl: snap to grid
- Hold Alt: resize from center
- Hold Shift: preserve aspect ratio / create at 1:1 ratio All keys can be used in combination. Ex: Alt + Shift: Resize from center while preserving layer aspect ratio
- First image from the post content
- Author image
- Site logo
- YouTube thumbnail from embed
- ACF image
- Dozens of Pro templates included
- Unlimited layers per template
- All design tools available
- Conditional layers
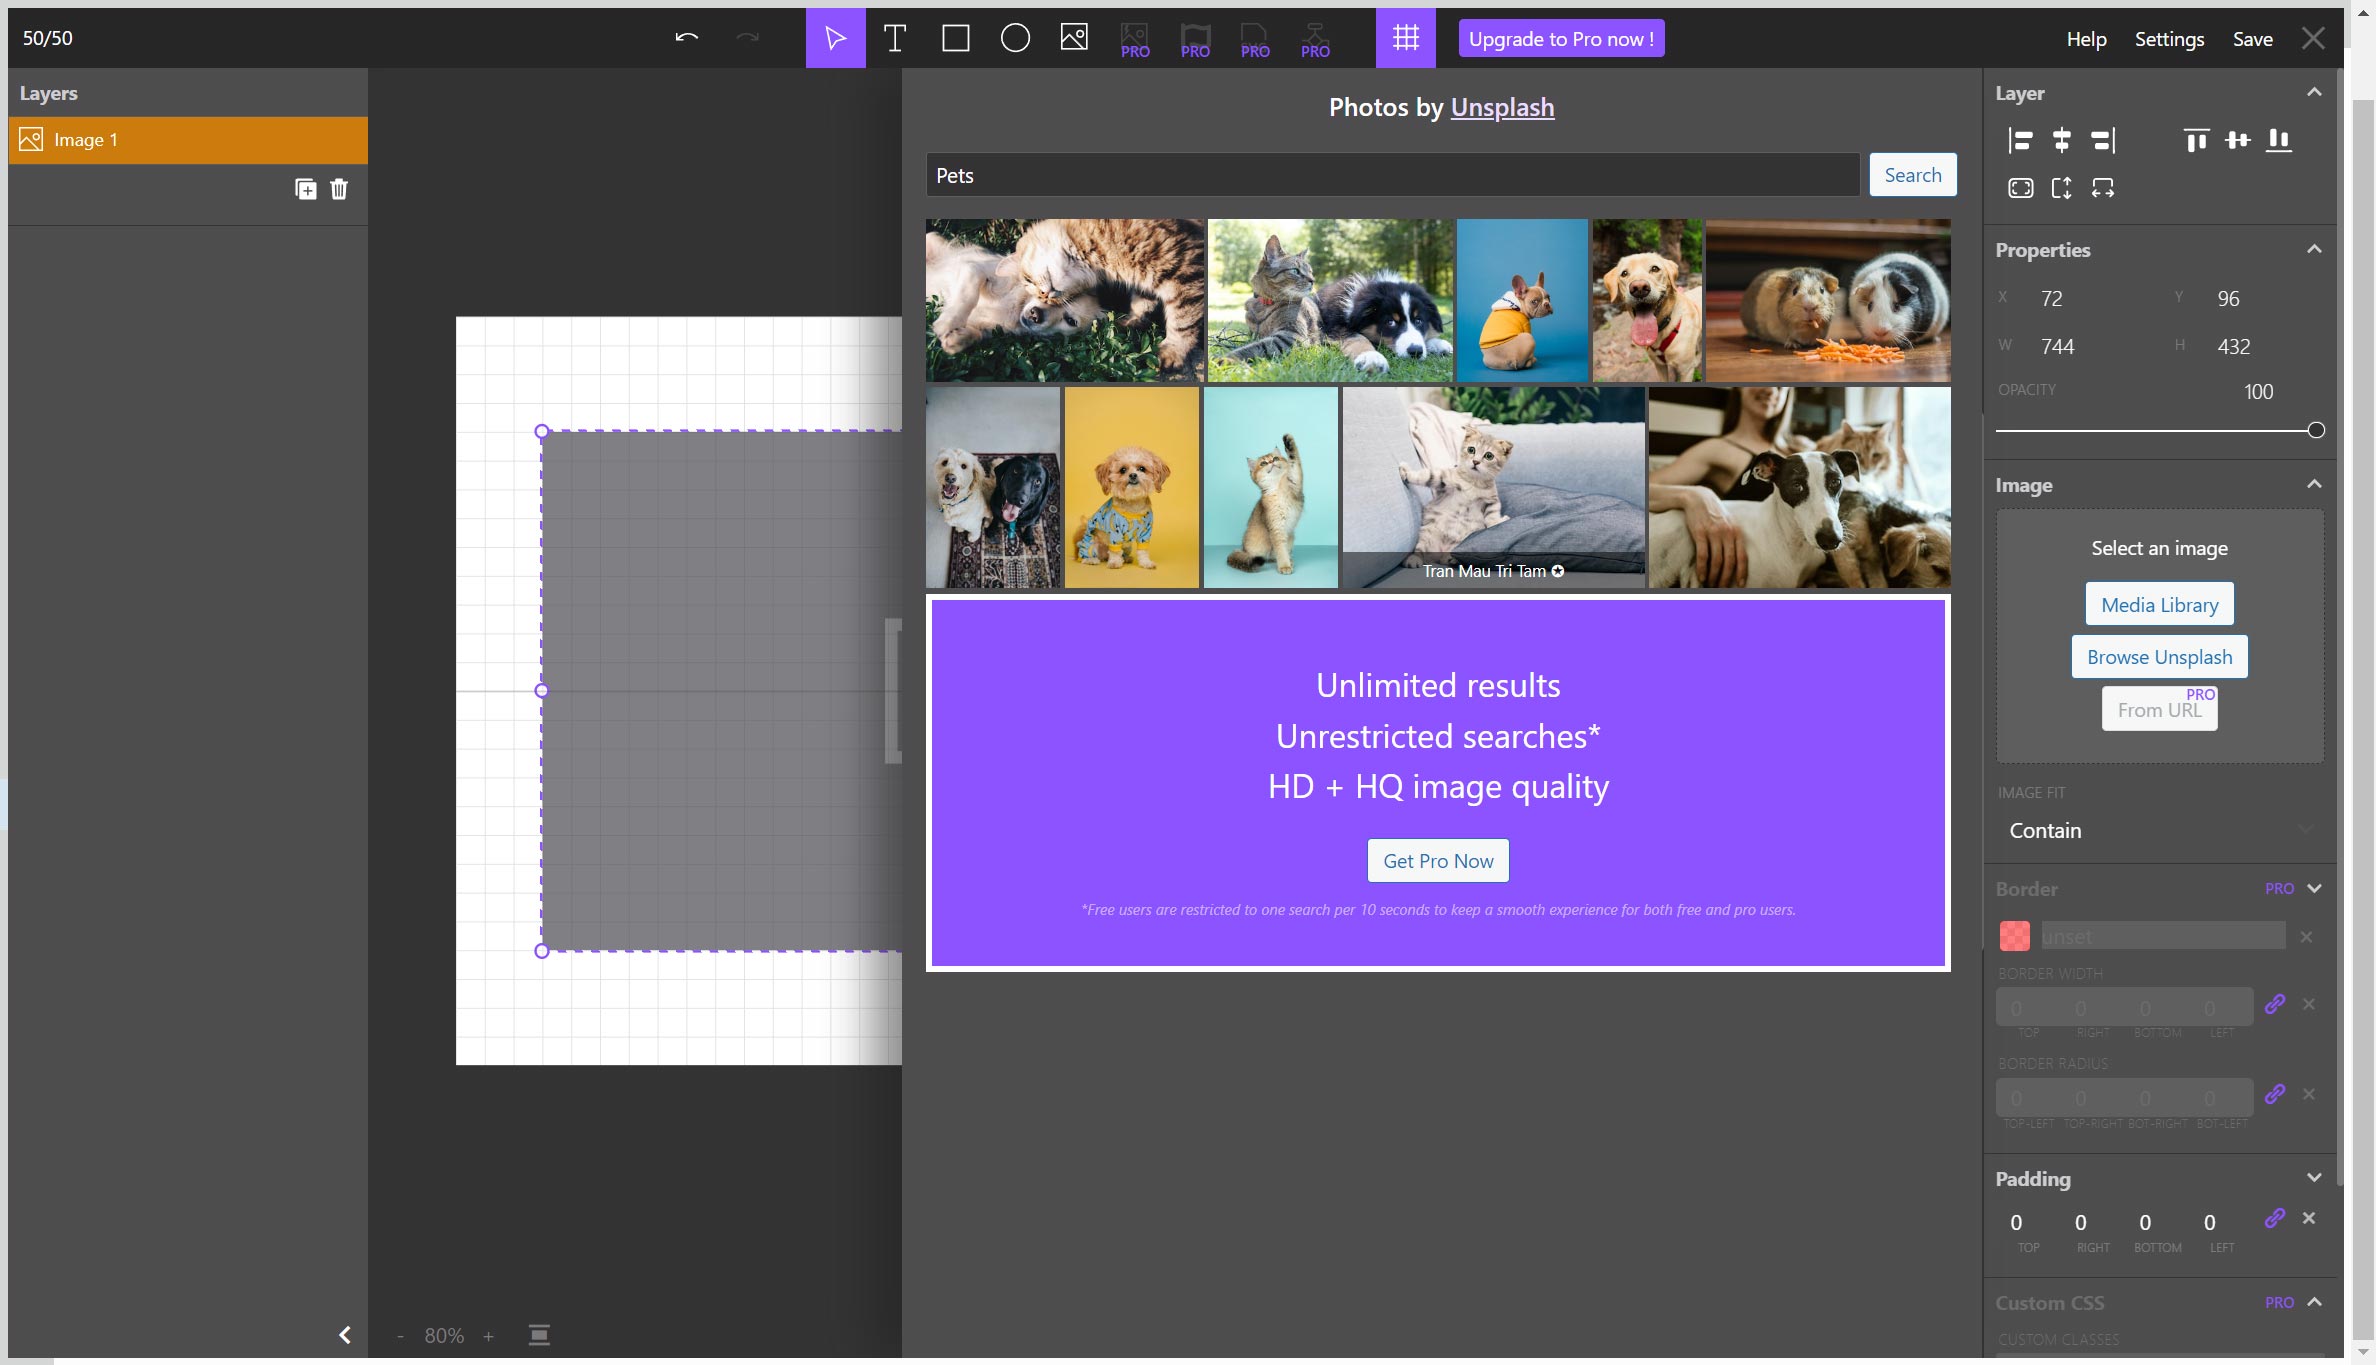
- HD/HQ Unsplash images
- Google fonts available
- Rounded corners + Borders
- Rotate layers
- HD image generation
- Select Image quality from 1-100
- WEBP image format available
- ACF integration
- Yoast SEO / RankMath focus keyword integration
安装:
- Upload the plugin files to the
/wp-content/plugins/plugin-namedirectory, or install the plugin through the WordPress plugins screen directly. - Activate the plugin through the 'Plugins' screen in WordPress
- Use the Settings->Plugin Name screen to configure the plugin
- (Make your instructions match the desired user flow for activating and installing your plugin. Include any steps that might be needed for explanatory purposes)
- Go to the “Plugins > Add New” page.
- Type “Smart Auto Featured Image” in the search field
- Look for the “Smart Auto Featured Image” plugin in the search result and click on the “Install Now” button, the installation process of plugin will begin.
- Click “Activate” when the installation is complete.
屏幕截图:
常见问题:
What is a template ?
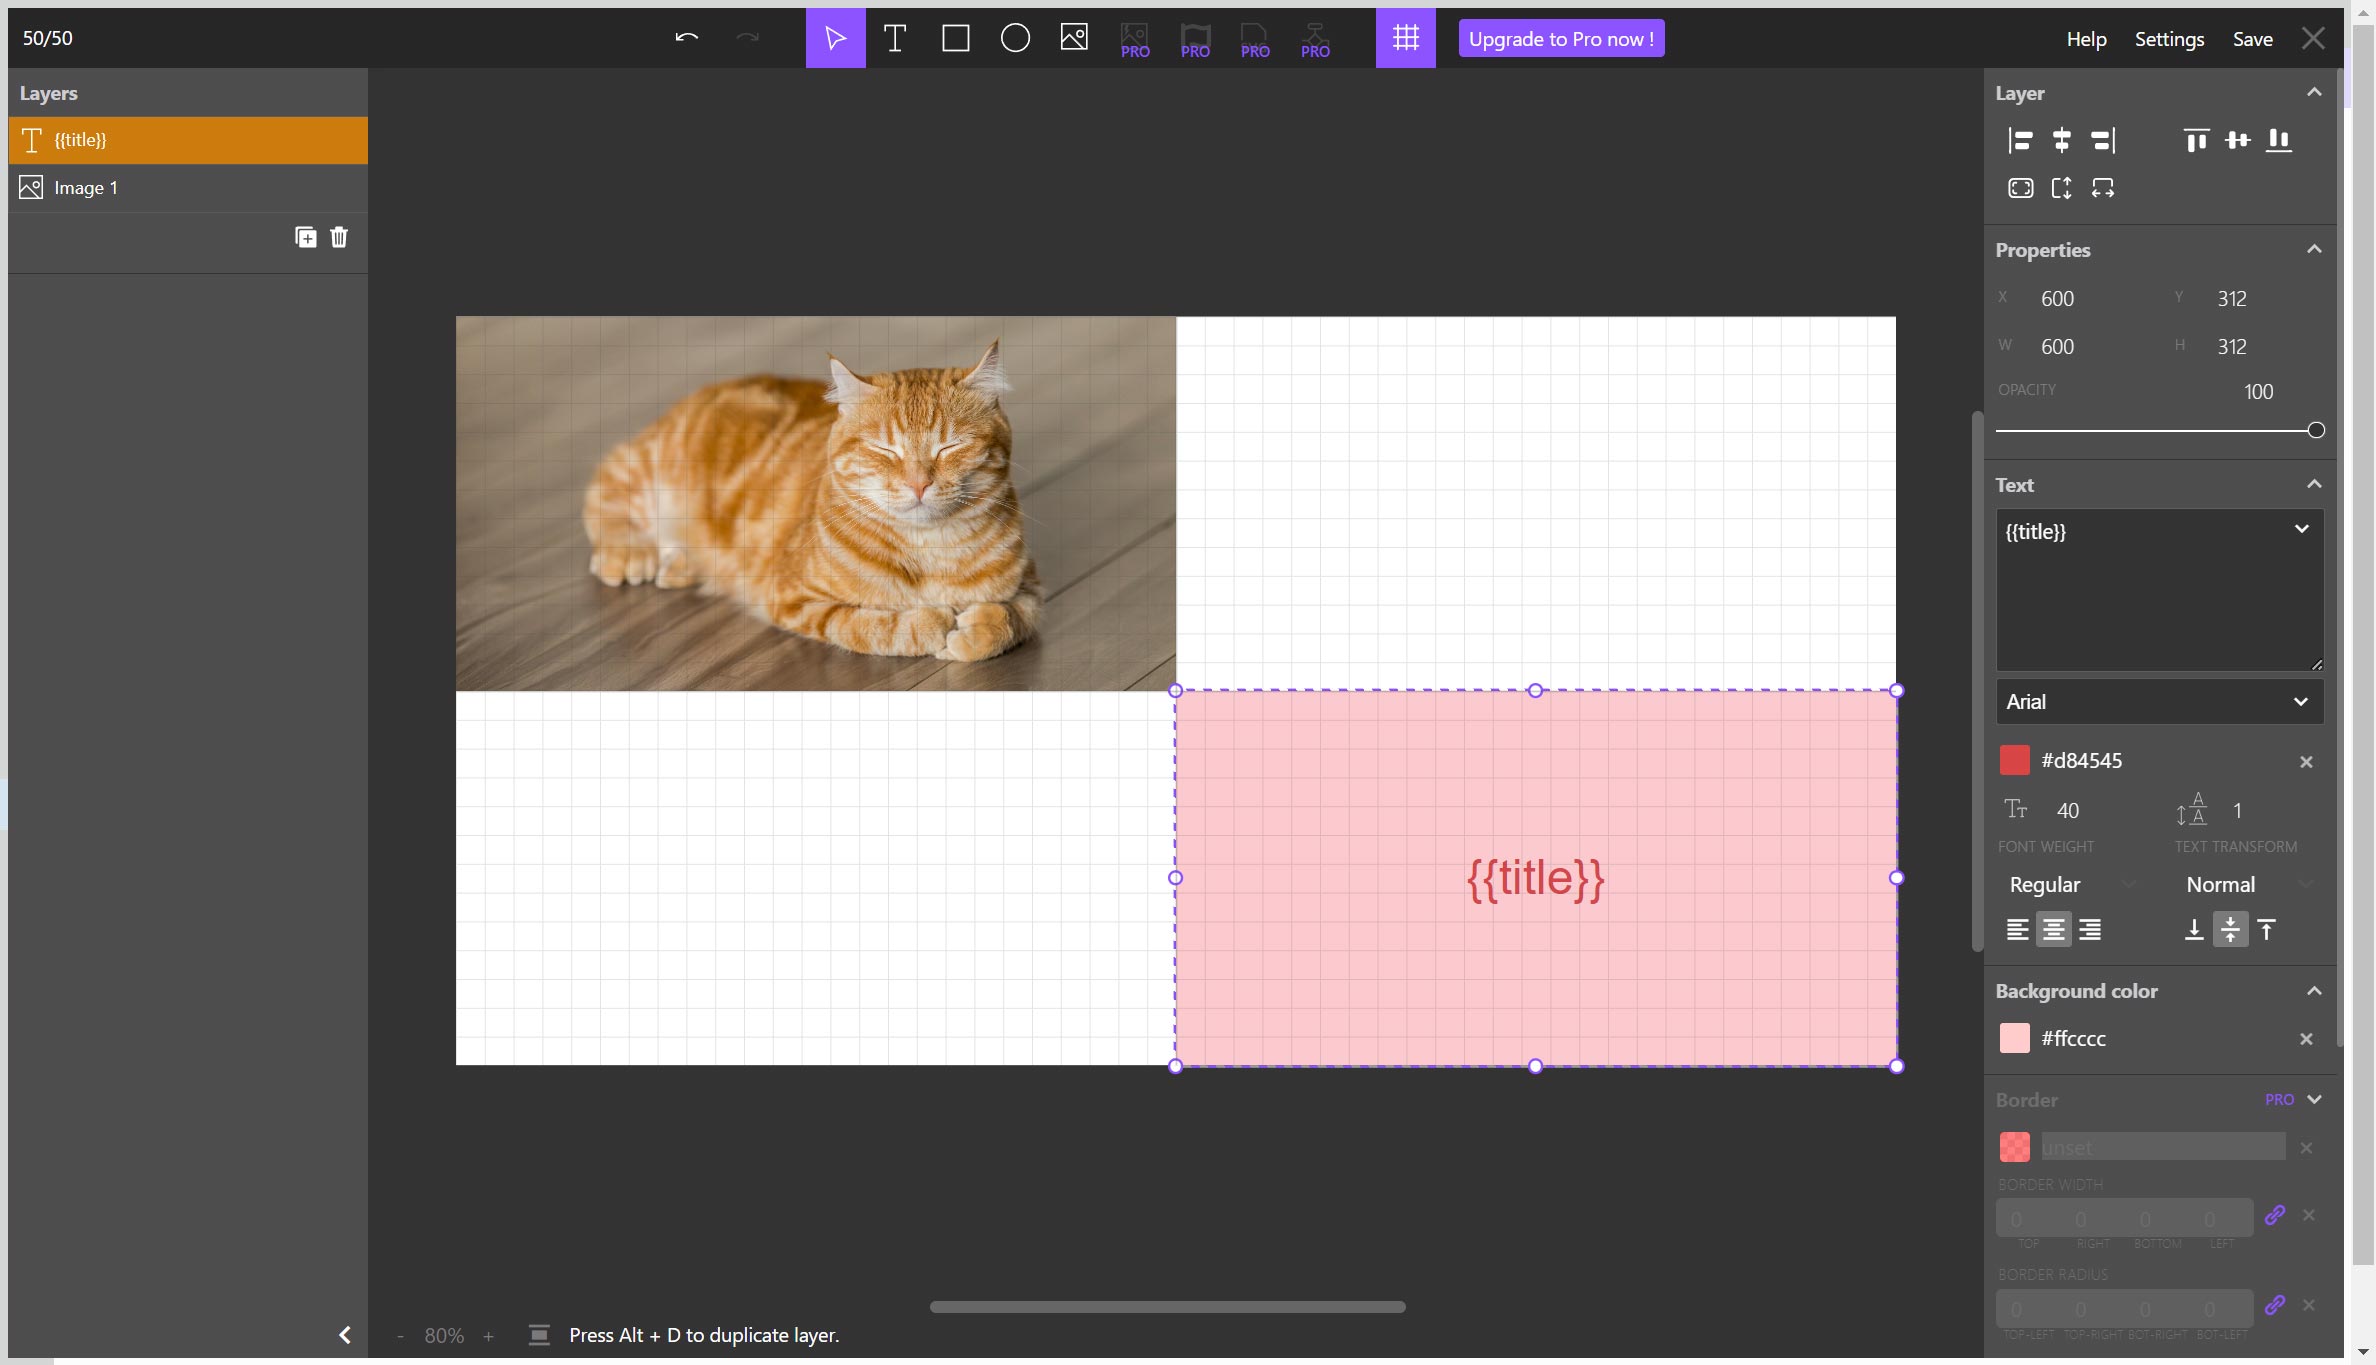
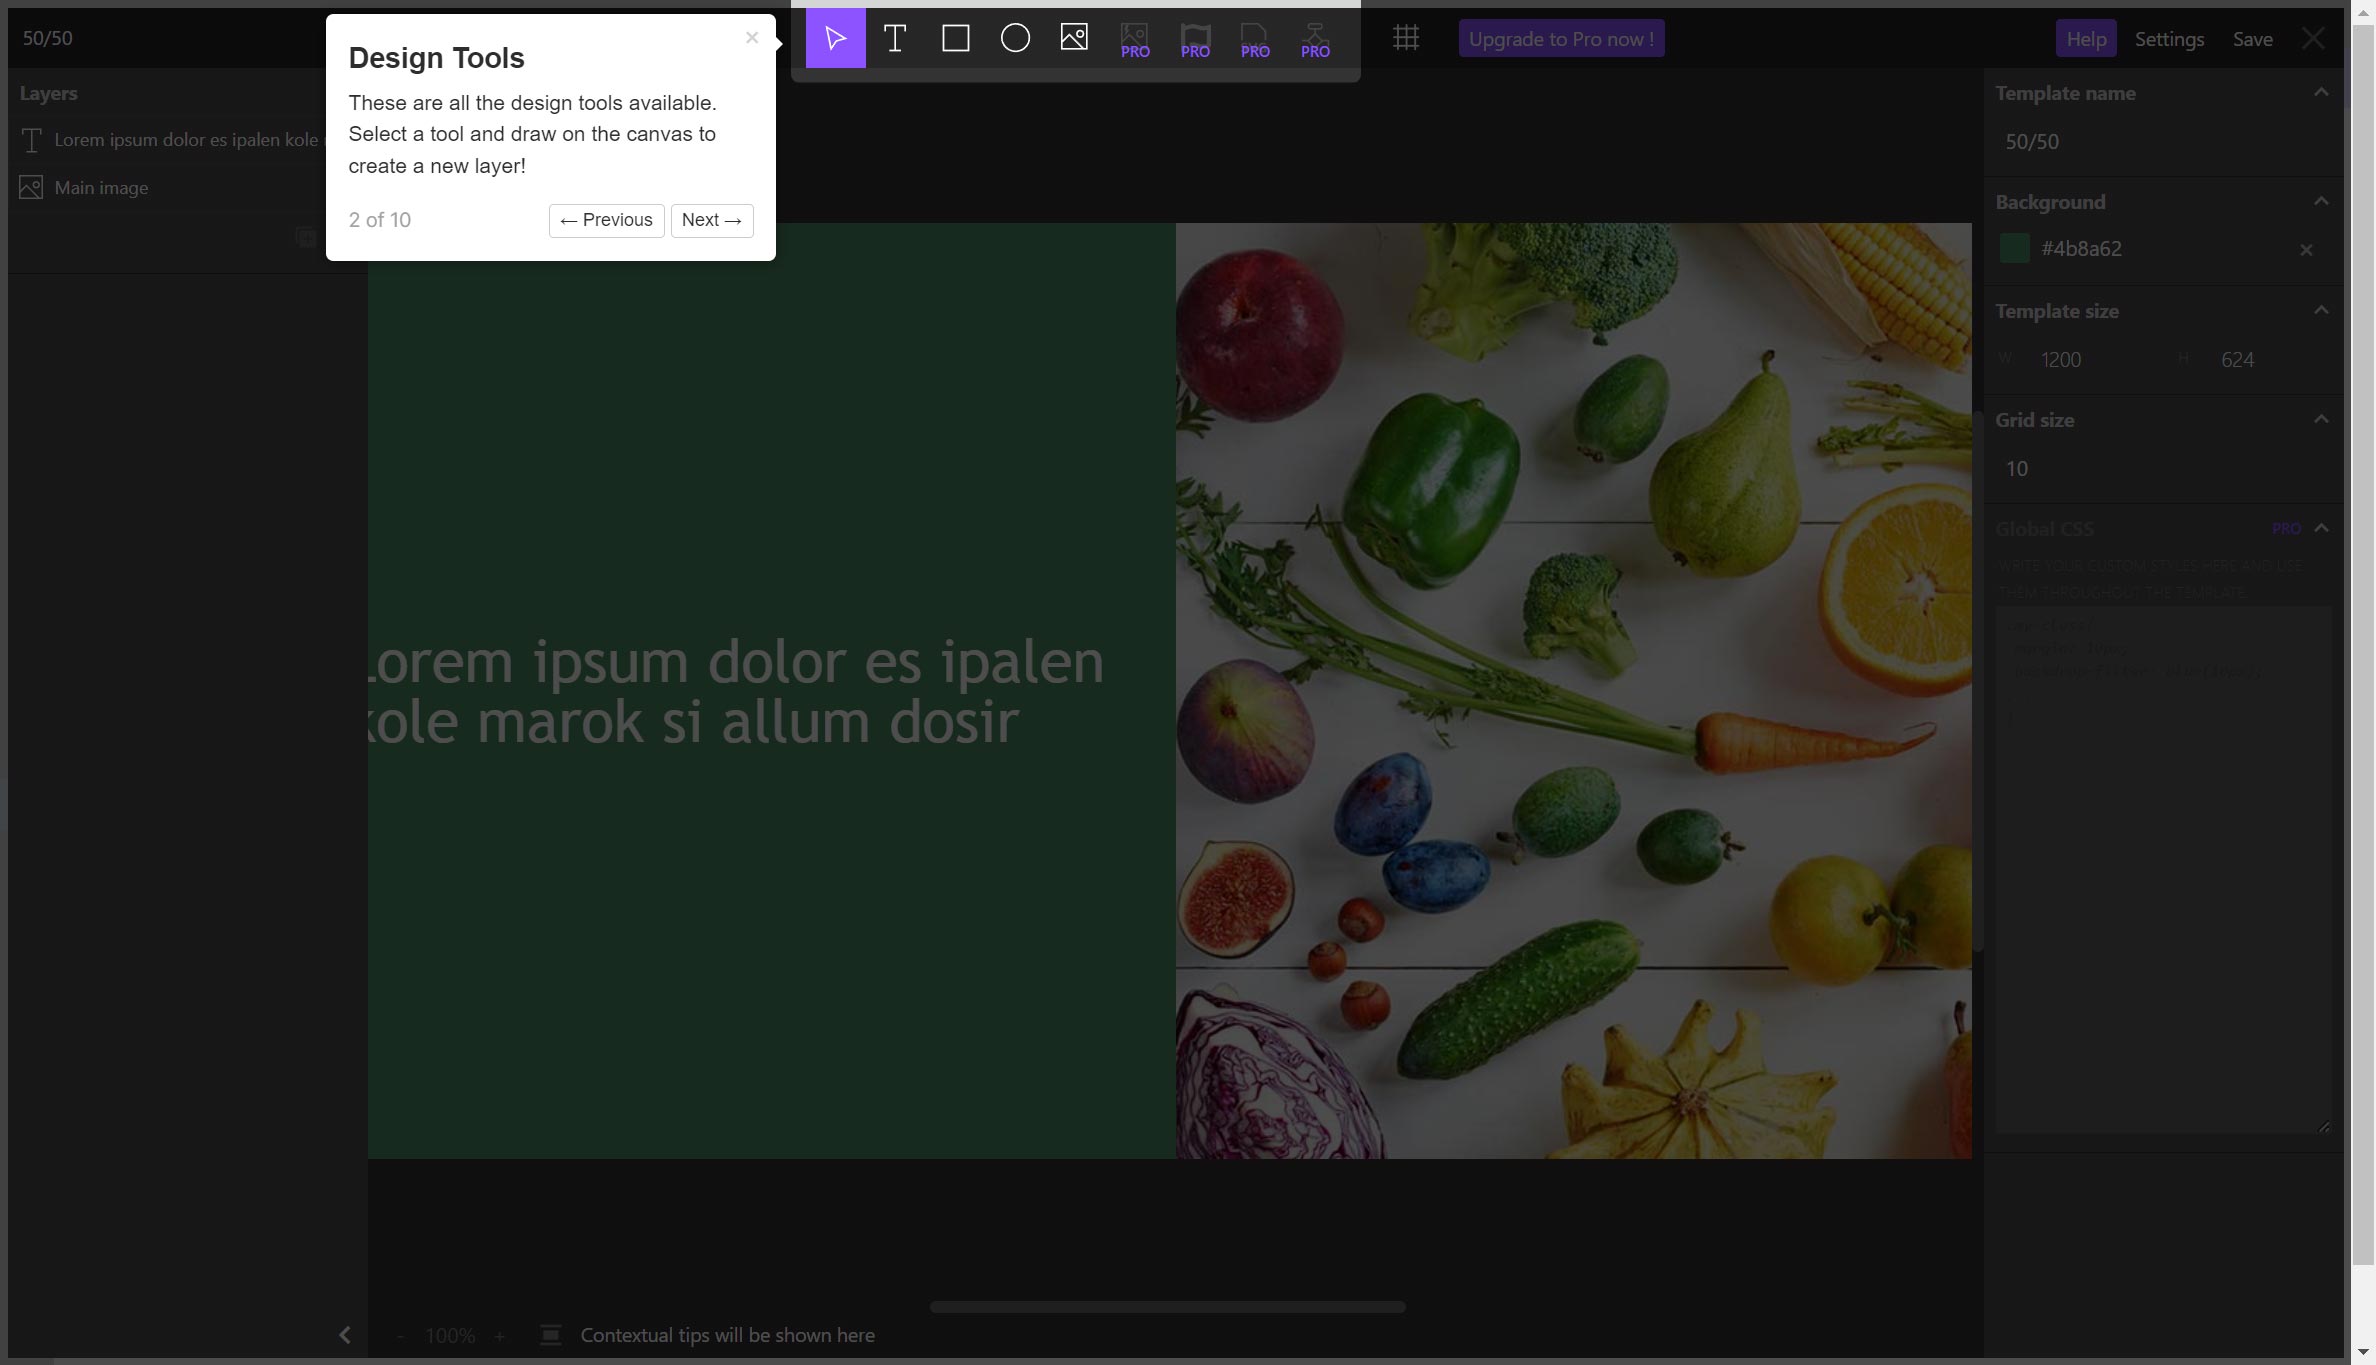
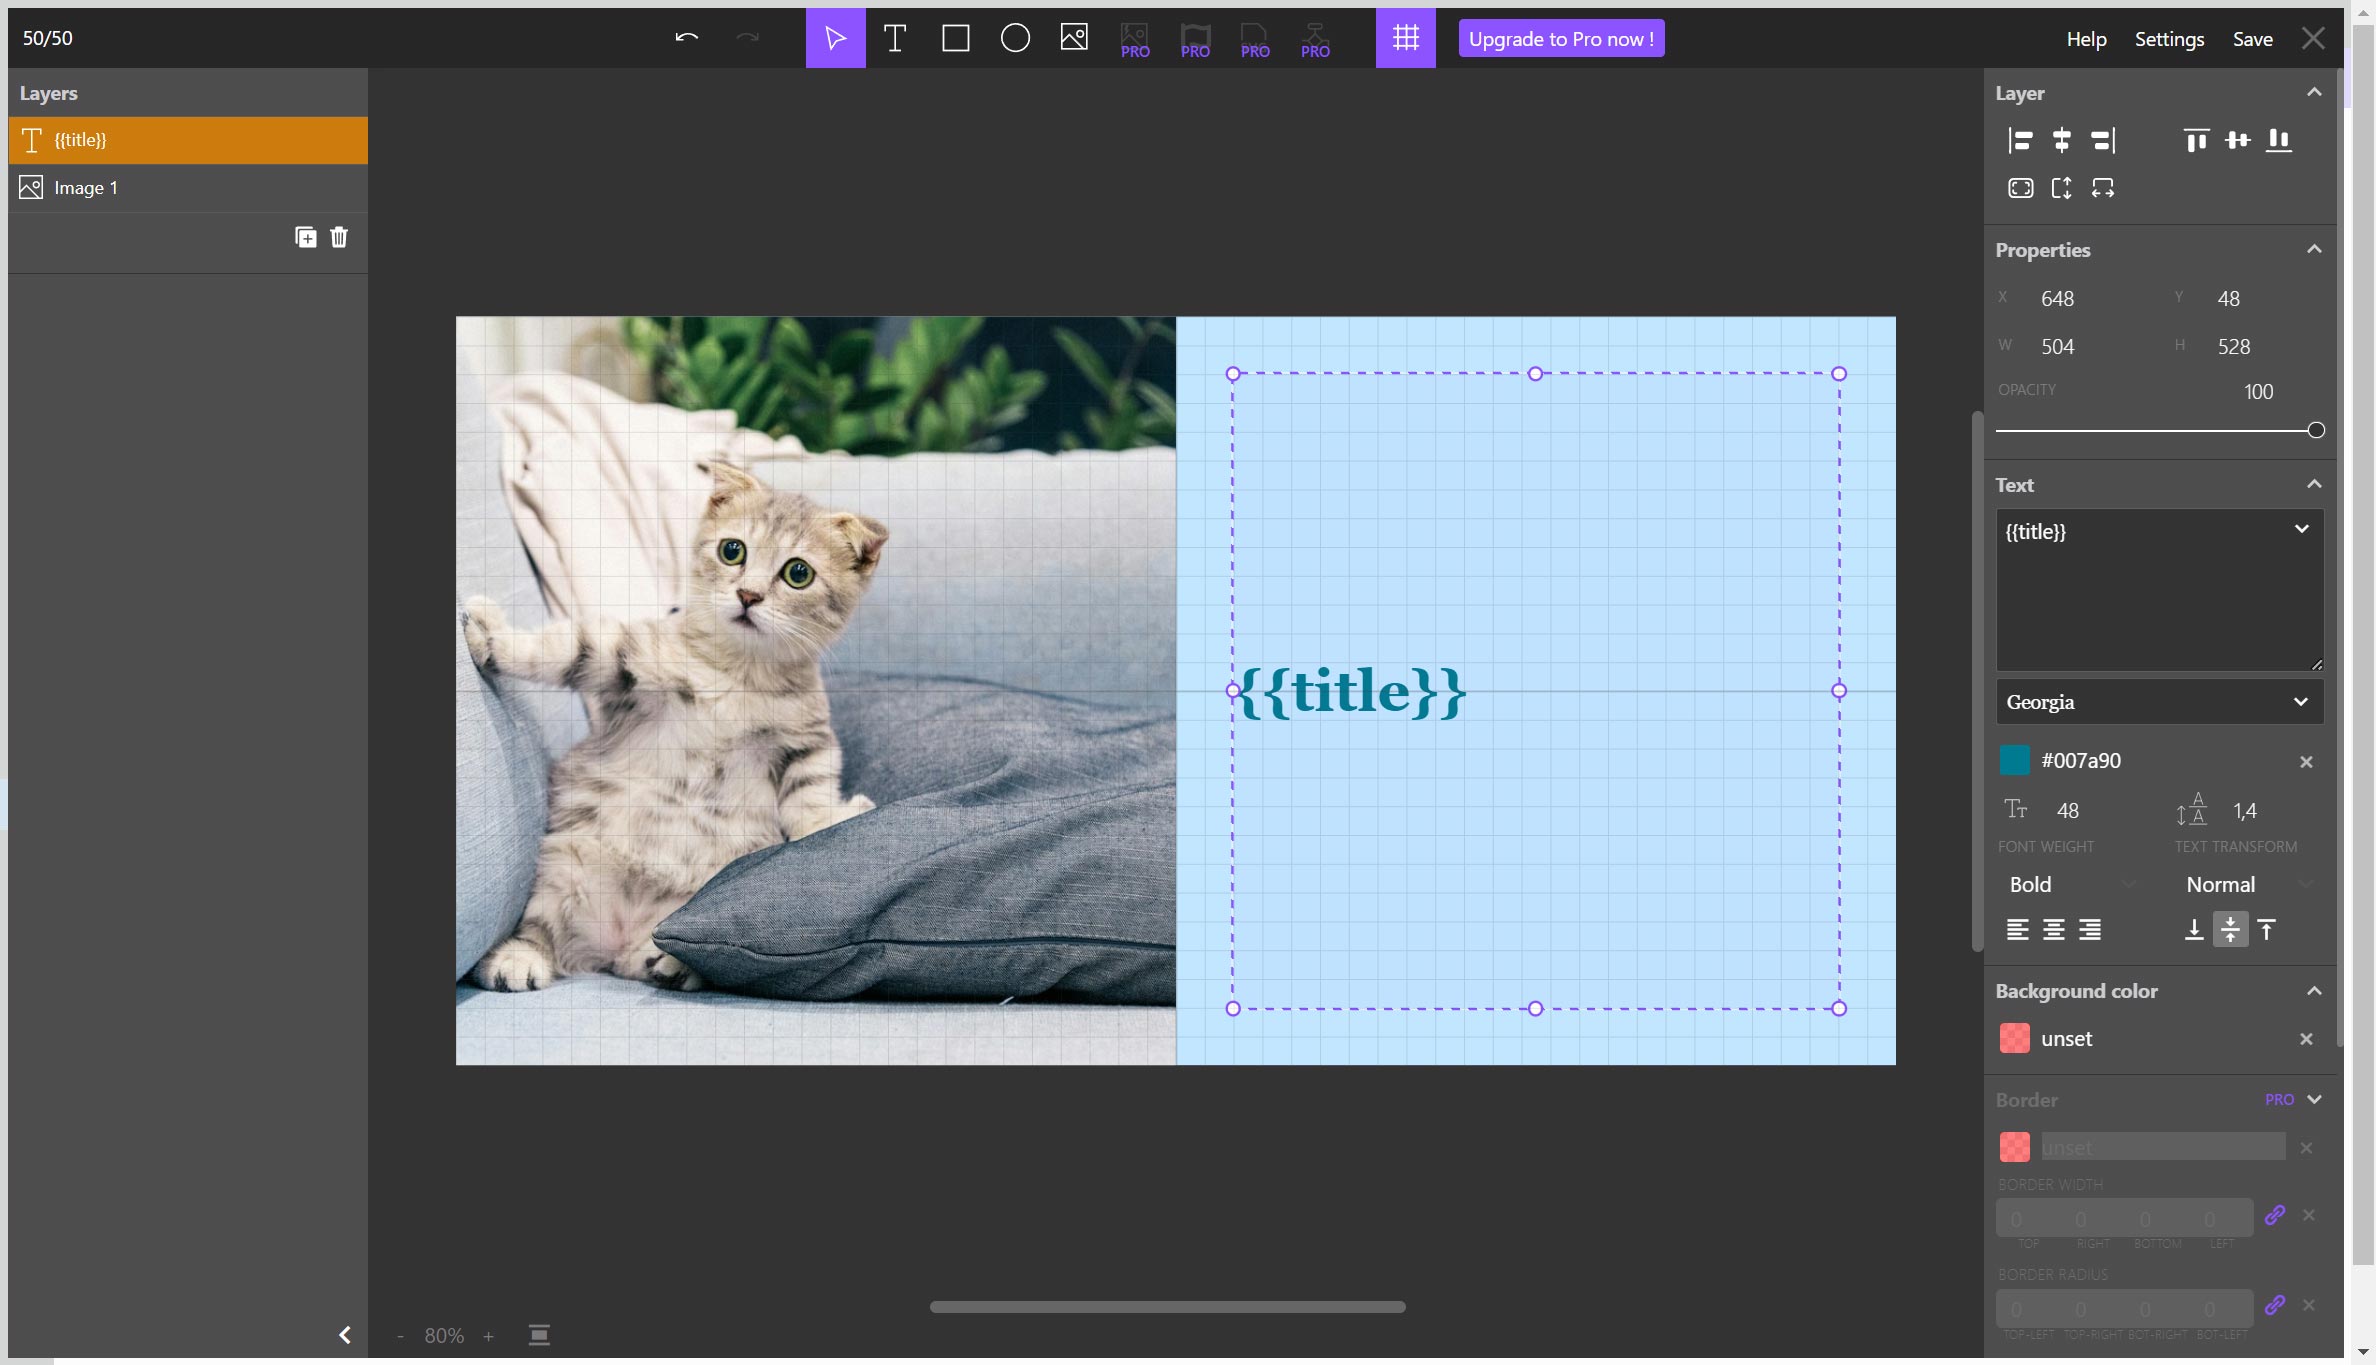
A "template" is basically your future Featured Image, before it is processed by our engine. When a template is made of dynamic elements, these are rendered dynamically in order to generate the final featured image. You can use one template to generate many featured images, and do tiny changes one blog post at a time or make it enterily dynamic.
What are the steps to generate a Featured Image ?
- Create/Edit a template in the Template manager
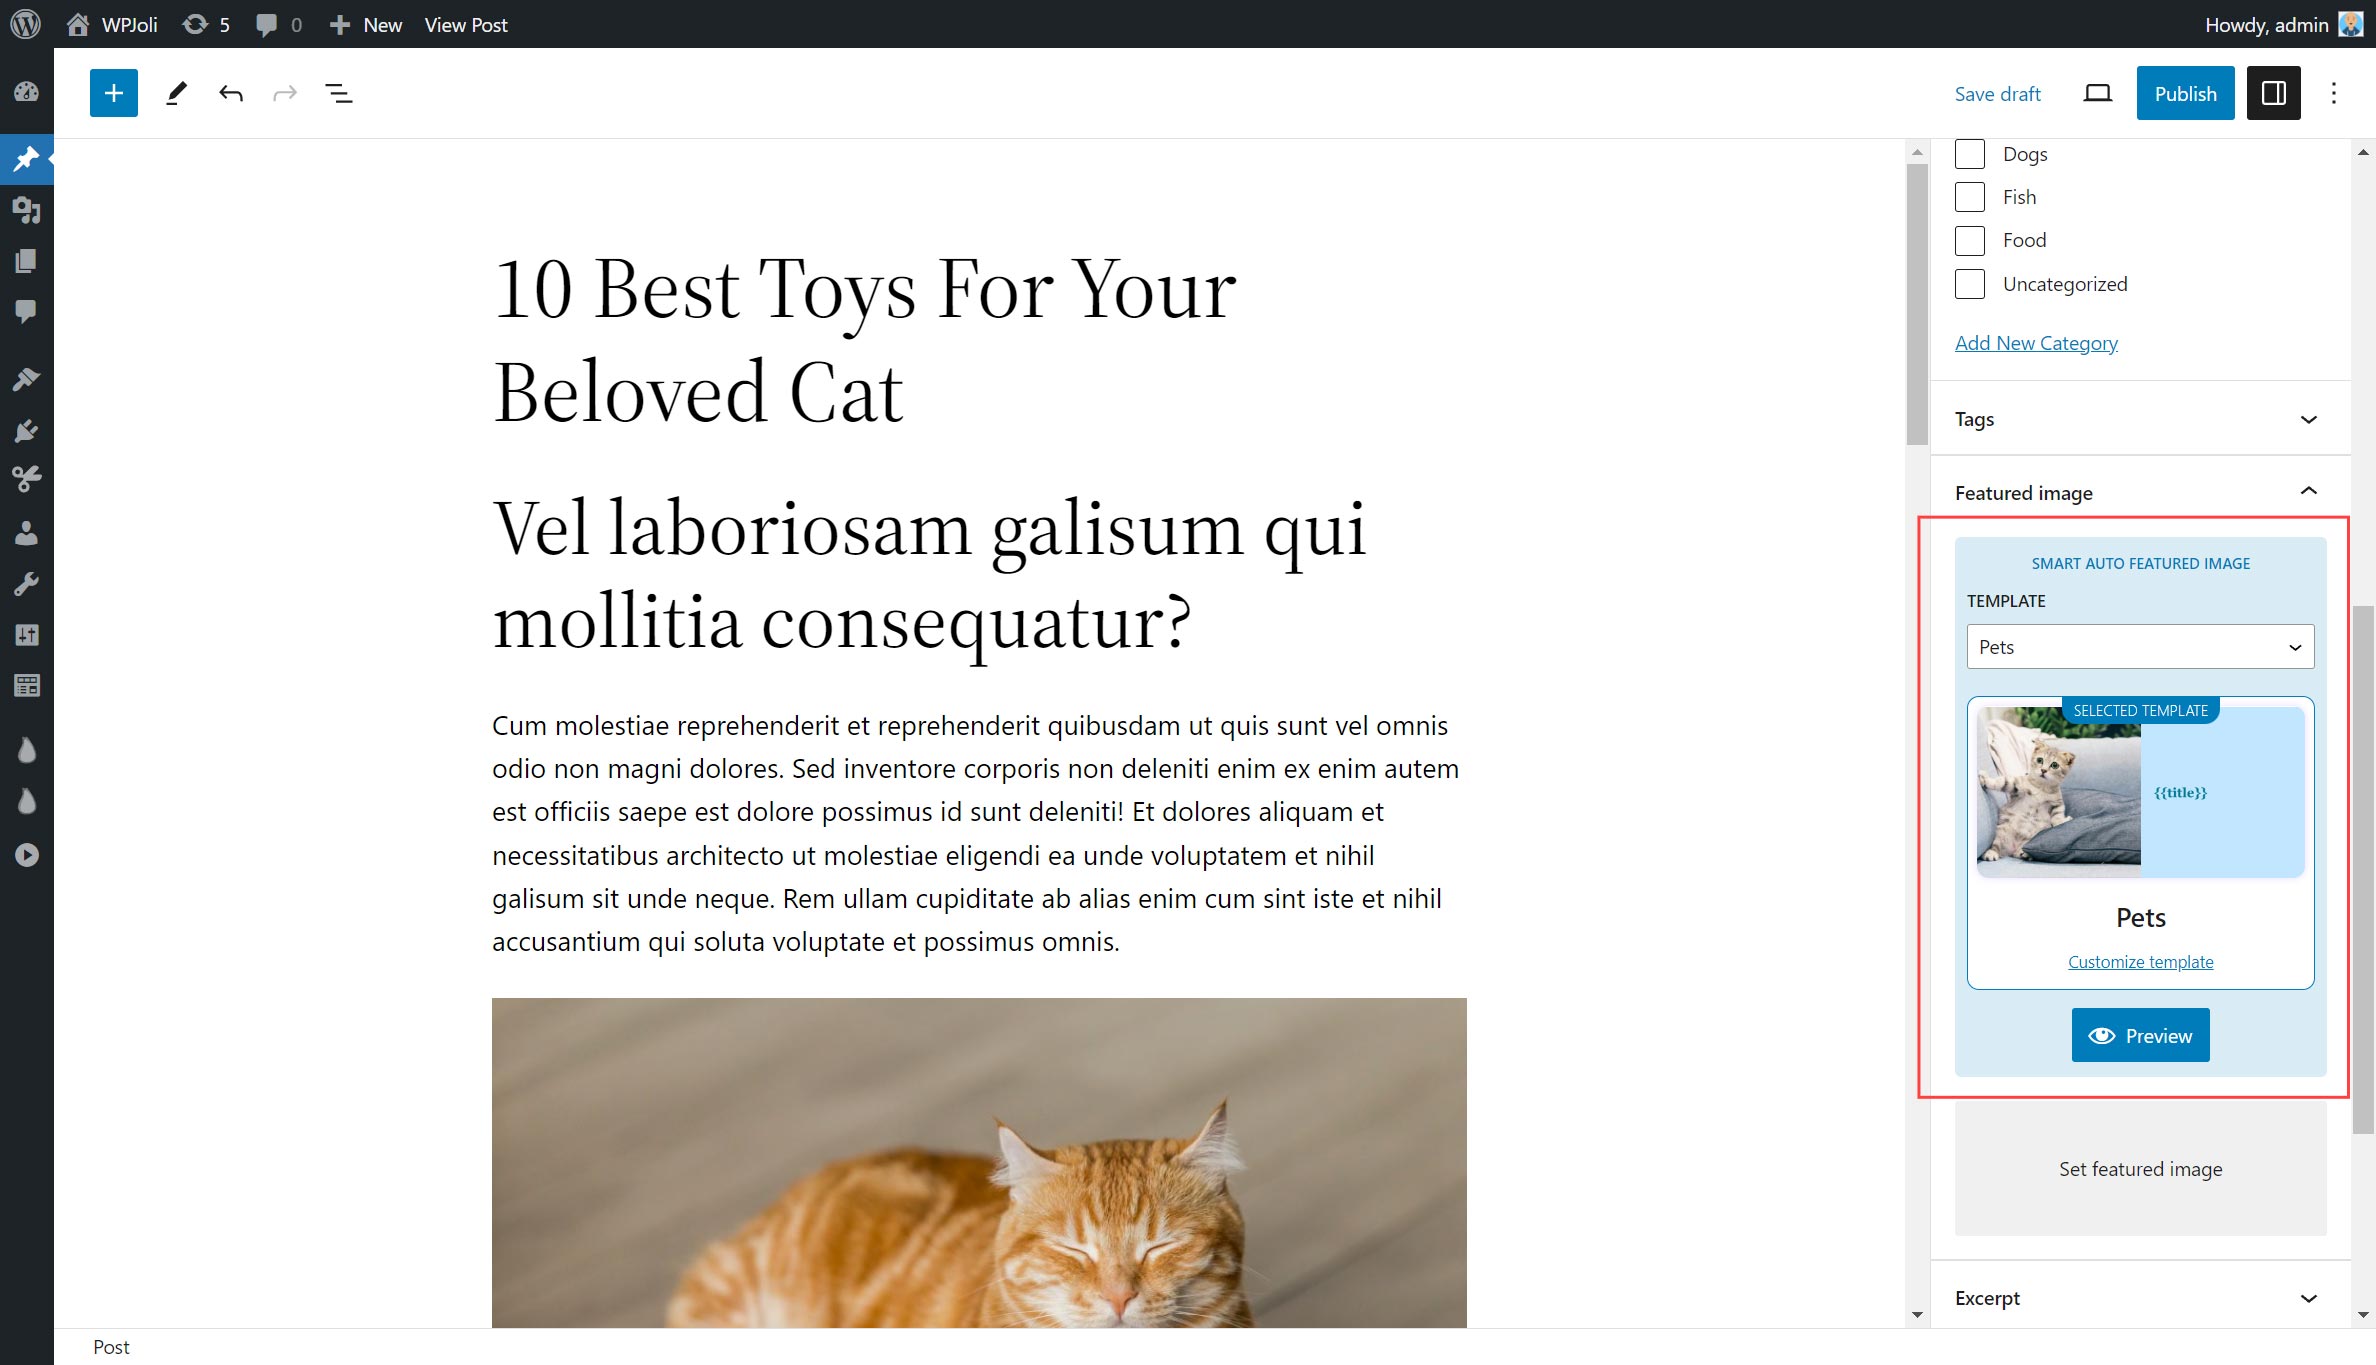
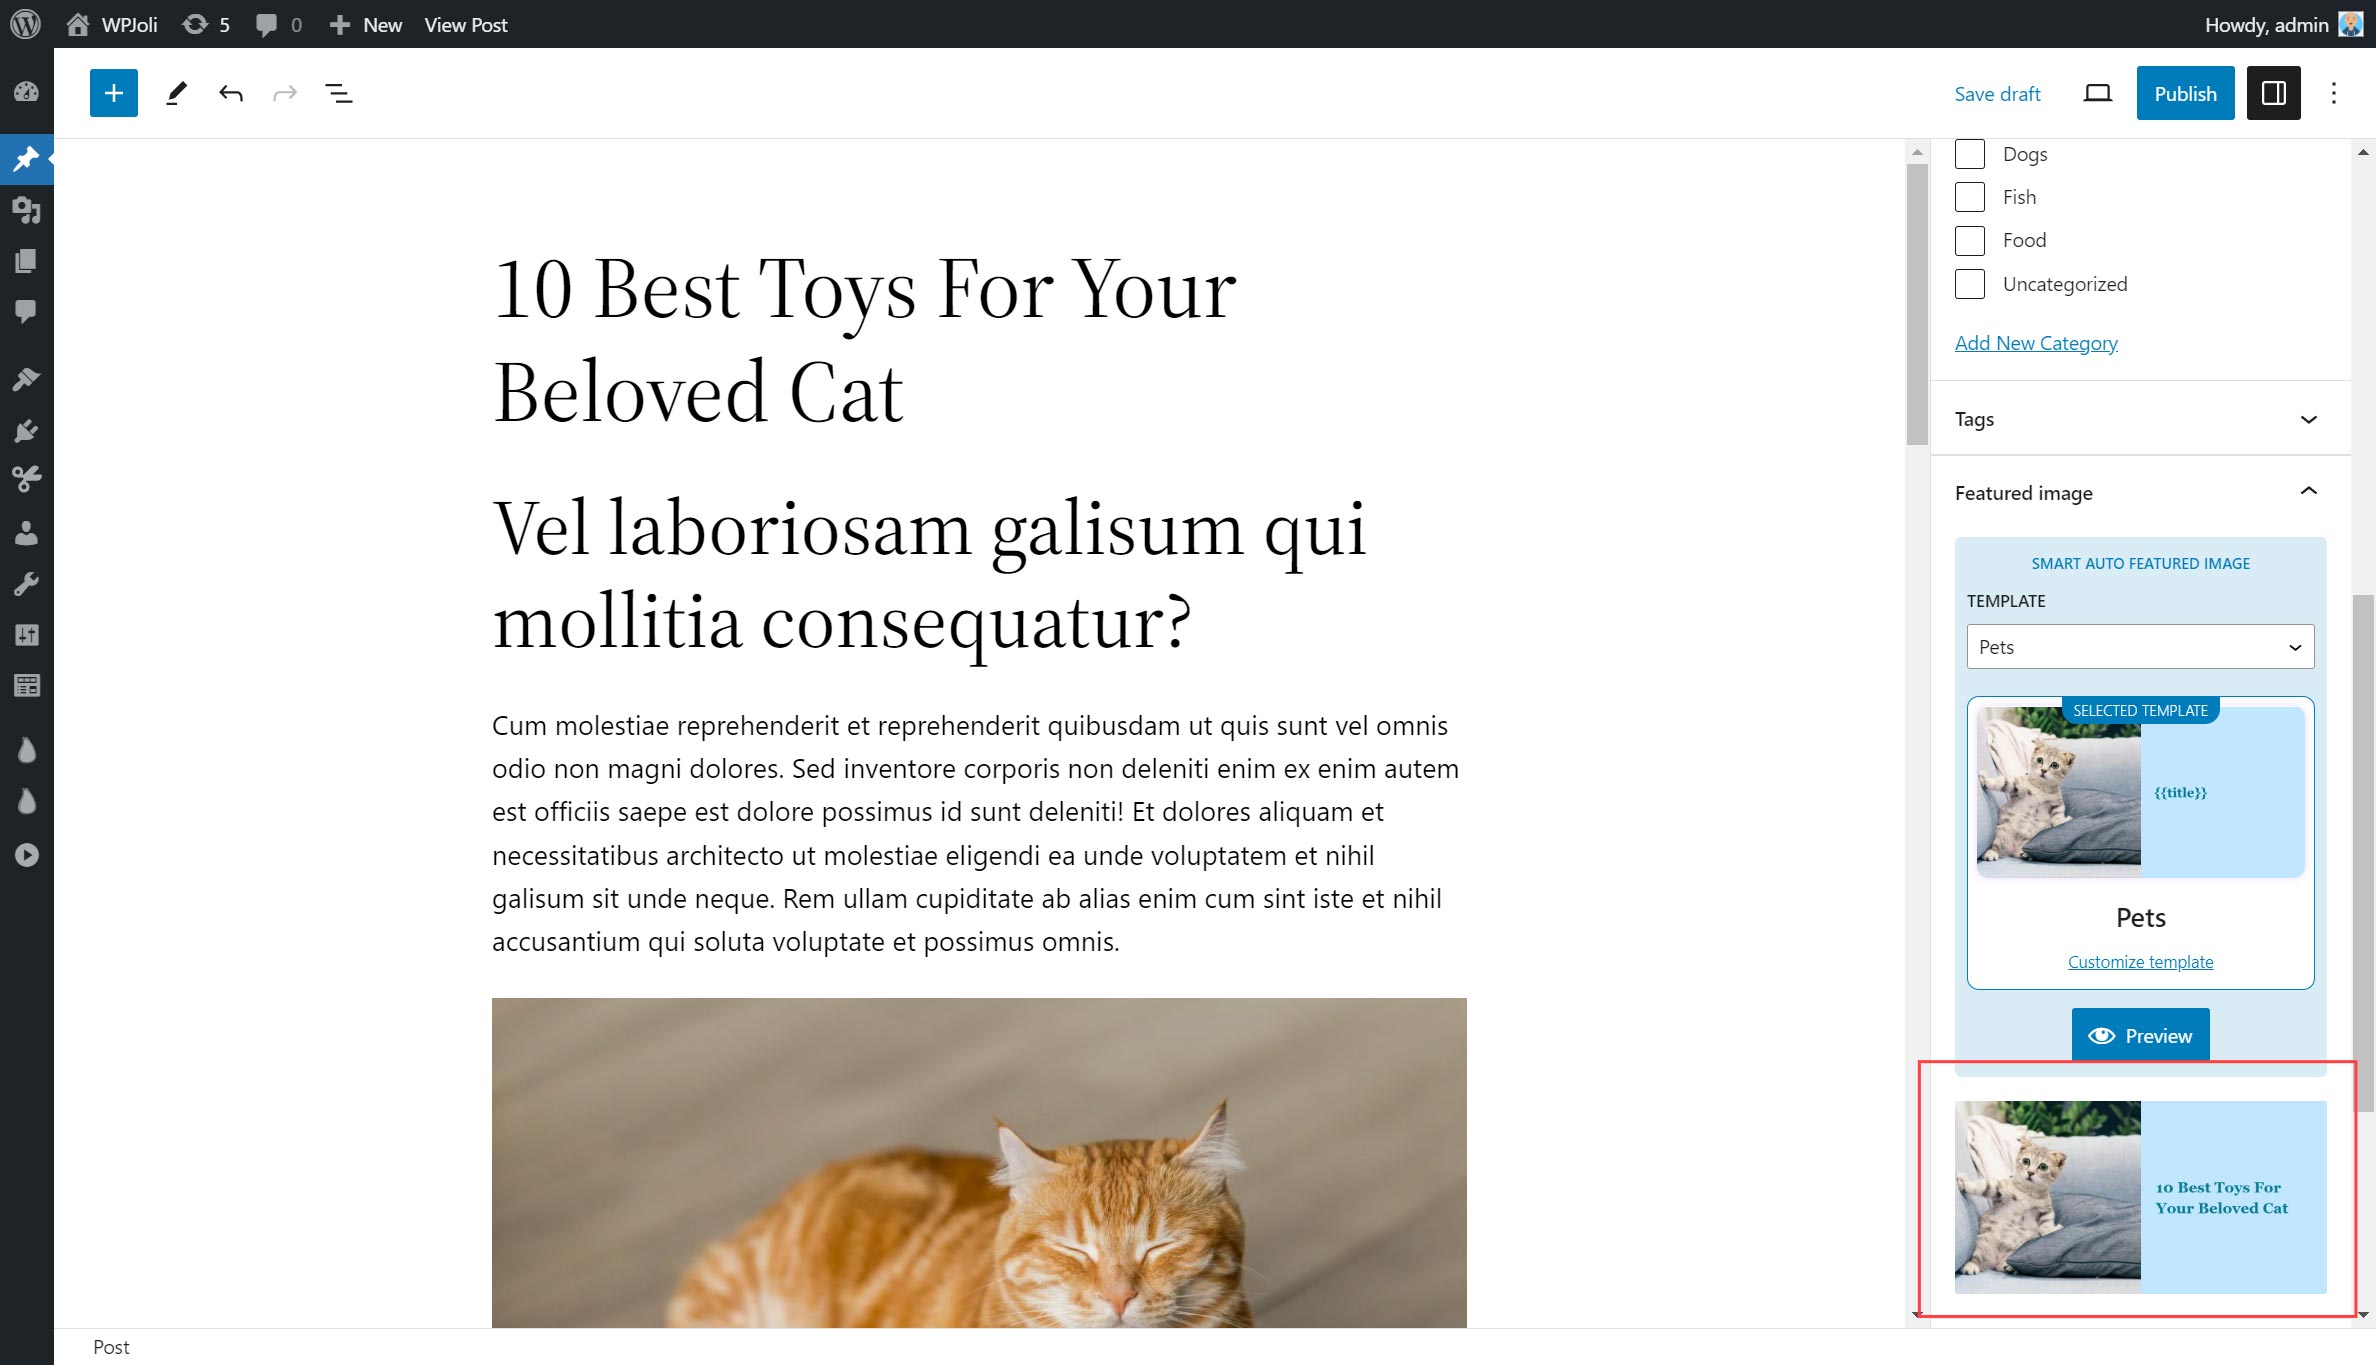
- While editing your blog post in the block editor, select your template under the Featured Image section of the Post settings in the right sidebar.
- Use your template as is, or bring some minor changes.
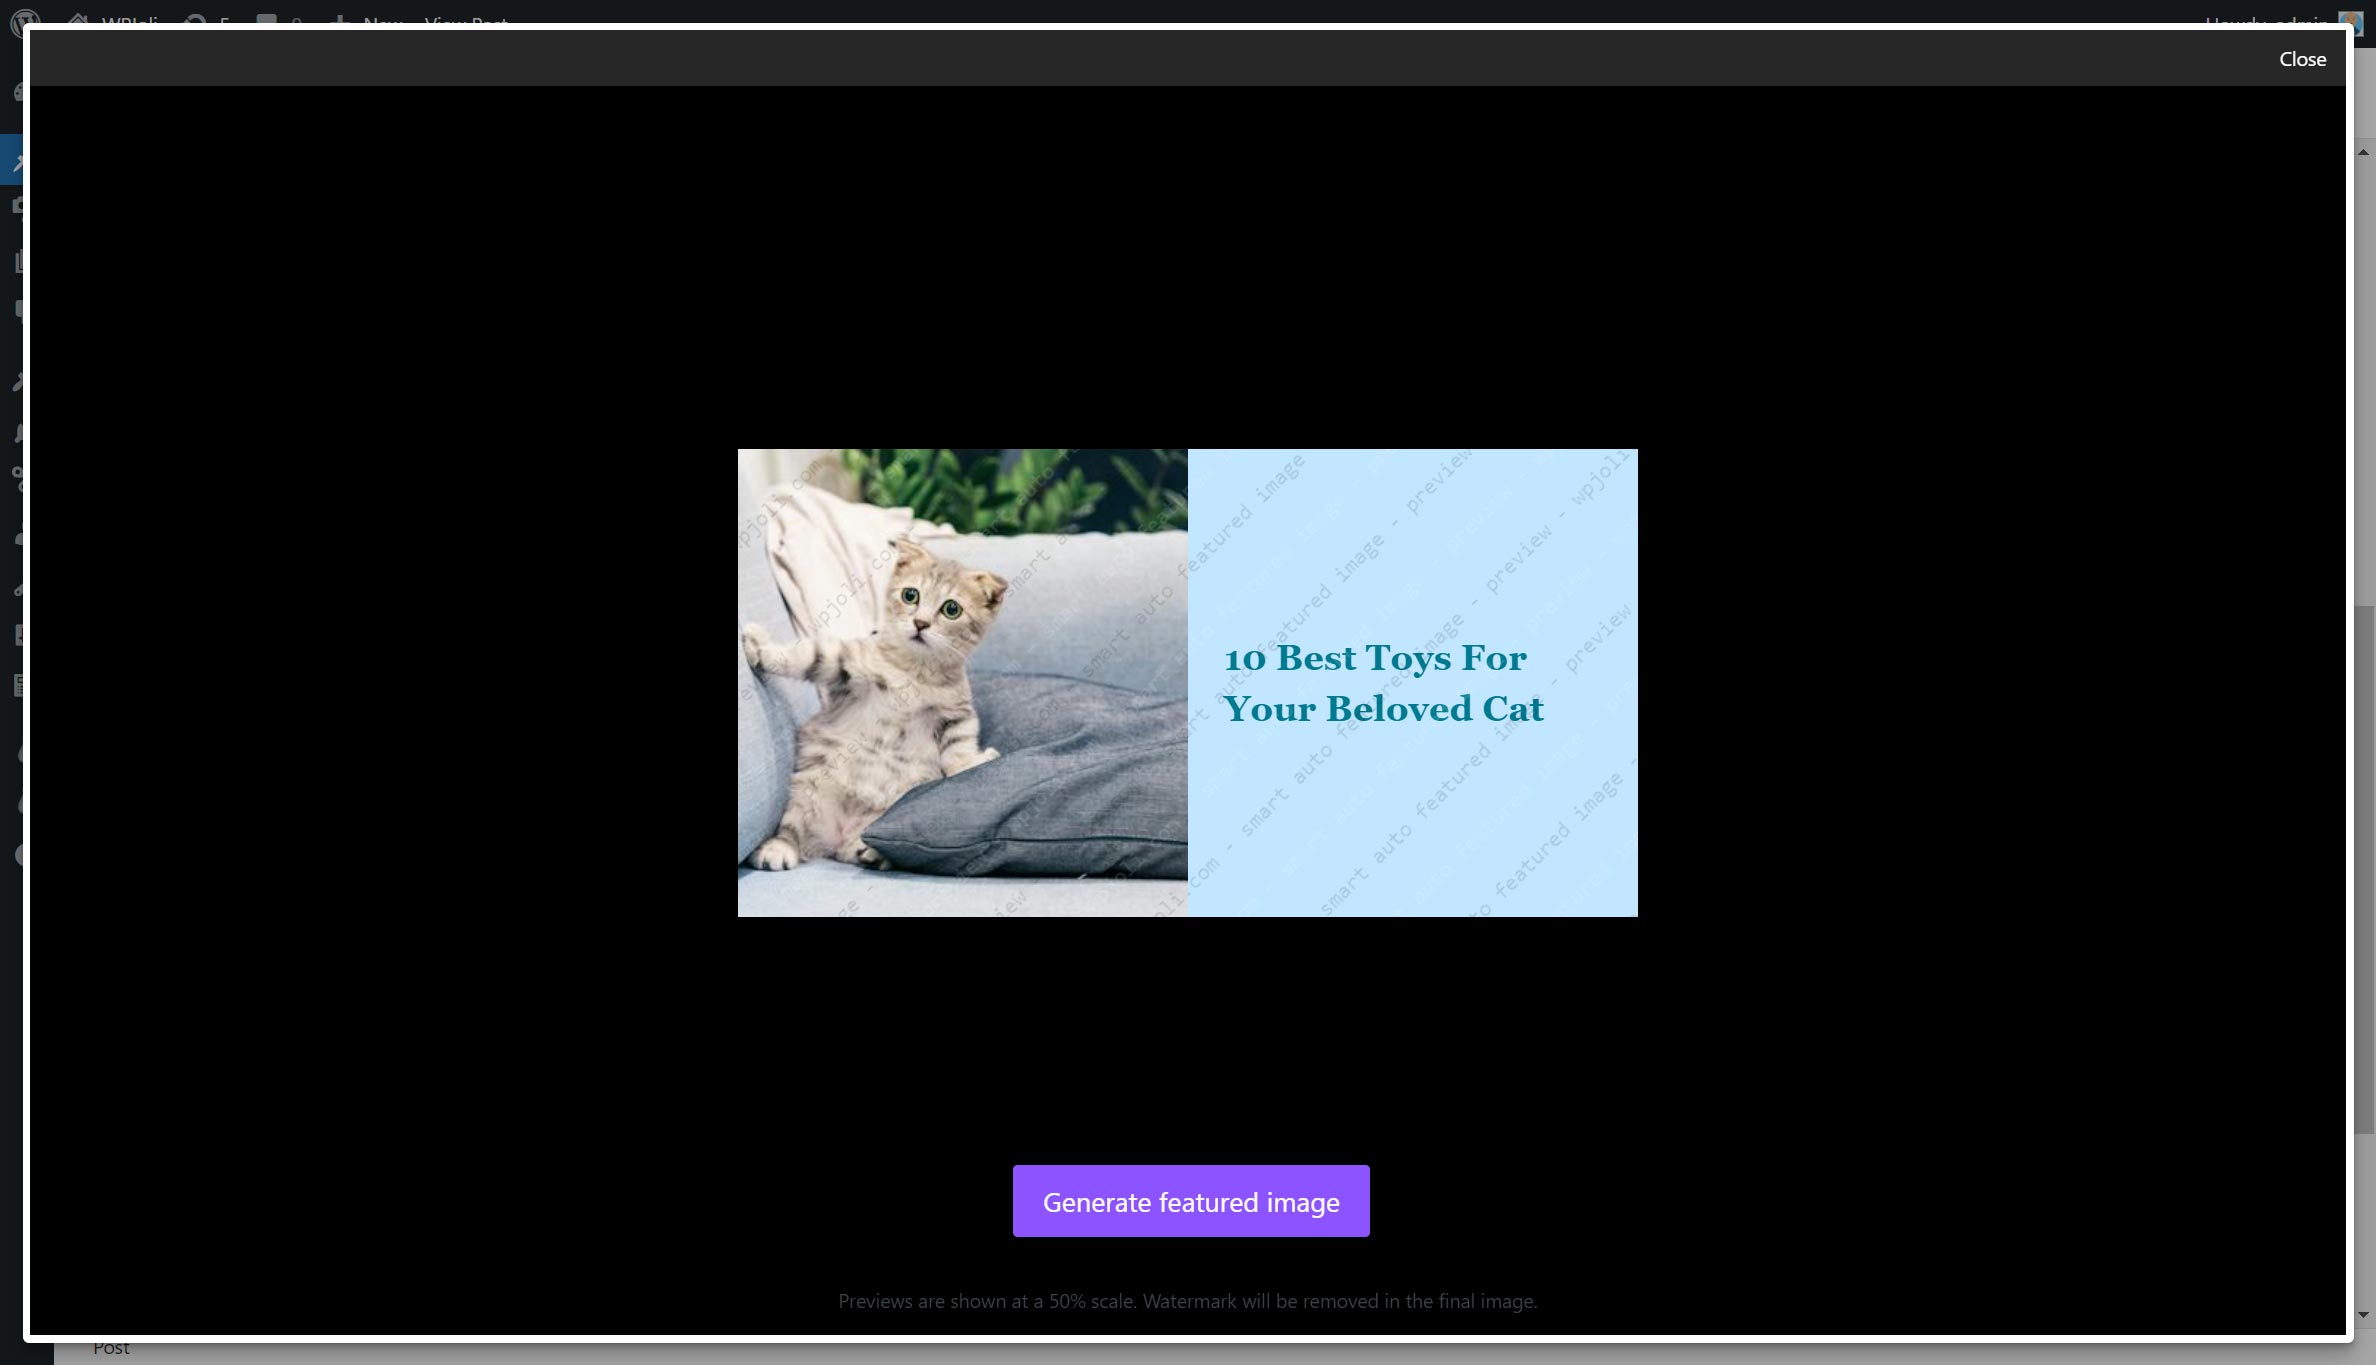
- Click the preview button, and if you are satisfied, click the "Generate featured image" button.
- That's it ! your image has been generated and inserted as the new featured image. Don't forget to save your post !
Can I design a Featured Image from scratch when editing a post ?
Yes ! Select the Blank template and customize it directly within the Gutenberg editor. Save your changes, Preview & Generate !
How many layers can I use in my templates ?
In the free version of the plugin, you can use up to 2 layers + the background.
Can I use the post title in my featured image ?
Yes, absolutely ! You can choose from many dynamic text content such as post title, post category, date, author, etc...
Can I customize the font / color / size of my texts ?
Yes, you customize pretty much all of the basic text settings such as color, placement, font size, font family etc. However, Google Fonts are only available in the Pro version of the plugin.
更新日志:
- Fixed Esc key bug in stock image browser
- Fixed Save confirmation bug
- [PRO] Fixed Magic Image bug if search keyword was empty
- Templates are now stored as custom posts types
- Added middle mouse button panning
- Redesigned stock image browser.
- Added loading spinner for preview
- Improved previews
- Improved dynamic text preview updates
- Improved Color picker (Recent colors & paste directly without opening the color picker)
- Improved Font Picker (Recent selected fonts now show at the top)
- Fixed stock image URL encoded attributes
- Slight UI redesign
- [PRO] Added Pexels image browser
- [PRO] Added automated featured image generation on save
- [PRO] Add filter hook safi_automation_validation
- [PRO] Added moving with keyboard support to Layer groups
- [PRO] Added layer type switcher between image / content-based image
- [PRO] Added customizable file name for generated images
- [PRO] Added customizable alt text for generated images
- [PRO] Added Default Output filename setting
- [PRO] Added Default Alt attribute setting
- [PRO] Added log page
- [PRO] Fixed conditional layers bug
- [PRO] Cloud templates
- Layer panel redesign (drag & drop refresh)
- Core updates
- Removed react-sortablejs & sortablejs dependencies
- [PRO] Added layer group feature. Grouped layers are easier to manage and move on the canvas.
- Core updates
- Core updates
- Template manager UI refresh
- Layers of type Text, Image, Icon, SVG are marked as dynamic by default.
- Fixed font selection bug
- Demo Template system refresh
- New Starter Templates
- UI improvements
- Core updates
- Added thumbnails for edited templates in the block editor
- Added start from custom template while editing a post in the block editor
- Fixed type sanitation
- Improved layers UX
- Bug fixes.
- Bug fixes.
- Initial release.
