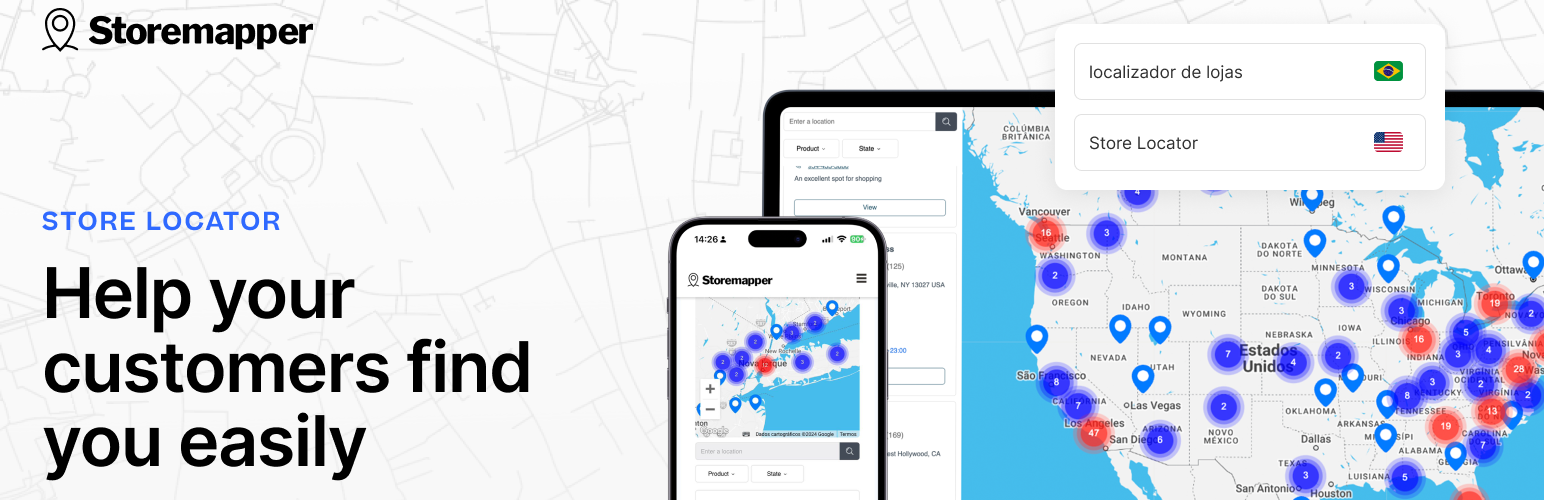
Storemapper Store Locator Map
| 开发者 |
storemapper
sureswiftcapital codivated damonsharp |
|---|---|
| 更新时间 | 2025年5月22日 21:13 |
| 捐献地址: | 去捐款 |
| PHP版本: | 5.4.45 及以上 |
| WordPress版本: | 6.8.1 |
| 版权: | GPLv2 or later |
| 版权网址: | 版权信息 |
详情介绍:
安装:
Follow these step-by-step instructions to install and configure the Storemapper plugin on your WordPress website.
Install the Storemapper Plugin
- In your WordPress dashboard, go to the left-hand menu and click on Plugins.
- In the search bar, type Storemapper and find the plugin.
- Click Install to add it to your website. Activate the Storemapper Plugin
- Still in the Plugins section of the WordPress menu, find and click on Installed Plugins.
- Locate Storemapper in the list of installed plugins.
- Click Activate to enable it on your site.
屏幕截图:


更新日志:
1.0.0
- Initial release.
- Add Storemapper block