TaxiMap Integration
| 开发者 | nimbusdigital |
|---|---|
| 更新时间 | 2022年1月21日 20:12 |
| PHP版本: | 3.0 及以上 |
| WordPress版本: | 5.8.3 |
| 版权: | GP2 |
详情介绍:
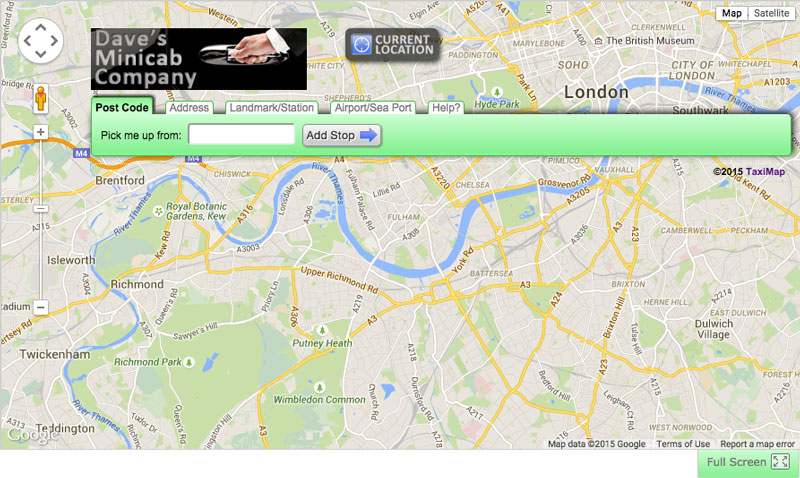
This Wordpress plugin adds the TaxiMap taxi fare price calculator to your Wordpress site. The TaxiMap calculator can be displayed as part of the main content of a page or post by using the shortcode: [taximap] within your post, or it can be added as a widget to your sidebar (or other widget area within your Wordpress template).
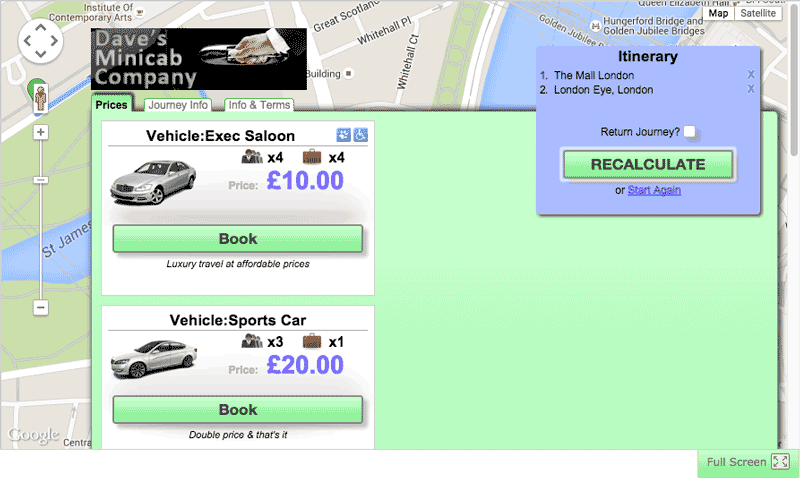
TaxiMap is a highly configurable journey price calculator based on a price per mile. It uses Google Maps to plot and display routes. It offers many further configuration options, inlcuding:
- Booking alerts via SMS text message to your mobile device (primarily UK)
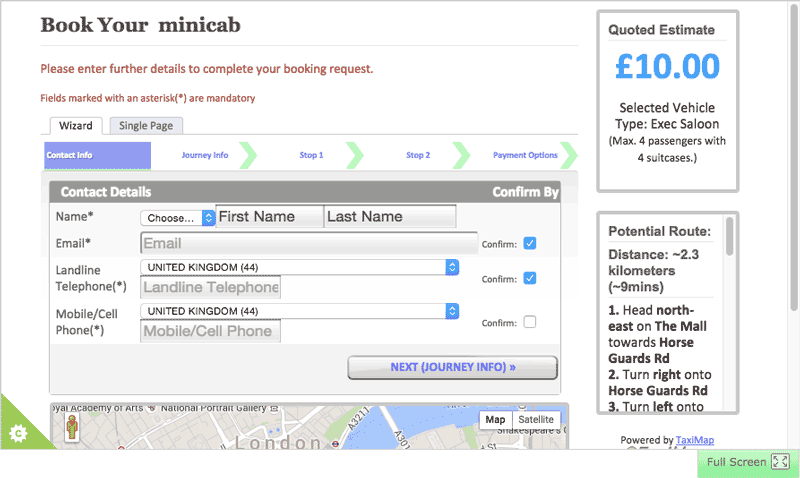
- Credit card payment processing via multiple providers such as Stripe, Paypal & SagePay
- Multiple vehicle pricing
- Meet & Greet pricing for airport transfers
- Fixed pricing for specific journeys (zone to zone pricing)
- Time based pricing varation (hours of the day or day of year)
- Wait & return pricing
- Posts to your own booking form (option)
安装:
Copy the plugin folder to your Wordpress plugins directory - typically wp-install-directory/wp-content/plugins/
Activate the plugin:
Log in to the Wordpress admin, go to Plugins > Installed Plugins.
Find the TaxiMap-Integration item and click Activate
Configure your TaxiMap ID:
In the admin menu, click TaxiMap Settings
Enter your TaxiMap.co.uk membership number. You can find this under STATUS on your TaxiMap Profile page, after logging in to https://taximap.co.uk
Save
Add shortcode to a page:
Create (or edit) a page (or post) on your Wordpress site where you want your TaxiMap Price Calculator to appear.
Enter the shortcode: [taximap] at the point on the page where you want the calculator to be displayed.
By default, the TaxiMap calculator will take 100% width and 500 pixels in height.
You might want to consider making the page/post a full-width page (no sidebar).
You can modify the proportions by either modifying the taximap.css file (using the plugin editor) or by adding your own CSS properties for the class: .taximap iframe
Add a widget to your sidebar:
From the Wordpress admin page menu, select Widgets from the Appearance section.
Under 'Available Widgets' look for the item named TaxiMap and drag it to you preferred widget area (on the right)
Expand the new widget and enter a title (abitrary text of your discerning), your TaxiMap Membership no (as described above), and the height you wish the widget to have on your sidebar/widget area.
For more details and screenshots, see TaxiMap Blog
屏幕截图:
常见问题:
Where do I configure jouney price calculation settings?
All price calculations settings are configured from within your TaxiMap Account
Where can I get installation help?
更新日志:
1.1.10 WP 5.8.3 compatibility
1.1.9 WP 5.5.3 compatibility
1.1.8 Full screen icon for smaller screen sizes
SSL compatibility update
bug fixes
1.1.7 Update script loading to load in footer due to Opera browser issue
1.1.6 WP 4.9.1 compatibility
1.1.5 WP 4.8.1 compatibility
1.1.4 WP 4.7.5 compatibility
1.1.3 tag updates
added optional text field to widget
1.1.2 Link to this readme file from WP admin
1.1.1 Added link to Cab Grid
Re-style shortcode info in admin
1.1 Widget constuction update to conform to latest WP.
1.0.1 Added shortcode instructions to settings interface
1.0 Initial version.


