
Techsarathy Sendy CF7 Integration
| 开发者 |
rktaiwala
techsarathy |
|---|---|
| 更新时间 | 2016年7月25日 21:46 |
| 捐献地址: | 去捐款 |
| PHP版本: | 4.1.1 及以上 |
| WordPress版本: | 4.5 |
| 版权: | GPLv2 or later |
| 版权网址: | 版权信息 |
详情介绍:
Please drop me a message, if there is any problem in using the plugin.
If you are using Sendy to handle your subscription, then this plugin is for you.
Integrate your Sendy Lists in your subscription froms easily.
Create form using Contact Form 7 plugin.
Use any number of Lists.
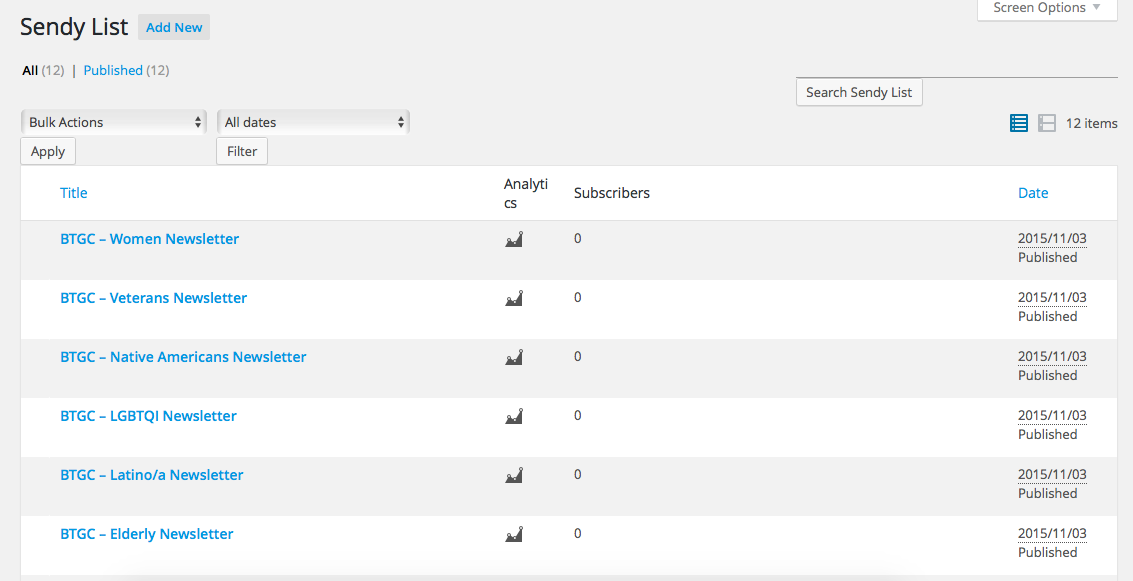
Manage Sendy Lists from WordPress.
Shows number of subscribers subscribed to a particular list right on the WordPress.
How to use it?
- Get your Sendy API key from your Sendy installation.
- Keep Sendy installation URL handy.
- Open your WordPress Dashboard.
- Locate Sendy List in the menu.
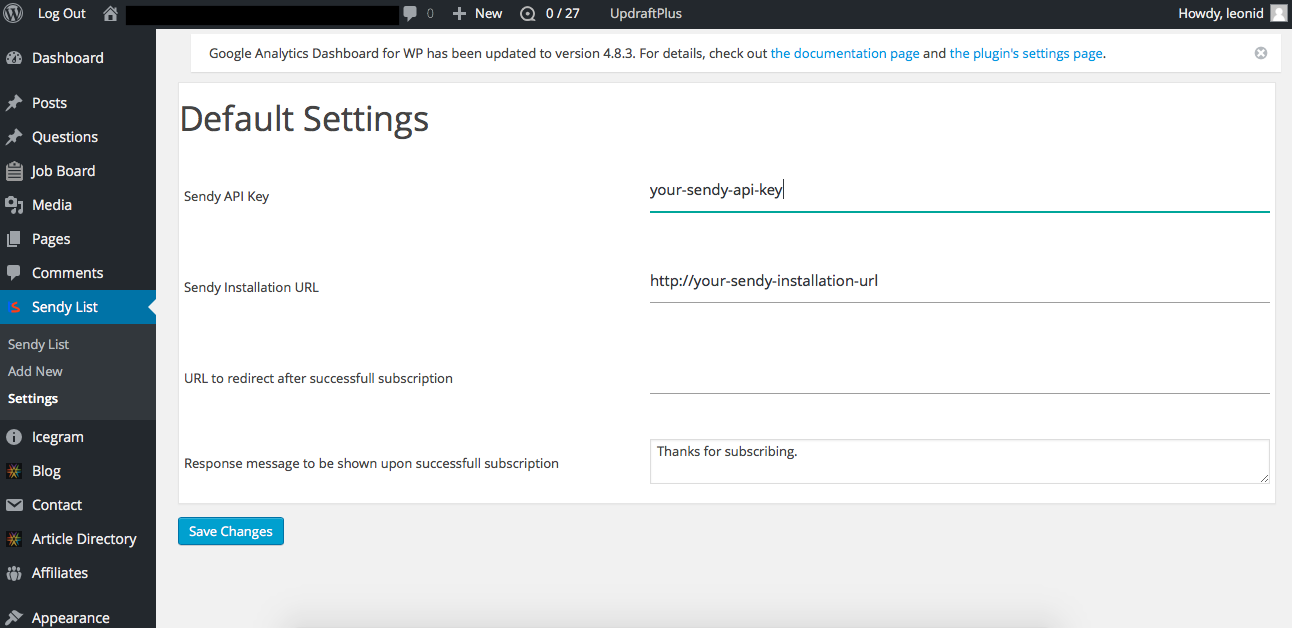
- Under Sendy List menu choose Settings.
- Enter Sendy API and Sendy installation URL.
- Now create New Sendy List, enter your Sendly List ID (To get Sendy list ID, go to your Sendy Installation and select the brand, under the brand select all lists, List ID will be on the left side of List Name )
- Create the Form Using Contact Form 7, you can use any number of fields just name them as ts_your-field-name. You need to include hidden field [hidden ts_sendy_hidden “true”] in your form.
- Include the shortcode [tssendy] in the form to list all the lists from Sendy.
- If you just want to subscribe users to a particular list you can do so by using the shortcode [tssendy listID “your_id”]. You can get the listID from the Sendy List Screen.
- Use the contact form 7 shortcode as usual.
- Thats it. No more steps.
安装:
How to install?
Note: It needs Contact Form 7 and Contact Form 7 Modules installed
- Upload
techsarathy-sendy-cf7-integrationto the/wp-content/plugins/directory - 通过WordPress的“插件”菜单激活插件
屏幕截图:

常见问题:
Usuage
Initial Version yet to get some questions How to use it?
- Get your Sendy API key from your Sendy installation.
- Keep Sendy installation URL handy.
- Open your WordPress Dashboard.
- Locate Sendy List in the menu.
- Under Sendy List menu choose Settings.
- Enter Sendy API and Sendy installation URL.
- Now create New Sendy List, enter your Sendly List ID (To get Sendy list ID, go to your Sendy Installation and select the brand, under the brand select all lists, List ID will be on the left side of List Name )
- Create the Form Using Contact Form 7, you can use any number of fields just name them as ts_your-field-name. You need to include hidden field [hidden ts_sendy_hidden “true”] in your form.
- Include the shortcode [tssendy] in the form to list all the lists from Sendy.
- If you just want to subscribe users to a particular list you can do so by using the shortcode [tssendy listID “your_id”]. You can get the listID from the Sendy List Screen.
- Use the contact form 7 shortcode as usual.
- Thats it. No more steps.
更新日志:
Version 1.1.0
— Bug Fixes
— Translation supported
Version 1.0.10 Resolved the issue caused by change in accessing the Contact Form 7 messages property. This fix seems to fix all the issue that was caused by the last update.
Version 1.0.8 Fixed issues with contact form 7 shortcode atts extraction, which was causing problem when listId was used.
Version 1.0.7 Fixed Radio Button CSS Issue
Version 1.0.5 Add Feature to Enable/Disable Skip Mail
Version 1.0.1 Updated to allow single list subscription
Version 1.0.0 Initial Version
== Upgrade Notice ==
Version 1.1.0 Added support for translation, bug fixes
Version 1.0.5 Added option to Send Mail while Subscribing
Version 1.0.4 Fixed List Output
Version 1.0.3 Fixed Shortcode display error
Version 1.0.1 Updated to allow single list subscription
Version 1.0.0 Initial Version
Version 1.1.1 Temporary fix for checkbox.