th23 Upload
详情介绍:
- Keep original aspect ration of uploaded images, preventing automatic cropping
- Specify a suffix for resized images to be added to names, eg upload of too large image
test.jpgwill be stored astest_resized.jpg - Set quality for resized images, allowing to save further space and bandwidth
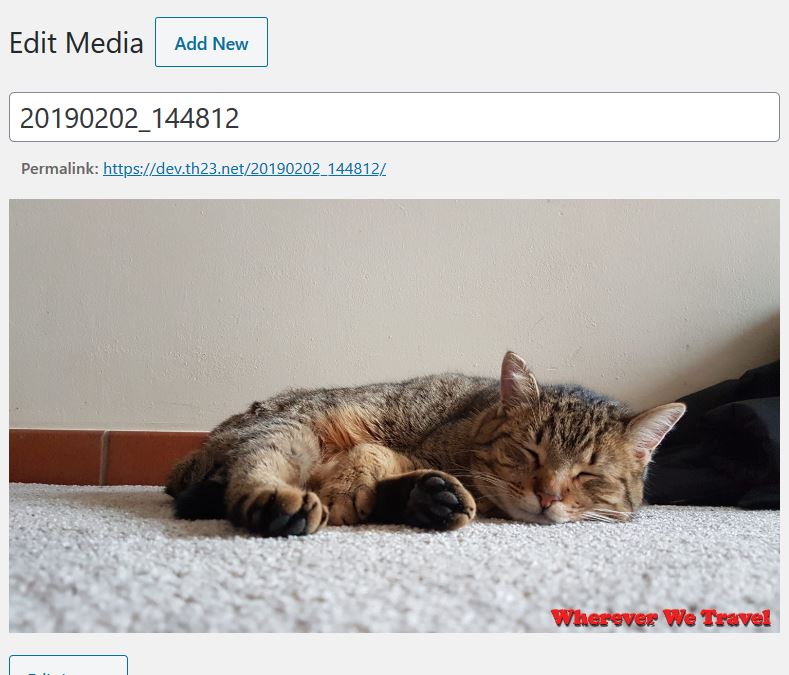
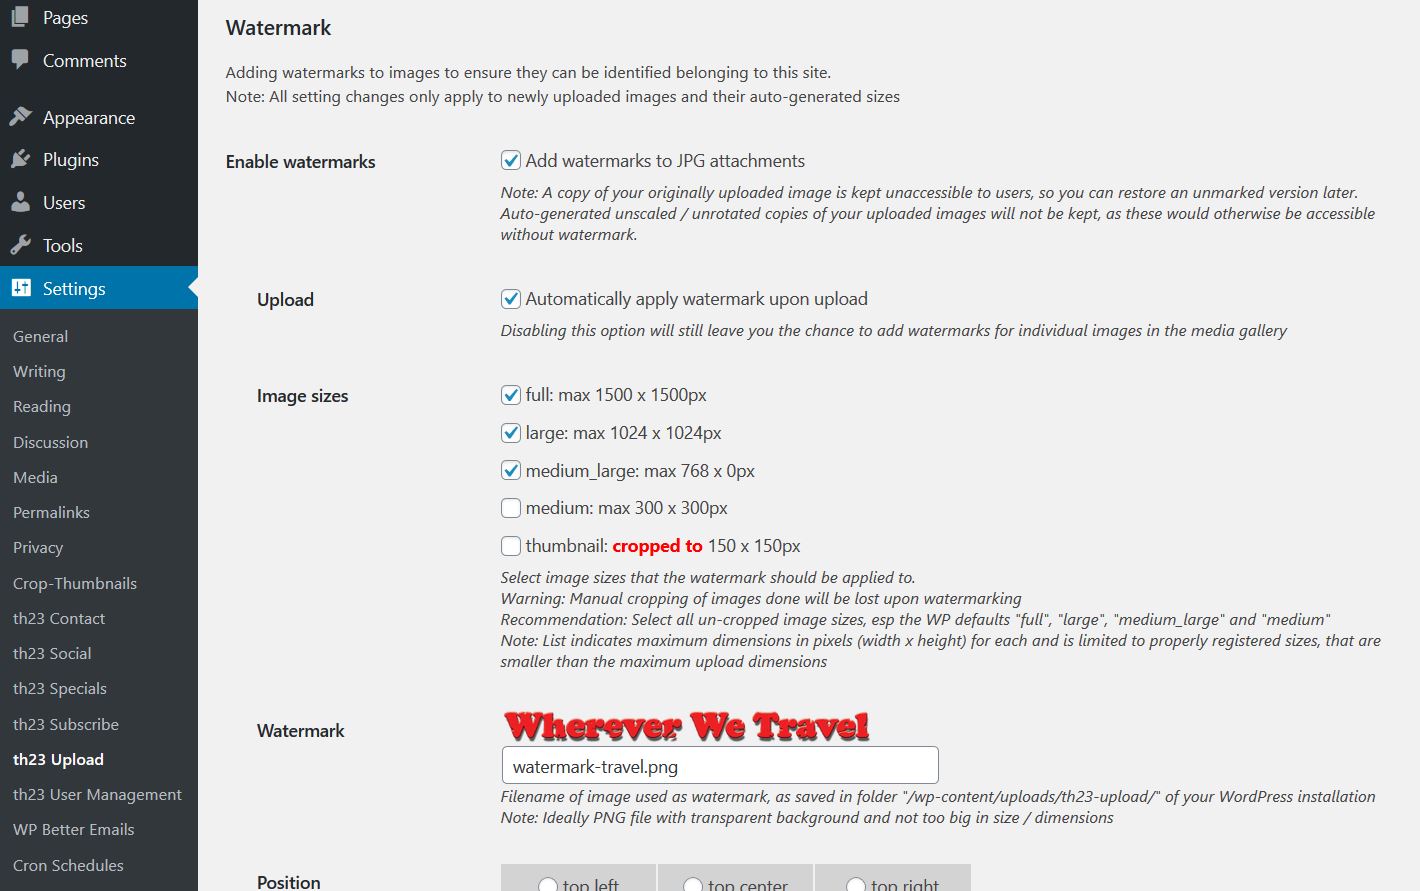
- Select image sizes to watermark, eg to excluding thumbnails
- Mass-add/-remove watermarks for already uploaded image attachments
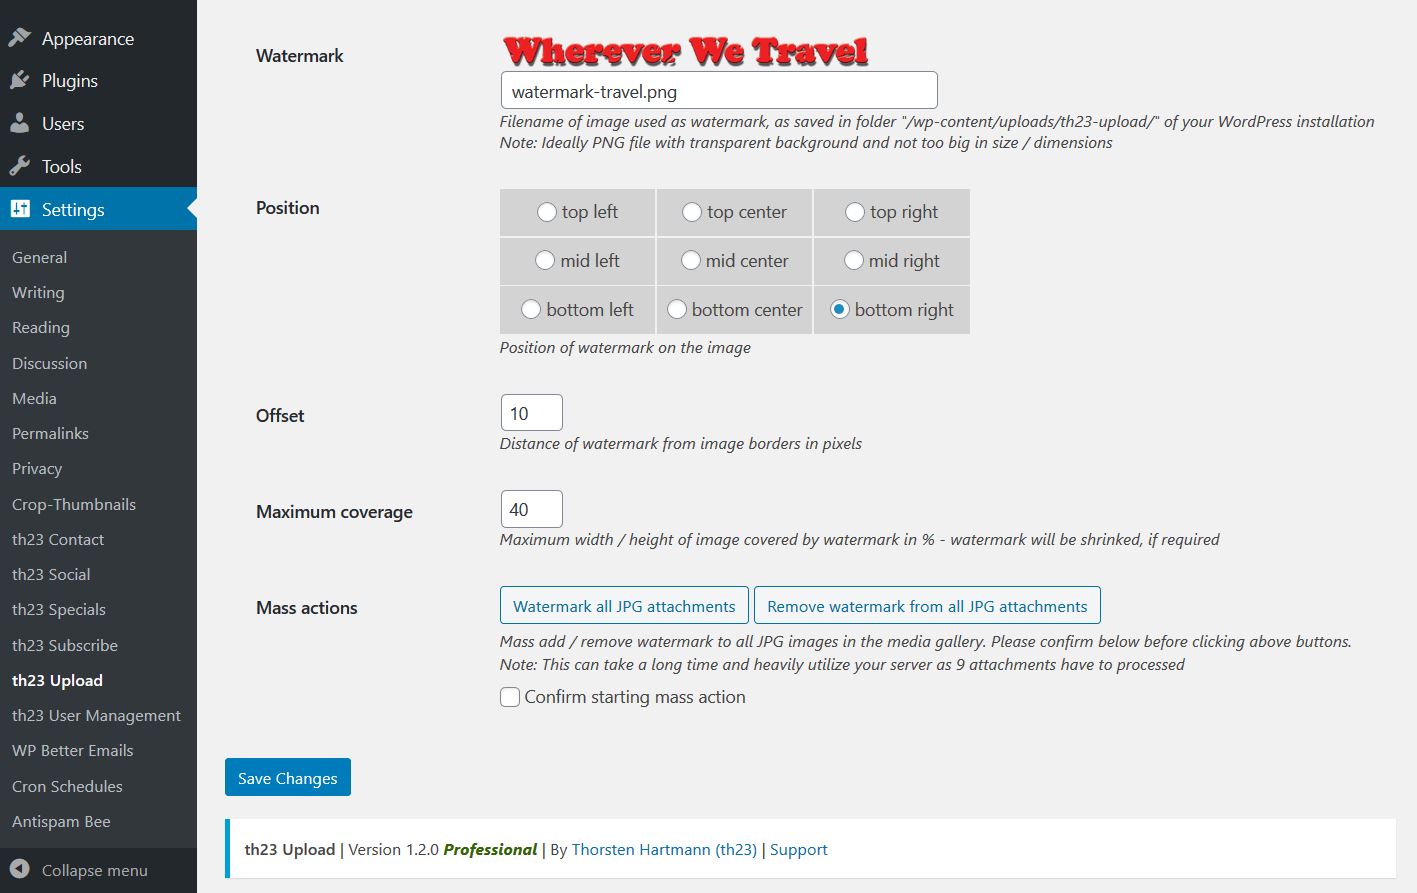
- Select location of watermark on the image and maximum width/height to cover
- Supports GD Library and ImageMagick (Imagick)
安装:
th23-upload folder to your wp-content/plugins directory.
The plugin is configured via its settings page in the admin area. Find all options under Settings -> th23 Upload. The options come with a description of the setting and its behavior directly next to the respective settings field.屏幕截图:
常见问题:
How does this plugin help compared to the default scaling of uploads?
By default WordPress limits the upload of images to max 2560 px width / height, without providing any admin options to adjust this setting. This plugin allows you to disable this default and replace it with a setting accessible via the admin options.
This plugin additionally allows a customized suffix for resized images, compared to the unchangeable default -scaled suffix.
Also the plugin can prevent creation of additional intermediate sizes of all uploaded images, which due to their dimensions of 1536px and 2048px would be taking up much additional space on your webserver.
What is the ideal image to use as a watermark?
You should use a PNG image as watermark with transparent background. Try it out locally over various backgrounds/ images - light ones as well as darker ones.
The size depends largely on the size of your images to be marked. You can save a larger copy of the watermark PNG and limit the maximum space to cover via the plugin options. Make sure your watermark is still readable/ visible also when scaled down.
Why can only JPG / JPEG images be watermarked?
Simple answer: Most images used in the internet are in the JPG format. Watermarking such images should meet most users needs.
Technical answer: Other image formats can contain information and have special characteristics making their handling very tricky and error-prone. For example: PNG files can contain transparency levels, additionally they can be animated. Similar for GIF images.
Honest answer: To limit complexity of the plugin ;-)
更新日志:
- enhancement: add columns to media gallery with option to re-attach/detach and to show/cleanup filesizes (previously separate th23 Media Gallery Extension plugin, but "close" to upload functionality)
- enhancement: option to keep own backup upon upload / as soon as possible, prevent "dormant" copies of images upon usage of built-in image editor, properly use unmarked copy as input for image editor where required, restore original image
- fix: improved css styling of some admin items not separated properly on smaller screens
- fix: harmonize file paths in error messages, consistently based on WP root directory
- fix: parent filter in media gallery
- code: simplify image editor extension to maintain watermark size and position code only once
- code: simplify various data handovers to/from JS
- enhancement: major review and rewrite of code, based on th23 Admin class
- enhancement: switch to full Open Source licence, including previously separate add-on for watermarking
- fix: various changes fixing minor issues and meeting latest WP coding standards
- enhancement: manage watermark images via plugin settings page
- enhancement: improved plugin settings page, add screen options and help, add units to settings fields
- fix: prevent installation of older Professional extension on newer Basic plugin
- fix: prevent requirement messages from showing multiple times
- fix: various small bug fixes
- fix: check for non-empty nonce upon AJAX requests
- fix: reminder about update/re-installation of Professional extension after plugin update
- fix: ensure all options are always captured upon setting updates, including disabled ones
- enhancement: add option to watermark images
- enhancement: allow upload of Professional extension through the admin panel
- enhancement: allow for hidden input fields in settings area
- fix: avoid empty default values upon fresh install / upgrade to Professional
- fix: small visual / CSS fixes
- enhancement: add option to watermark images
- first public release


