
TWWIM AI: Voice-to-Action AI Agent for WooCommerce and WordPress
| 开发者 | twwimai |
|---|---|
| 更新时间 | 2026年6月10日 03:04 |
| PHP版本: | 8.0 及以上 |
| WordPress版本: | 7.0 |
| 版权: | GPLv2 or later |
| 版权网址: | 版权信息 |
详情介绍:
- Say or type "show me red running shoes under 80 euros" and land on the filtered product list.
- Say "add the black one to my cart" on a product page. The plugin picks the right variation and adds it.
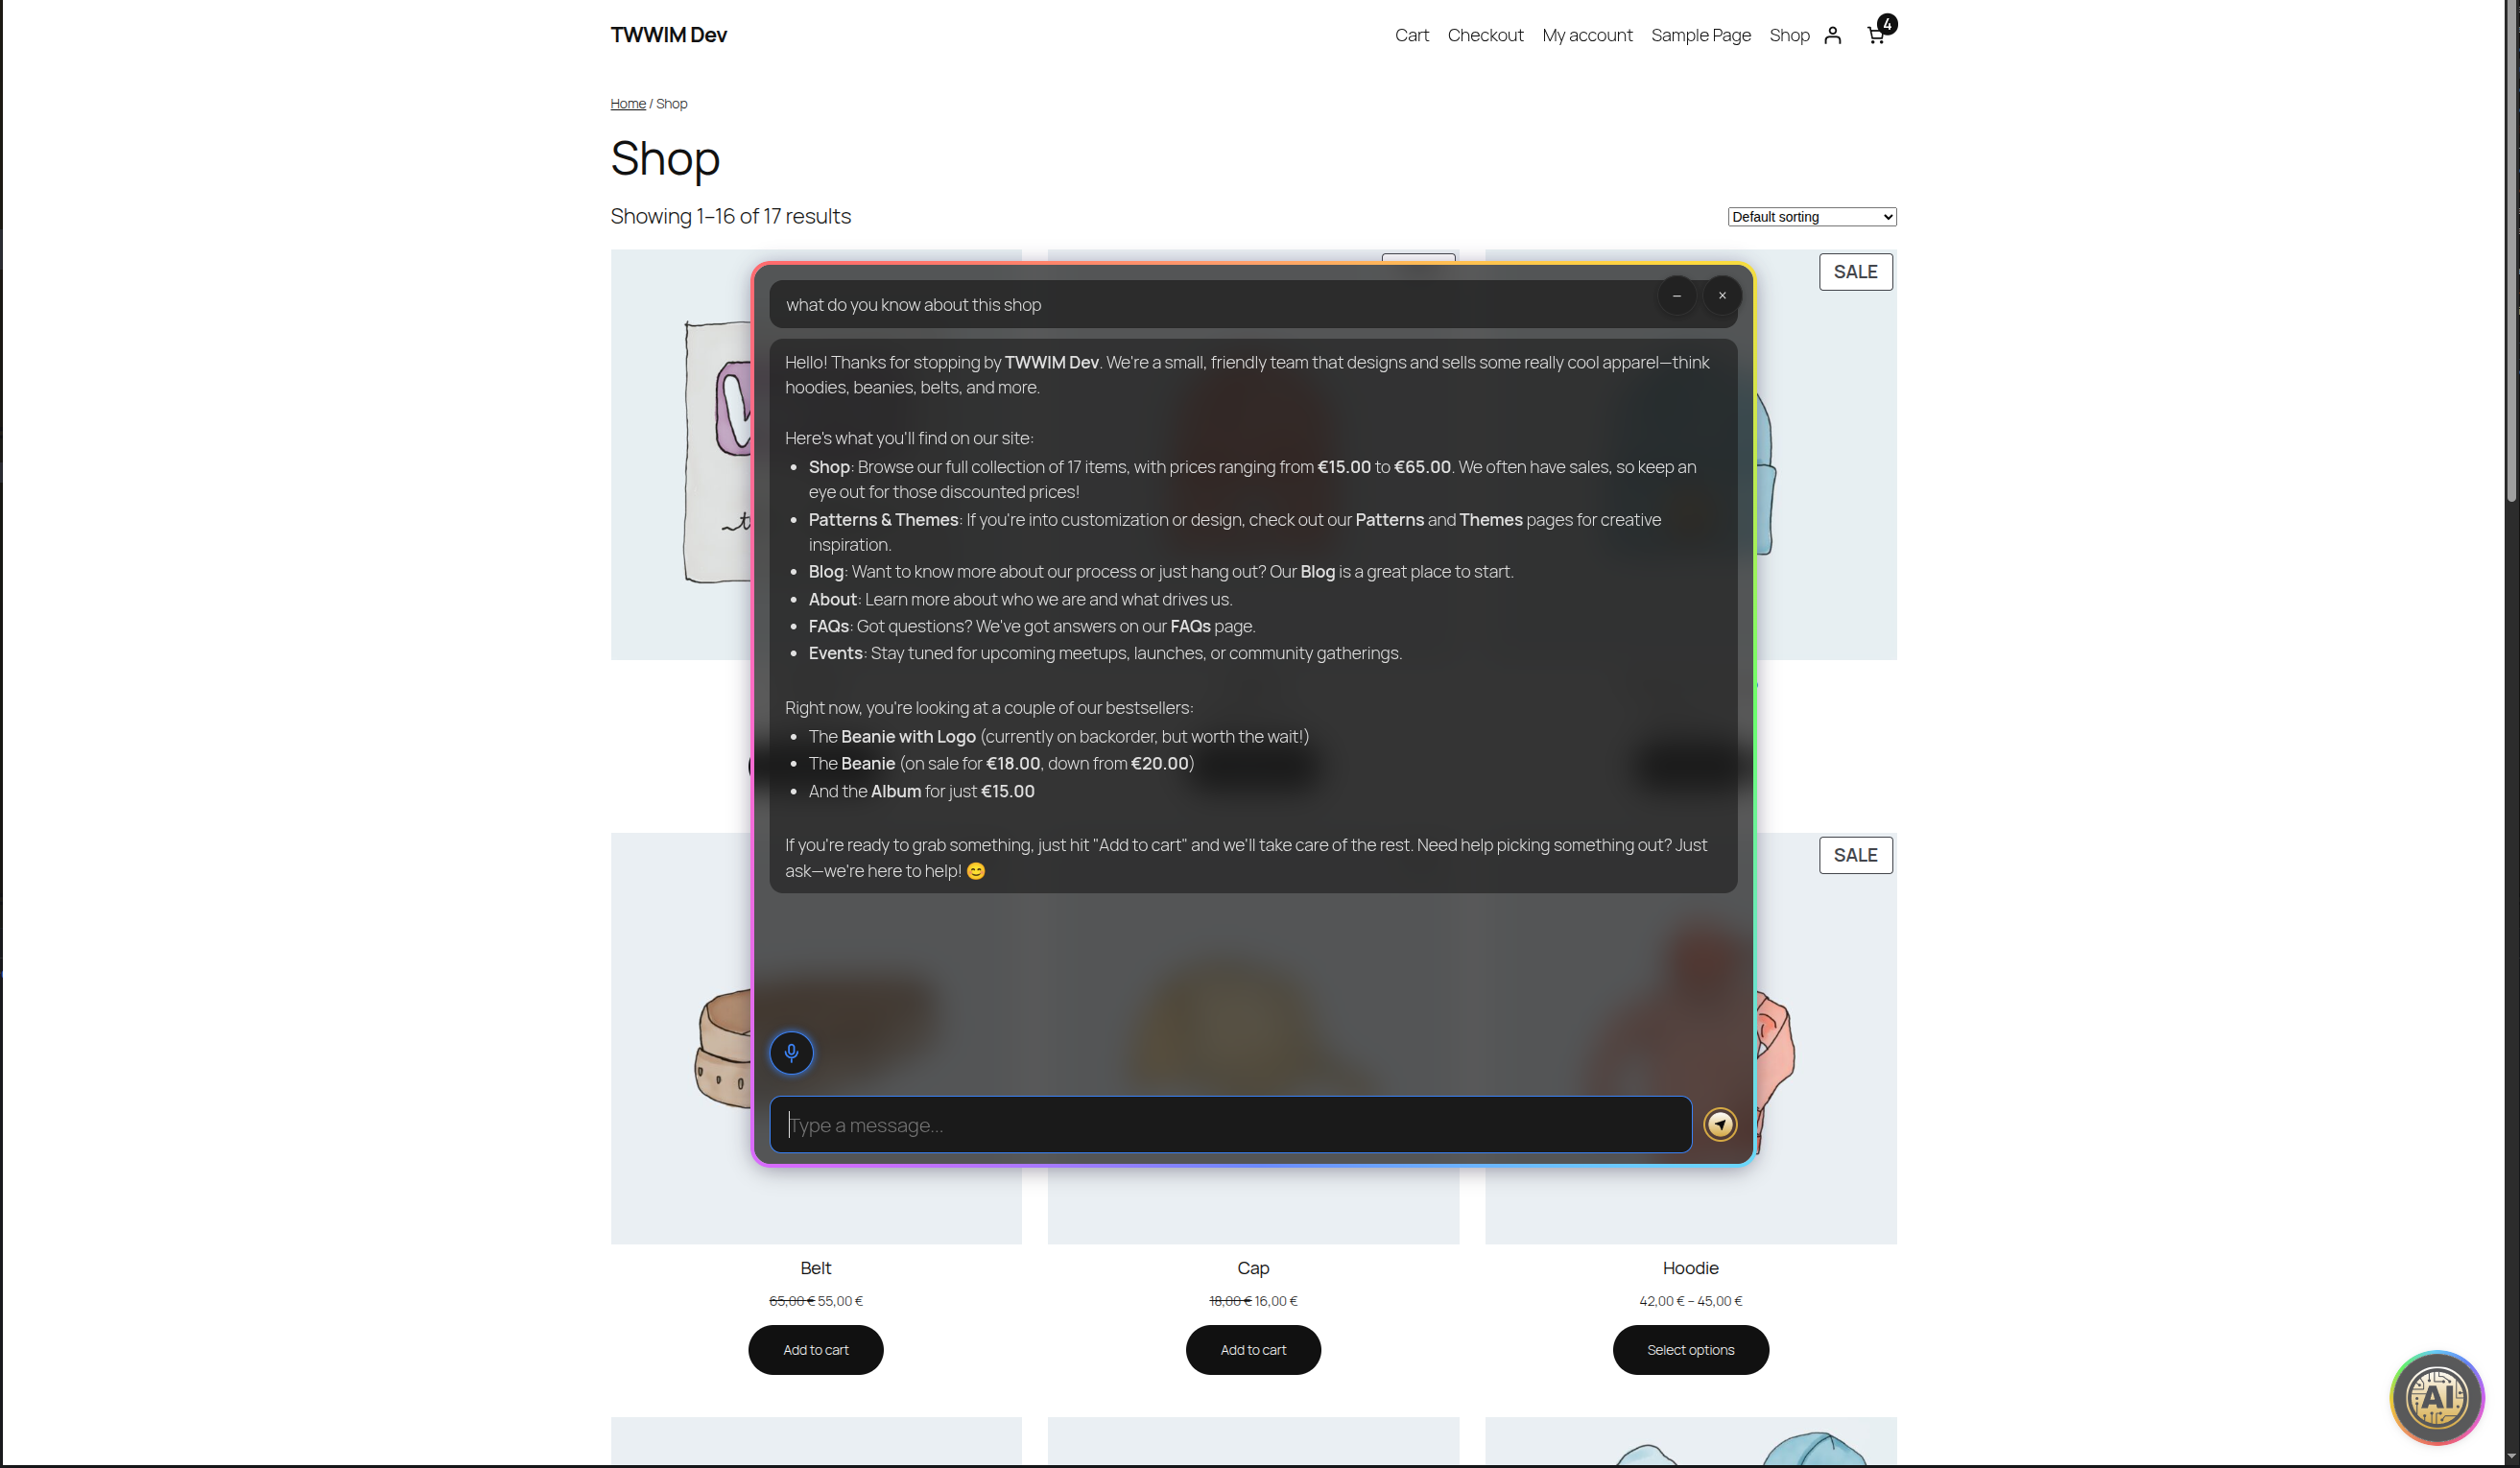
- Ask about products, shipping, returns, or policies. The answers come from your own site content.
- Navigate hands-free: "go to checkout", "open the FAQ", "scroll to reviews". Useful for touchscreens, kiosks, and visitors who can't type easily.
- Skip filter menus on a phone. Speaking a request replaces the dropdowns, sliders, and filter chips that are awkward to use on a small screen.
- Use whatever language they prefer. The reply comes back in the same language.
- It maps a spoken or typed request to a concrete on-page action, instead of stopping at a text reply.
- It reads from your own catalogue and pages, so it does not invent information.
- Input can be voice or text. Output is text. There is no synthesised voice talking back.
- Automatic catalogue sync. On activation and on every product create, update or delete, the plugin sends product data (title, description, price, stock, SKU, categories, attributes, variations, images, URL) to your TWWIM AI knowledge base. No customer data and no order data is sent.
- Product-aware answers. Questions like "do you have this in size 42" or "is this vegan" are answered against the products you have synced.
- Variation handling. Variable products (colour, size, plan length) are resolved before a cart action.
- Category and filter navigation. A spoken request maps to the correct WooCommerce category URL with the right attribute filters applied.
- Stock awareness. If an item is out of stock, the reply says so and points to alternatives from the same category.
- Visitors who don't know the exact search term still land on the right product.
- Routine questions about shipping, returns, sizing and availability are handled from your own content, without a support ticket.
- Voice input and text output help visitors who can't type or prefer not to.
- A mobile shopping flow that does not rely on cramped filter UIs. Visitors describe what they want in one sentence instead of tapping through a filter drawer.
- One storefront that serves visitors in their own language, without a separate FAQ per locale.
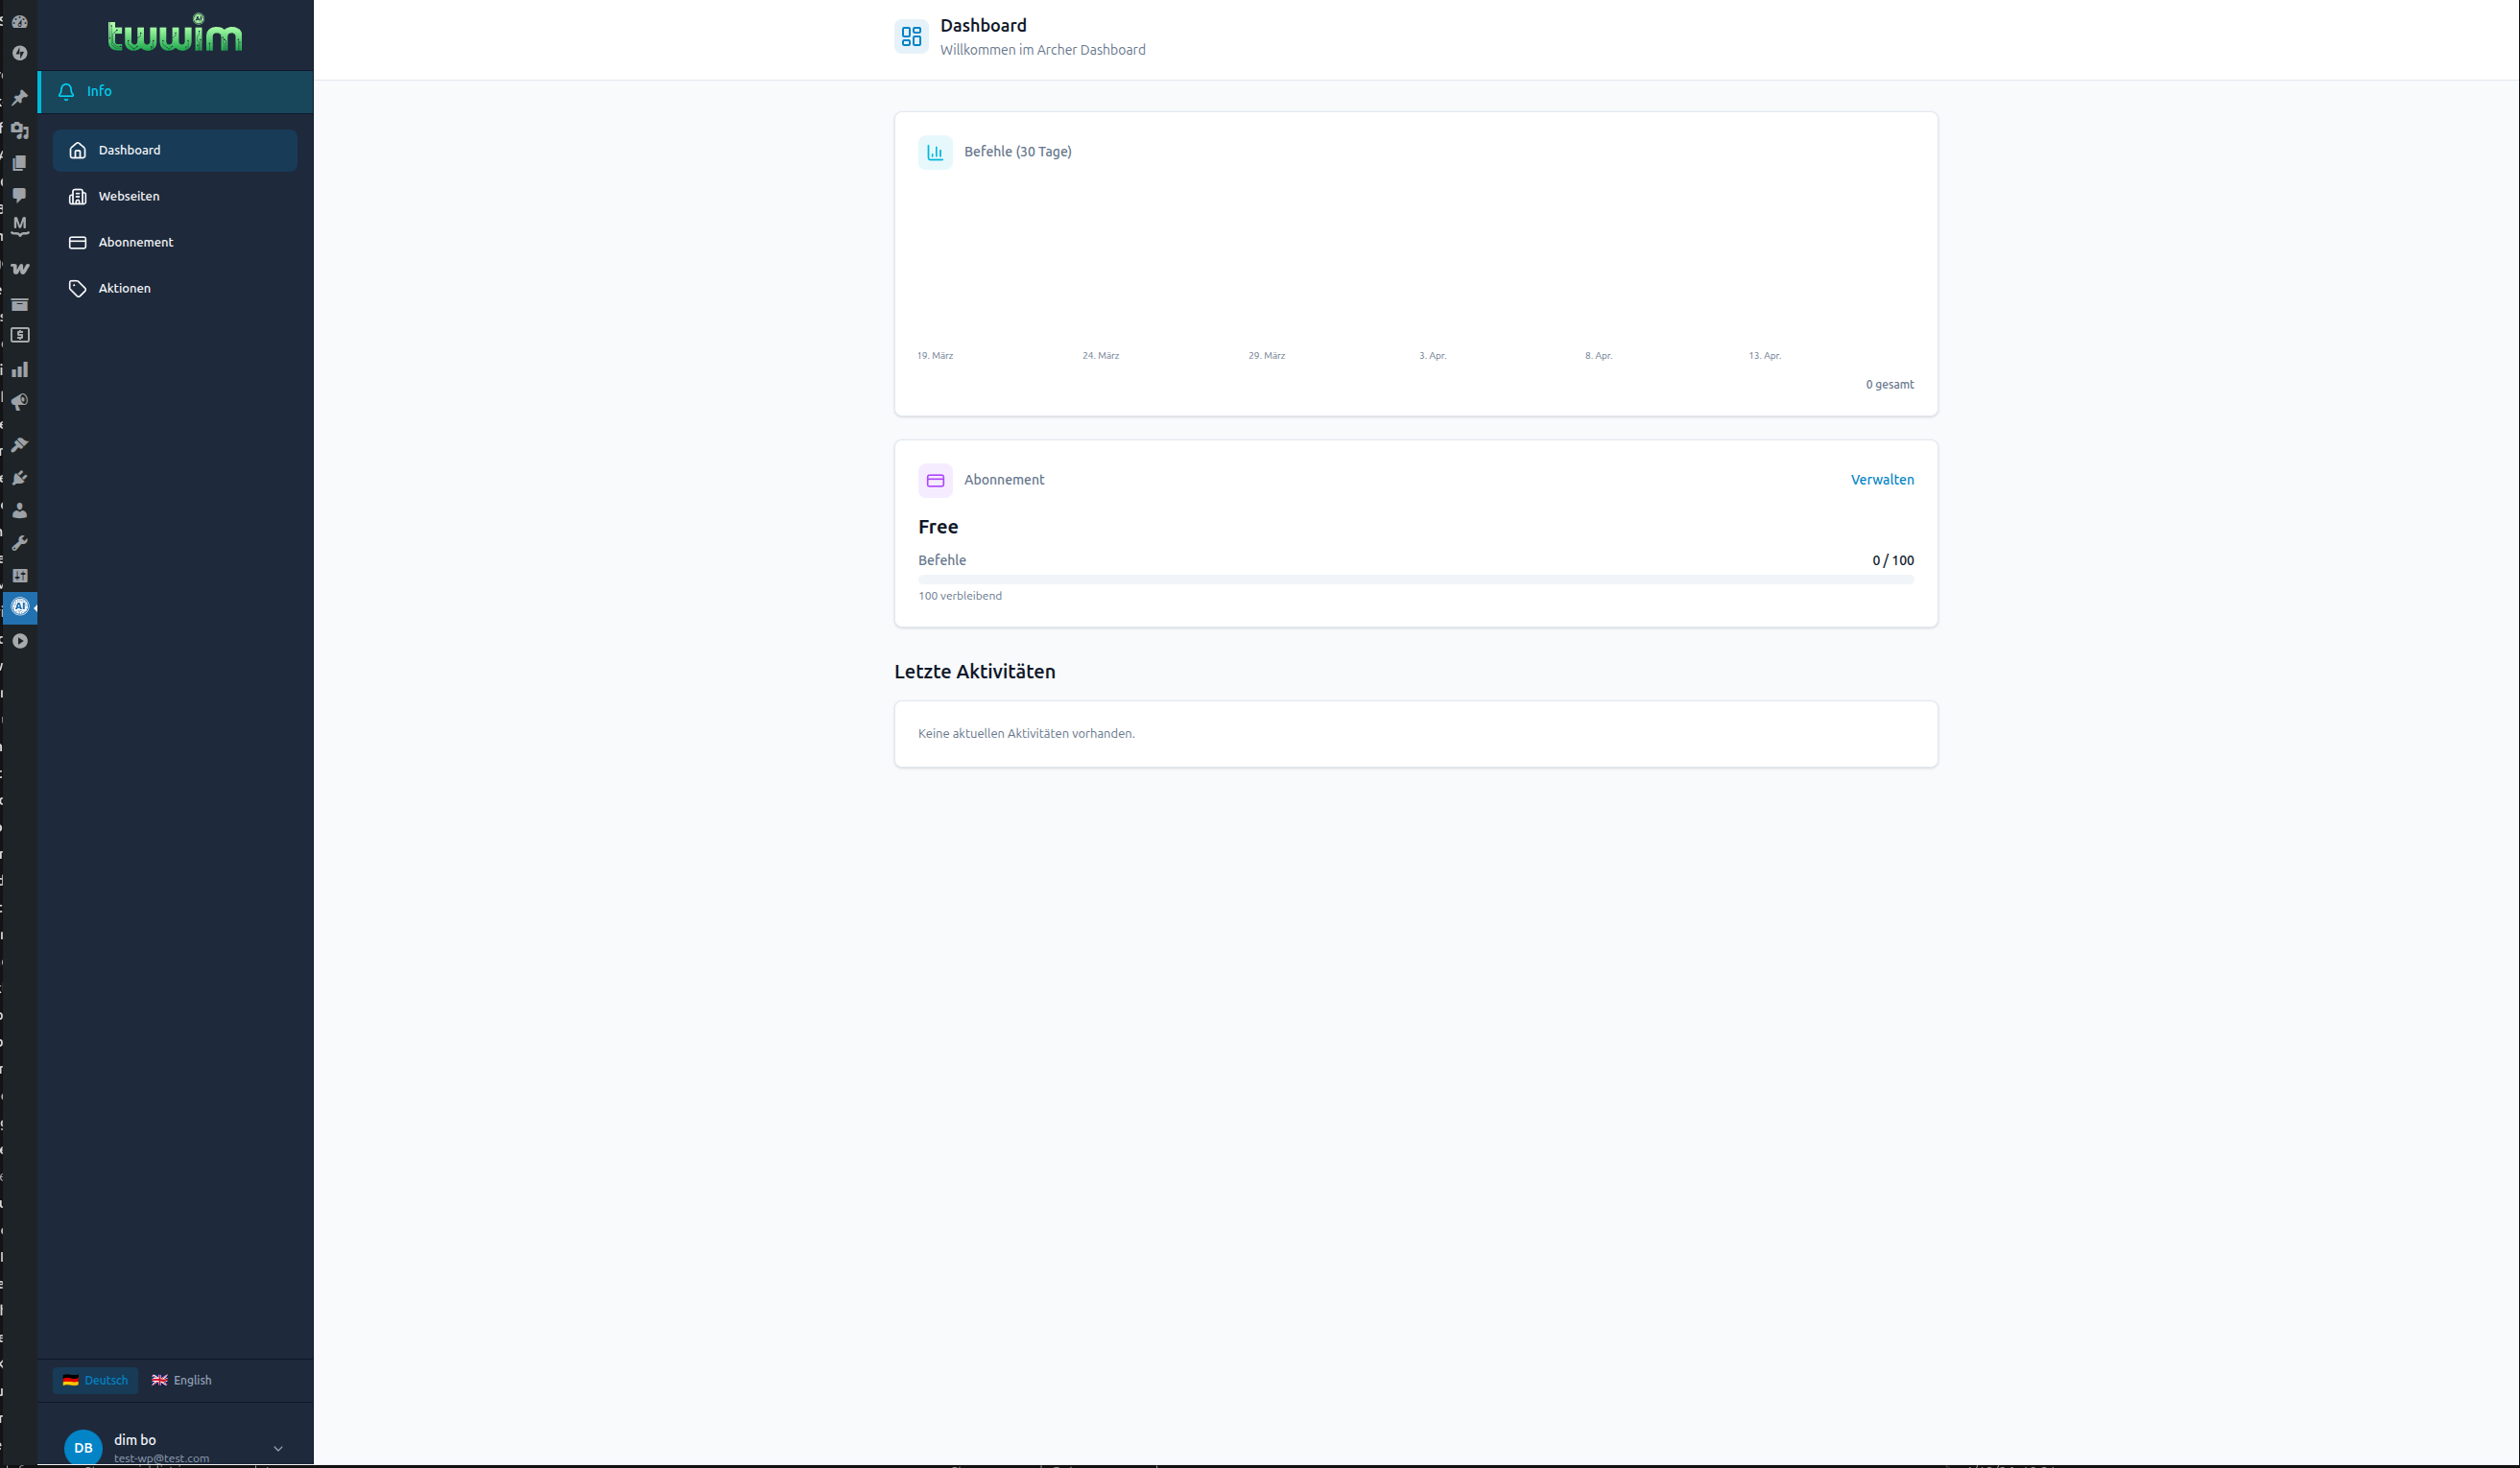
- An admin dashboard embedded in WP admin for account, subscription, widget settings, and catalogue sync status.
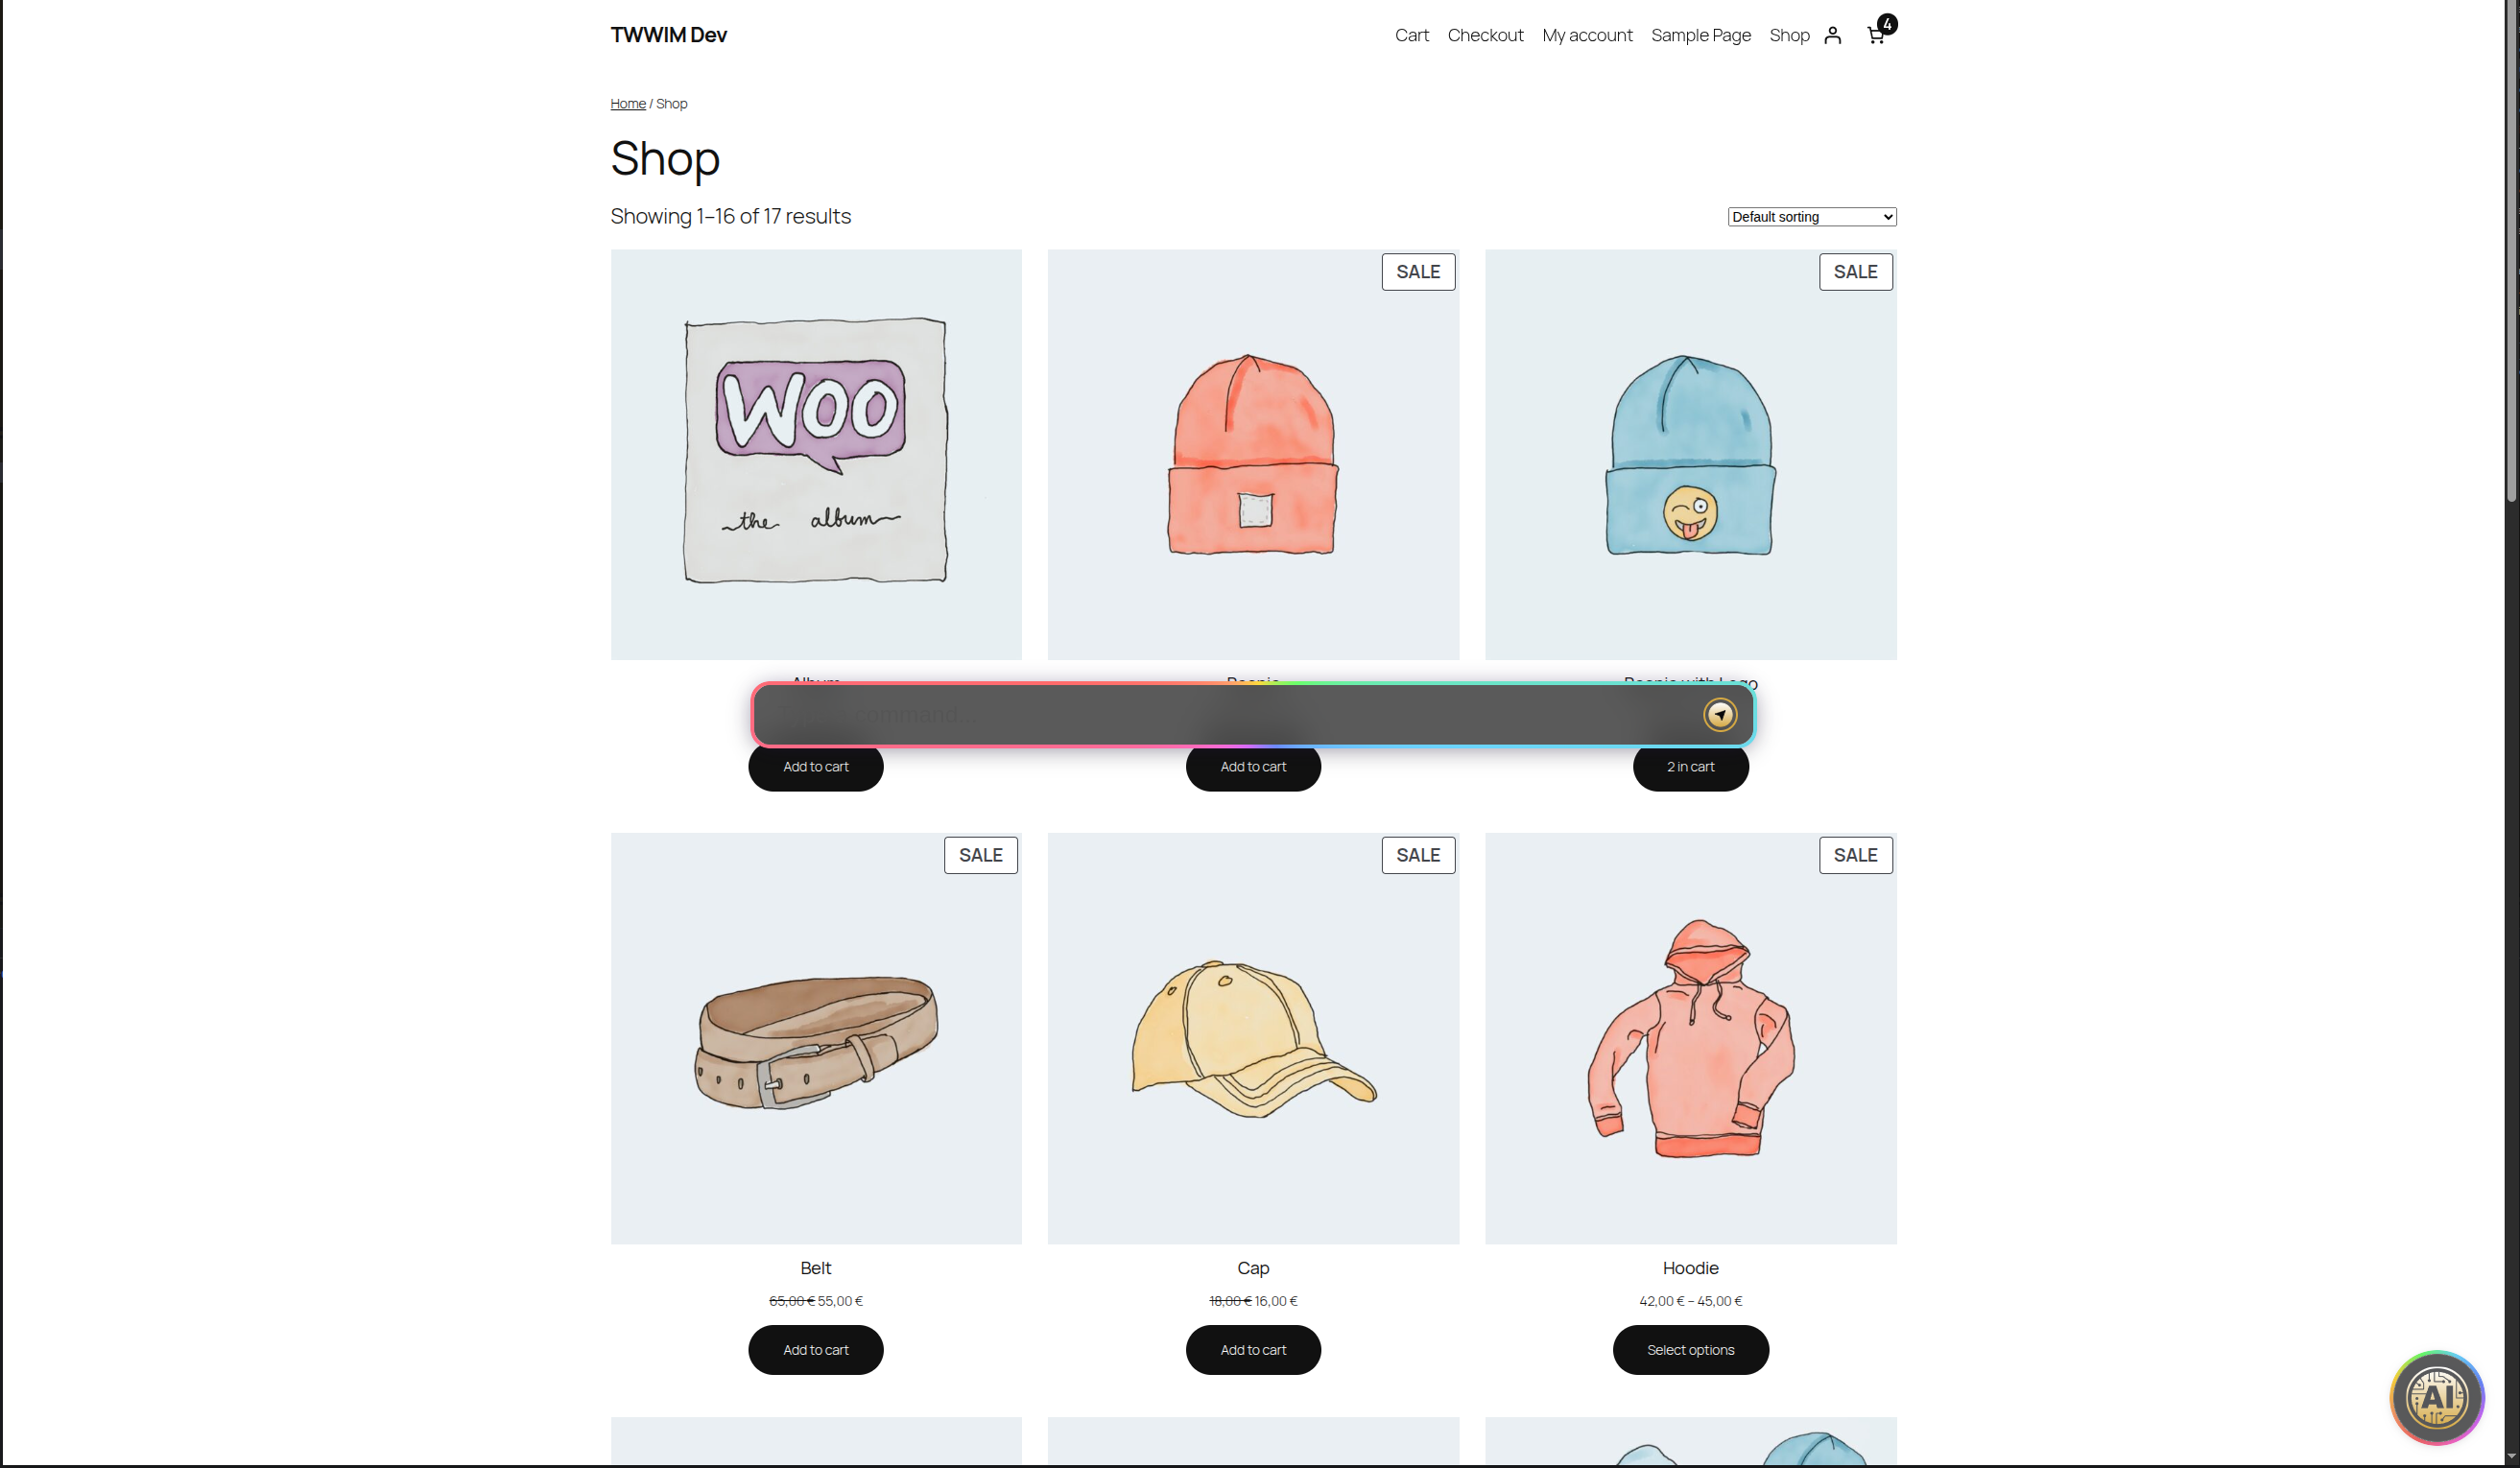
- Voice and text input. Text replies. Floating widget on public pages.
- Automatic DOM and catalogue understanding. No manual content mapping.
- Widget position configurable (bottom-right, bottom-left, top-right, top-left).
- Per-page exclusion by page or post ID.
- WooCommerce product sync on create, update, delete.
- Admin dashboard embedded in WP admin (account, subscription, settings, sync status).
- One-click enable and disable.
- Custom CDN URL for enterprise setups.
- Install and activate the plugin.
- Open TWWIM AI in the WordPress admin sidebar, register or sign in, and create a tenant for this website. Creating the tenant generates the integration keys.
- The plugin picks up the keys and injects a small script into your site's
<head>automatically. If WooCommerce is active, it also starts syncing your products to your TWWIM AI knowledge base. - Visitors see a floating widget. They speak or type what they want.
- The plugin works out the intent, reads from your catalogue and pages, and either replies in text or performs the action on the current page.
- WordPress 6.0 or higher.
- PHP 8.0 or higher.
- WooCommerce 8.0 or higher for catalogue sync and cart actions. Optional. The widget works on any WordPress site.
安装:
- In WordPress admin, go to Plugins → Add New, search for TWWIM AI, click Install Now, then click Activate.
- A TWWIM AI menu item appears in the WordPress admin sidebar.
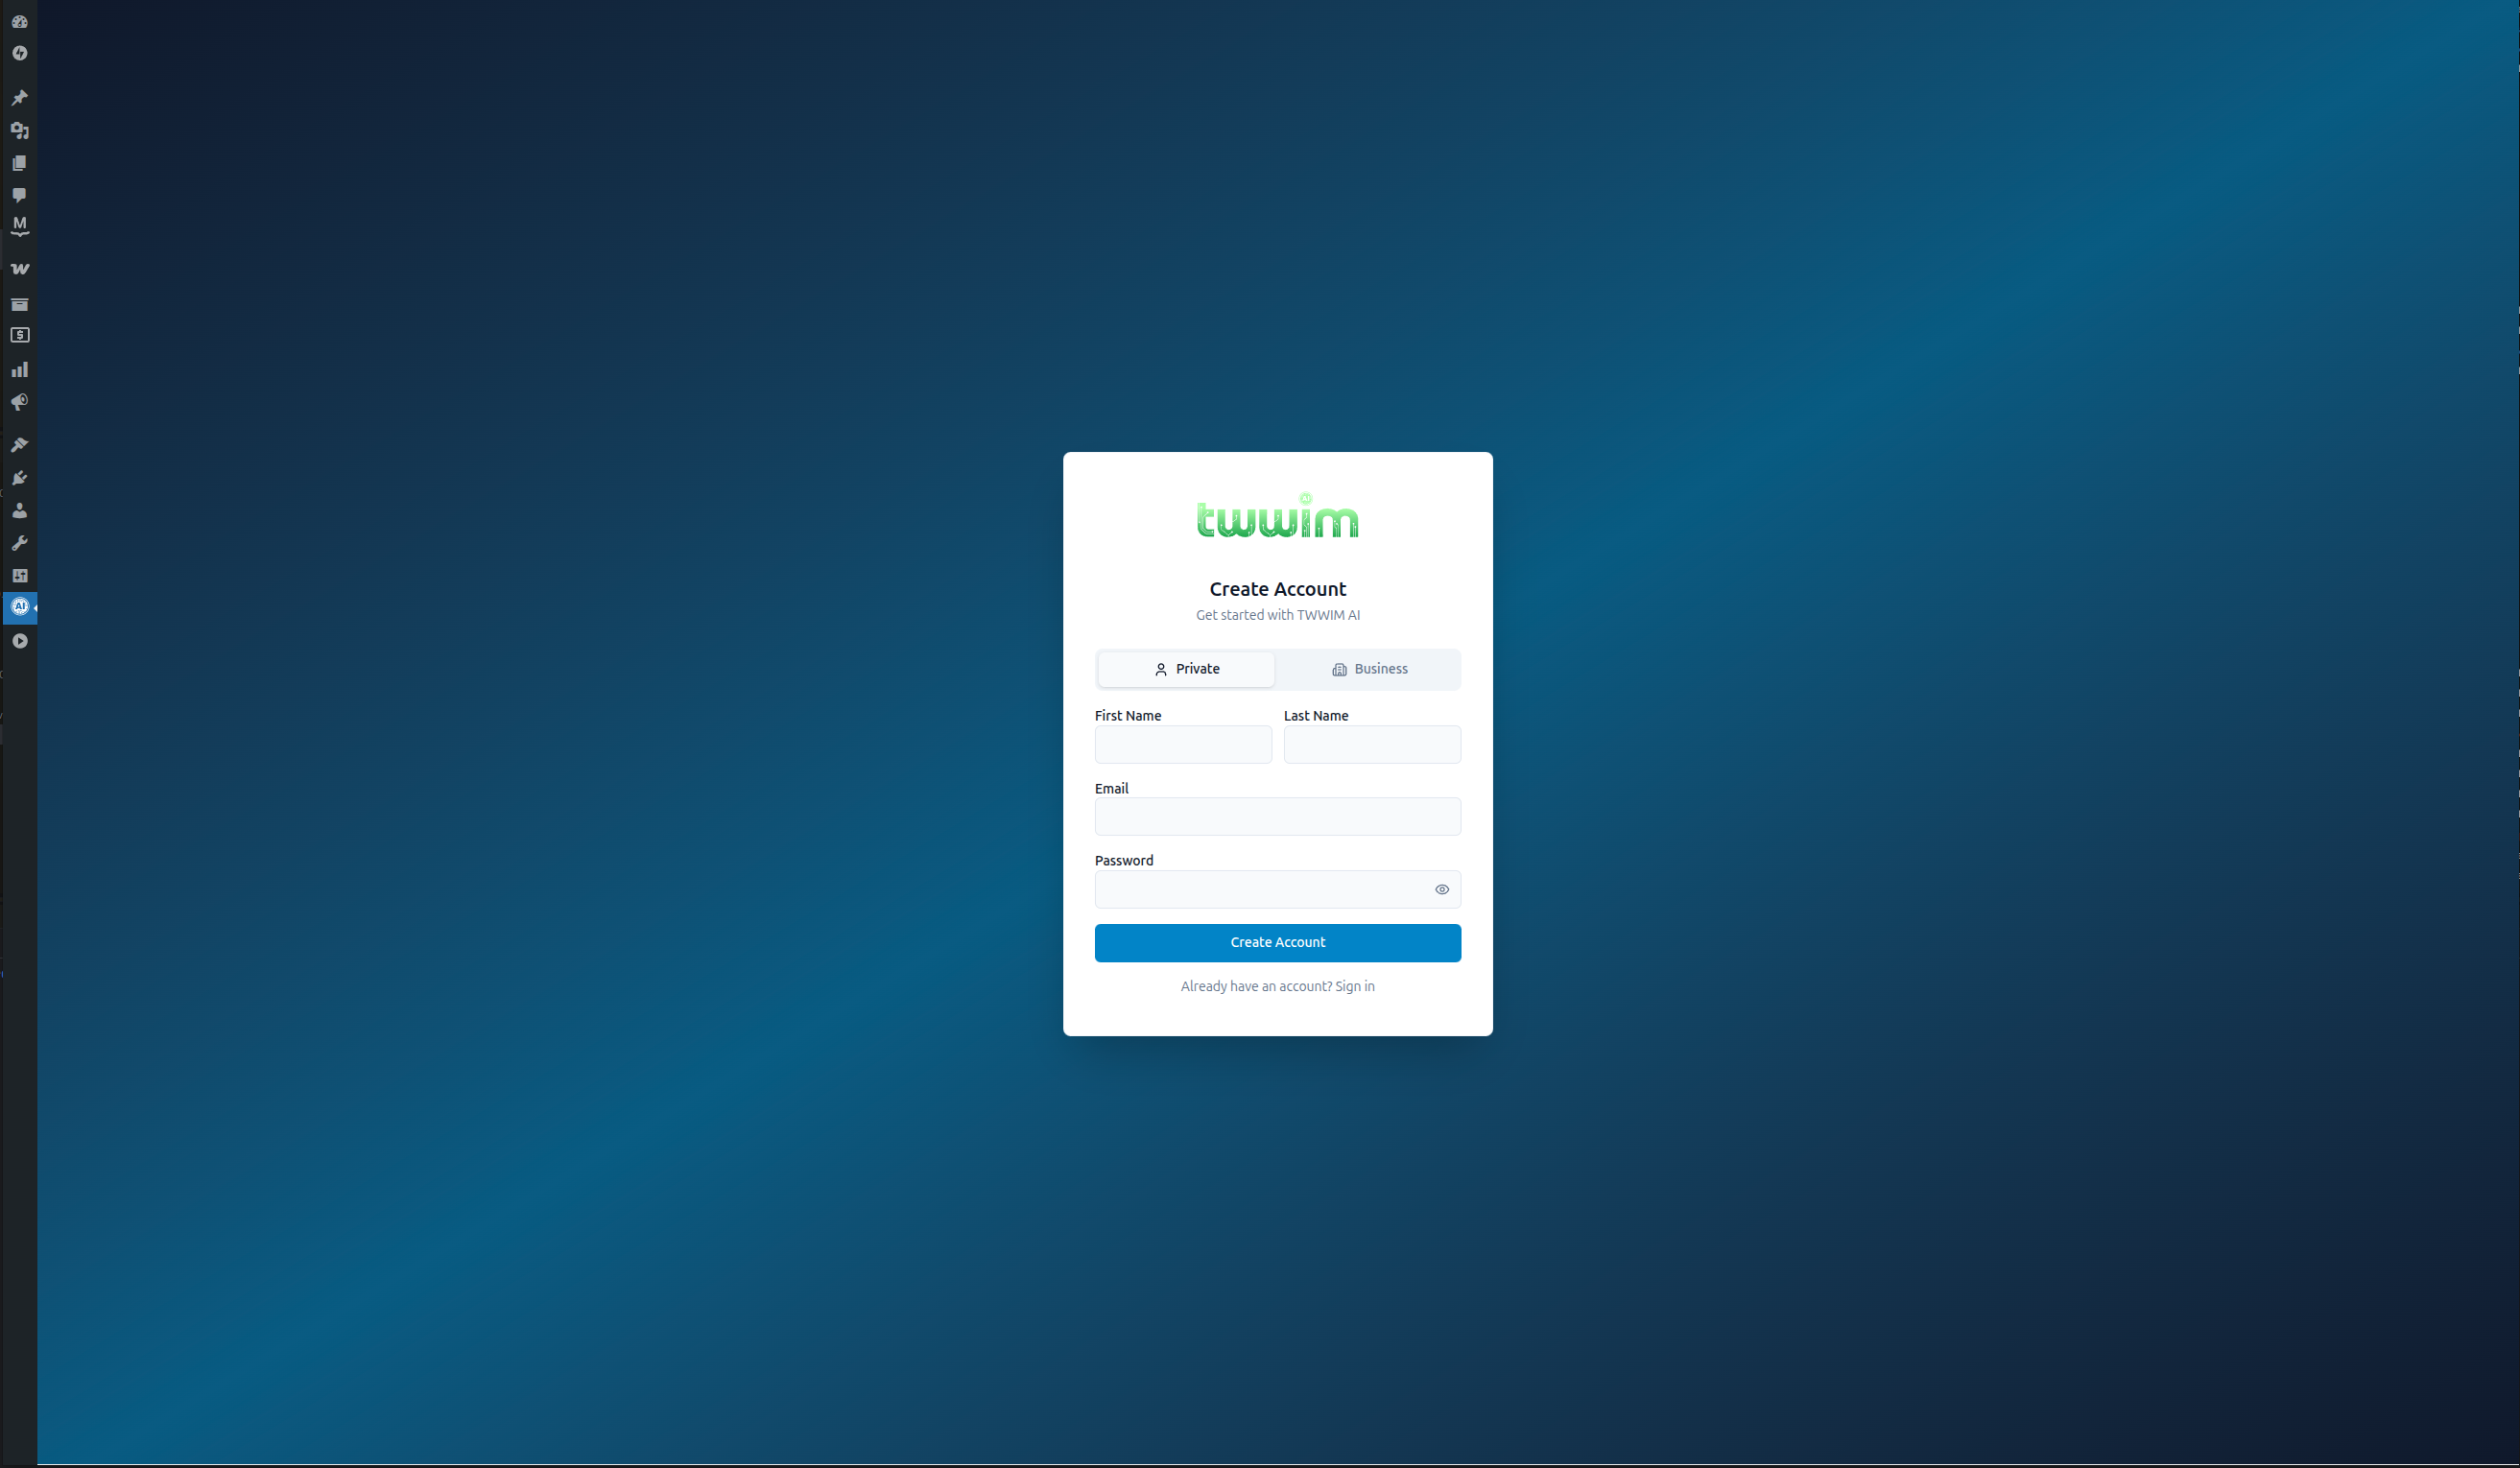
- Open TWWIM AI in the sidebar. Register a new account or sign in if you already have one.
- From the embedded dashboard, create a tenant for this website. Creating the tenant generates your integration keys. The plugin picks them up and starts injecting the assistant script on your frontend automatically.
屏幕截图:

常见问题:
Where do I get an integration key?
You don't need to visit a separate site. Open the TWWIM AI menu in your WordPress admin, register a new account (or sign in if you already have one), then create a tenant for this website from the embedded dashboard. Creating the tenant generates the integration keys and the plugin picks them up automatically.
Can I control where the widget appears?
Yes. You can set the dock position (bottom-right, bottom-left, top-right, top-left) and exclude specific pages or posts by their IDs.
Does the widget work with WooCommerce?
Yes. The DOM indexer reads your page content regardless of how it is generated, including WooCommerce product pages and shop listings. If WooCommerce is active, the plugin also offers optional product catalogue sync into the TWWIM AI knowledge base.
Does it support multiple languages?
Yes. The AI assistant supports multiple languages and responds in the language the visitor uses.
What data is sent to TWWIM AI servers?
The widget sends visitor queries and page context to TWWIM AI for processing. No personally identifiable visitor information is collected or stored. See the Privacy Policy for details.
Can I use a custom CDN?
Yes. Enterprise customers can configure a custom CDN URL in the plugin settings to serve the widget script from their own domain.
更新日志:
- New: invite your team into the TWWIM admin. Send an invitation by email, choose each person's role, and they get their own login to your workspace.
- New: add a seat the moment you need one. When you have used up the seats included in your plan, you can add another teammate right from the invite screen. You pay for the rest of the current period once, and the seat is added to your plan automatically from the next billing cycle. The price is always shown before you confirm.
- Improvement: faster company setup. Pick your country first and the form adapts to it, and the fields you do not need (legal form, commercial register details, industry, company size) are now optional, so onboarding takes less time.
- Tested against WordPress 7.0 — no compatibility issues on the new release.
- New: tabbed Widget Configuration page inside the embedded admin — Visibility, Snippet, Welcome bubble and Idle bubbles each get their own tab so long forms no longer scroll under the browser-window scrollbar. The Save button stays sticky at the bottom and still commits the whole form atomically across all tabs.
- New: top-level Settings menu in the sidebar (cog icon) hosting Widget Configuration as its first child, replacing the standalone link. Easier to discover, and leaves room for future settings groups.
- Improvement: scroll containment inside wp-admin — long Widget Configuration content now scrolls inside the dashboard's content area only. The browser window itself no longer scrolls behind the sidebar, so the user-profile block stays pinned at the bottom of the SPA sidebar regardless of how tall the active page is.
- Improvement: layout no longer leaves a phantom strip of empty space below the SPA when the WordPress admin bar is shown (32 px desktop, 46 px on small viewports). The SPA height is now correctly aligned with the visible content viewport.
- New: dock position is now controlled exclusively from the Customer Portal Plugin Settings page. The plugin no longer emits a dock override from wp-admin. Edit the dock position in the dashboard and it takes effect on the next page load.
- Improvement: DOM indexer follows the same direction — Customer Portal Plugin Settings drives the default. Pre-existing wp-admin choices ("on" or "off" explicitly saved) are still honoured for backward compatibility.
- Note: the wp-admin dock-position setting is retained in the database for compatibility with older releases but is no longer read by the widget. It can be removed in a later release.
- Fix: resolved a "white screen" regression on wp-admin pages where another active plugin loads its own copy of React (WPBakery, Slider Revolution, and several page builders). The TWWIM embedded admin is now isolated from the host page's React instance and renders correctly regardless of which other plugins are active.
- Improvement: more stable admin session inside wp-admin — when the embedded dashboard refreshes its token (long-lived sessions, sleep/resume), it no longer briefly flips to the standalone website UI shape and can never lose its WordPress mode mid-session.
- Improvement: WooCommerce product sync controls now live inline as a tab on the Knowledge page in wp-admin, replacing the previous separate modal.
- Fix: subscription cards inside the embedded admin no longer pick up the active WordPress theme's button skin. Buttons render in TWWIM's brand colours and pill shape on every theme (verified against XStore, WPBakery, Slider Revolution).
- New: in-product Legal Center inside the embedded admin dashboard — Terms (AGB), Privacy, Data-Processing Agreement (AVV), Imprint and Cookie Policy each available in German and English with one-click PDF download. A non-blocking banner surfaces any document that needs (re-)acceptance after a content update; per-document accept replaces the old bulk modal.
- New: profile-completeness gate inside the dashboard. After login the user is asked once to complete the company profile with structured legal fields (commercial register court / number split, VAT ID, tax number, managing director). The dashboard refuses to issue paid plans until the profile is complete so generated invoices stay legally valid.
- New: PERSONAL → Business upgrade flow inside the company settings — private accounts that grow into a business can convert without recreating the account.
- New: email-verification gate after registration with a persistent verify-nag and one-click "Resend verification email" action surfaced in the dashboard header.
- New: bilingual notification emails for legal-document updates and pending-payment readiness are sent automatically when a relevant state change happens.
- New: Lexoffice invoice PDFs are emailed as an attachment to the billing email address set on the company profile.
- New: pay-pending readiness modal — when the user clicks a paid plan with an incomplete profile we now warn before navigating away rather than silently blocking the flow.
- Improved: multicurrency pricing (EUR/USD) end-to-end in the Plans page, ROI calculator and checkout summary.
- Improved: company-profile page now shows a German legal-form selector (UG/GmbH/AG/GbR/KG/OHG/Einzelunternehmer) so the form rendered on TWWIM-issued invoices is always correct.
- Fixed: PDF download race in Chromium 147+ (the active object URL is now revoked after a short deferral so the browser does not abort the download).
- Fixed: the frontend widget was invisible on sites using caching or minification plugins that self-host external JavaScript (WP-Optimize "Include external files", WP Rocket, Autoptimize, LiteSpeed Cache, Cloudflare Rocket Loader, etc.). Those plugins rewrote the widget script URL to a local cached copy without copying the widget's code-split chunks, so the loader 404'd on first import and the widget never rendered. The widget is now injected into the DOM at runtime via a tiny inline bootstrap, which HTML-scanning optimizers cannot see or rewrite. No settings change is needed — the fix is automatic on upgrade.
- Fixed: the Terms of Service / Privacy Policy consent checkbox on the in-plugin registration form was rendered with an almost-invisible border on some admin colour schemes. Now uses an explicit visible border and the native accent colour for the checked state.
- WooCommerce feature compatibility declared (custom_order_tables / cart_checkout_blocks / product_block_editor) — silences the "incompatible plugins" admin notice on modern WooCommerce setups. Plugin reads product data only; no order, cart/checkout or product-editor surfaces are touched.
- Registration form now requires explicit acceptance of Terms of Service and Privacy Policy via an inline checkbox with localised legal links (EN/DE).
- Admin notices (WooCommerce warnings, theme messages, updates nags) no longer push the embedded dashboard out of the viewport — they stack as toasts at the top-right of the TWWIM AI admin page so the SPA keeps its full height.
- Sidebar user profile and language switcher are no longer clipped below the WP admin bar — layout now correctly caps the embedded SPA inside the available viewport.
- Knowledge page no longer crashes when the URL carries a stale or malformed tenant id — the route self-heals by falling back to the first available tenant.
- Plugin listing refreshed: positioned as a Voice-to-Action AI agent for WooCommerce and WordPress. Expanded Description with WooCommerce integration details, mobile-first benefit section, and what store owners gain.
- Installation instructions updated to reflect the in-plugin registration and tenant-creation flow. No external sign-up step. Integration key is generated when the tenant is created and picked up by the plugin automatically.
- External services disclosures tightened: removed internal service-name labels, consolidated to TWWIM AI and Stripe entries.
- No functional code changes.
- Fixed: full Plugin Check compliance pass — text-domain alignment, hardened REST settings endpoint with per-field validation, sanitised request-header fallbacks in the sync-secret auth path.
- Fixed: uninstall now removes every option this plugin ever creates, leaving zero leftover rows in
wp_options. - Internal: rewired internal namespacing (PHP classes, JS globals, script ids) to the
twwim-aislug. Legacy aliases preserved for one minor cycle so existing in-page configs keep working.
- Admin stylesheets moved to external CSS files (
assets/admin-menu.css,assets/admin-layout.css) and enqueued viawp_enqueue_style()/wp_add_inline_style()— no more raw<style>tags. - Full dashboard source code bundled under
source/for GPL compliance and WP.org reviewability. - Expanded
== External services ==documentation to cover TWWIM AI and Stripe. - Updated legal URLs to their current locations on twwim.ai (Terms of Service, Privacy Policy, GDPR).
- Contributor handle corrected to the WordPress.org account owning this plugin.
- Initial release
- AI voice and text assistant widget injection on frontend pages
- Admin dashboard (React SPA) embedded in WordPress admin panel
- REST API for plugin settings (integration key, CDN URL, dock position, DOM indexer, widget toggle, page exclusions)
- Configurable widget dock position
- Per-page widget exclusion by page/post ID
- DOM indexer toggle for automatic page content understanding
- Custom CDN URL support