Version Pilot - Plugin Update Manager
| 开发者 | wowown |
|---|---|
| 更新时间 | 2025年9月5日 18:58 |
| PHP版本: | 7.0 及以上 |
| WordPress版本: | 6.8 |
| 版权: | GPL v2 or later |
| 版权网址: | 版权信息 |
详情介绍:
- Author-side Plugin ("Version Pilot"): You install this plugin on your own WordPress site. It provides a clean interface to manage all your plugins' update information. This information is then exposed via a secure REST API endpoint.
- Client-side Integration Code: A lightweight PHP snippet that you, the developer, embed in your distributed plugins. This code uses WordPress's built-in hooks to periodically check your Version Pilot API for updates. When a new version is detected, it integrates seamlessly into the standard WordPress update system, allowing your users to update with a single click from their admin dashboard, just like any official plugin.
- Plugin-Centric Workflow: First, add your plugin's core information. Then, add multiple versions to that plugin. This is more intuitive and reduces data redundancy.
- Advanced Version Management: Set minimum client version requirements for updates, ensuring compatibility and preventing problematic downgrades.
- Intelligent Version Matching: Smart logic to serve the most appropriate update based on client version and requirements.
- Authentication Support: Built-in support for license verification and access control mechanisms.
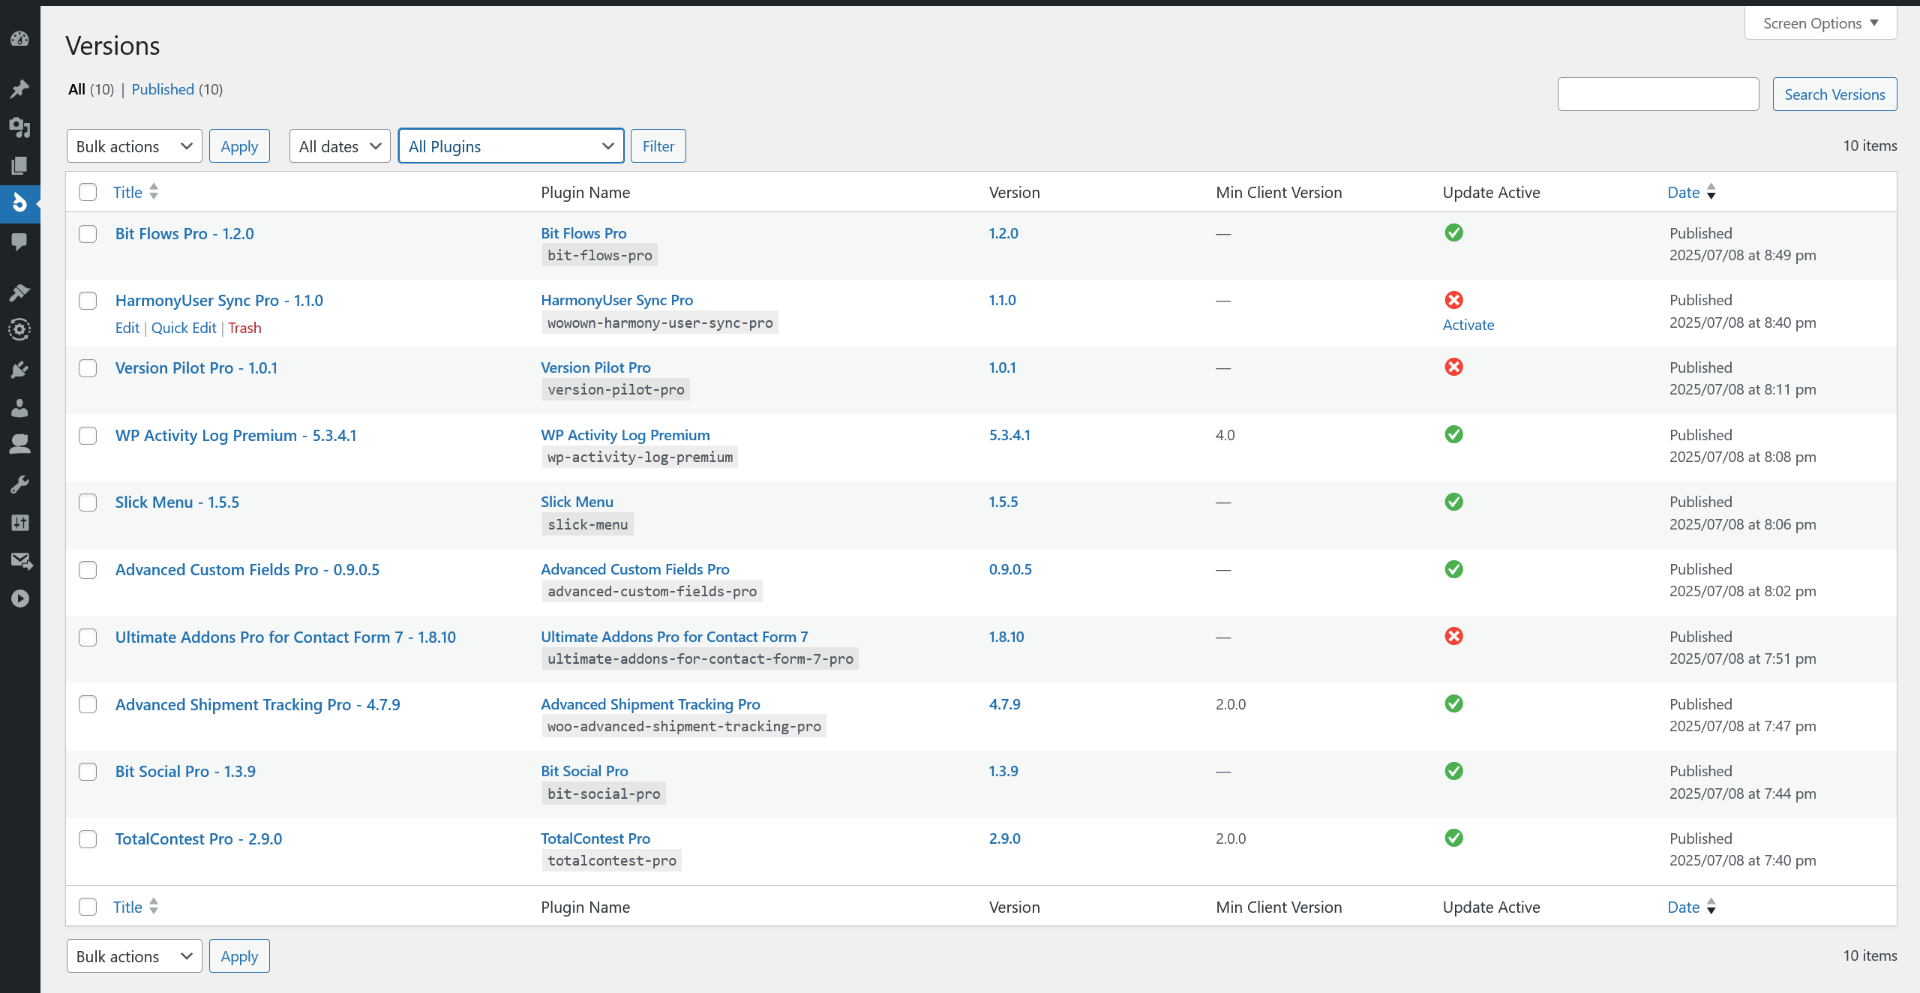
- Dedicated Versions List: A complete history of all releases across all your plugins with advanced filtering options.
- AJAX-Powered UI: Enable or disable updates directly from the versions list with a single click, no page reload needed.
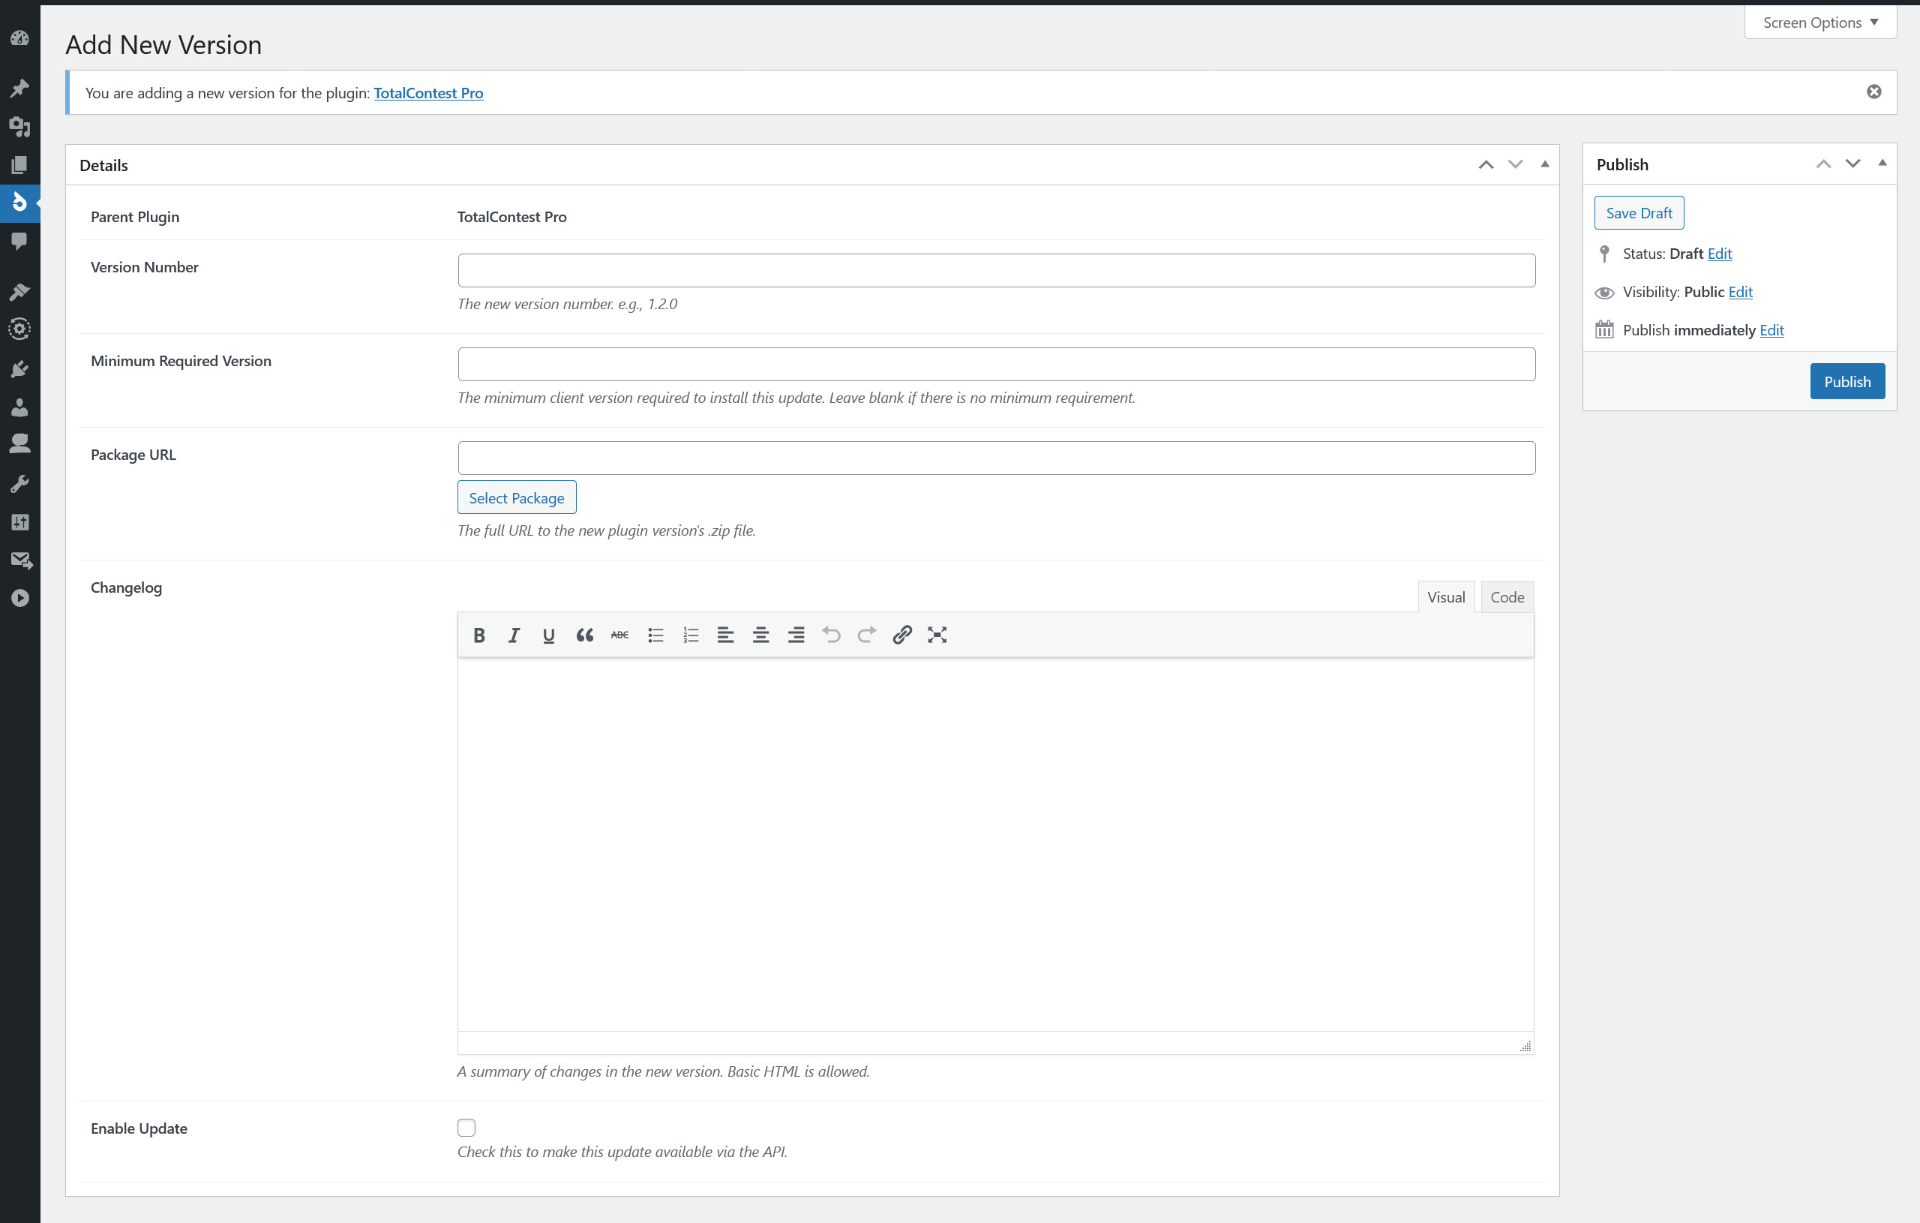
- Streamlined Process: The "Add New Version" screen is simplified, automatically linking to its parent plugin and requiring only version-specific details.
- Modern Codebase: Fully refactored for better performance, security, and adherence to modern WordPress best practices.
安装:
- Upload the
version-pilotfolder to the/wp-content/plugins/directory on your own website. - Activate the plugin through the 'Plugins' menu in WordPress.
- Navigate to the new "Version Pilot" menu in your admin sidebar.
- Go to "All Plugins" and click "Add New".
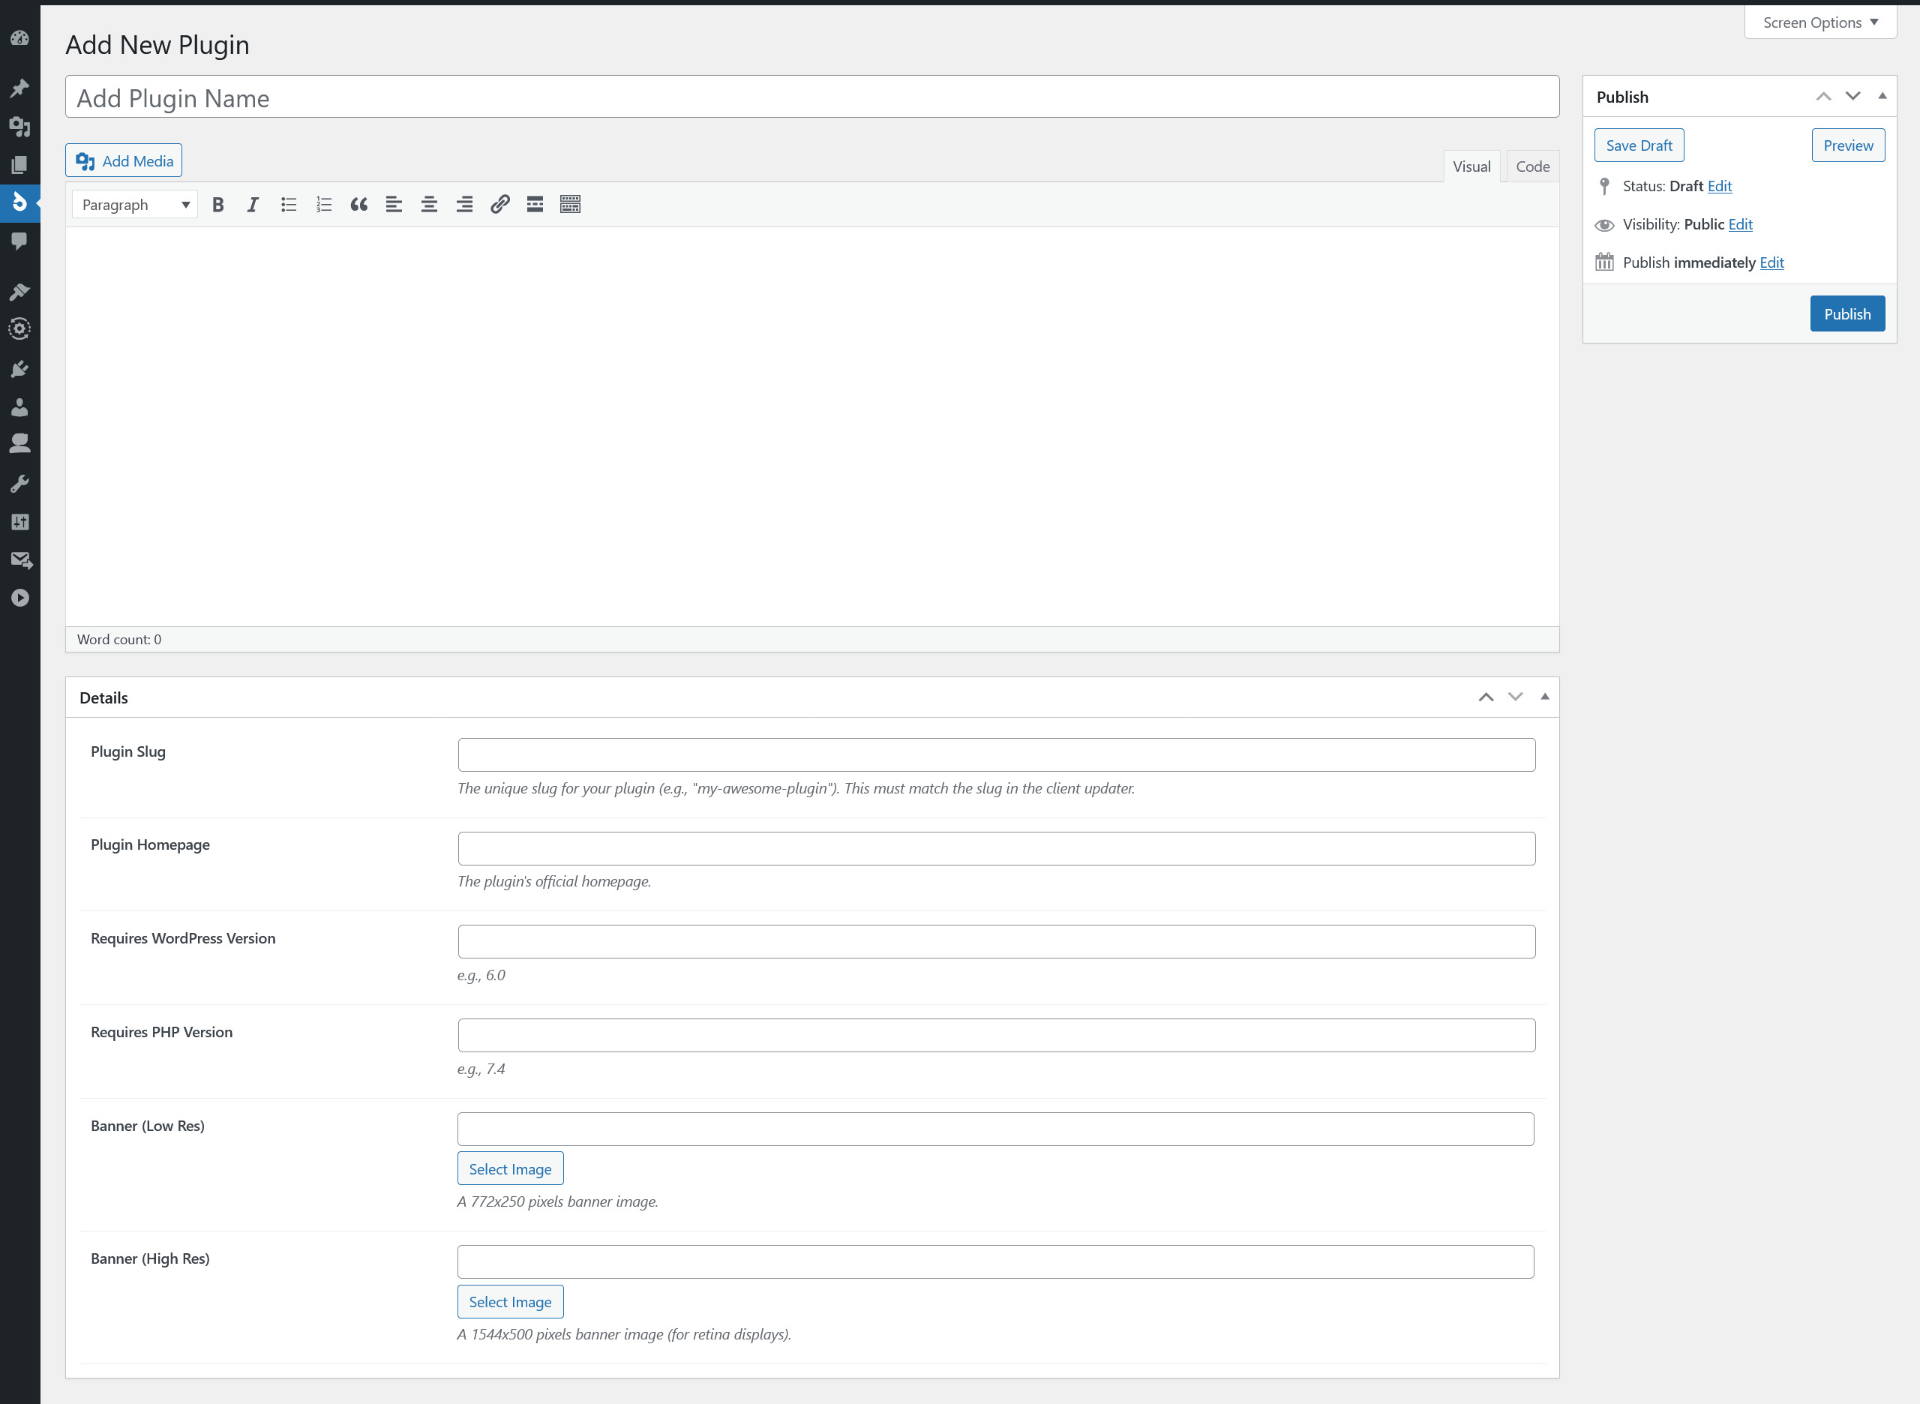
- Fill in your plugin's permanent information (e.g., Plugin Name, Plugin Slug, Homepage) and Publish. The "Plugin Slug" must be unique and match the one used in the client code.
- Return to the "All Plugins" list. Find your plugin and click the "Add New Version" link.
- Fill in the version-specific details (e.g., Version Number, Package URL, Changelog) and Publish.
- Optionally, set a "Minimum Required Version" to ensure clients meet compatibility requirements before receiving this update.
- Your update API is now live for that version!
- Copy the
version-pilot-client-updater.phpfile (from the/client/directory) into your own plugin's folder. - In your plugin's main PHP file, include and instantiate the updater class.
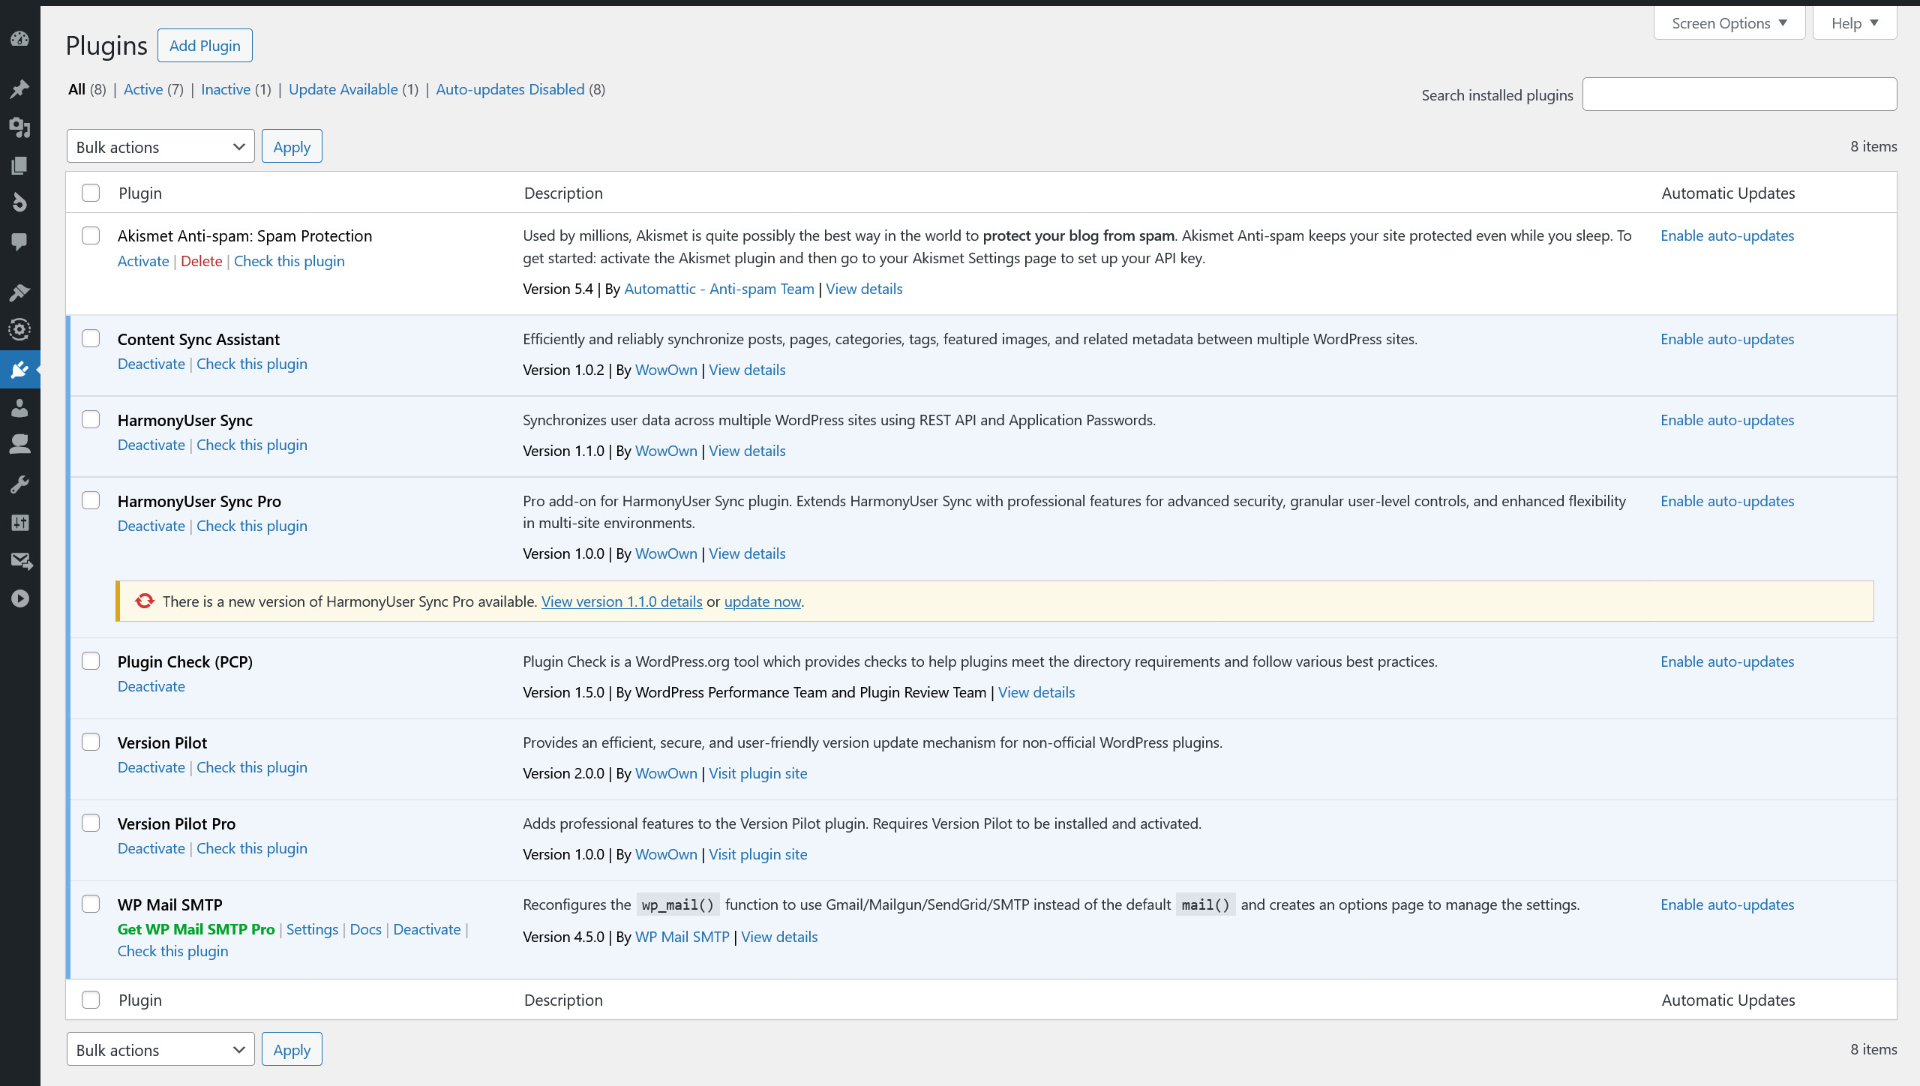
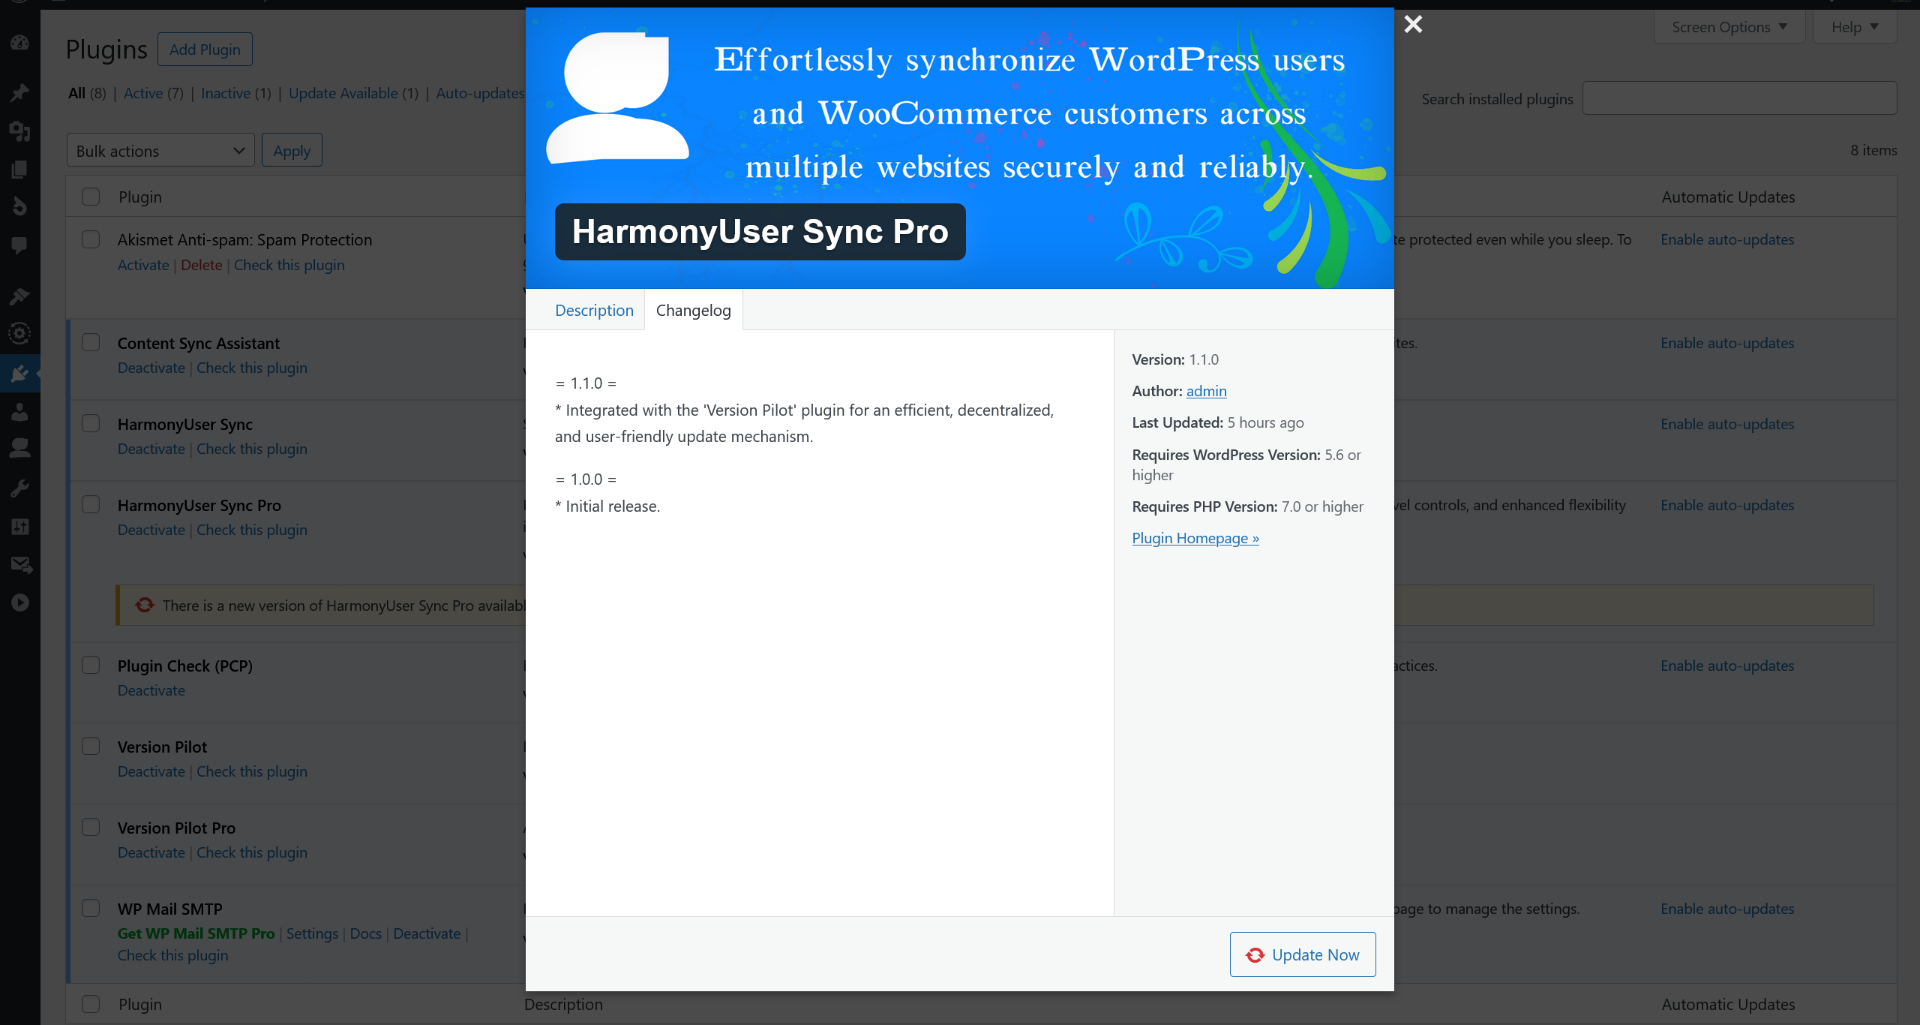
屏幕截图:
常见问题:
Do my users need to install Version Pilot?
No. That is the main advantage. Your users do not need to install any extra plugins. The update logic is bundled within your own plugin.
Is this secure for my users?
Yes. All communication should be over HTTPS (which you must configure on your server). Furthermore, WordPress itself performs validations on the update package before installation. Version Pilot simply informs WordPress where to get the update.
Will this slow down my users' websites?
No. The update check leverages WordPress's built-in transient API. WordPress only checks for updates twice a day (every 12 hours), so the impact on performance is negligible.
What is the "Minimum Required Version" feature?
This new feature allows you to set compatibility requirements for updates. For example, if you release version 3.0.0 that requires users to be on at least version 2.5.0, you can set this requirement. Users on older versions won't see this update until they manually update to an intermediate version first.
Can I control who gets updates?
Yes! Version Pilot includes built-in authentication support. You can hook into the version_pilot_update_verify filter to implement license verification or other access control mechanisms.
更新日志:
- Feature: Integrated advanced Pro features into the base plugin for a unified experience.
- Feature: Added "Minimum Required Version" field for version compatibility management.
- Feature: Implemented intelligent version matching logic that considers client version requirements.
- Feature: Added built-in authentication support with customizable verification hooks.
- Feature: New "Min Client Version" column in the versions list for better version management visibility.
- Improvement: Enhanced REST API with advanced version selection logic.
- Improvement: Unified text domain to 'version-pilot' for better localization support.
- Improvement: Streamlined codebase by consolidating Pro functionality into core plugin.
- Technical: Maintained full backward compatibility with existing installations.
- Technical: Preserved all existing hooks and filters for seamless upgrades.
- Major Refactor: Complete architectural overhaul for a more intuitive, plugin-centric workflow.
- Feature: Introduced a dedicated "Plugins" CPT to store parent plugin information and a "Versions" CPT for individual releases.
- Feature: Added a new "All Versions" admin screen to view and manage all releases across all plugins.
- Improvement: Streamlined the "Add New Version" process, which is now linked to a parent plugin.
- Improvement: Implemented AJAX for enabling/disabling updates directly from the versions list table for a smoother UX.
- Improvement: Refined the REST API logic to work with the new data structure.
- Improvement: Updated the entire codebase to align with modern WordPress standards and best practices.
- Initial release.