
Woo Payments with PayLeap
详情介绍:
介绍
WooCommerce PayLeap Payment Gateway allows you to accept payments in your Woocommerce store. It authorizes credit card payments and processes them securely with your PayLeap Merchant Account.
Plugin Functionality
- Easy to install and configure
- Compatible with WordPress/Woocommerce plugins
- You don’t need any extra plugins or scripts to process the Transaction
- Accepts all major credit cards
安装:
Automatic Installation
Automatic installation is the easiest option as WordPress handles the file transfers itself and you don't need to leave your web browser. To do an automatic install, log in to your WordPress dashboard, navigate to the Plugins menu and click Add New.
In the search field type Woo Payments PayLeap and click Search Plugins. Once you've found our plugin you can view details about it such as the the rating and description. Most importantly, of course, you can install it by simply clicking Install Now.
Manual Installation
- Unzip the files and upload the folder into your plugins folder (/wp-content/plugins/) overwriting older versions if they exist
- Activate the plugin in your WordPress admin area.
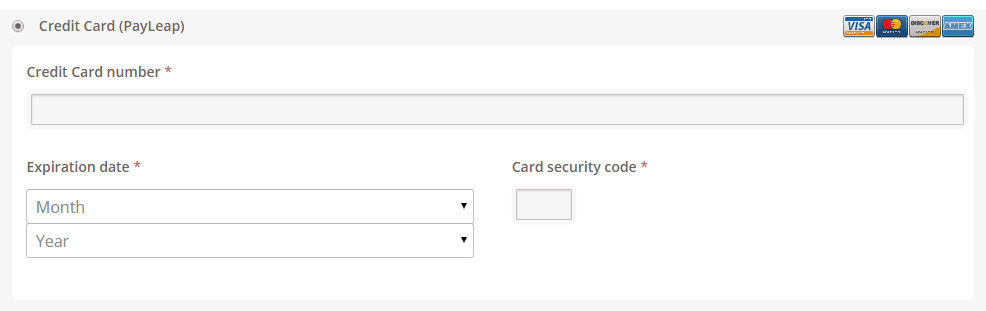
屏幕截图:
常见问题:
Where can I find my PayLeap API credentials?
- Login to your PayLeap merchant account.
- Click Preferences in the menu bar on the left.
- Click the Create Transaction Key link under the Preferences section.
- Make note of your App Login ID.
- Click the Submit button to create a new transaction key.
- Make note of your new transaction key.
- Proceed to the plugin settings to enter the values accordingly.
更新日志:
1.0.0
- Initial stable release.