
WP Photo Sphere
| 开发者 | Jeremy Heleine |
|---|---|
| 更新时间 | 2017年9月17日 20:18 |
| PHP版本: | 3.1 及以上 |
| WordPress版本: | 4.8.1 |
| 版权: | MIT |
| 版权网址: | 版权信息 |
详情介绍:
- Twitter: http://twitter.com/JeremyHeleine
- GitHub: https://github.com/JeremyHeleine
- LinkedIn: https://fr.linkedin.com/pub/j%C3%A9r%C3%A9my-heleine/55/a14/64a
- Google+: https://plus.google.com/+JérémyHeleine
- Facebook: https://www.facebook.com/jeremy.heleine
- English,
- French,
- Spanish,
- Portuguese (thanks to Pedro Mendonça),
- Turkish (thanks to Alper Demir),
- Dutch (thanks to Gideon van Melle).
安装:
- Upload the
wp-photo-spherefolder to the/wp-content/plugins/directory - 通过WordPress的“插件”菜单激活插件
屏幕截图:
常见问题:
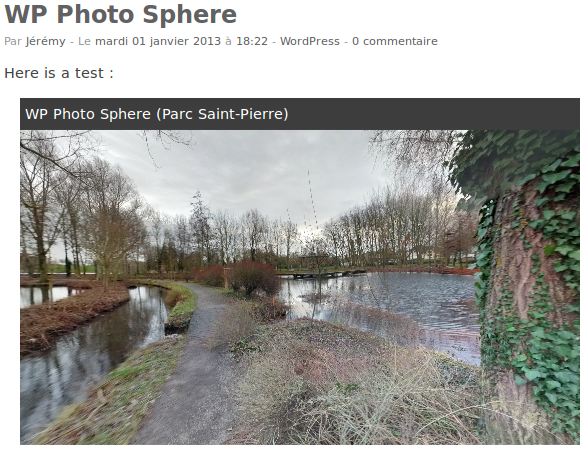
How to add a panorama?
Use the Add a panorama button to upload or choose a panorama to insert into your post.
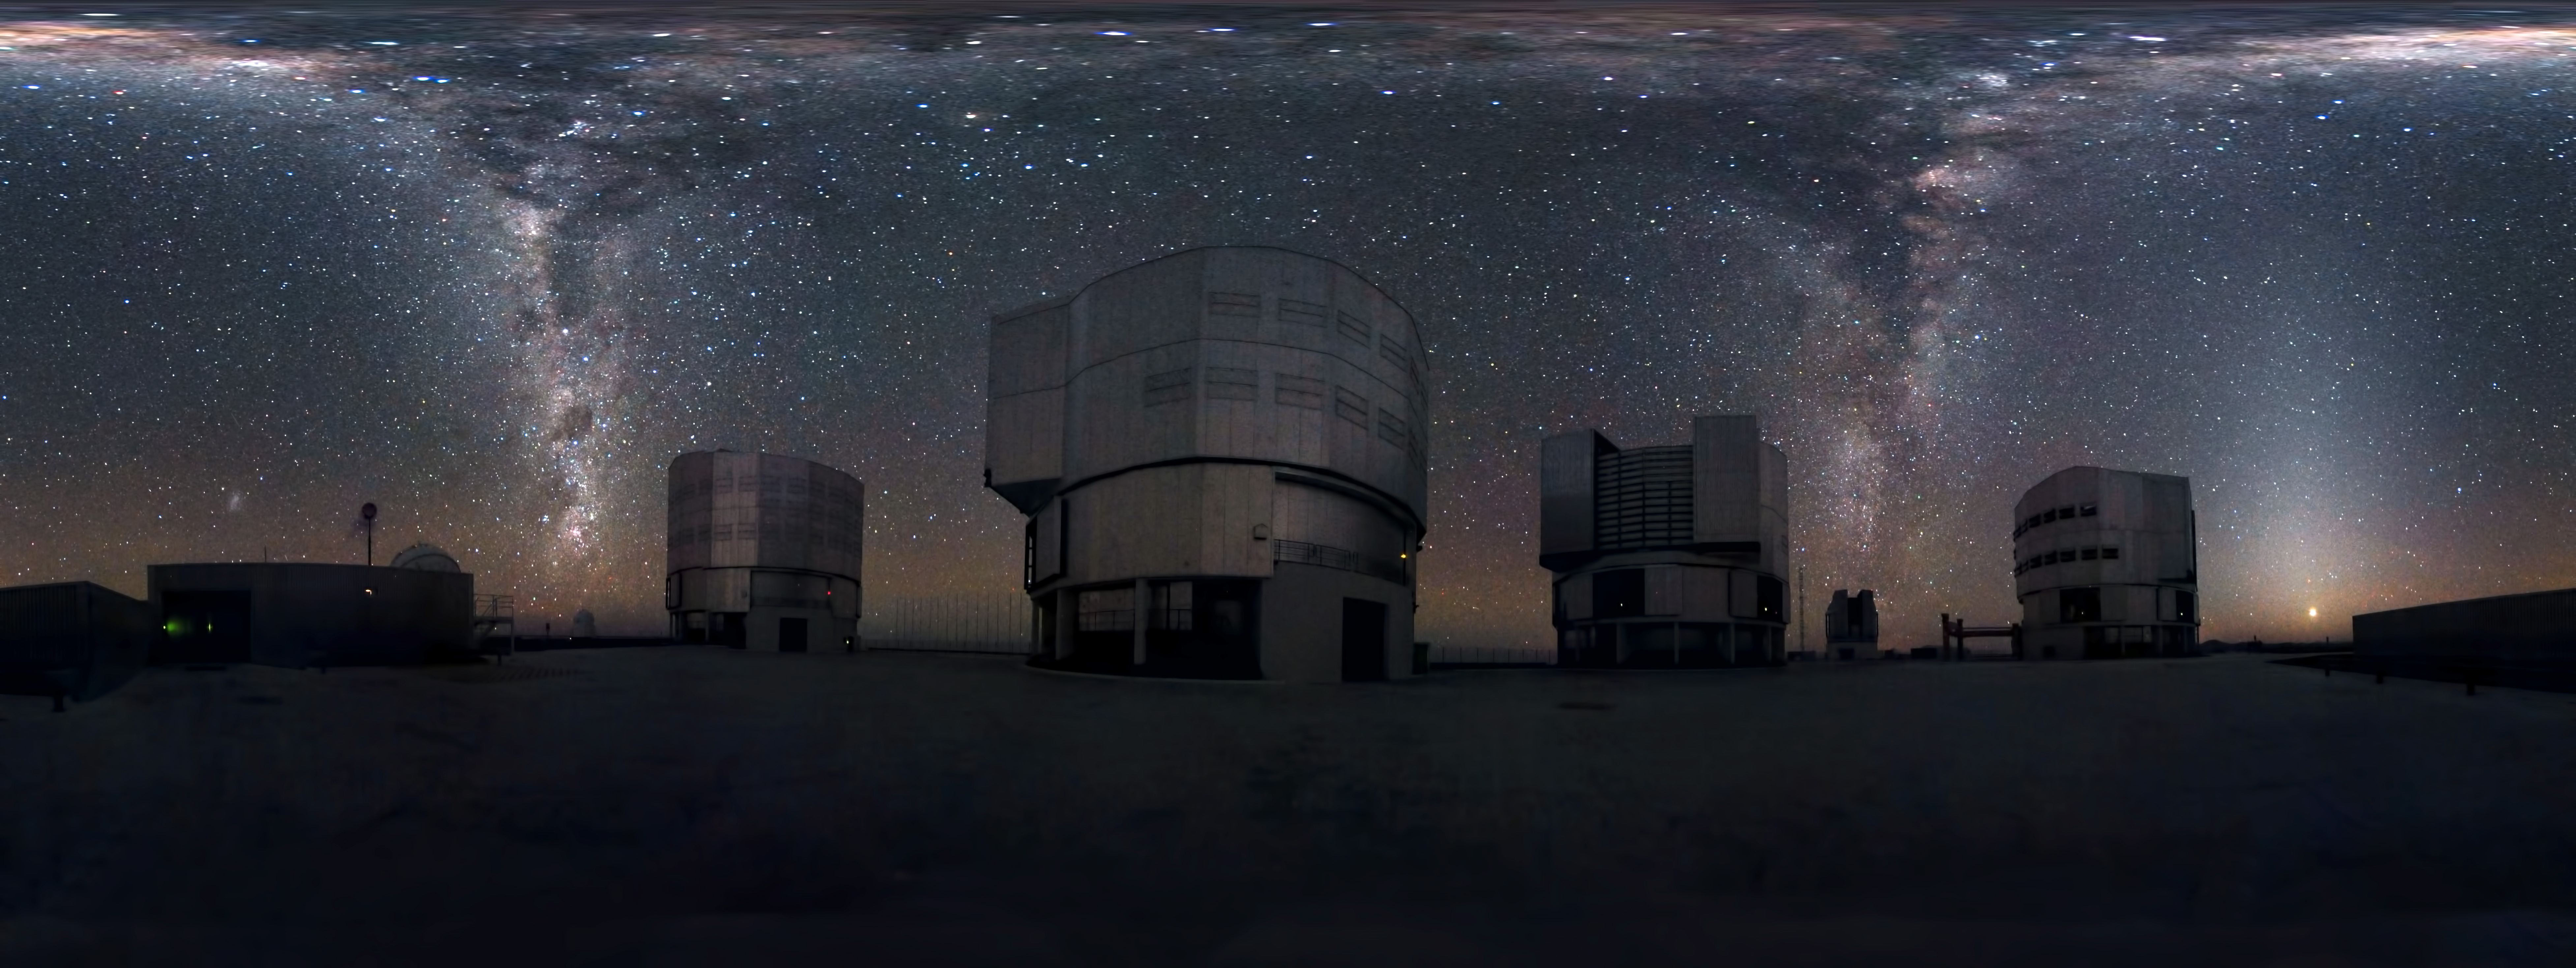
Is it possible to read a distant panorama?
Since version 3.1, it is possible to read a distant panorama located on another website thanks to its URL. To do that, do not
indicate any ID number and use the url attribute. Note that this feature does not work with domains that did not enable CORS.
For example: [sphere url="http://upload.wikimedia.org/wikipedia/commons/a/a4/Cascading_Milky_Way.jpg"].
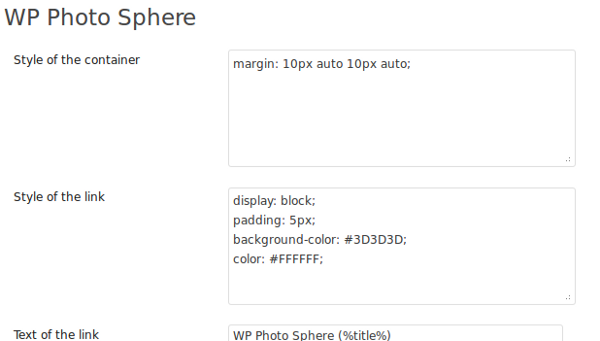
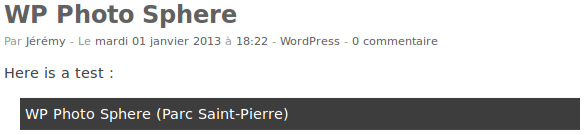
How to change the title?
The default title displayed on each WP Photo Sphere link can be changed in the options page. You can also choose to display an
unique title for a specific panorama by using the title attribute. Note that the %title% tag is also available in this
attribute.
How to change the dimensions?
By default, the dimensions are 560 x 315 pixels but you can change that in the options page (in the Settings menu).
You can also choose different dimensions for each panorama using the width and height attributes.
For example: [sphere 42 width="200" height="400"] or [sphere 42 width="50%" height="300"].
A maximum width can also be given with the attribute max_width. Its default value can be changed in the options page.
How to display the navigation bar?
The navigation bar allows users to zoom, animate the panorama or view it in fullscreen. To display it, just use the navbar attribute
with the value yes: [sphere 42 navbar="yes"].
You can choose to display it (or not) on all of your panoramas in the options page. If you display it on all of your panoramas and
want to deactivate it on one particular panorama, use the navbar attribute with the value no.
Can I change the automatic animation?
By default, panoramas are automatically animated after 2000 milliseconds, but you can change this with the
anim_after attribute. You can also deactivate the animation with the value -1. For example:
[sphere 42 anim_after="5000"] or [sphere 42 anim_after="-1"].
You can set the animation speed with the anim_speed attribute. It accepts six units: revolutions per minute/second
(rpm/rps), degrees per minute/second (dpm/dps) or radians per minute/second (rad per minute/second). The default
speed can be set in the options page.
Example: [sphere 42 anim_speed="10rpm"].
Is it possible to autoload the panorama?
Since the version 1.1, you can specify, for each panorama, a special attribute: autoload. If you use this attribute,
the panorama will start automatically after the page has loaded. This attribute doesn't require any value, for
example: [sphere 42 autoload] or [sphere 42 width="300" height="150" autoload].
How to change the levels of zoom?
Minimal and maximal levels of zoom can be personalized in the options page by changing the minimal and maximal fields of view. You can
also use the min_fov and max_fov attributes.
更新日志:
- New option and attribute (zoom_speed) to control the zoom speed
- New option to control the animation delay
- New units allowed for width, max width and height
- New maximum height option and attribute
- Portuguese translation updated
- New option and attributes to control the sphere quality
- New option and attribute to control the "scroll to zoom" feature
- Dutch translation updated
- Portuguese translation updated
- New: smooth user movements
- New: FOVs for cropped panoramas
- New: overlay images
- Portuguese translation updated
- New: eyes offset in VR mode (option and attribute)
- Dutch translation added
- Portuguese translation added
- Fixed: XMP data read again
- New: Vertical animation control
- New: Longitude restriction possible
- New: Cropped panoramas
- Fixed: Fullscreen on Internet Explorer
- Gyroscope support
- Virtual reality support
- Fixed: multiple panoramas on a single page
- Portuguese translation updated
- New zoom_level, long, lat, tilt_up_max, tilt_down_max attributes
- New autoload, zoom level, longitude, latitude, maximal tilt up and down angles options
- Mobile zoom (pinch to zoom)
- Fullscreen works on Chrome
- New url attribute
- New title attribute
- New min_fov and max_fov attributes
- New minimal and maximal FOV options
- The container does not take its maximal height while loading
- Portuguese translation updated
- Turkish translation added
- Equirectangular panoramas compatibility (not only Photo Sphere)
- 导航条
- XMP data attribute (to read them or not)
- Portuguese language available
- You can set your own animation speed
- Bug fixed
- Panoramas are now mobile compatible
- Spanish language available
- "Add a panorama" button now compatible with the visual editor
- Maximum width can be given
- Autoload after 1 second
- New library
- New "Add a panorama" button
- New anim_after attribute
- Scipts loaded only if necessary
- Nothing new, just an error in the readme file
- Autoload attribute
- First official release