Pricing Table builder - Price List
| 开发者 | wpdevart |
|---|---|
| 更新时间 | 2026年2月3日 05:22 |
| 捐献地址: | 去捐款 |
| PHP版本: | 3.4.0 及以上 |
| WordPress版本: | 6.9 |
| 版权: | GPLv3 |
| 版权网址: | 版权信息 |
标签
下载
1.3.4
1.4.4
1.5.0
1.2.9
1.1.0
1.2.6
1.2.7
1.2.2
1.2.8
1.1.1
1.1.2
1.1.3
1.1.4
1.1.8
1.1.9
1.2.0
1.2.4
1.3.2
1.0.4
1.0.0
1.0.2
1.0.9
1.3.0
1.3.5
1.3.6
1.3.7
1.0.5
1.3.8
1.3.9
1.4.0
1.4.1
1.4.2
1.4.3
1.1.5
1.0.8
1.1.7
1.2.5
1.2.3
1.4.9
1.1.6
1.2.1
1.4.5
1.0.1
1.0.3
1.0.6
1.0.7
1.3.1
1.3.3
1.4.6
1.4.7
1.4.8
1.5.1
1.5.2
1.5.3
详情介绍:
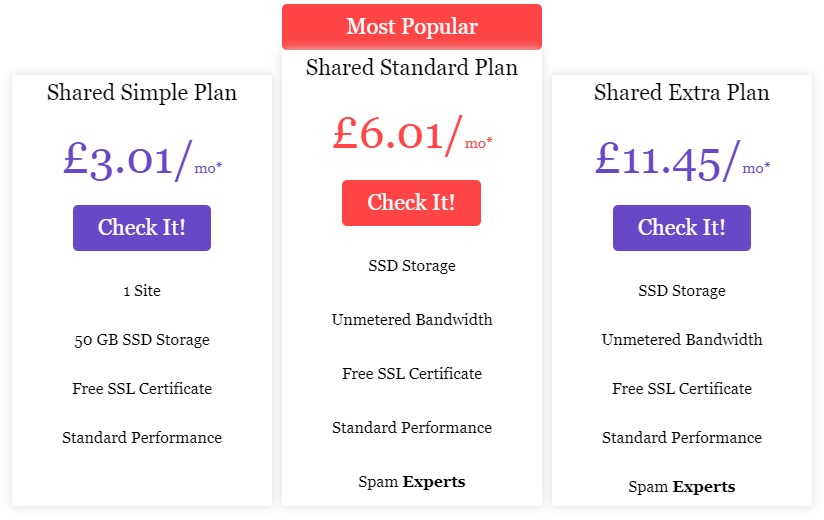
WordPress Pricing Table plugin is a great tool for adding beautiful price tables to your website. This plugin has a lot of necessary features that you will like. You can check the demo page and see some live examples.
Here is our plugin Demo page:
Features of Free version
- User friendly plugin
- Works with all actual WordPress versions
- Responsive design
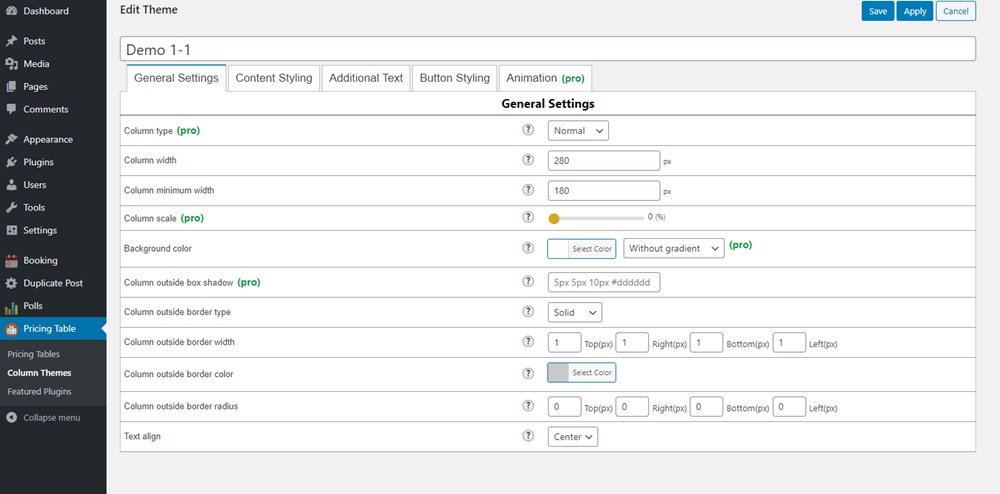
- Unlimited tables and column themes
- Ability to set individual theme for each column
- Ability to set Distance between columns
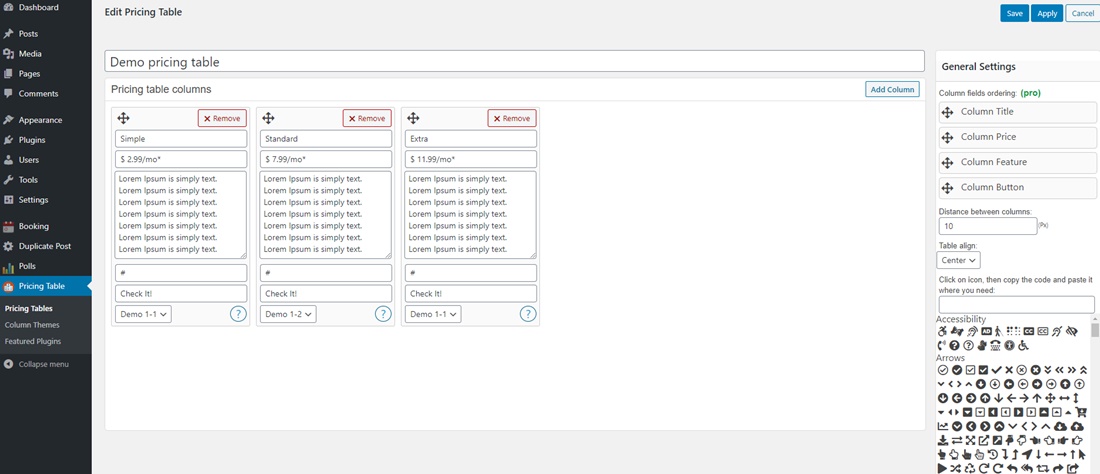
- Unlimited columns
- Font Awesome icons 500+ nice icons
- Position control option
- Ability to set margins for all elements
- Ability to set paddings for all elements
- Title background color option
- Price background color option
- Features background color option
- Additional text background color option
- Button background color option
- Ability to set Title, feature, additional text, price colors
- Easily change the Additional text position
- Ability to set font size, font family for all elements
- Border options for all fields (color, radius, type, width)
- ... and Much More
- 37 animation effects
- 20 Awesome built-in themes
- Beautiful Background Gradients
- 15 unique and nice button styles
- Column scale option
- Column fields ordering
- Column type option
- Column outside box shadow option
安装:
Download the ZIP file.
- Go to the Plugins page from the WordPress admin panel and click on the "Add New" button, then click on the "Upload Plugin" button.
- Click "Choose file" then select our plugin zip file.
- Install and activate it.
- That's all, now you can use it.
屏幕截图:
更新日志:
1.5.3
- admin UI changes.
- code improved.
- bug fixed.
- bug fixed.
- bug fixed.
- bug fixed.
- Improved the Italian translation.
- Improved the German translation.
- Added new translation words.
- Added some translation words.
- Improved the translations.
- Improved the translations.
- Added some translation texts.
- Added a new language.
- Added a new language - Amharic.
- Changed some options descriptions on the Themes page.
- Added a new language - Italian.
- Improved translations.
- Added translation words.
- Improved admin page design.
- Added a new icon for the featured plugins page.
- Improved the translations.
- Changed the admin menu style.
- Improve the translation.
- Added new language.
- Added new translation files.
- Added translation words.
- Added translation words.
- Added translation files.
- Changed the "Support or any idea" button style.
- Fixed mistake in translation file.
- Changed the admin menu page style.
- Added new icons for Gallery, Countdown and Lightbox.
- Added functions descriptions.
- New plugin added to the featured plugins page.
- Corrected featured plugins texts.
- Added another featured plugin.
- Added a chart plugin to the featured plugins list.
- Added translations.
- Fixed some spelling mistakes.
- Added function descriptions.
- Added new .png icons.
- Changed the featured plugins icons.
- Added descriptions for developers.
- Added functions descriptions.
- Added some descriptions for developers.
- Fixed a bug.
- Added new features.
- Added new submenu in admin panel.
- Added license txt file.
- New featured plugin added to the list.
- Added function names.
- Changed shortcode icon.
- Initial version.


