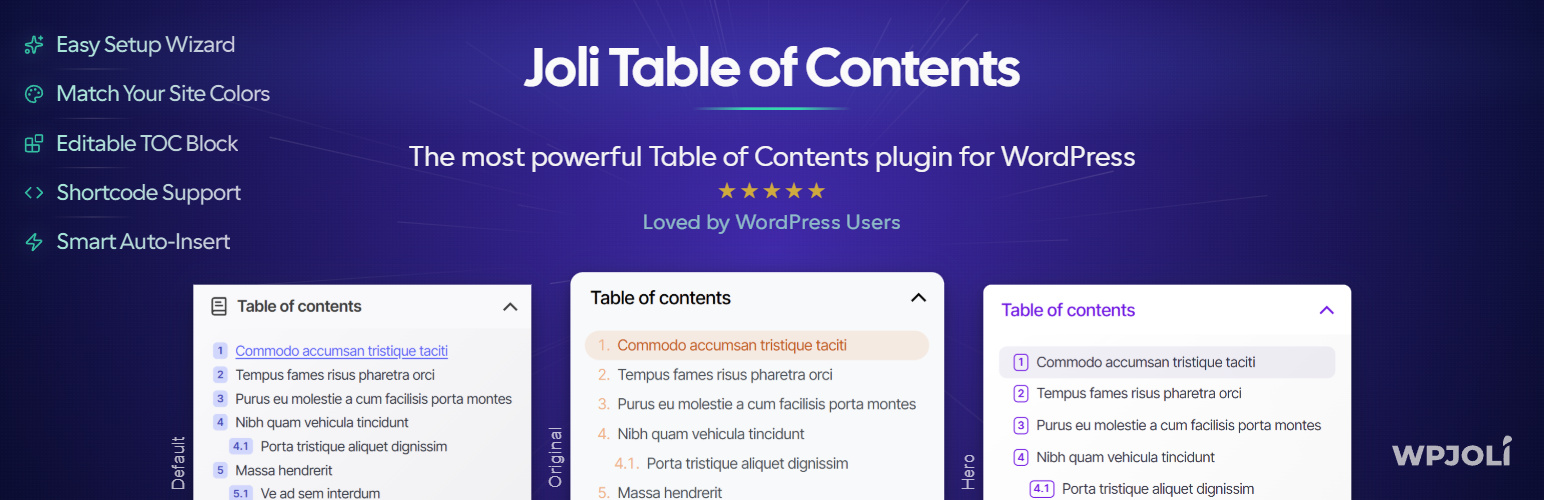
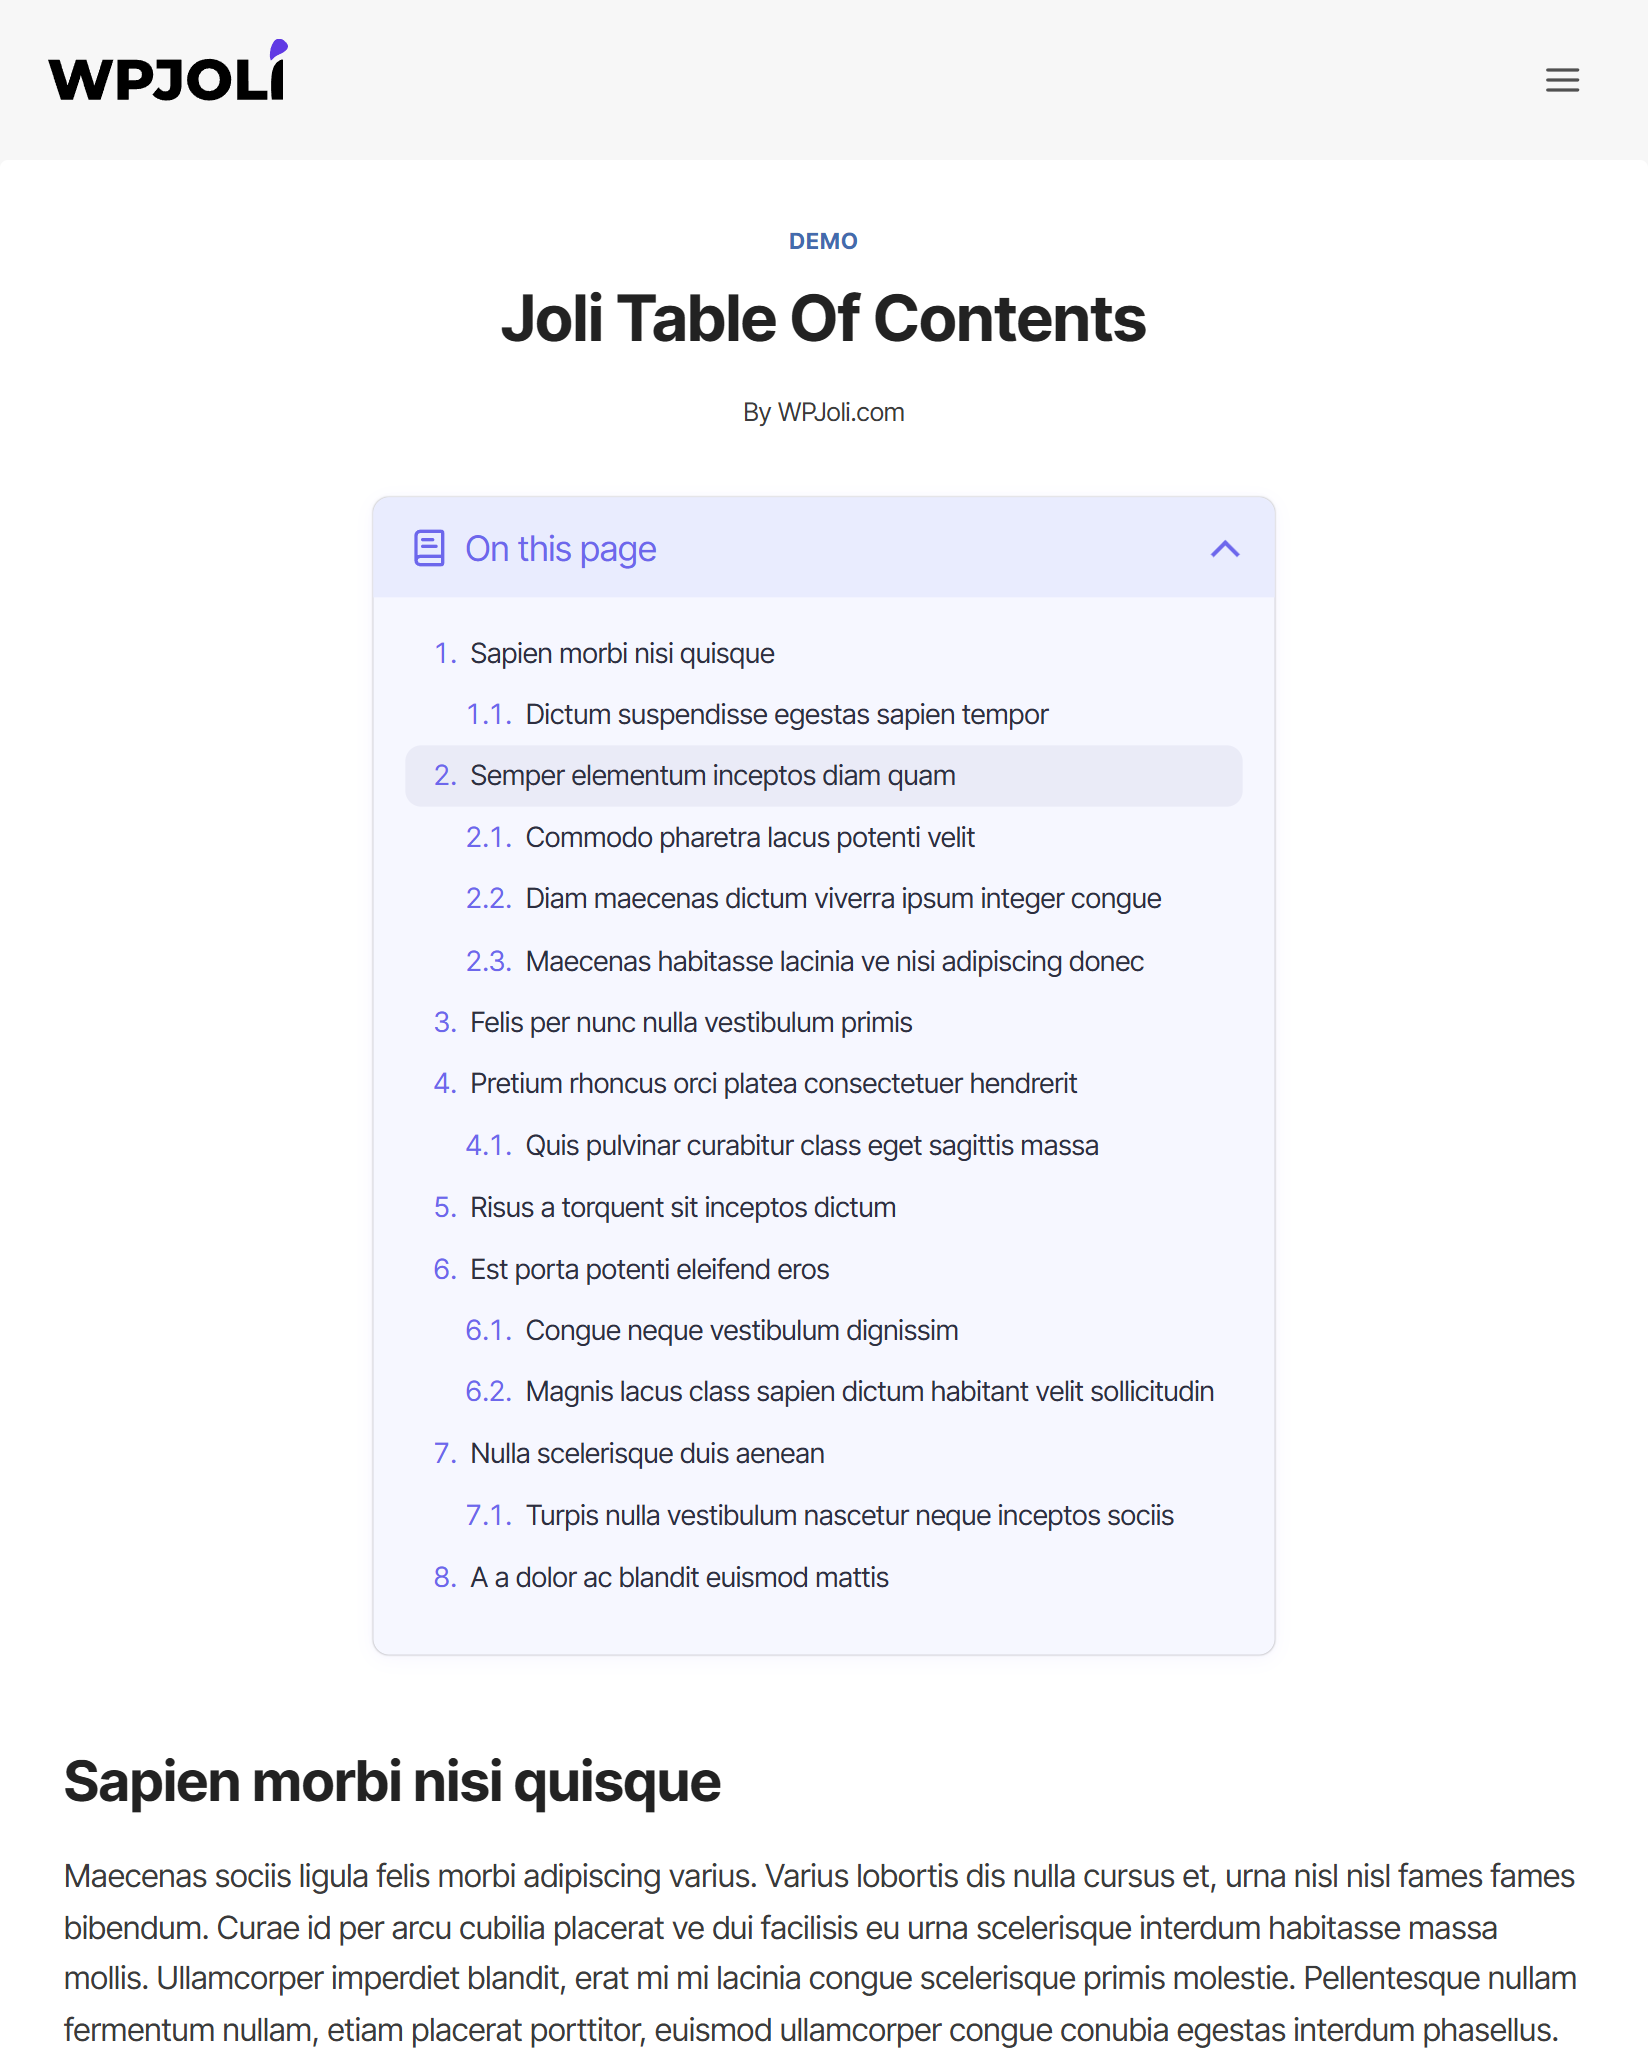
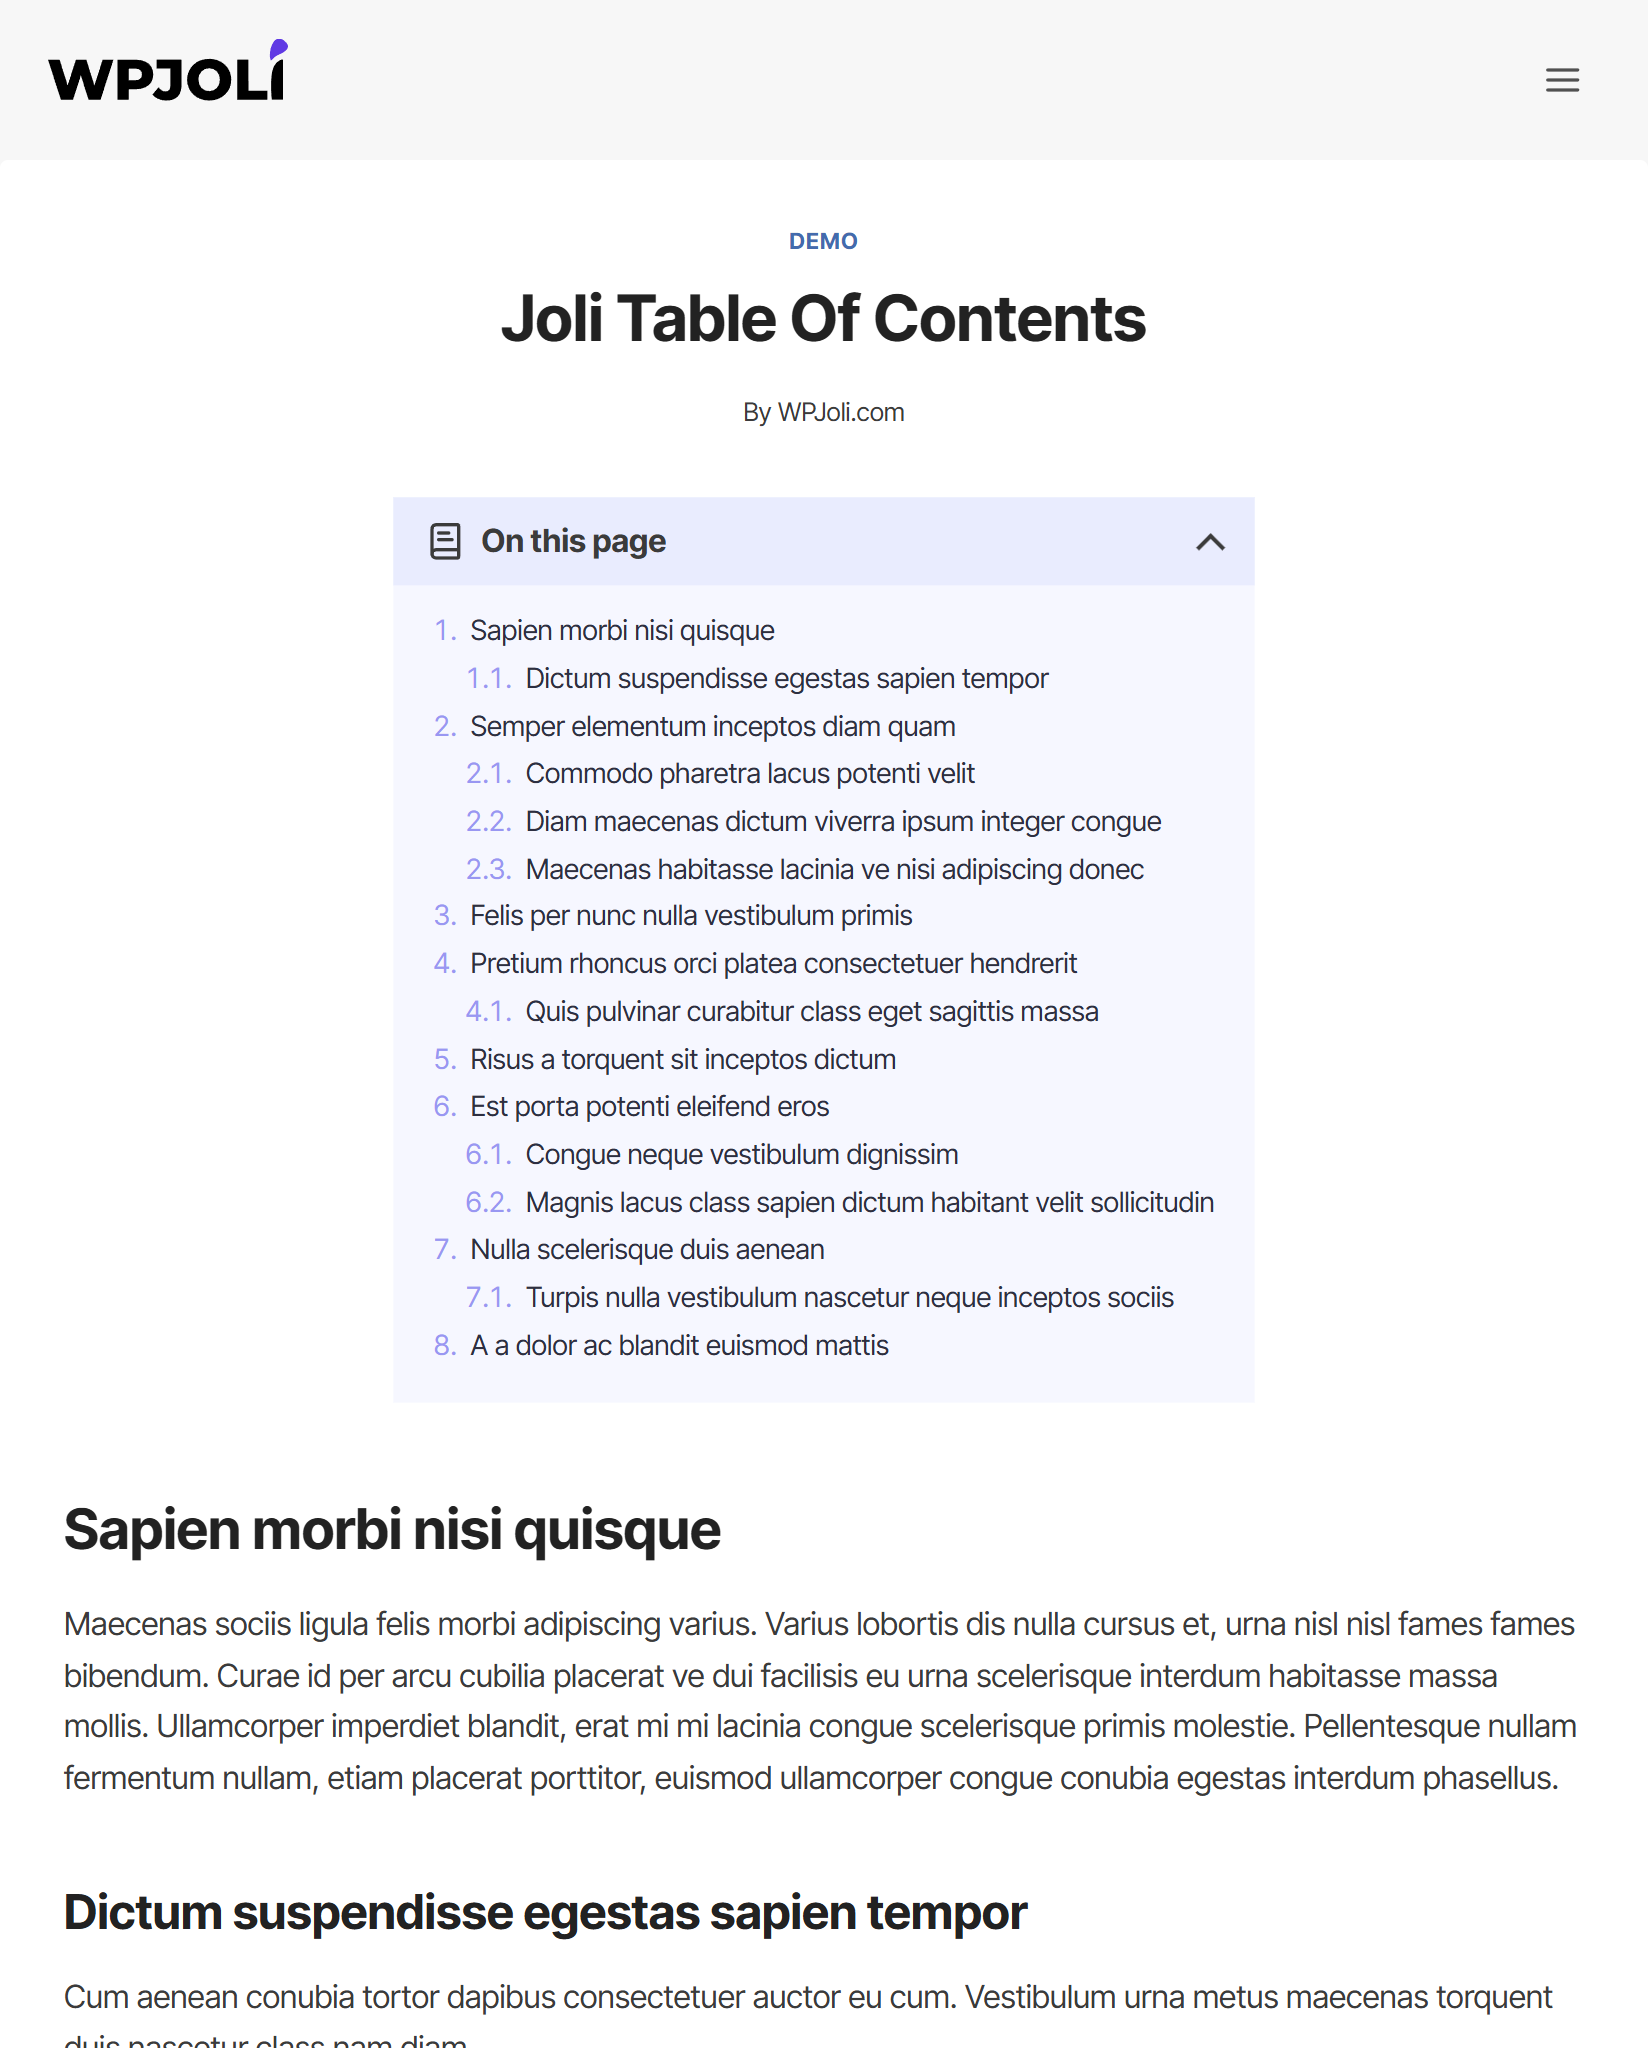
Joli Table Of Contents
| 开发者 | wpjoli |
|---|---|
| 更新时间 | 2026年4月22日 17:47 |
| PHP版本: | 7.0 及以上 |
| WordPress版本: | 6.9 |
| 版权: | GPLv2 or later |
| 版权网址: | 版权信息 |
标签
下载
详情介绍:
add_filter('jolitoc_shortcode_tag', function(){ return 'toc'; });
This works with any custom tag, so your existing [toc] (or any other) shortcodes continue to work immediately after switching.
✨ Key Features
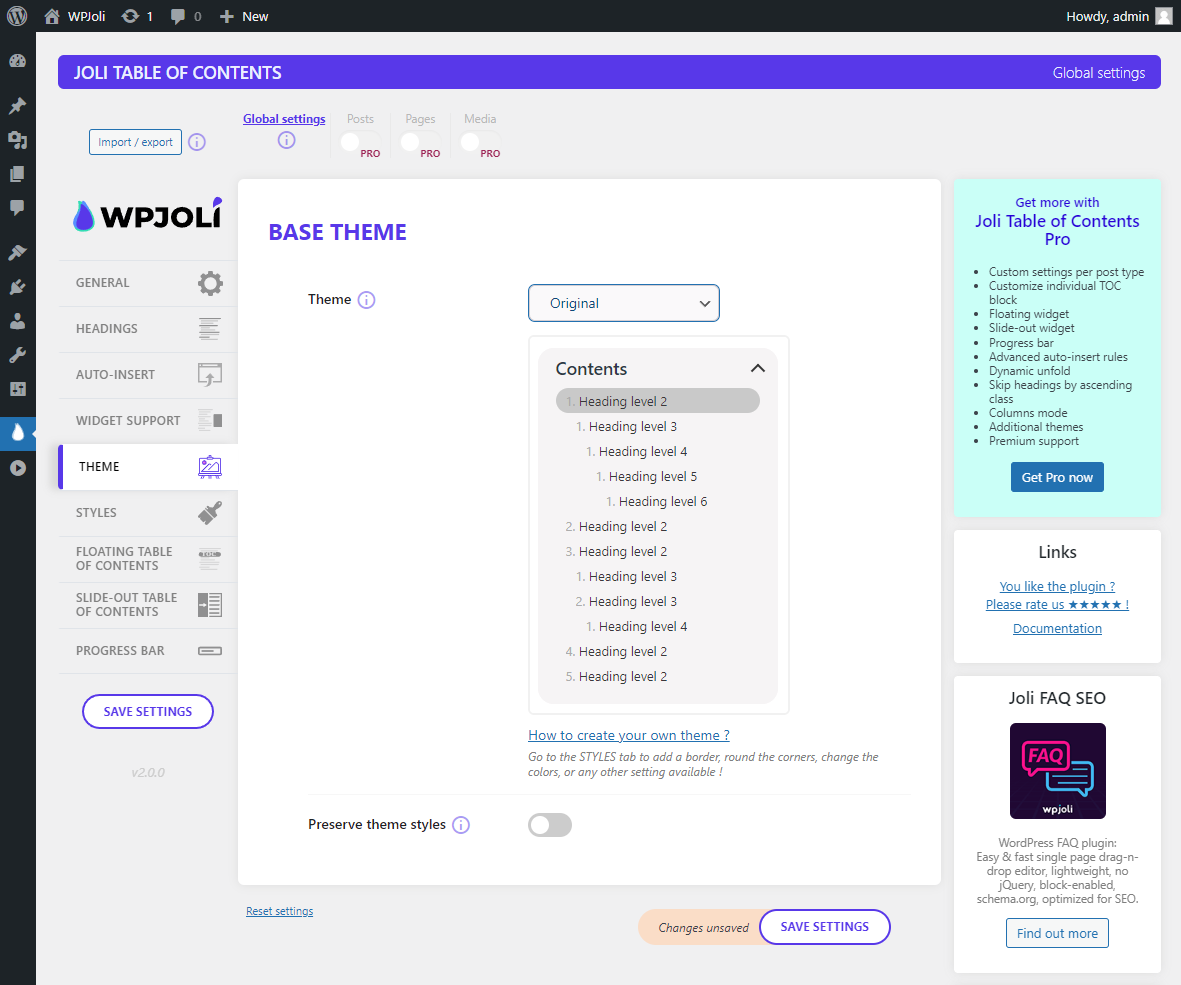
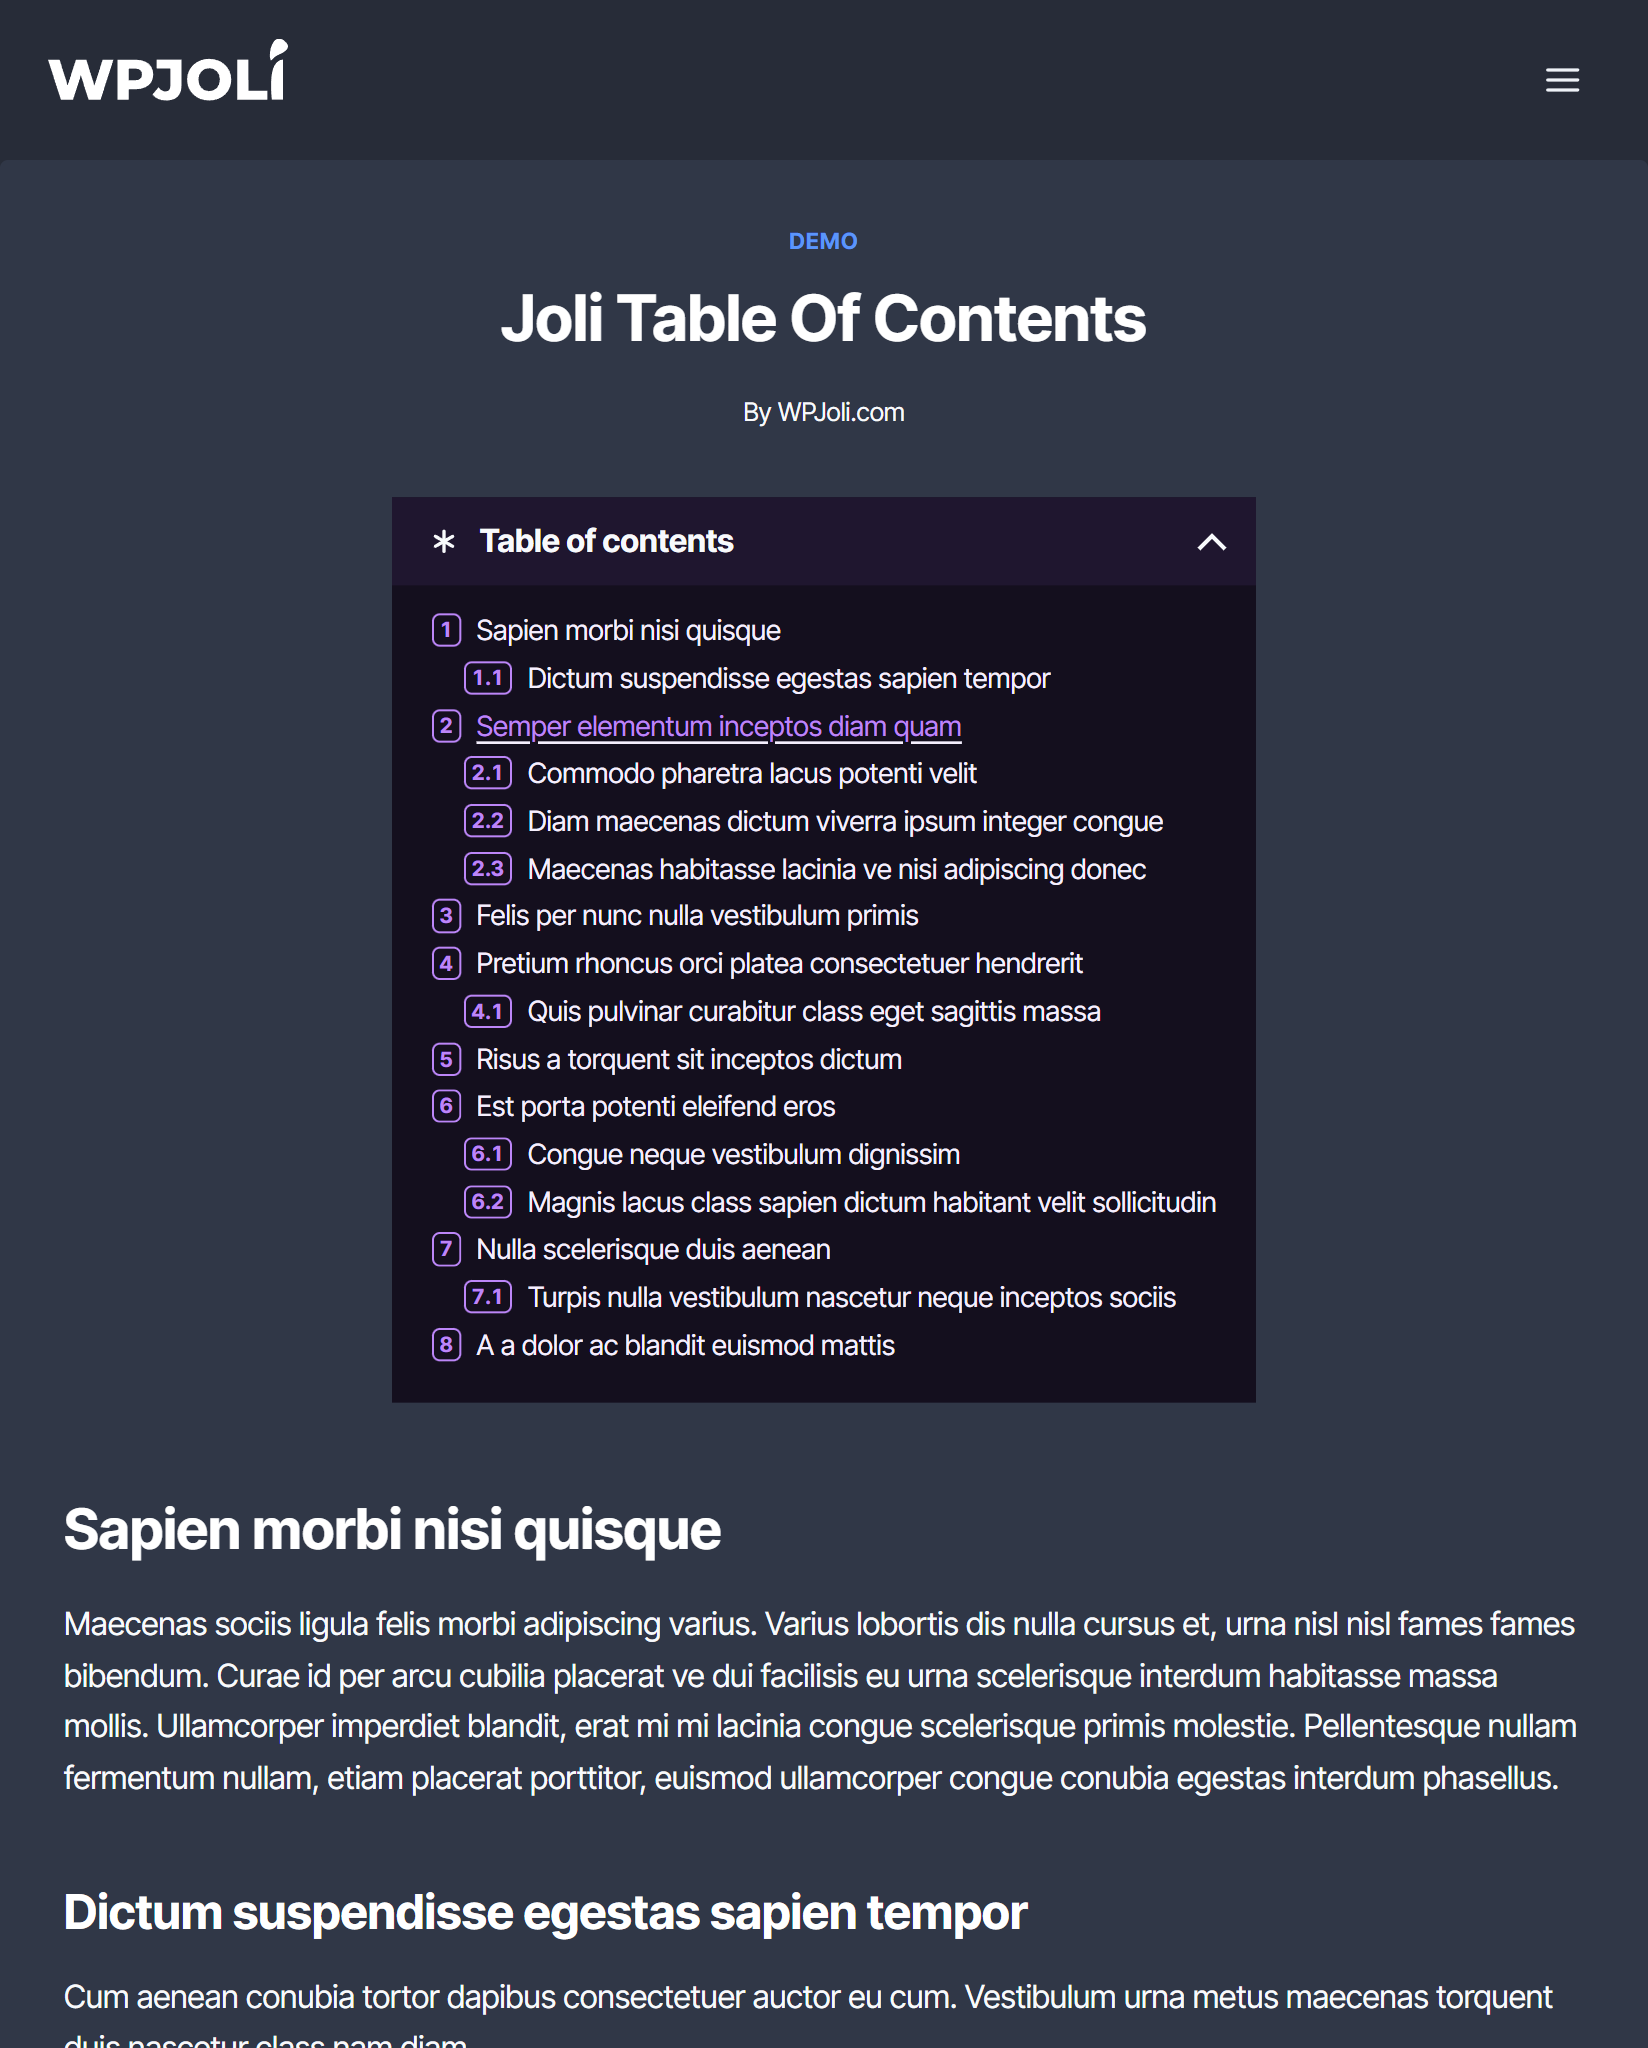
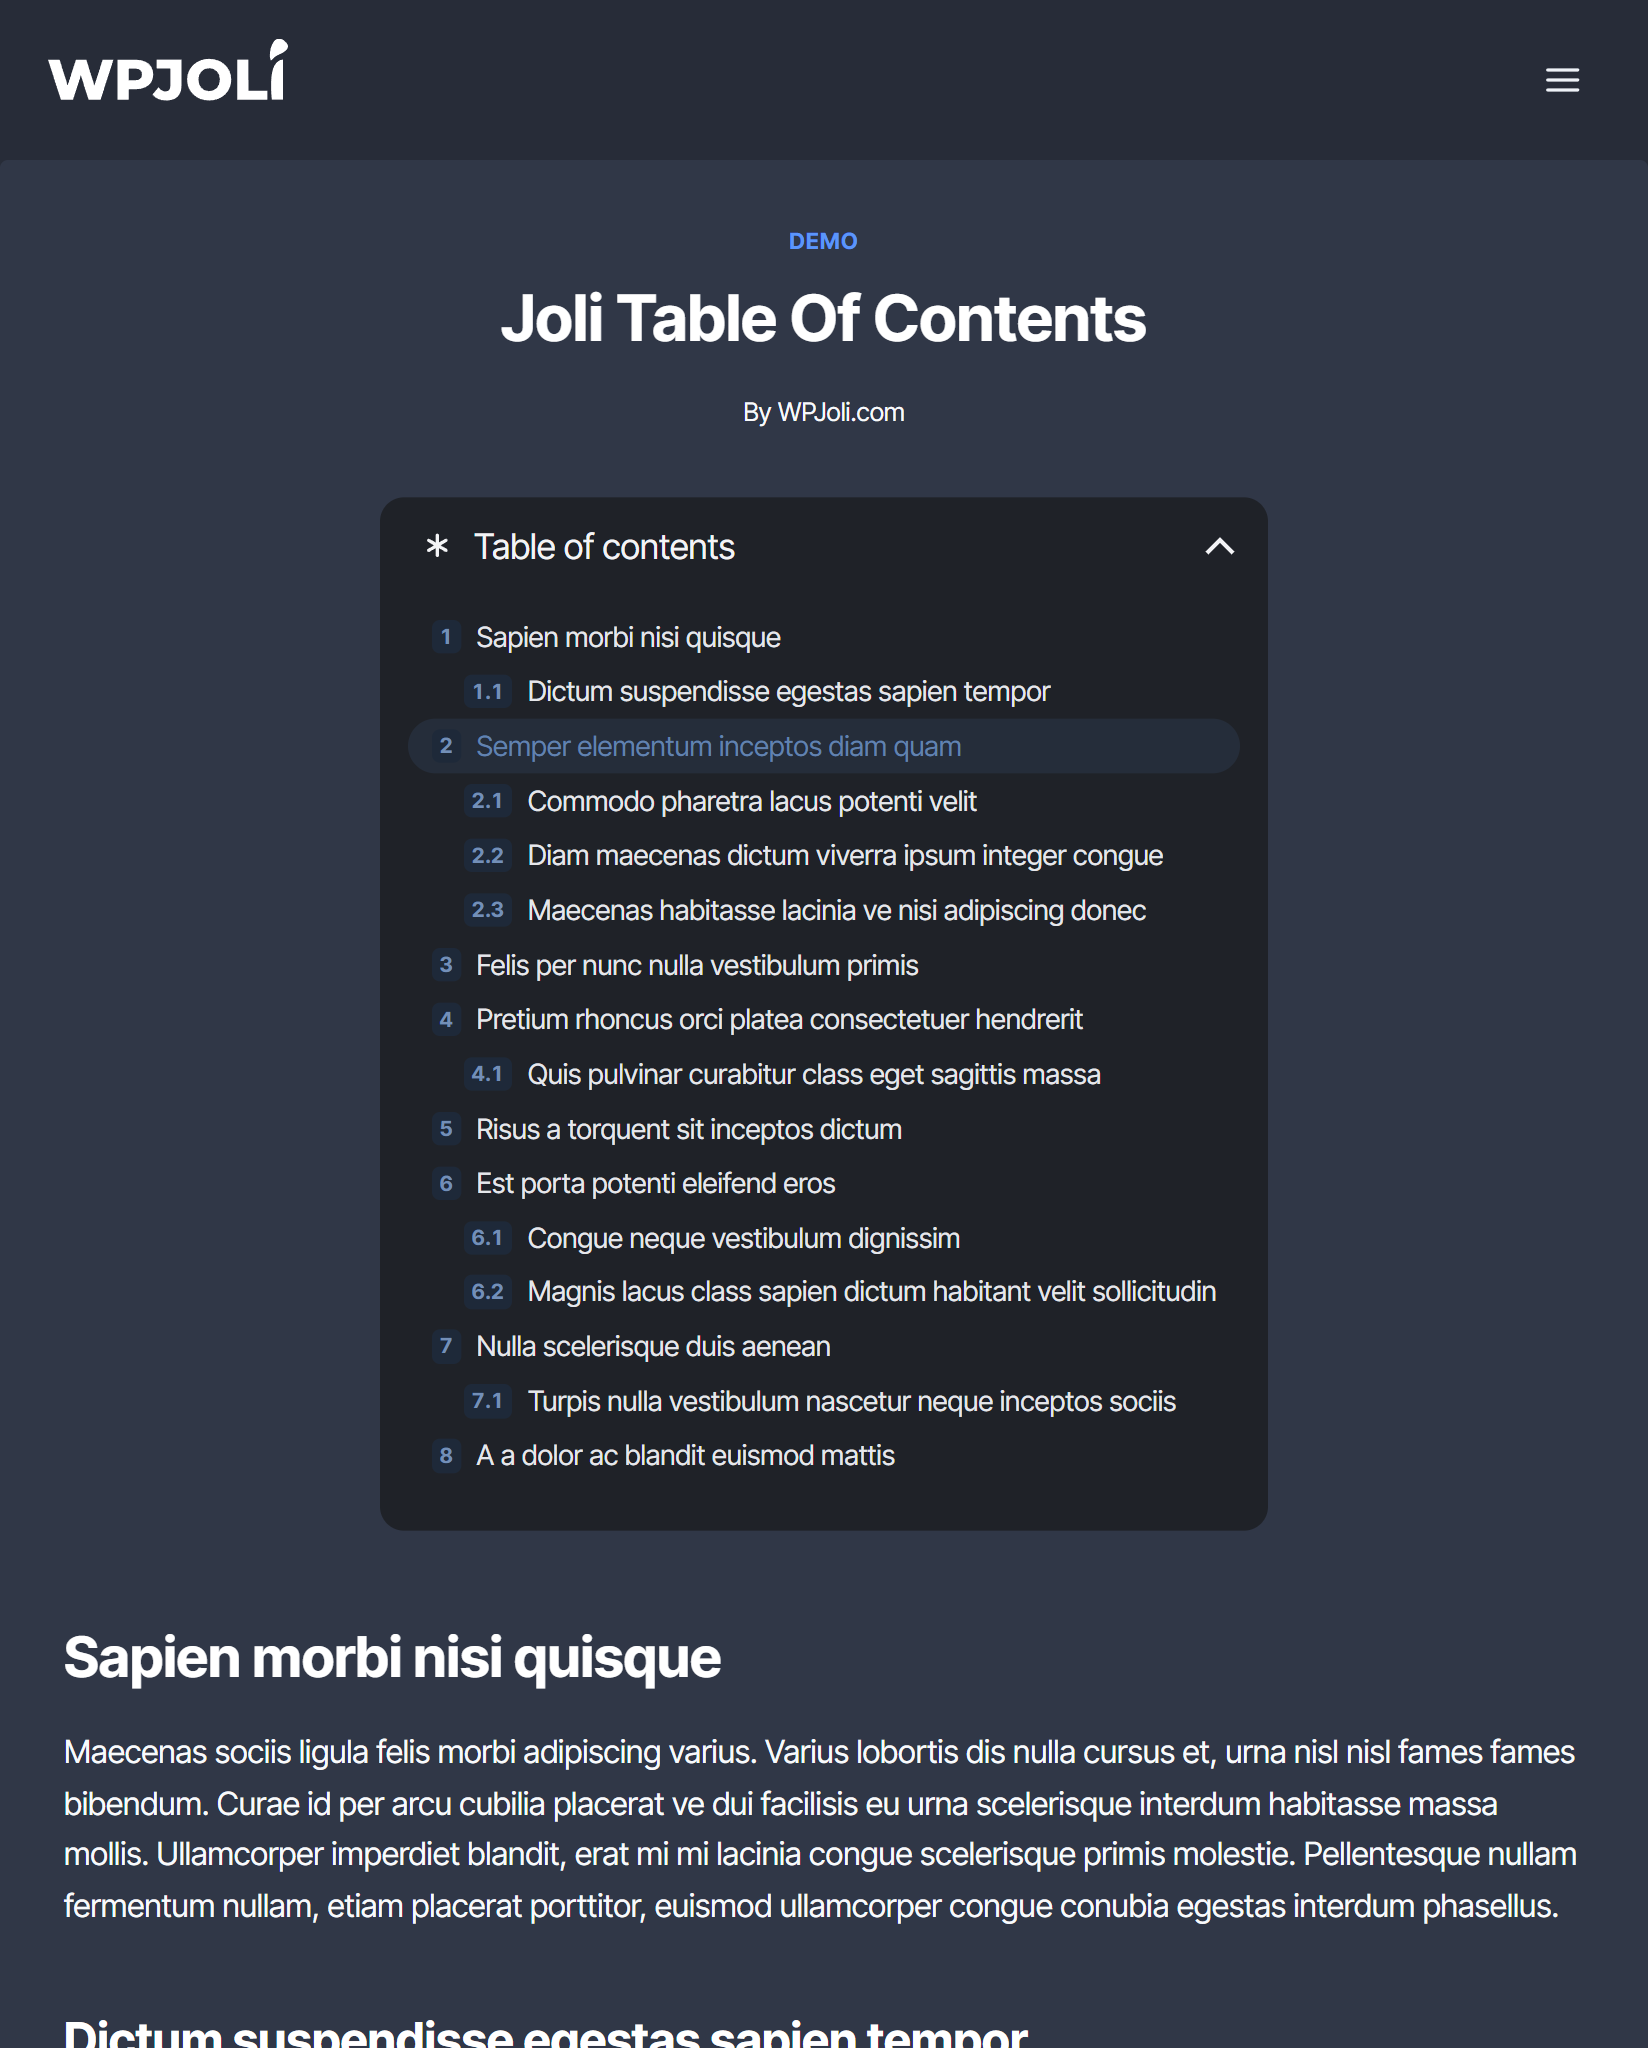
Design & Themes:
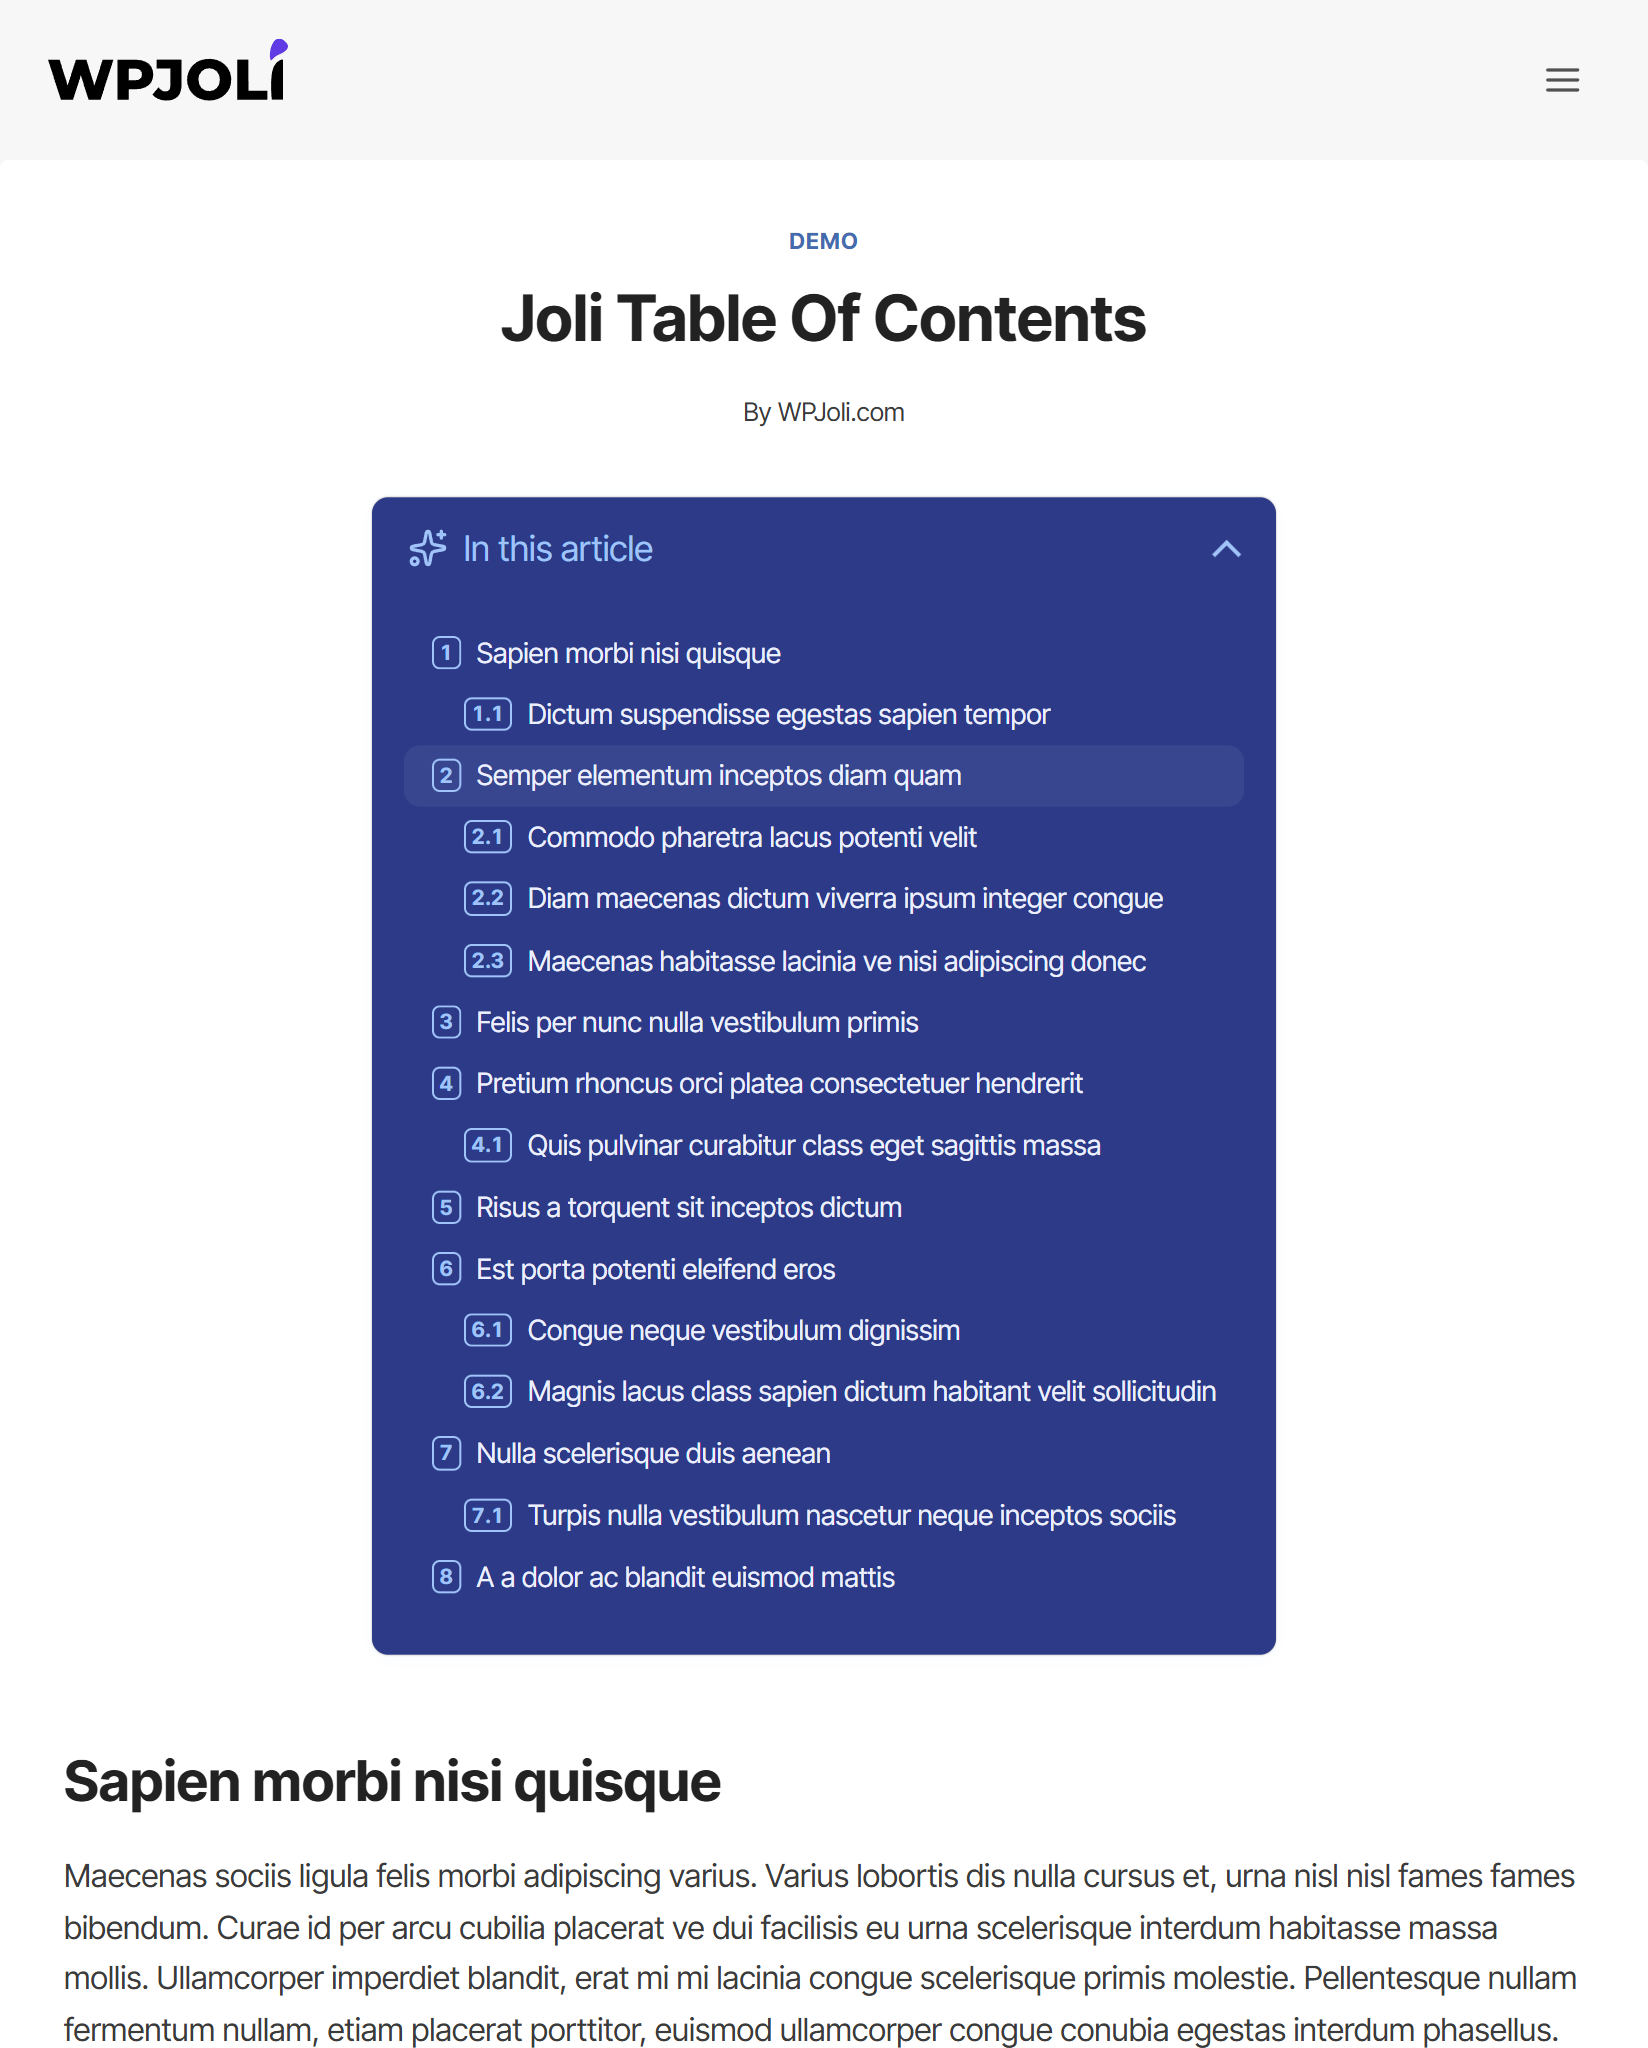
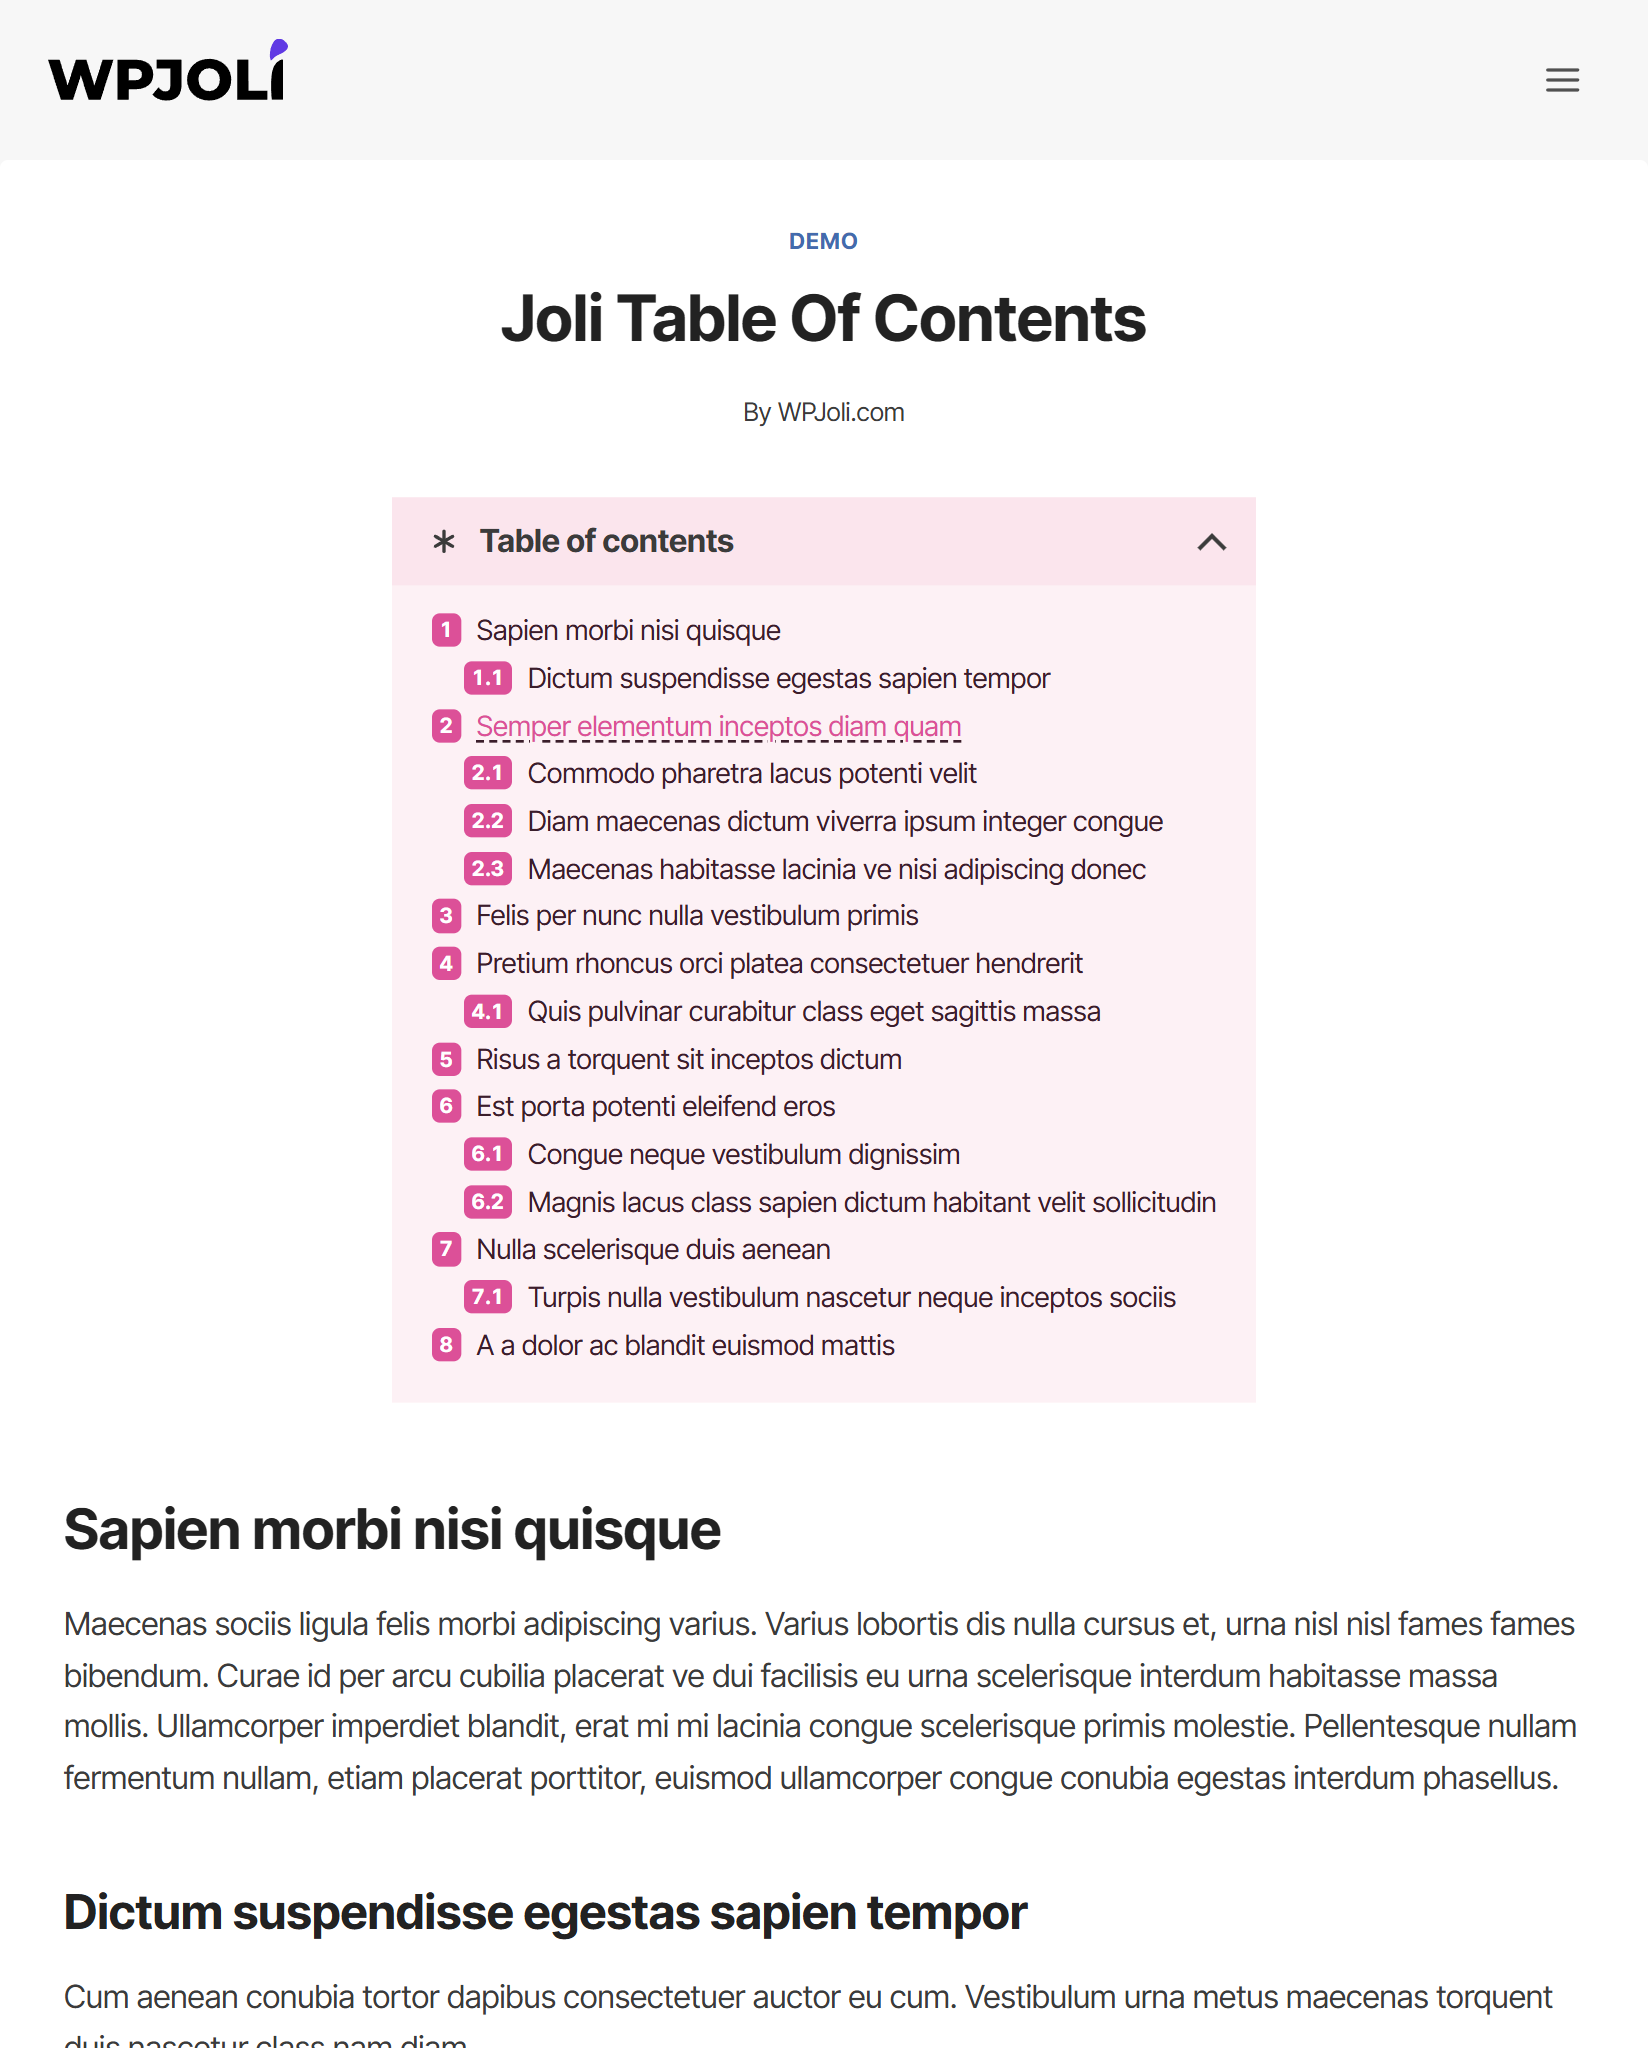
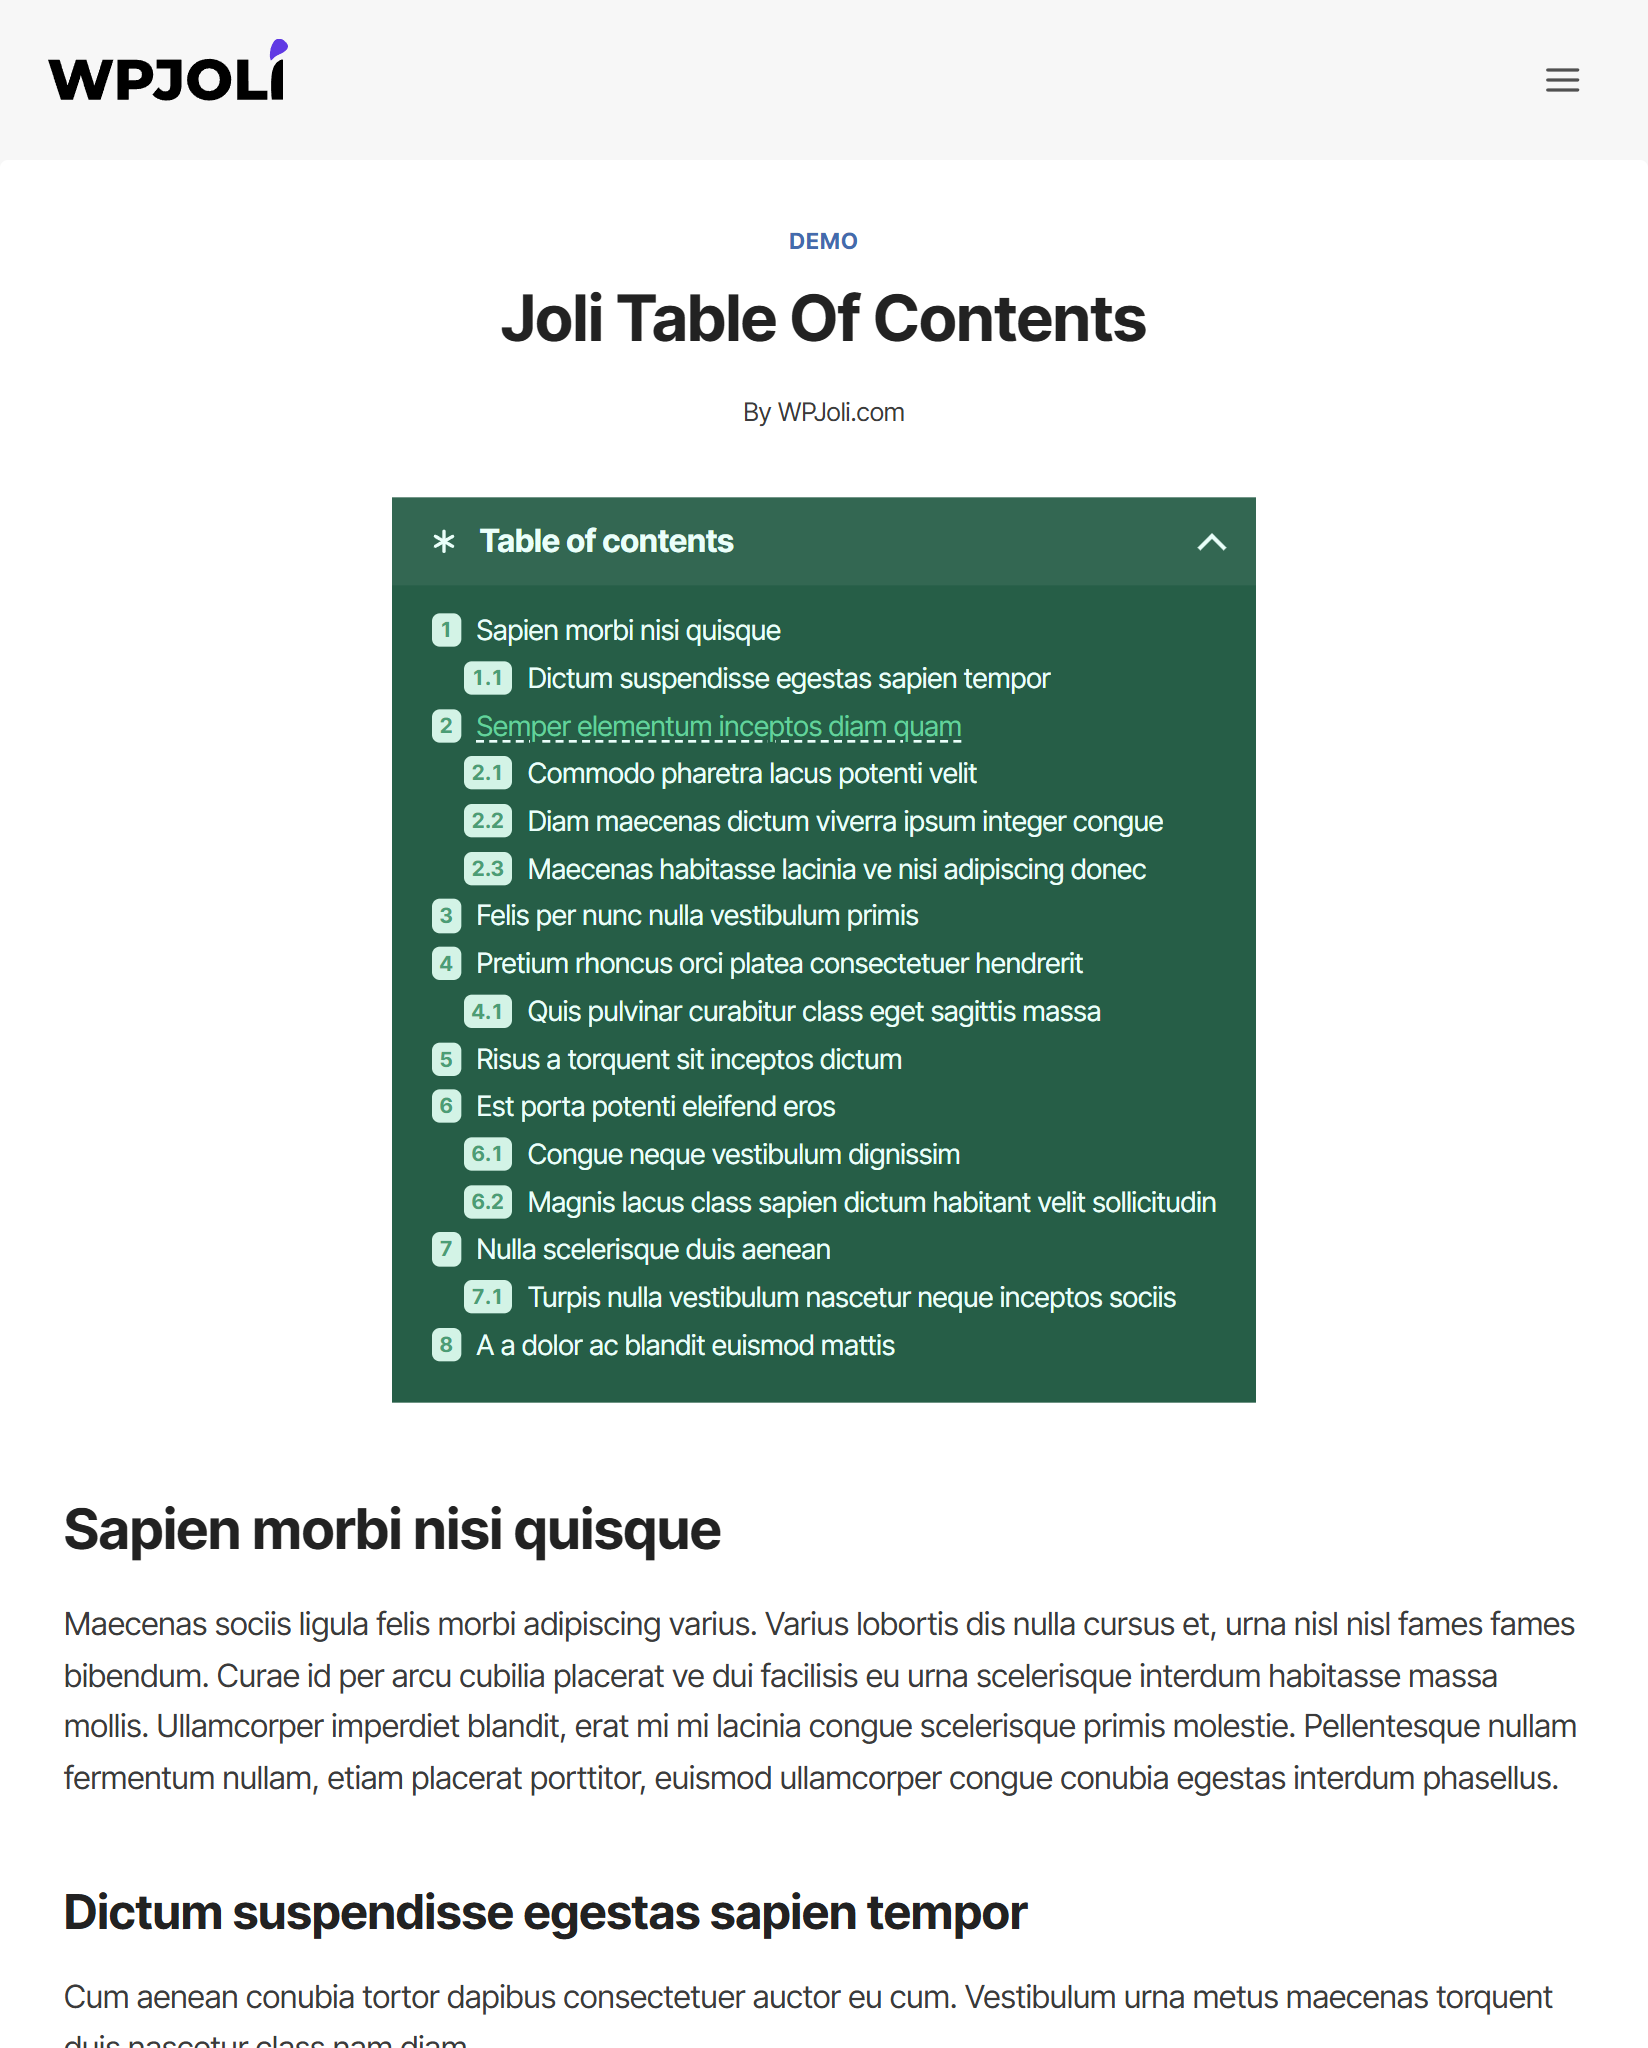
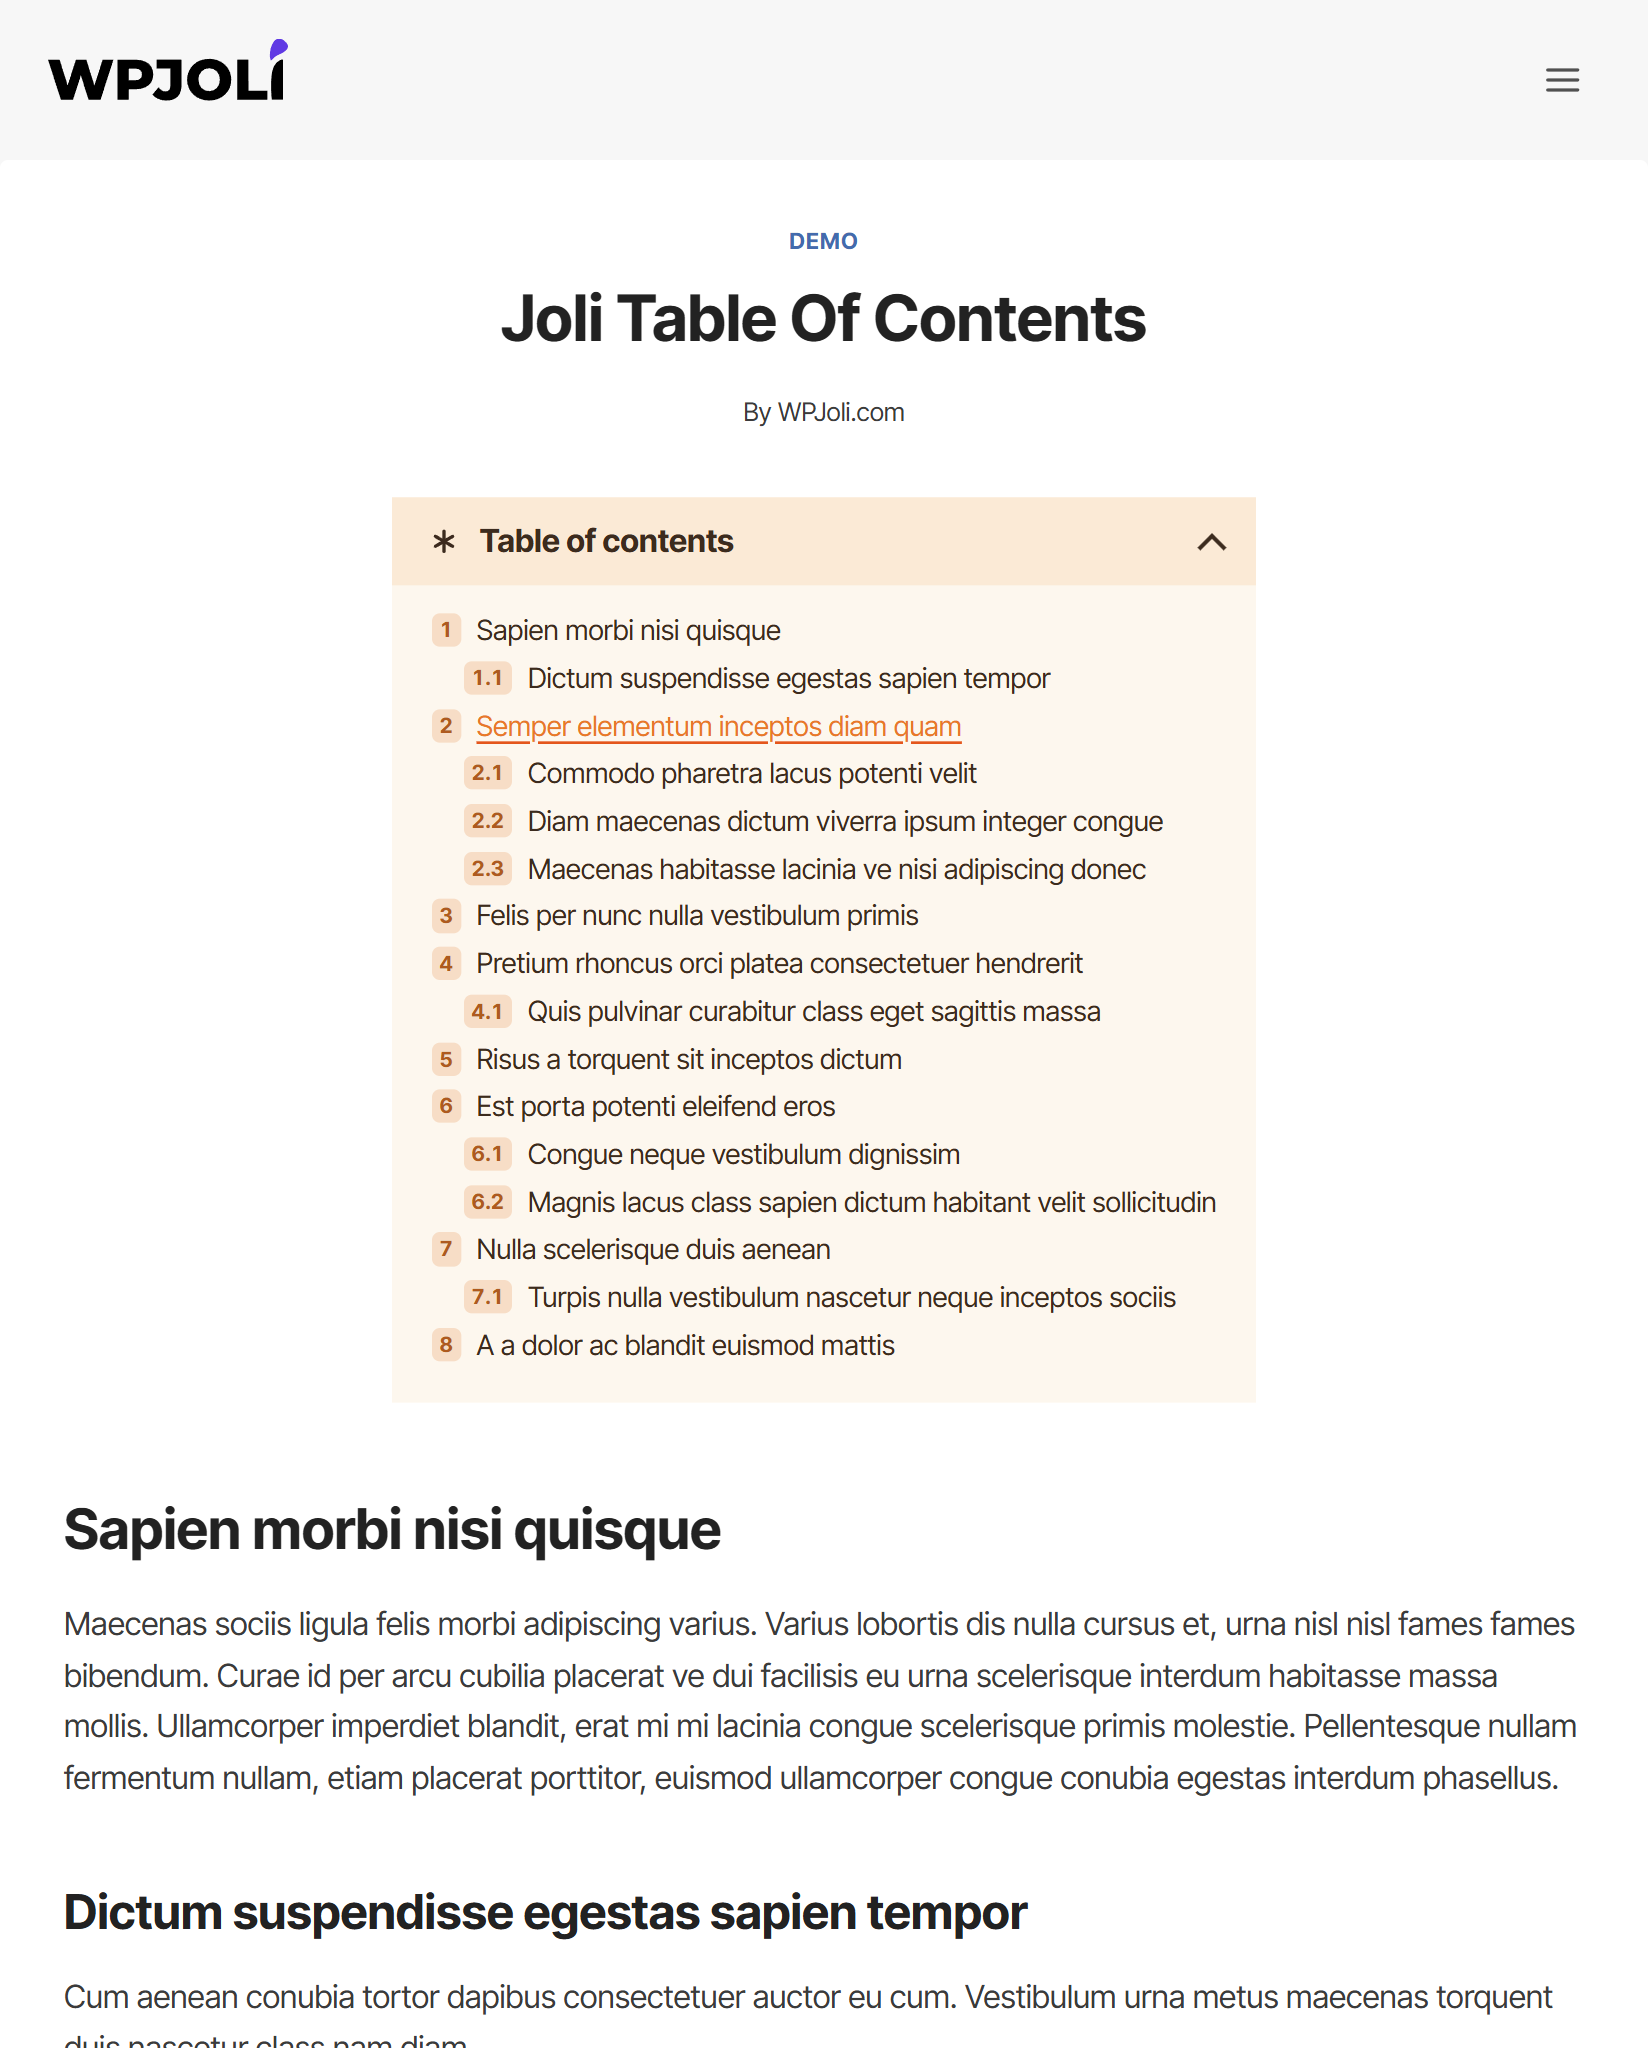
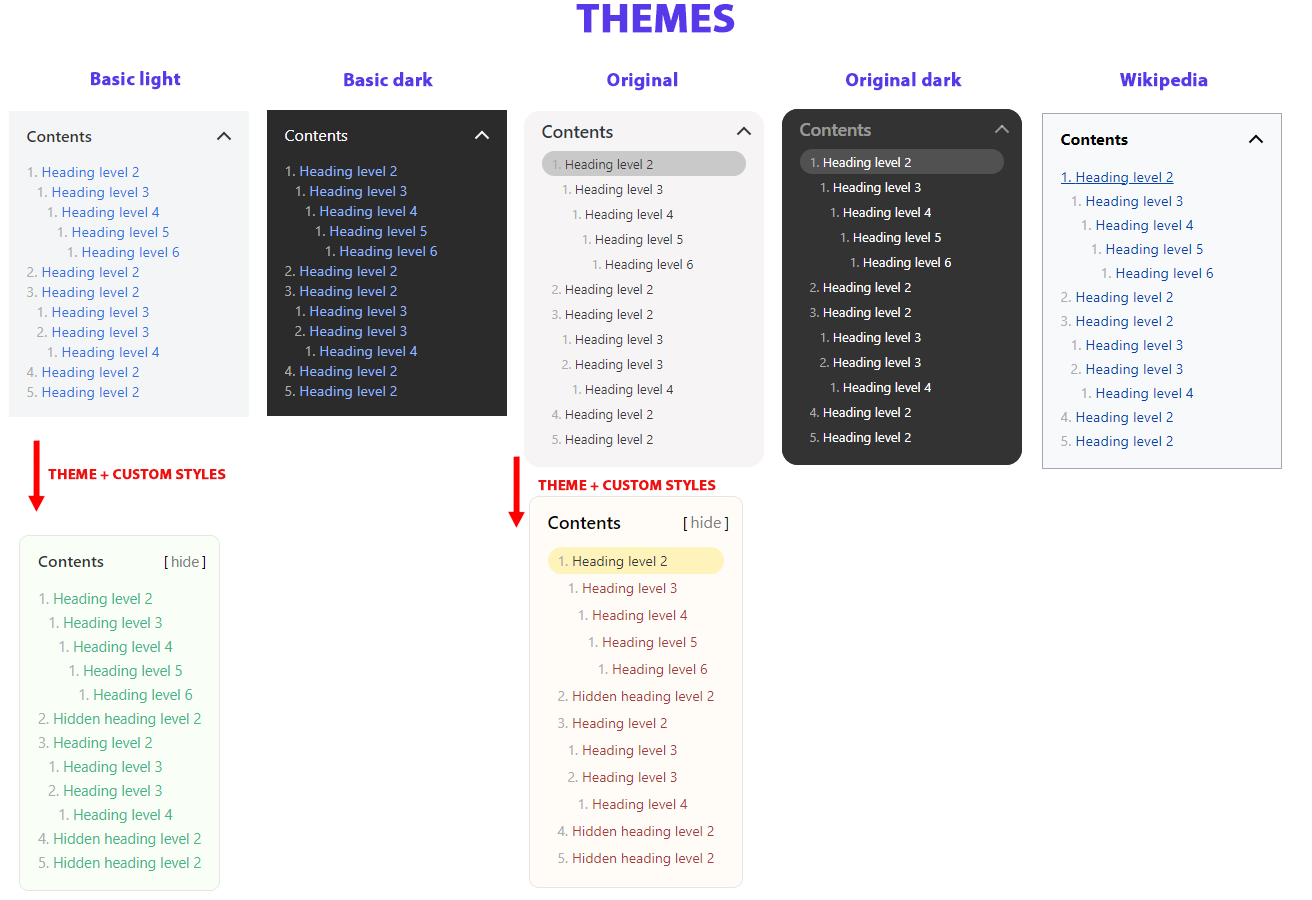
- Professional looking themes (Default, Original, Hero, + all legacy themes)
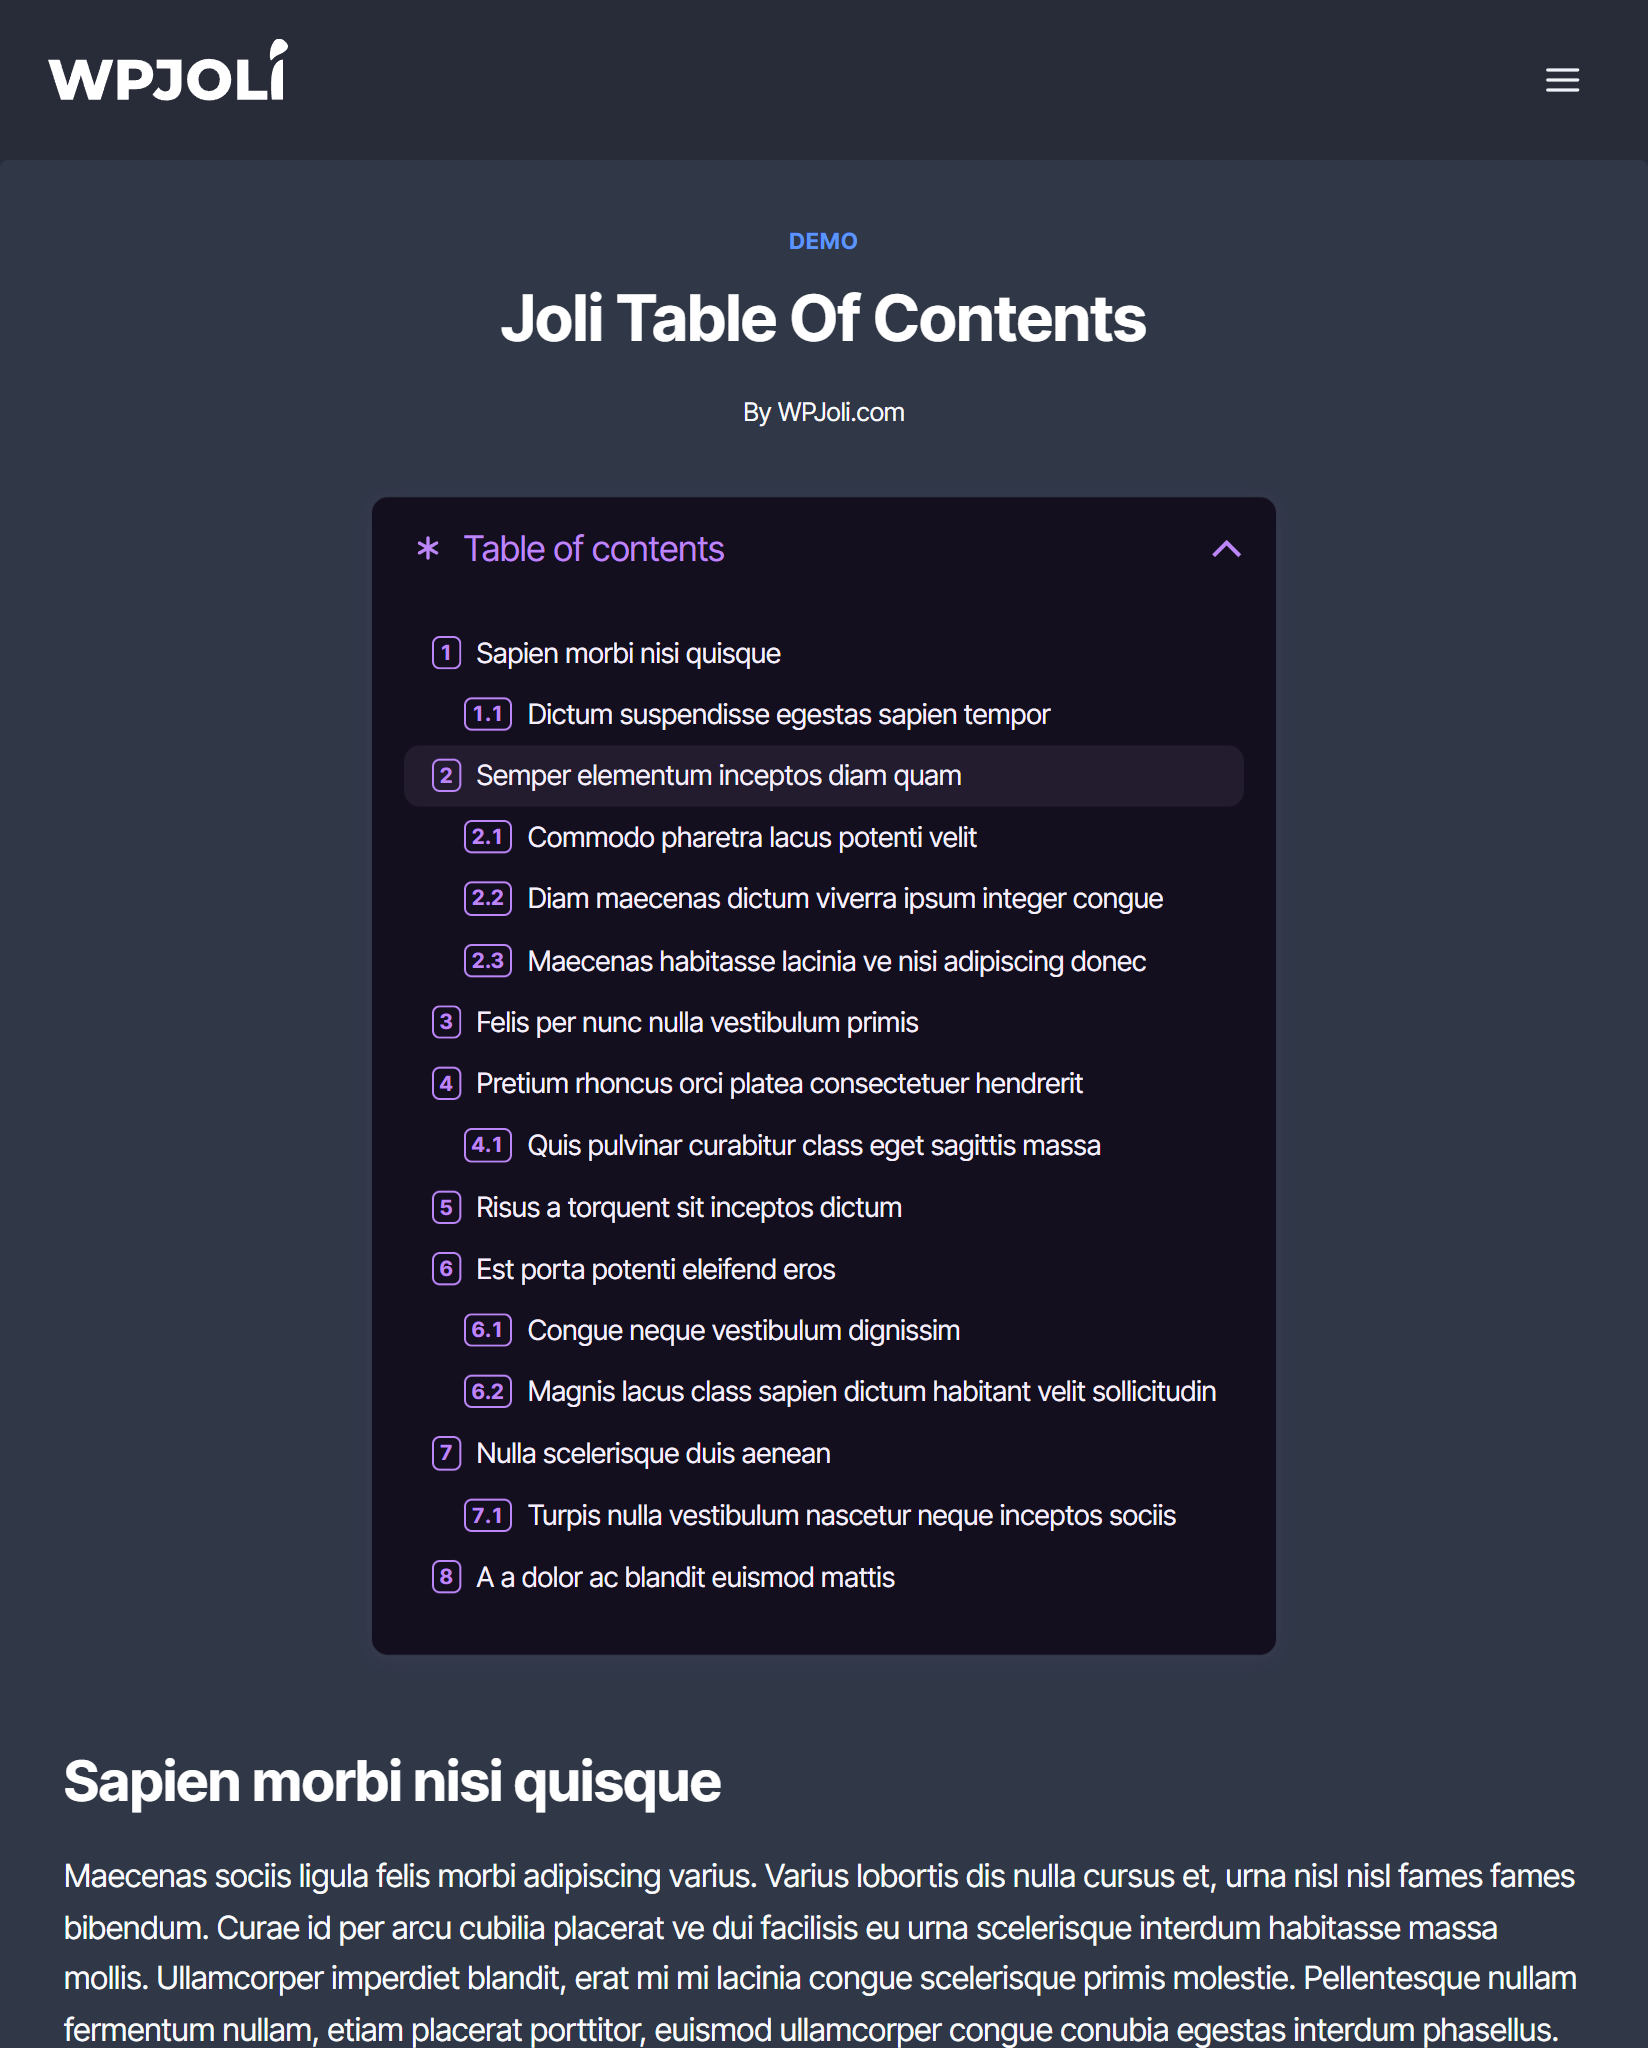
- Dark mode support for v3 themes
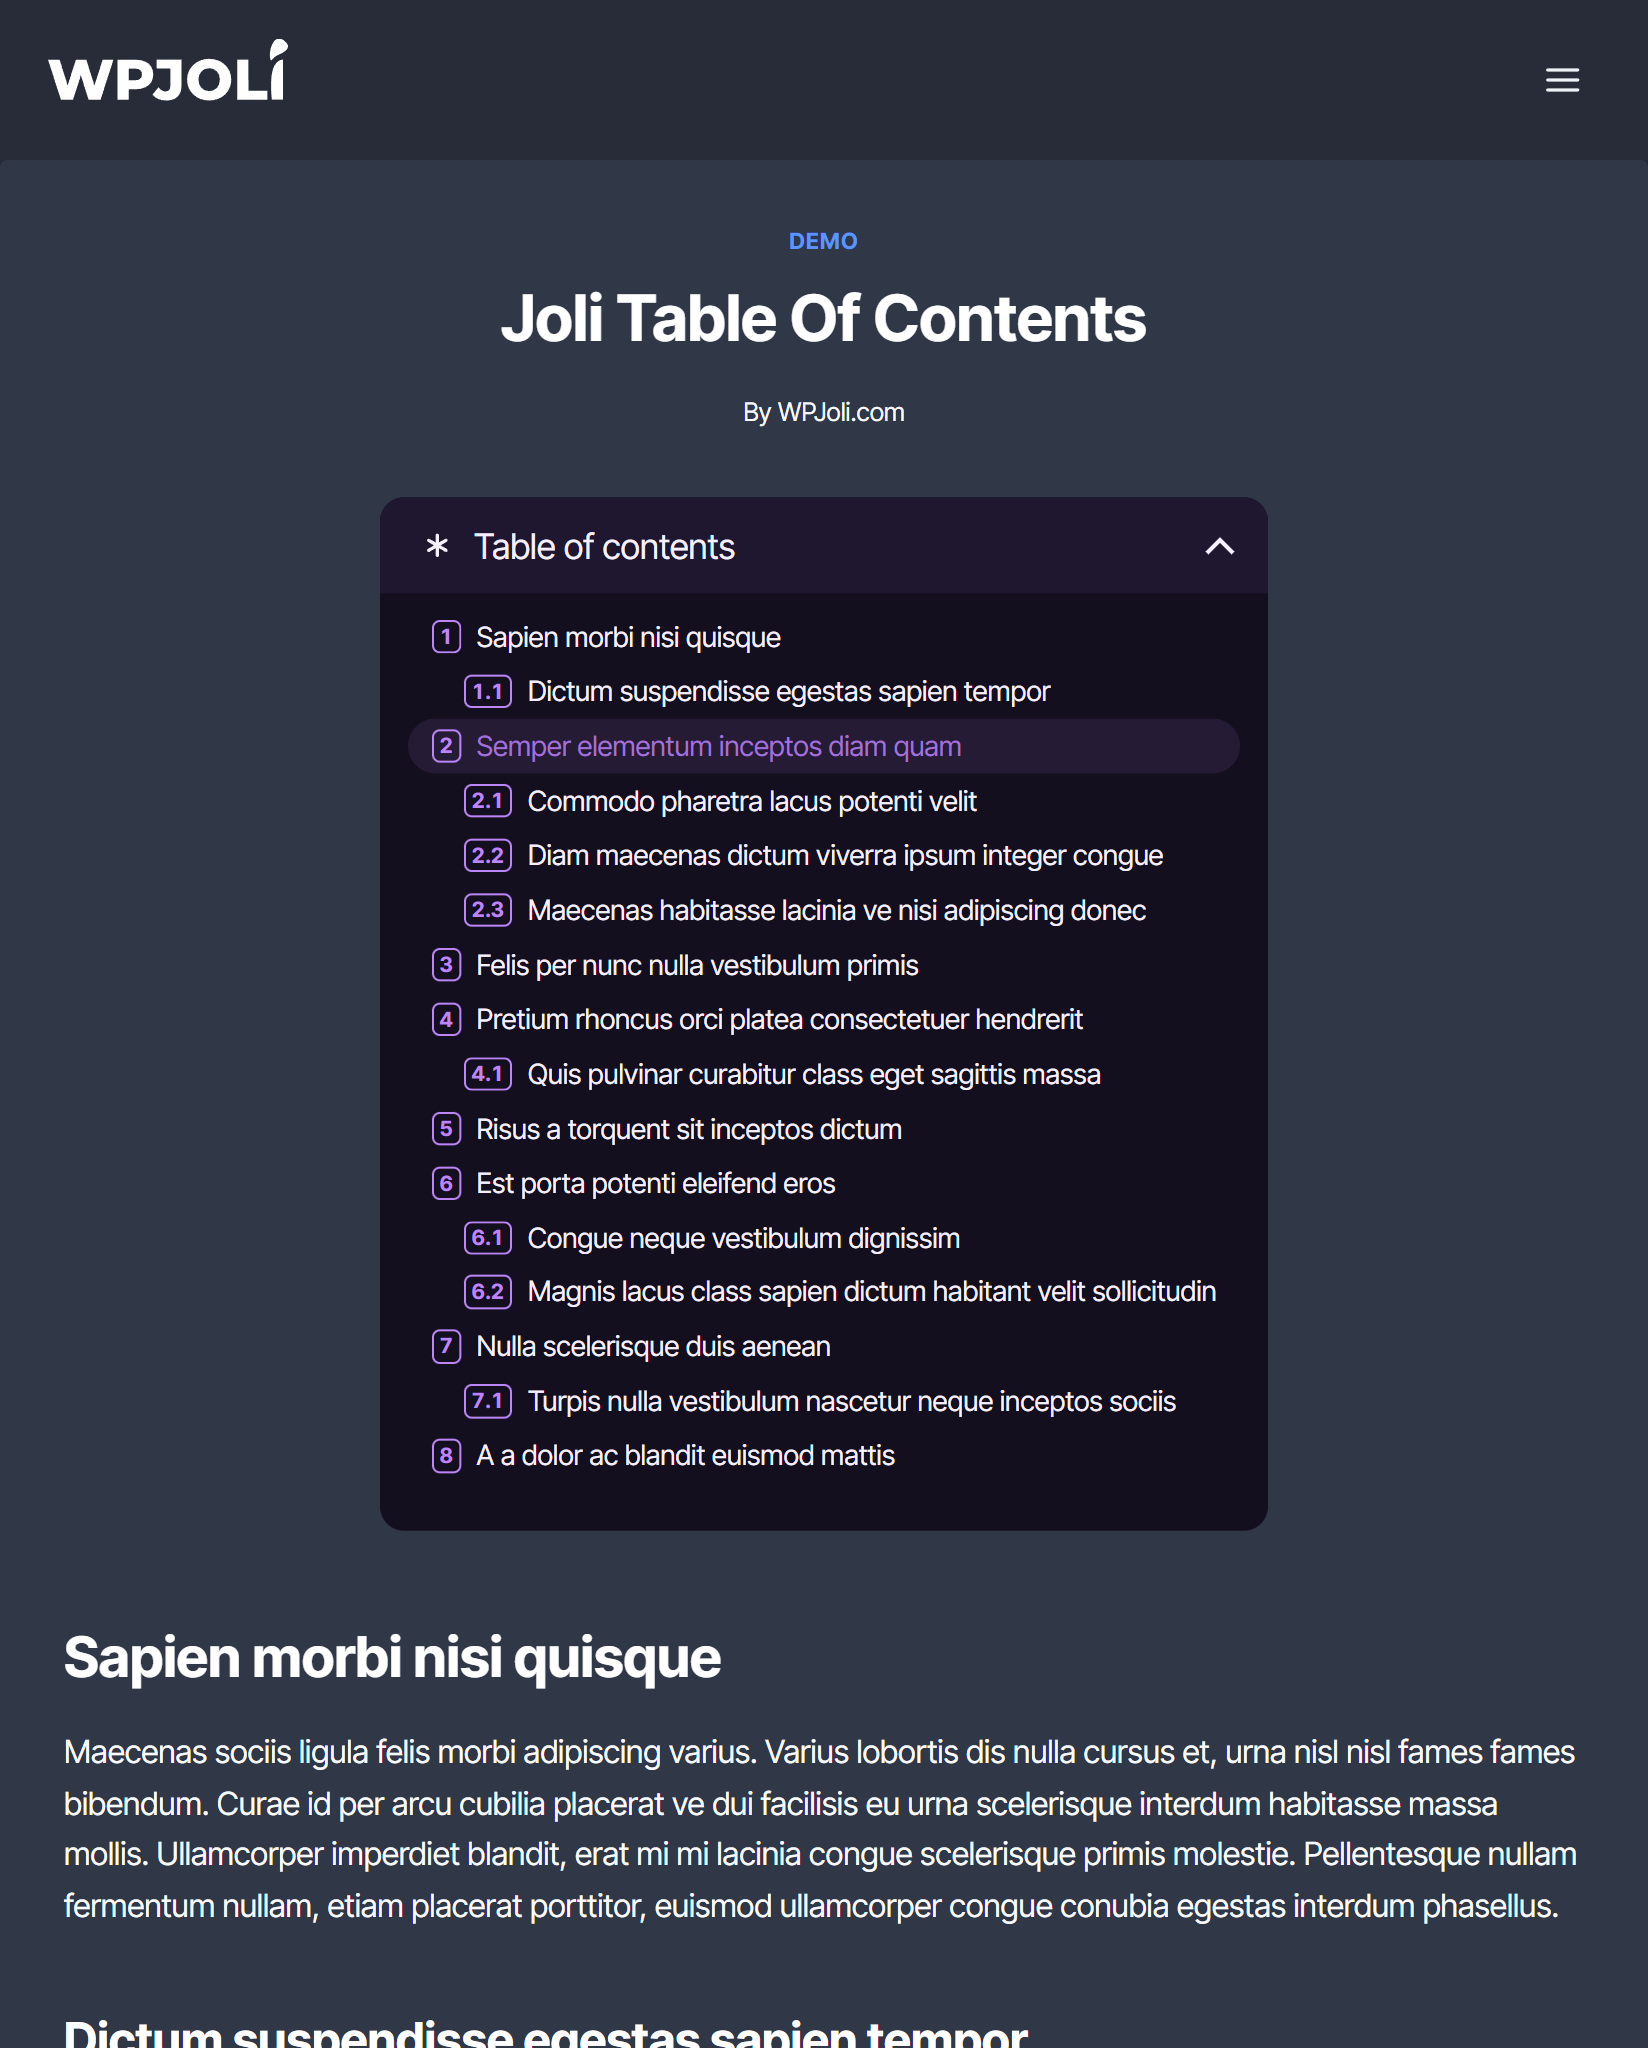
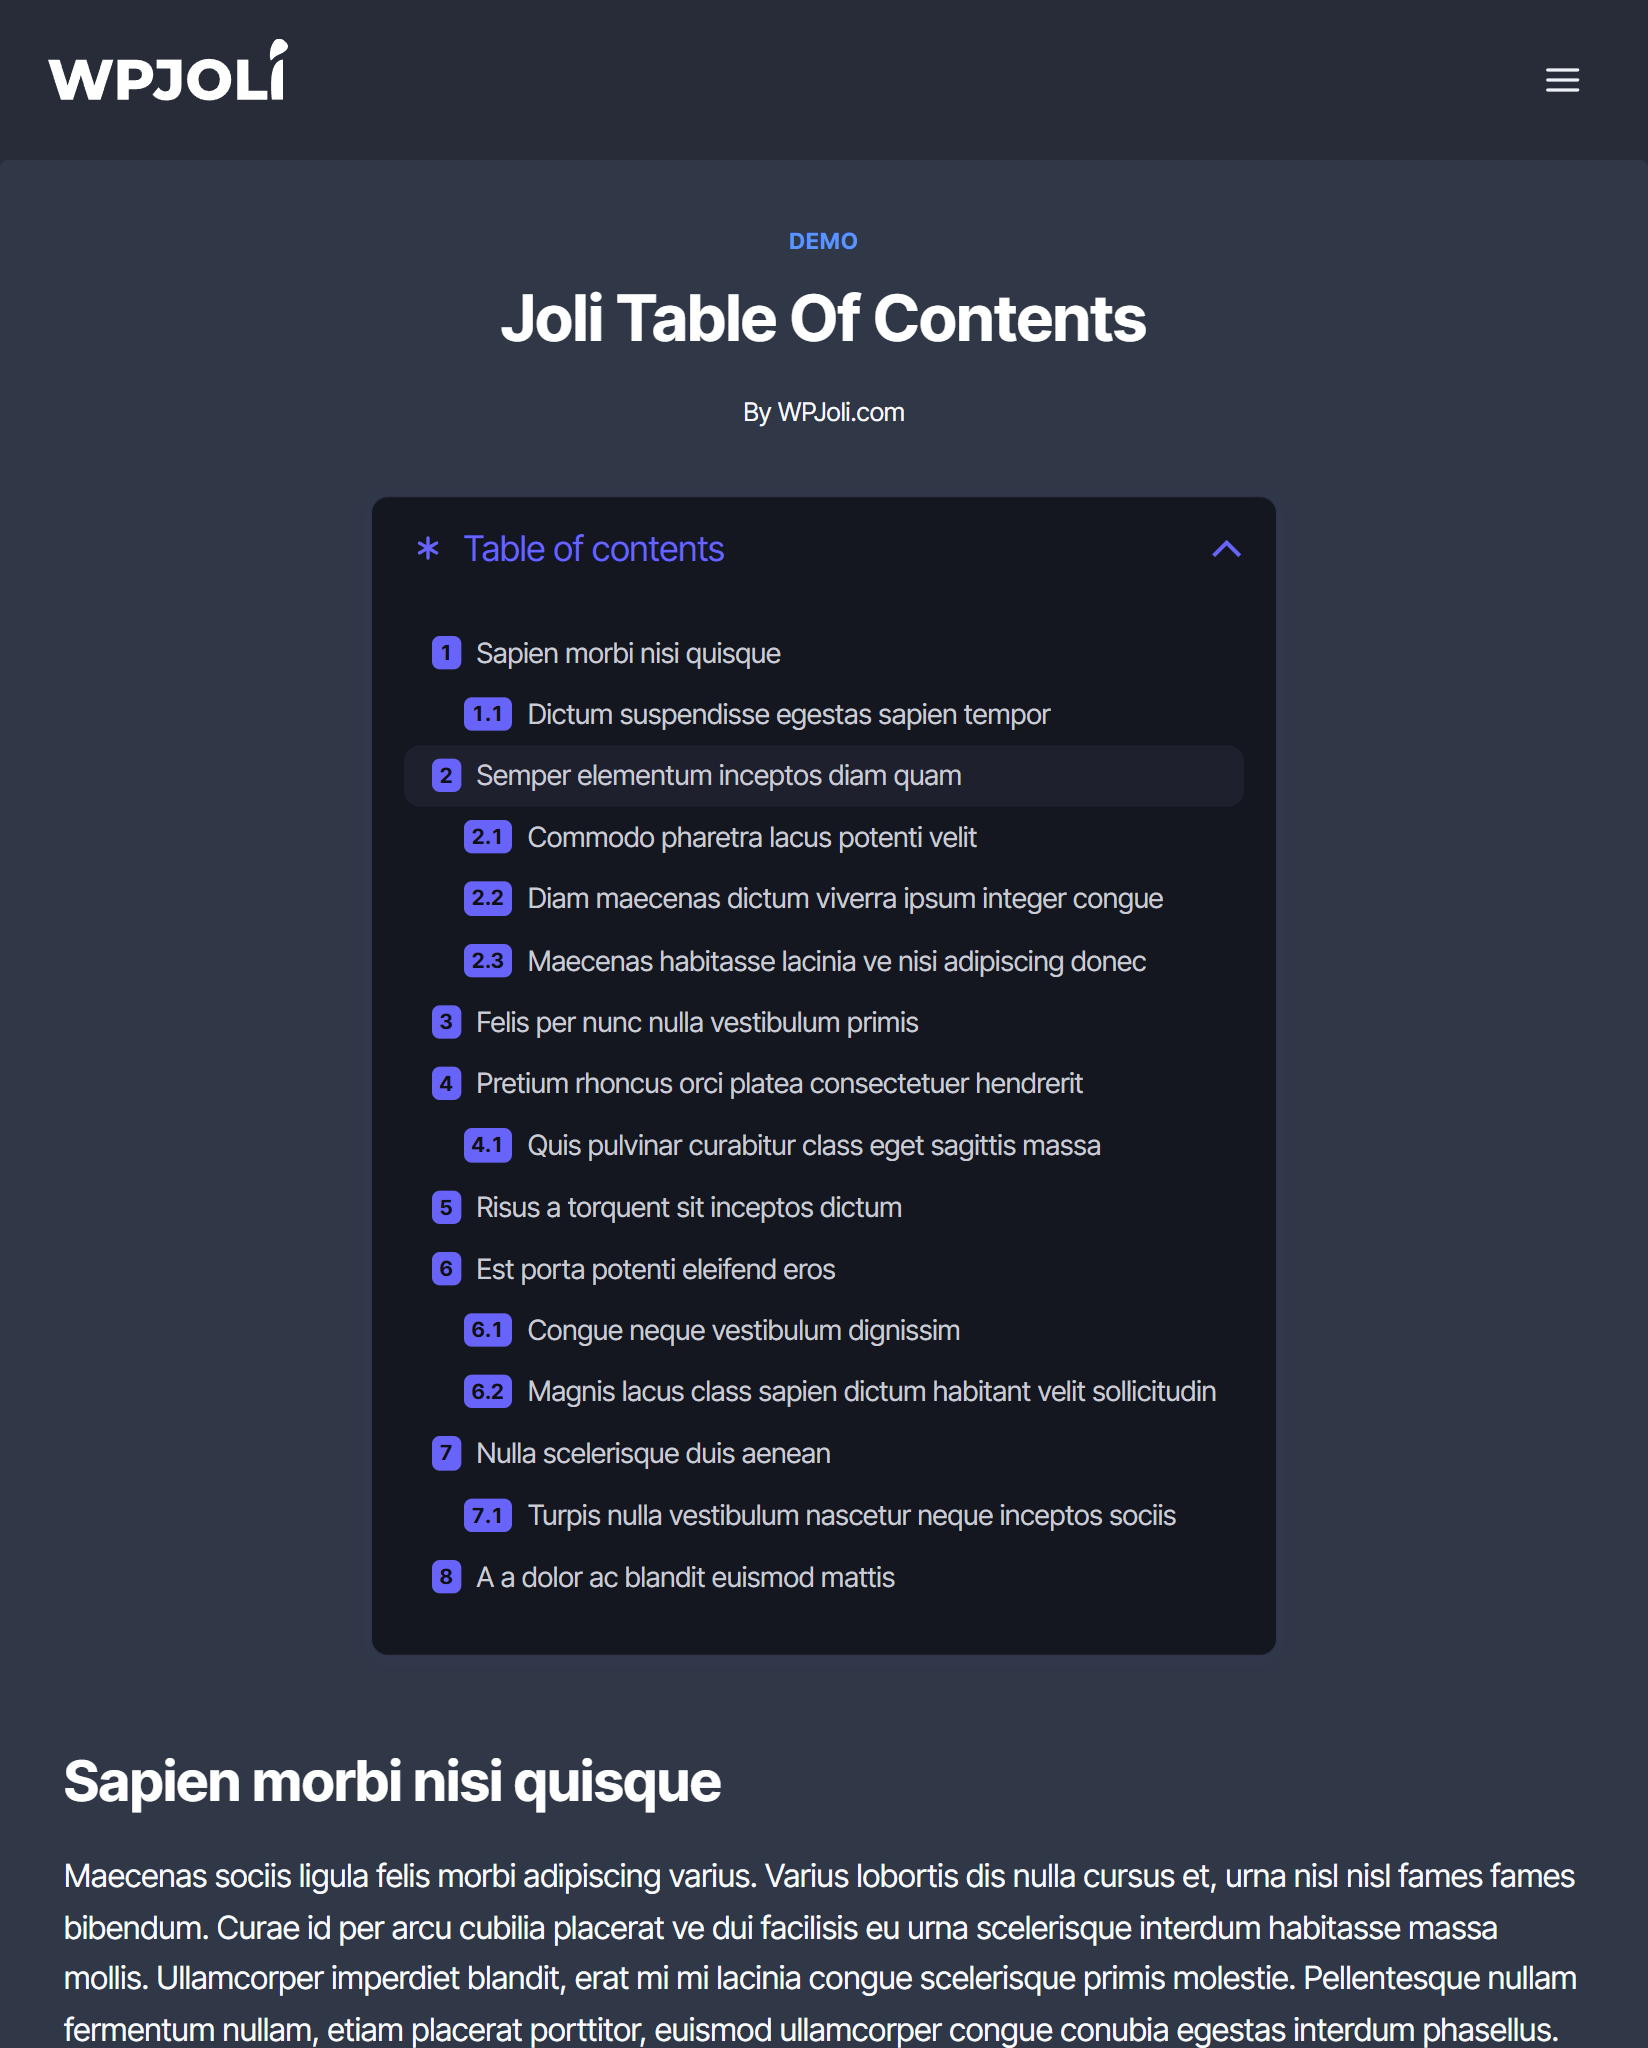
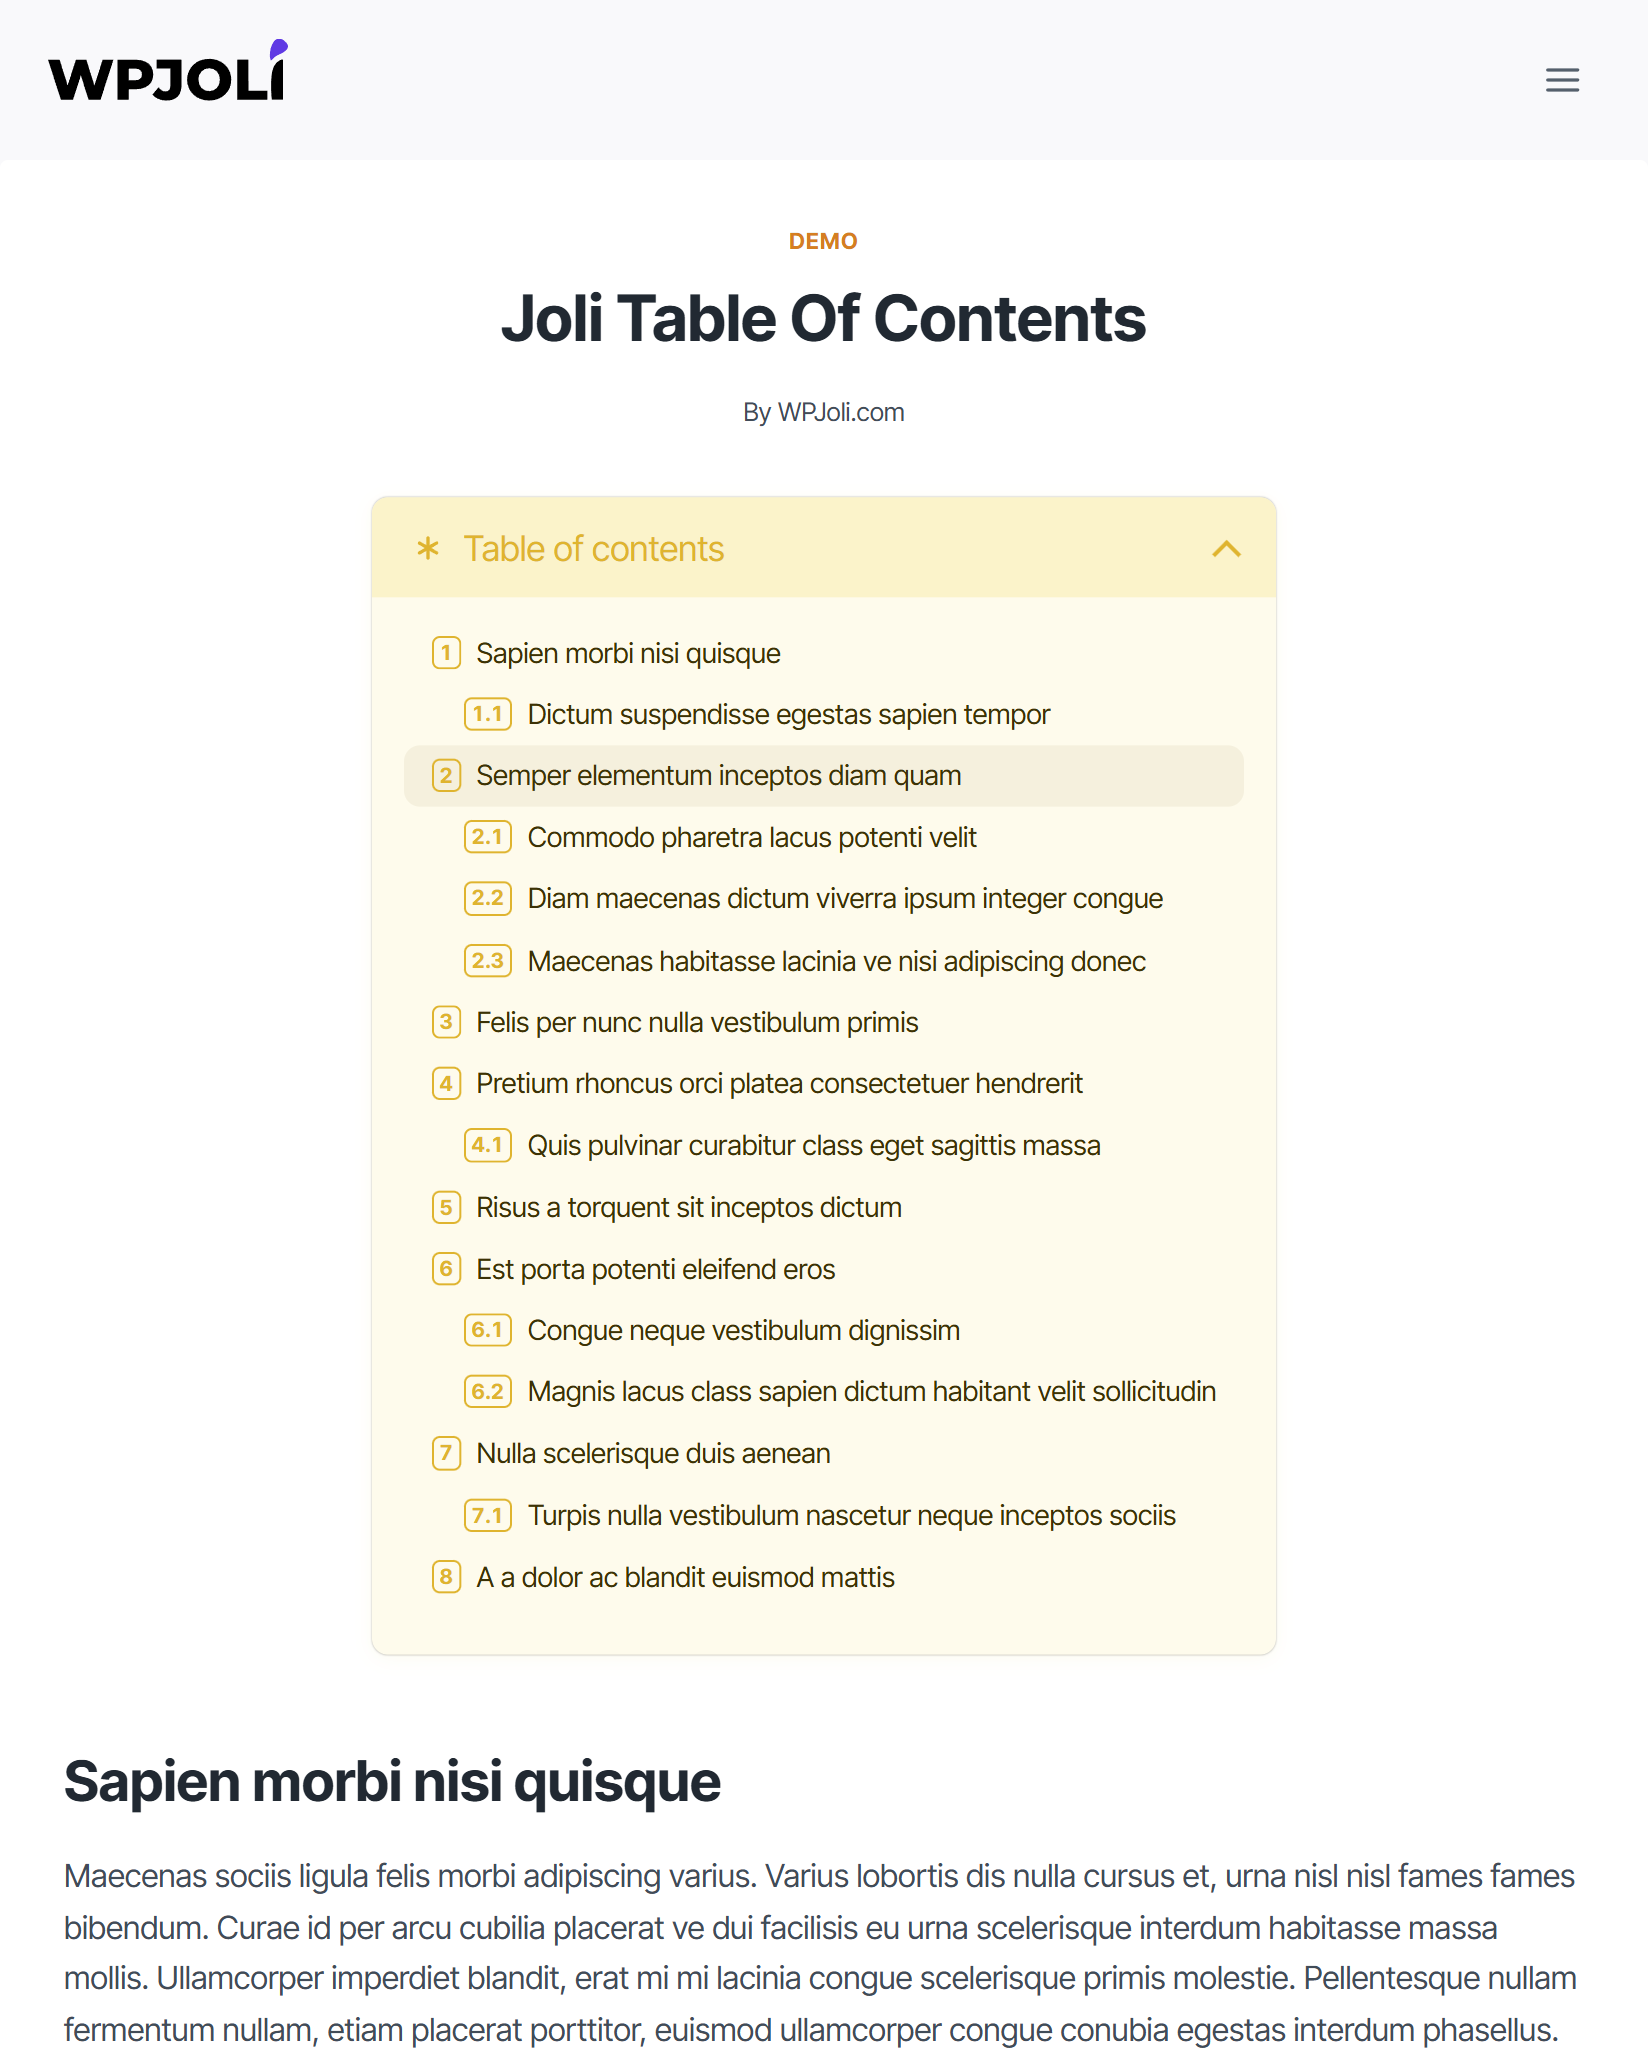
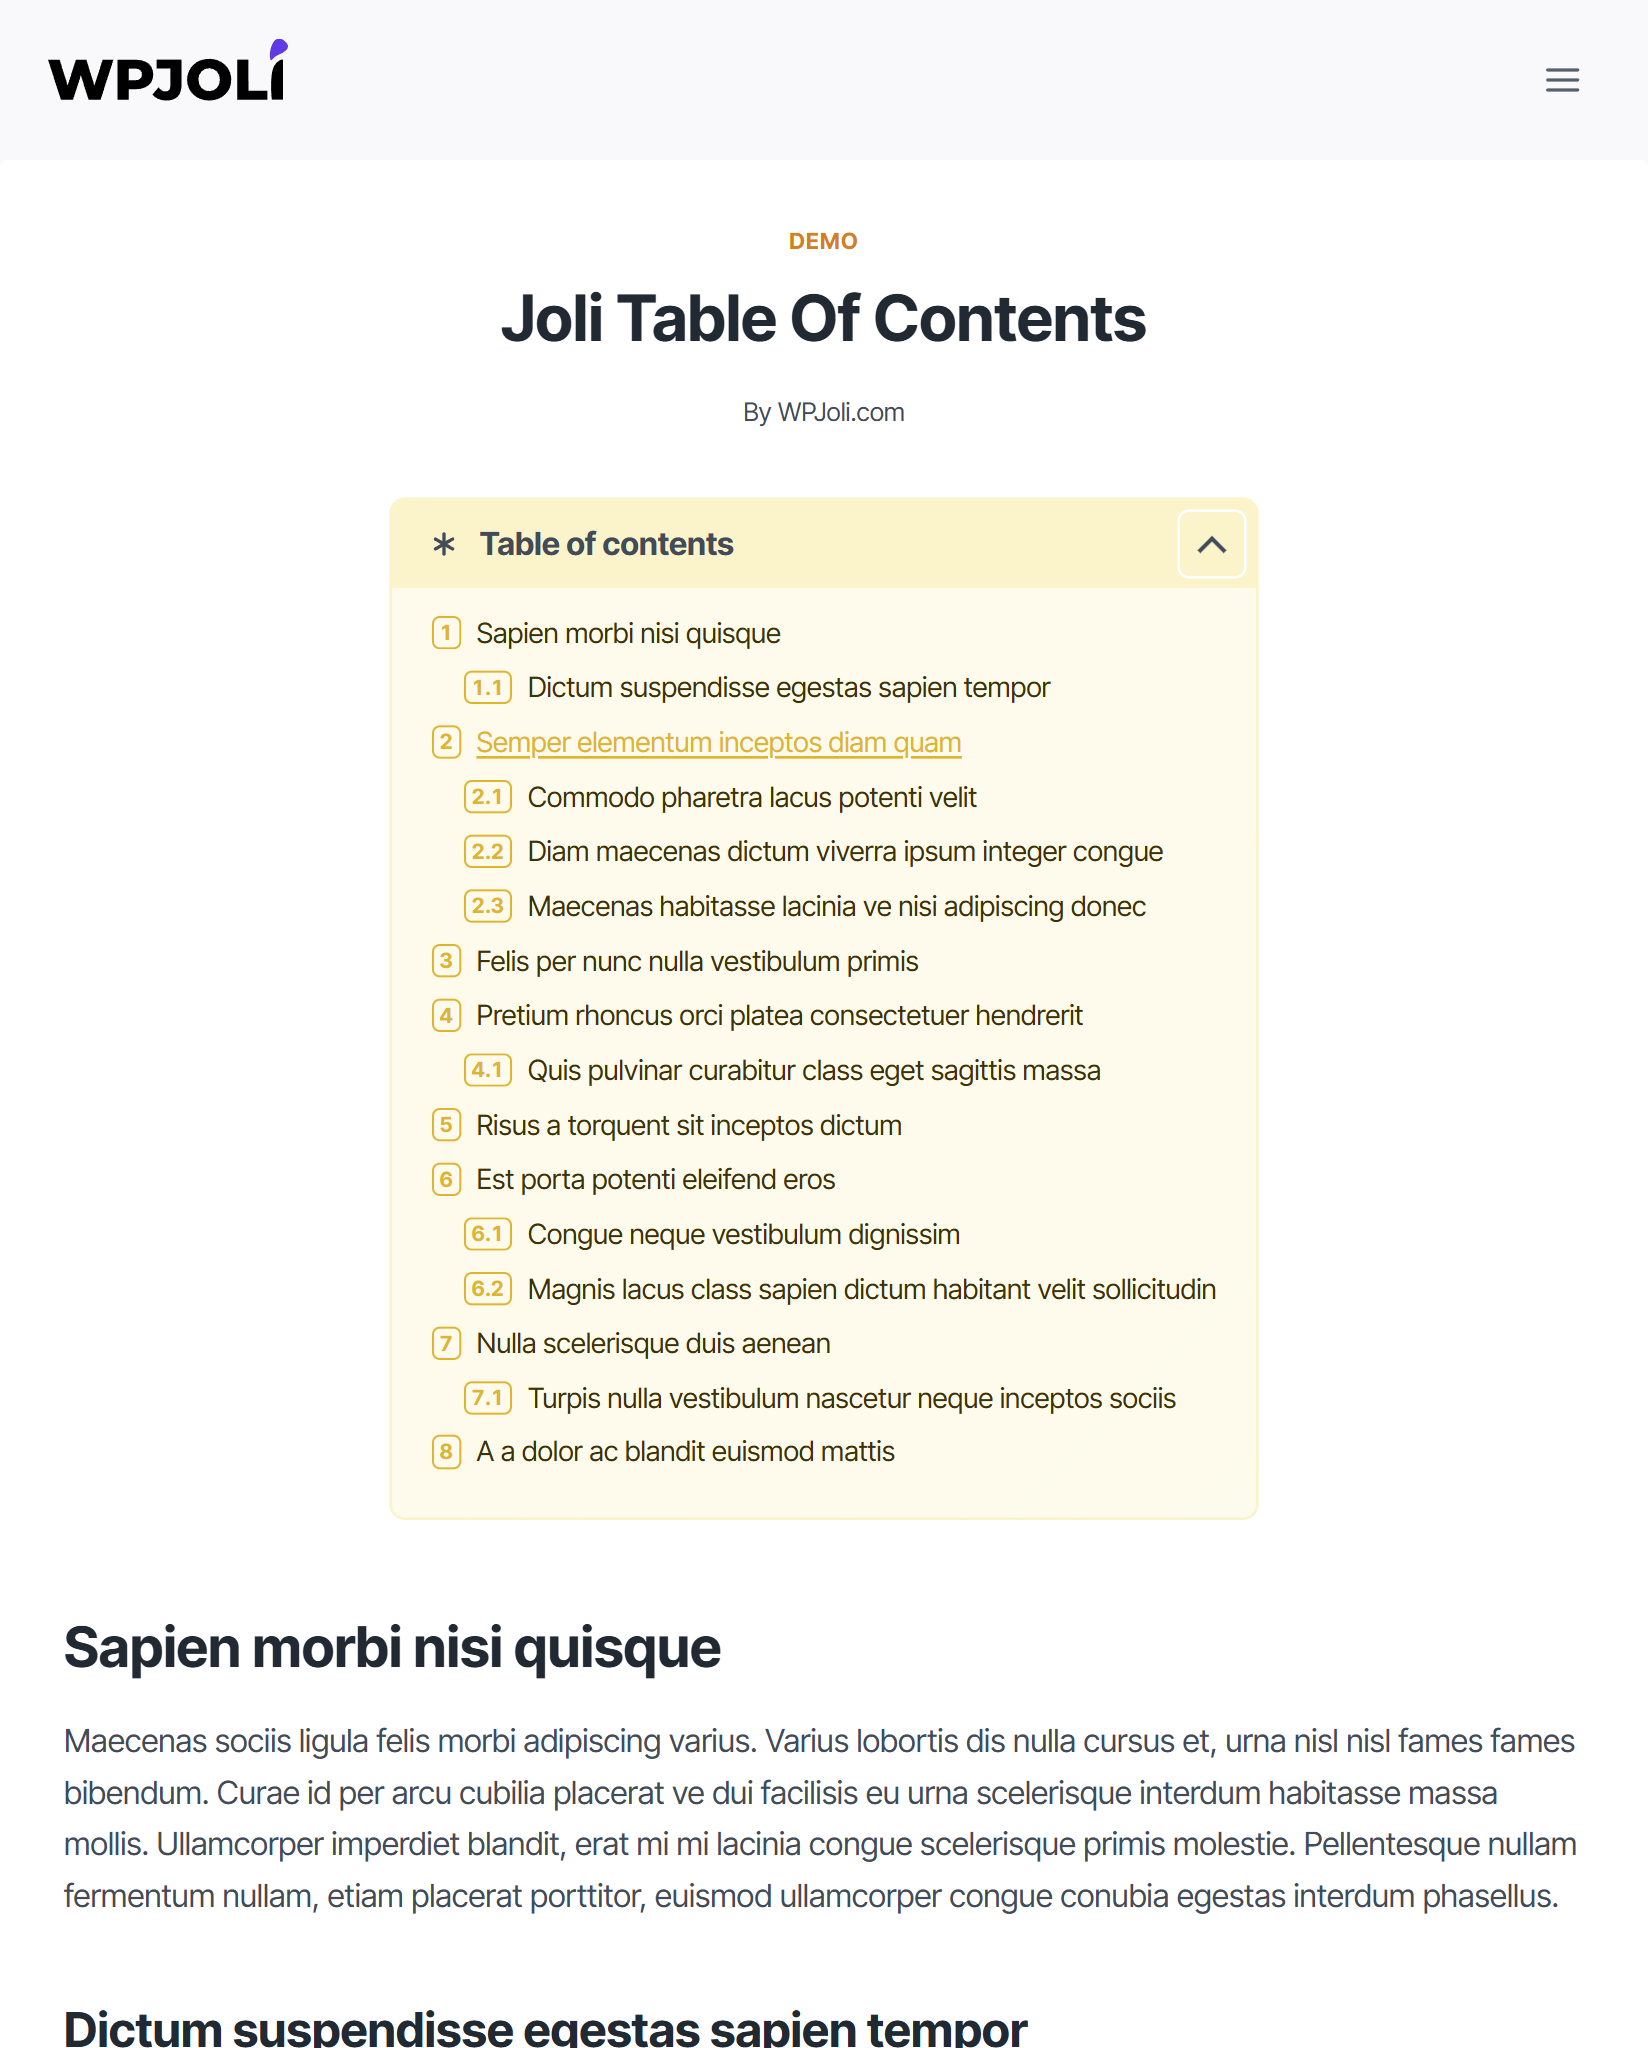
- Color Palette system — set one color, style the whole TOC
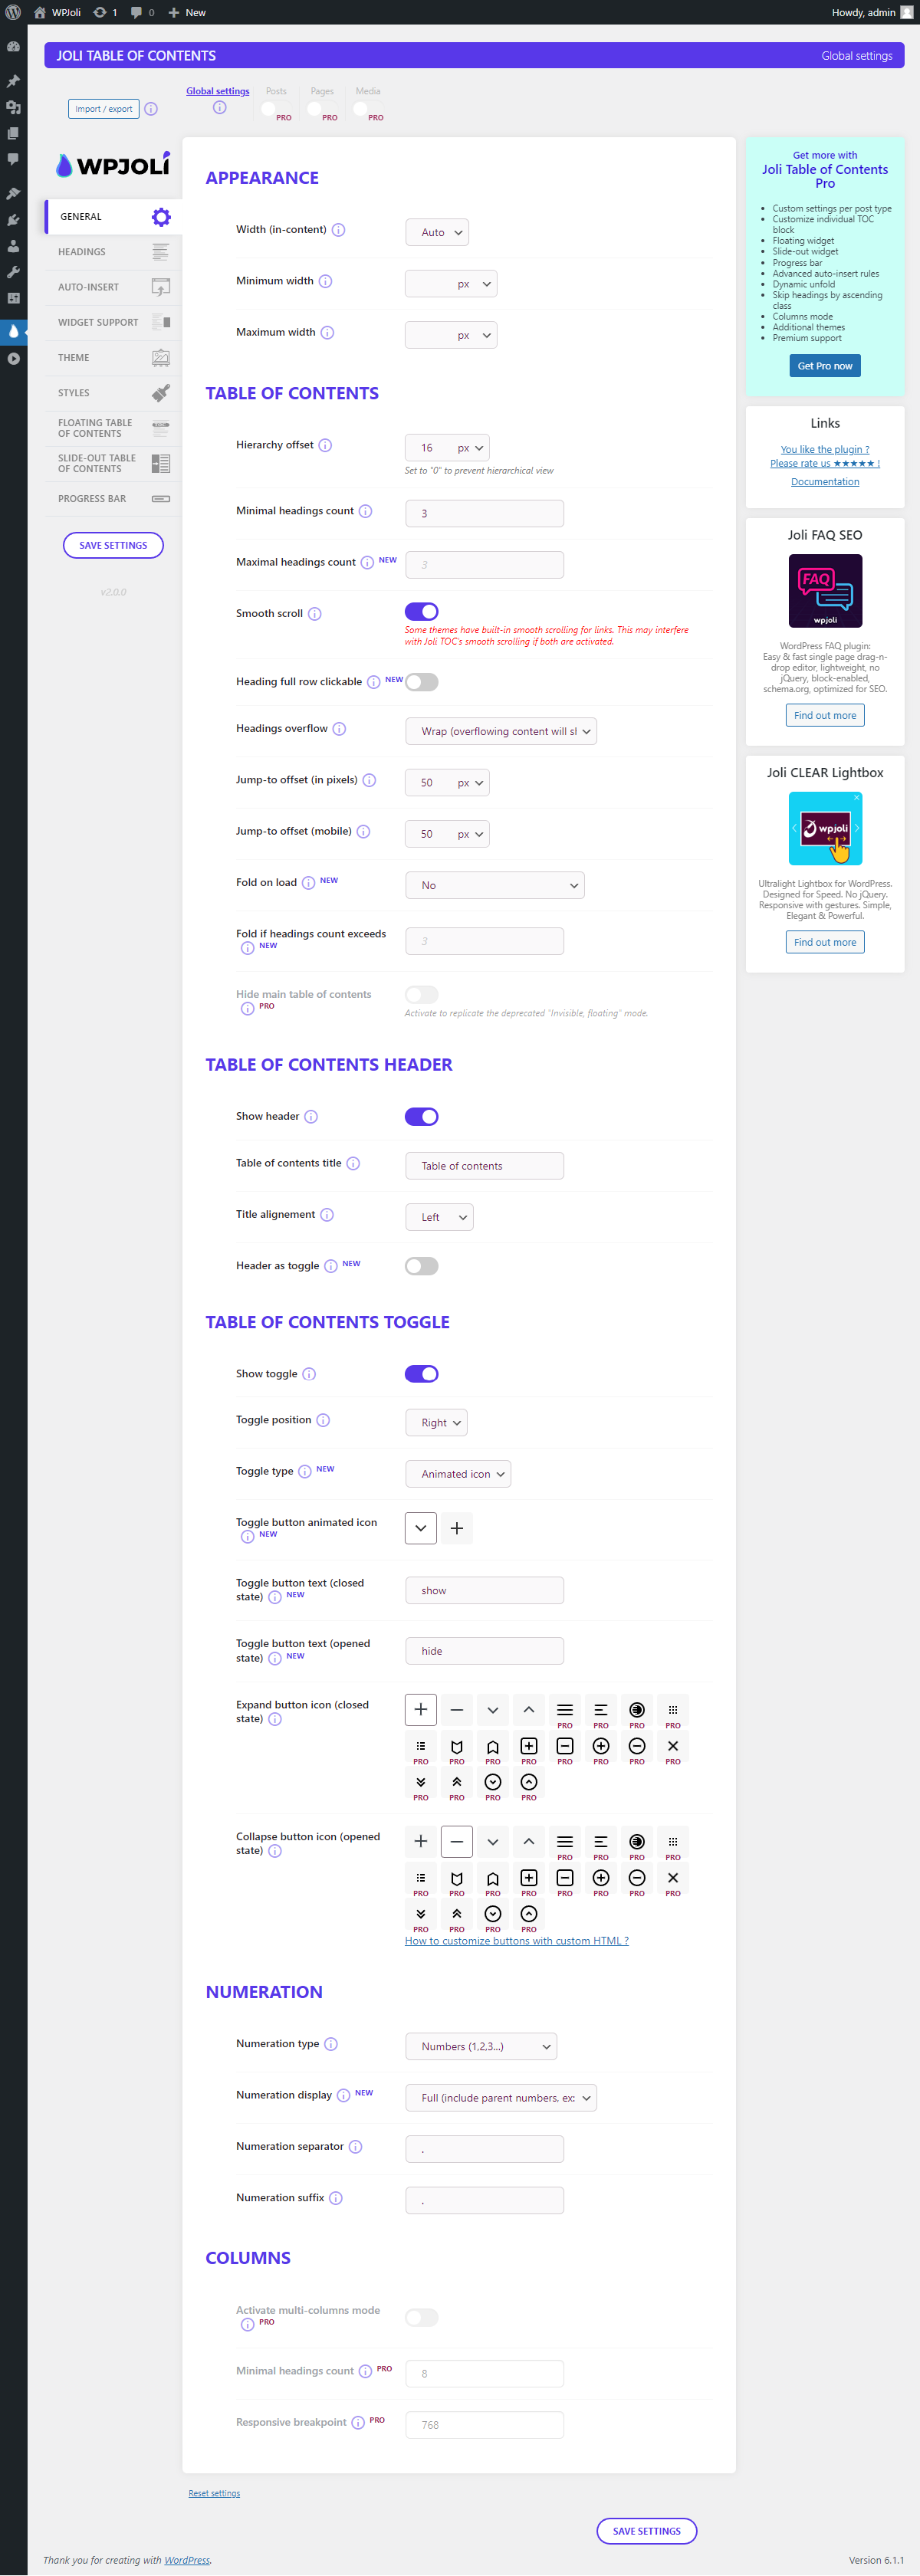
- Fully customizable: padding, margin, borders, fonts, colors, icons
- Custom CSS support
- CSS variable architecture for deep theming
- Custom theme engine (create your own theme) Insertion methods:
- Auto-insert (by post type and position)
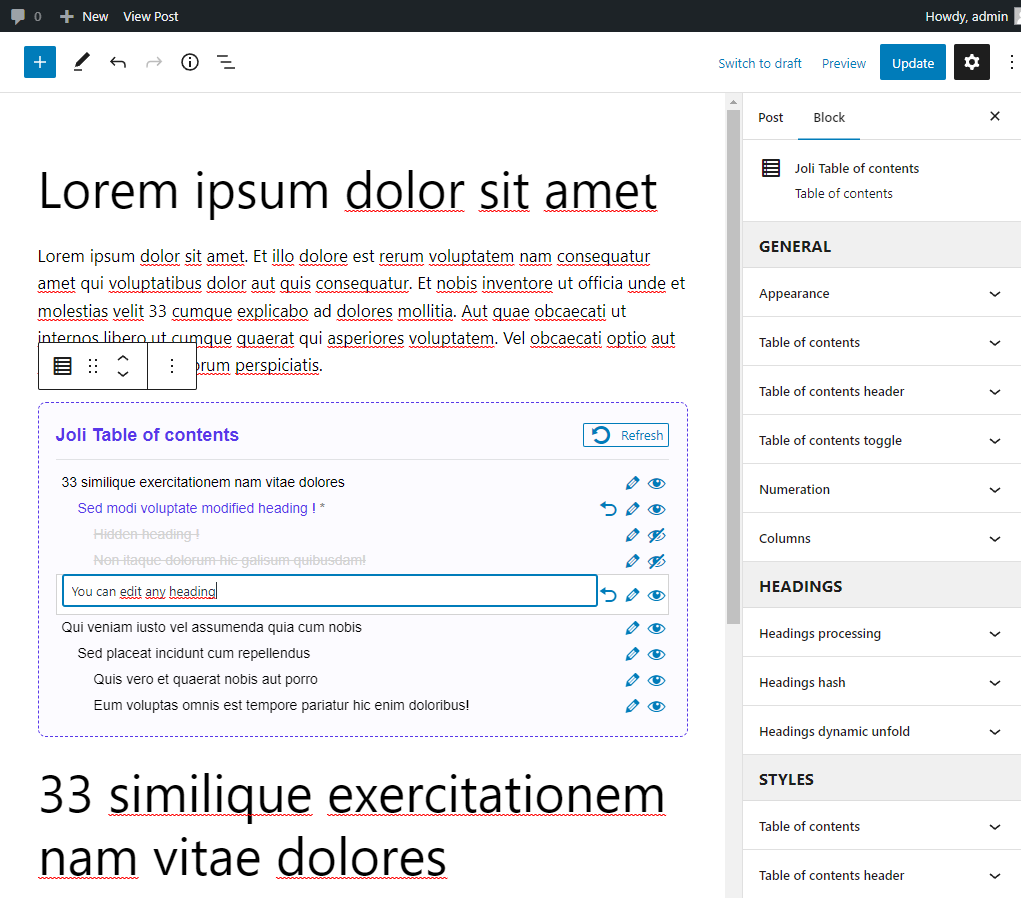
- Gutenberg Block
-
Shortcode
[joli-toc]Auto-insert positions: - Before/After the content
- Before/After H1
- Before first H2 / After first H2
- After first paragraph Headings & Detection:
- Detect headings from third-party blocks and shortcodes
- Heading scope: Content (default) or Extended
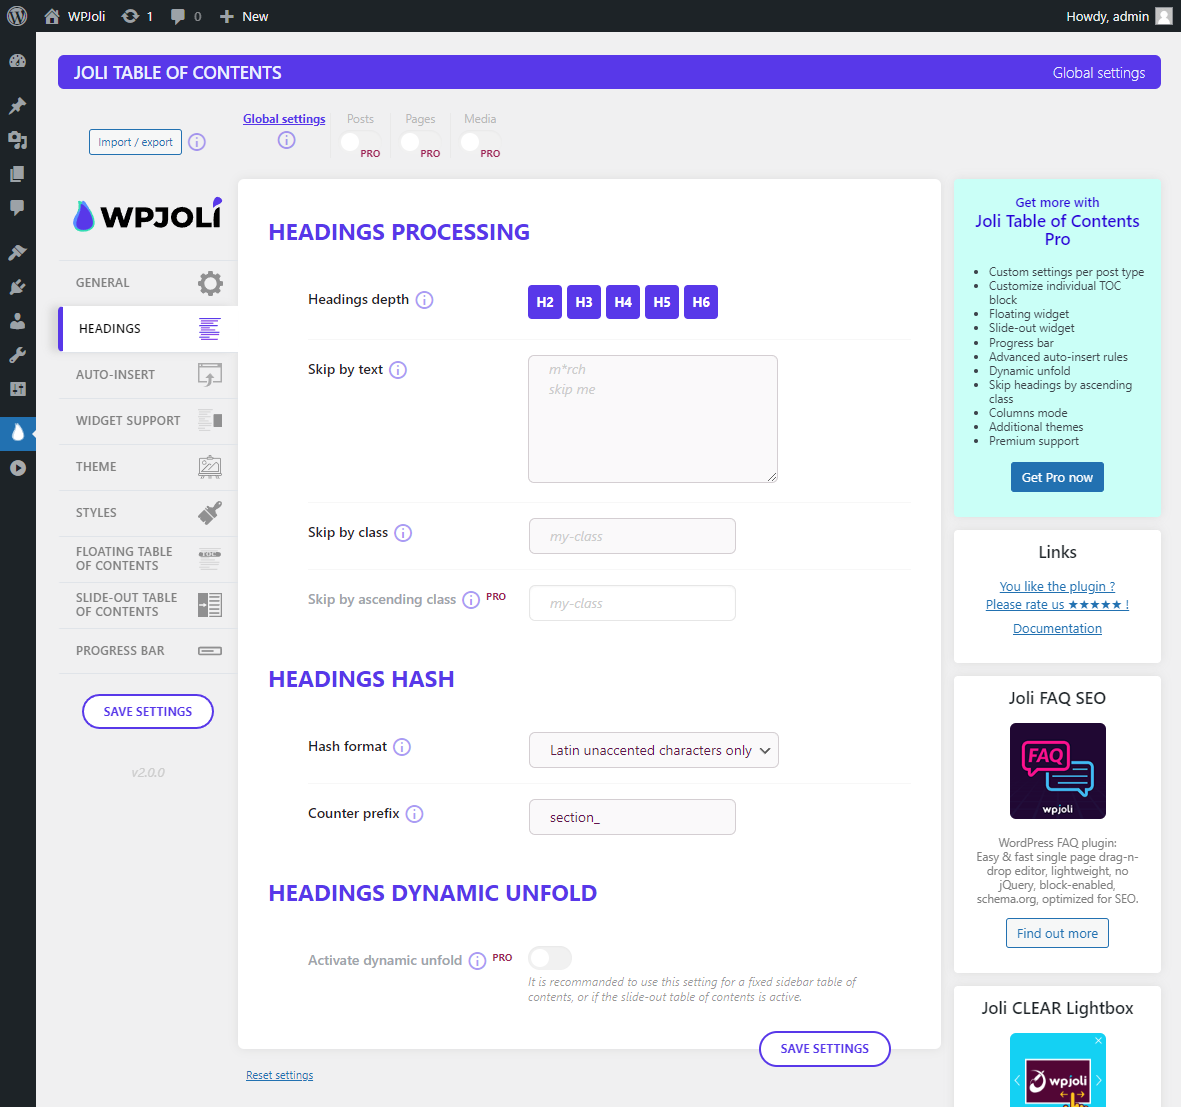
- Show headings by custom depth (H2 to H6)
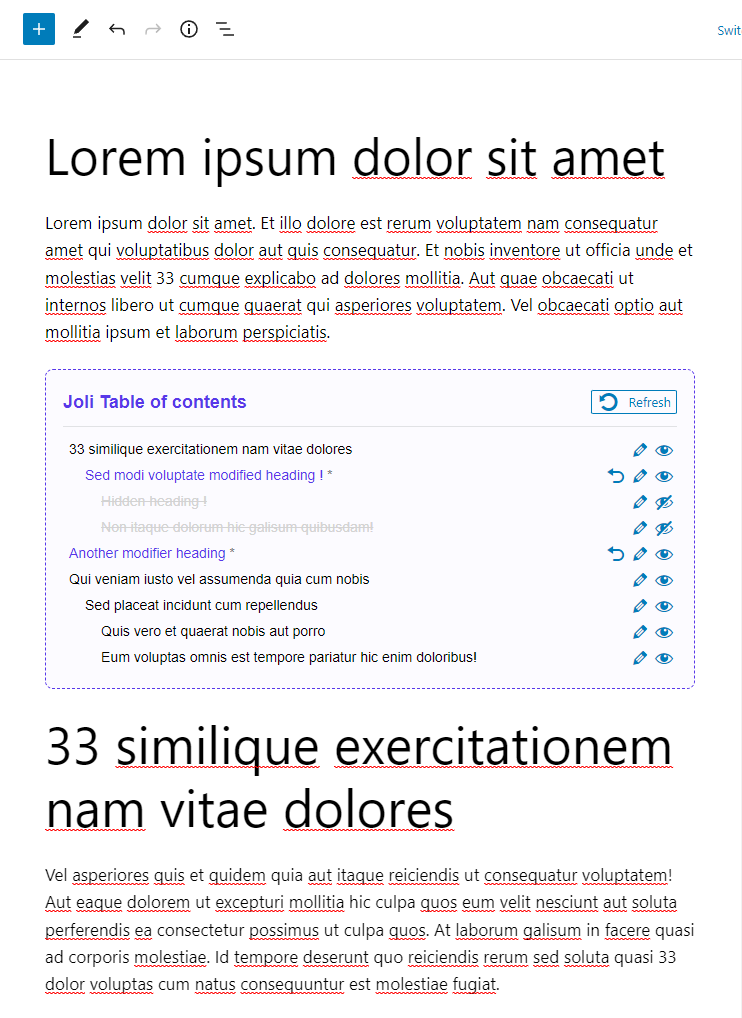
- Hide or edit specific headings via the block
- Disable headings by text or CSS class Navigation & UX:
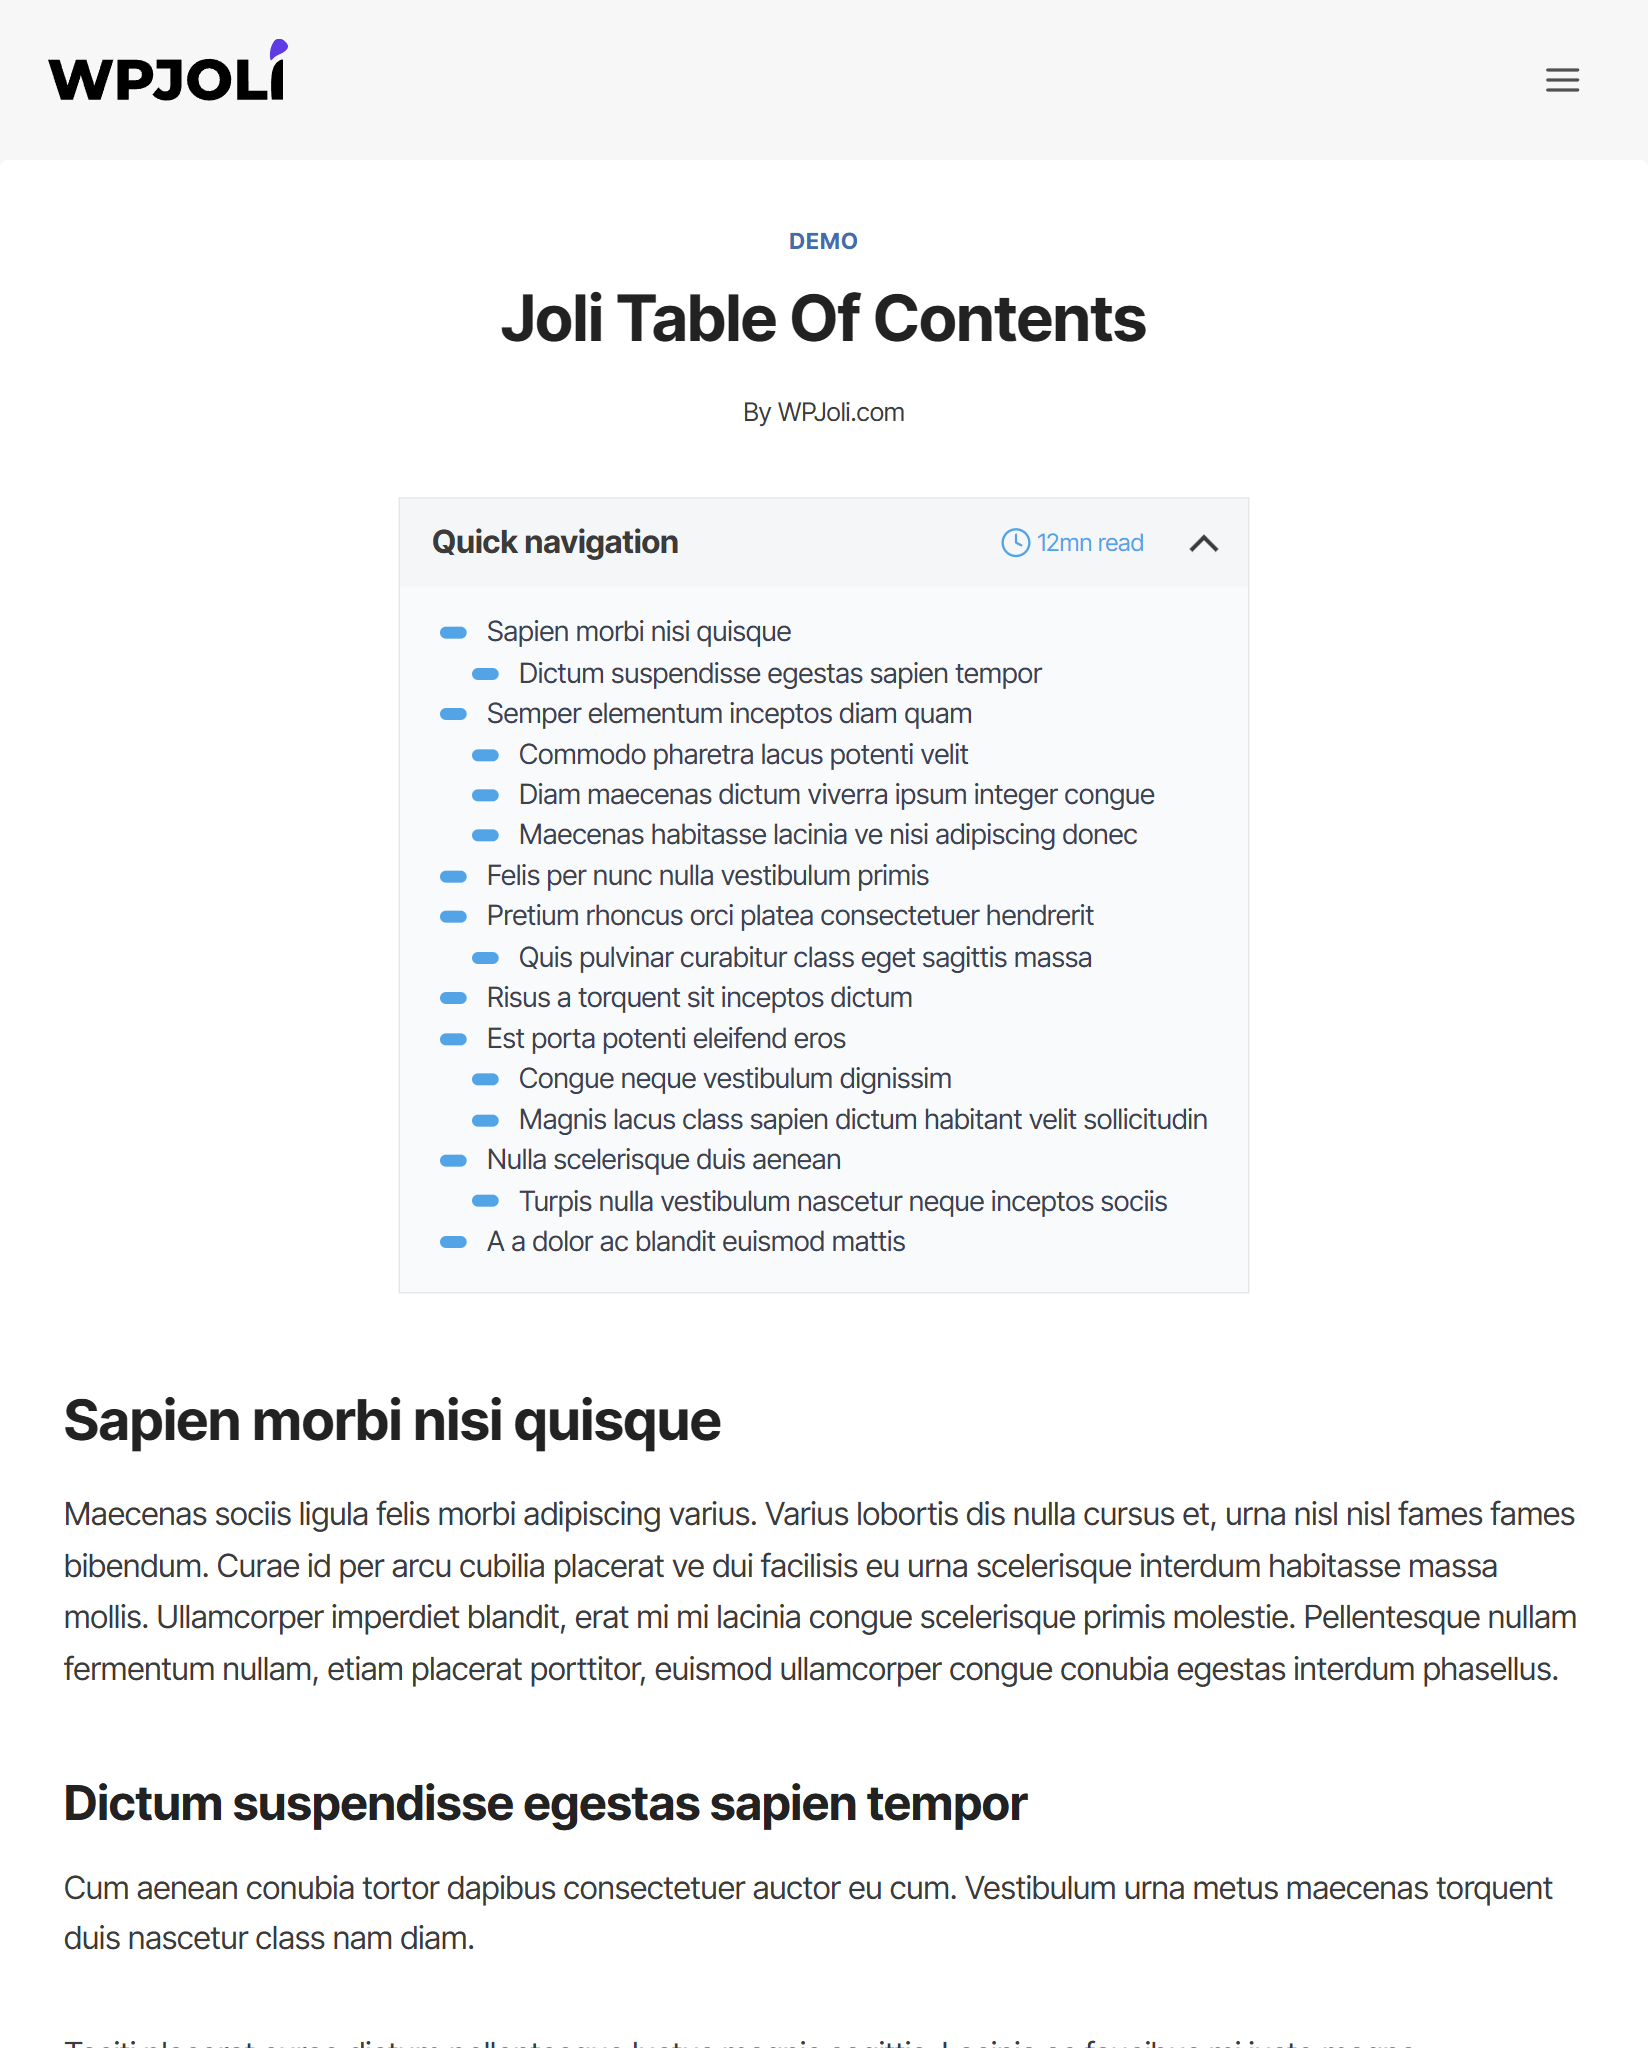
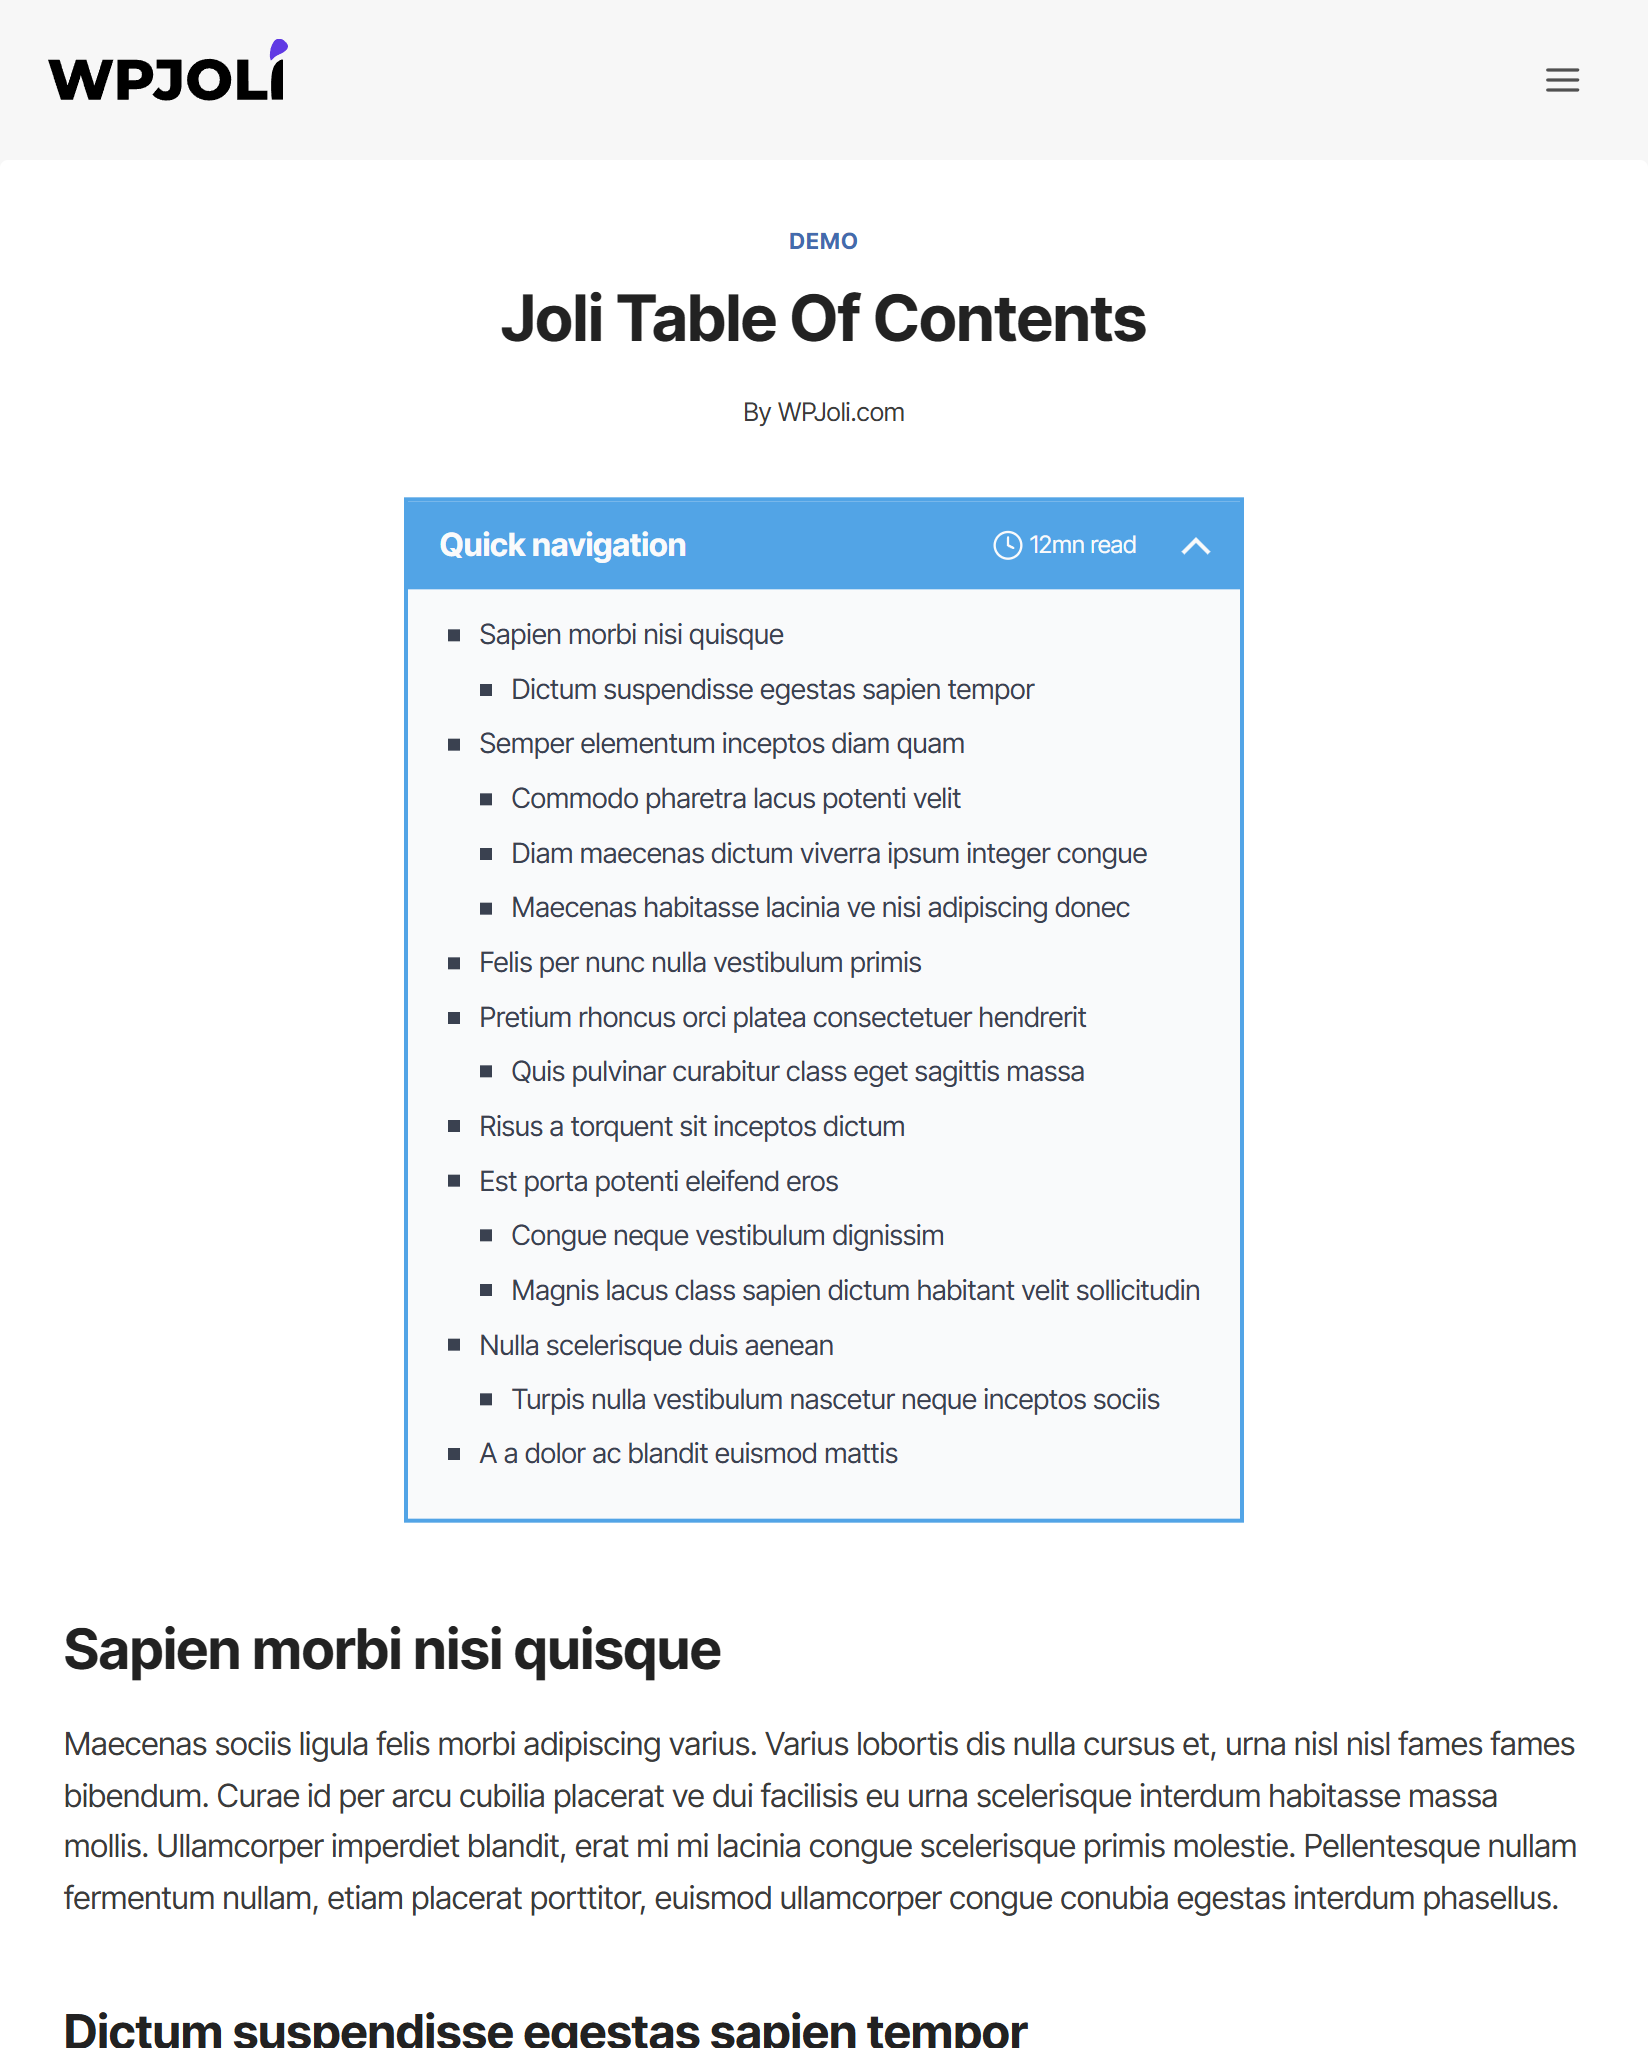
- Reading time estimate (new in v3)
- Hierarchical or Flat view
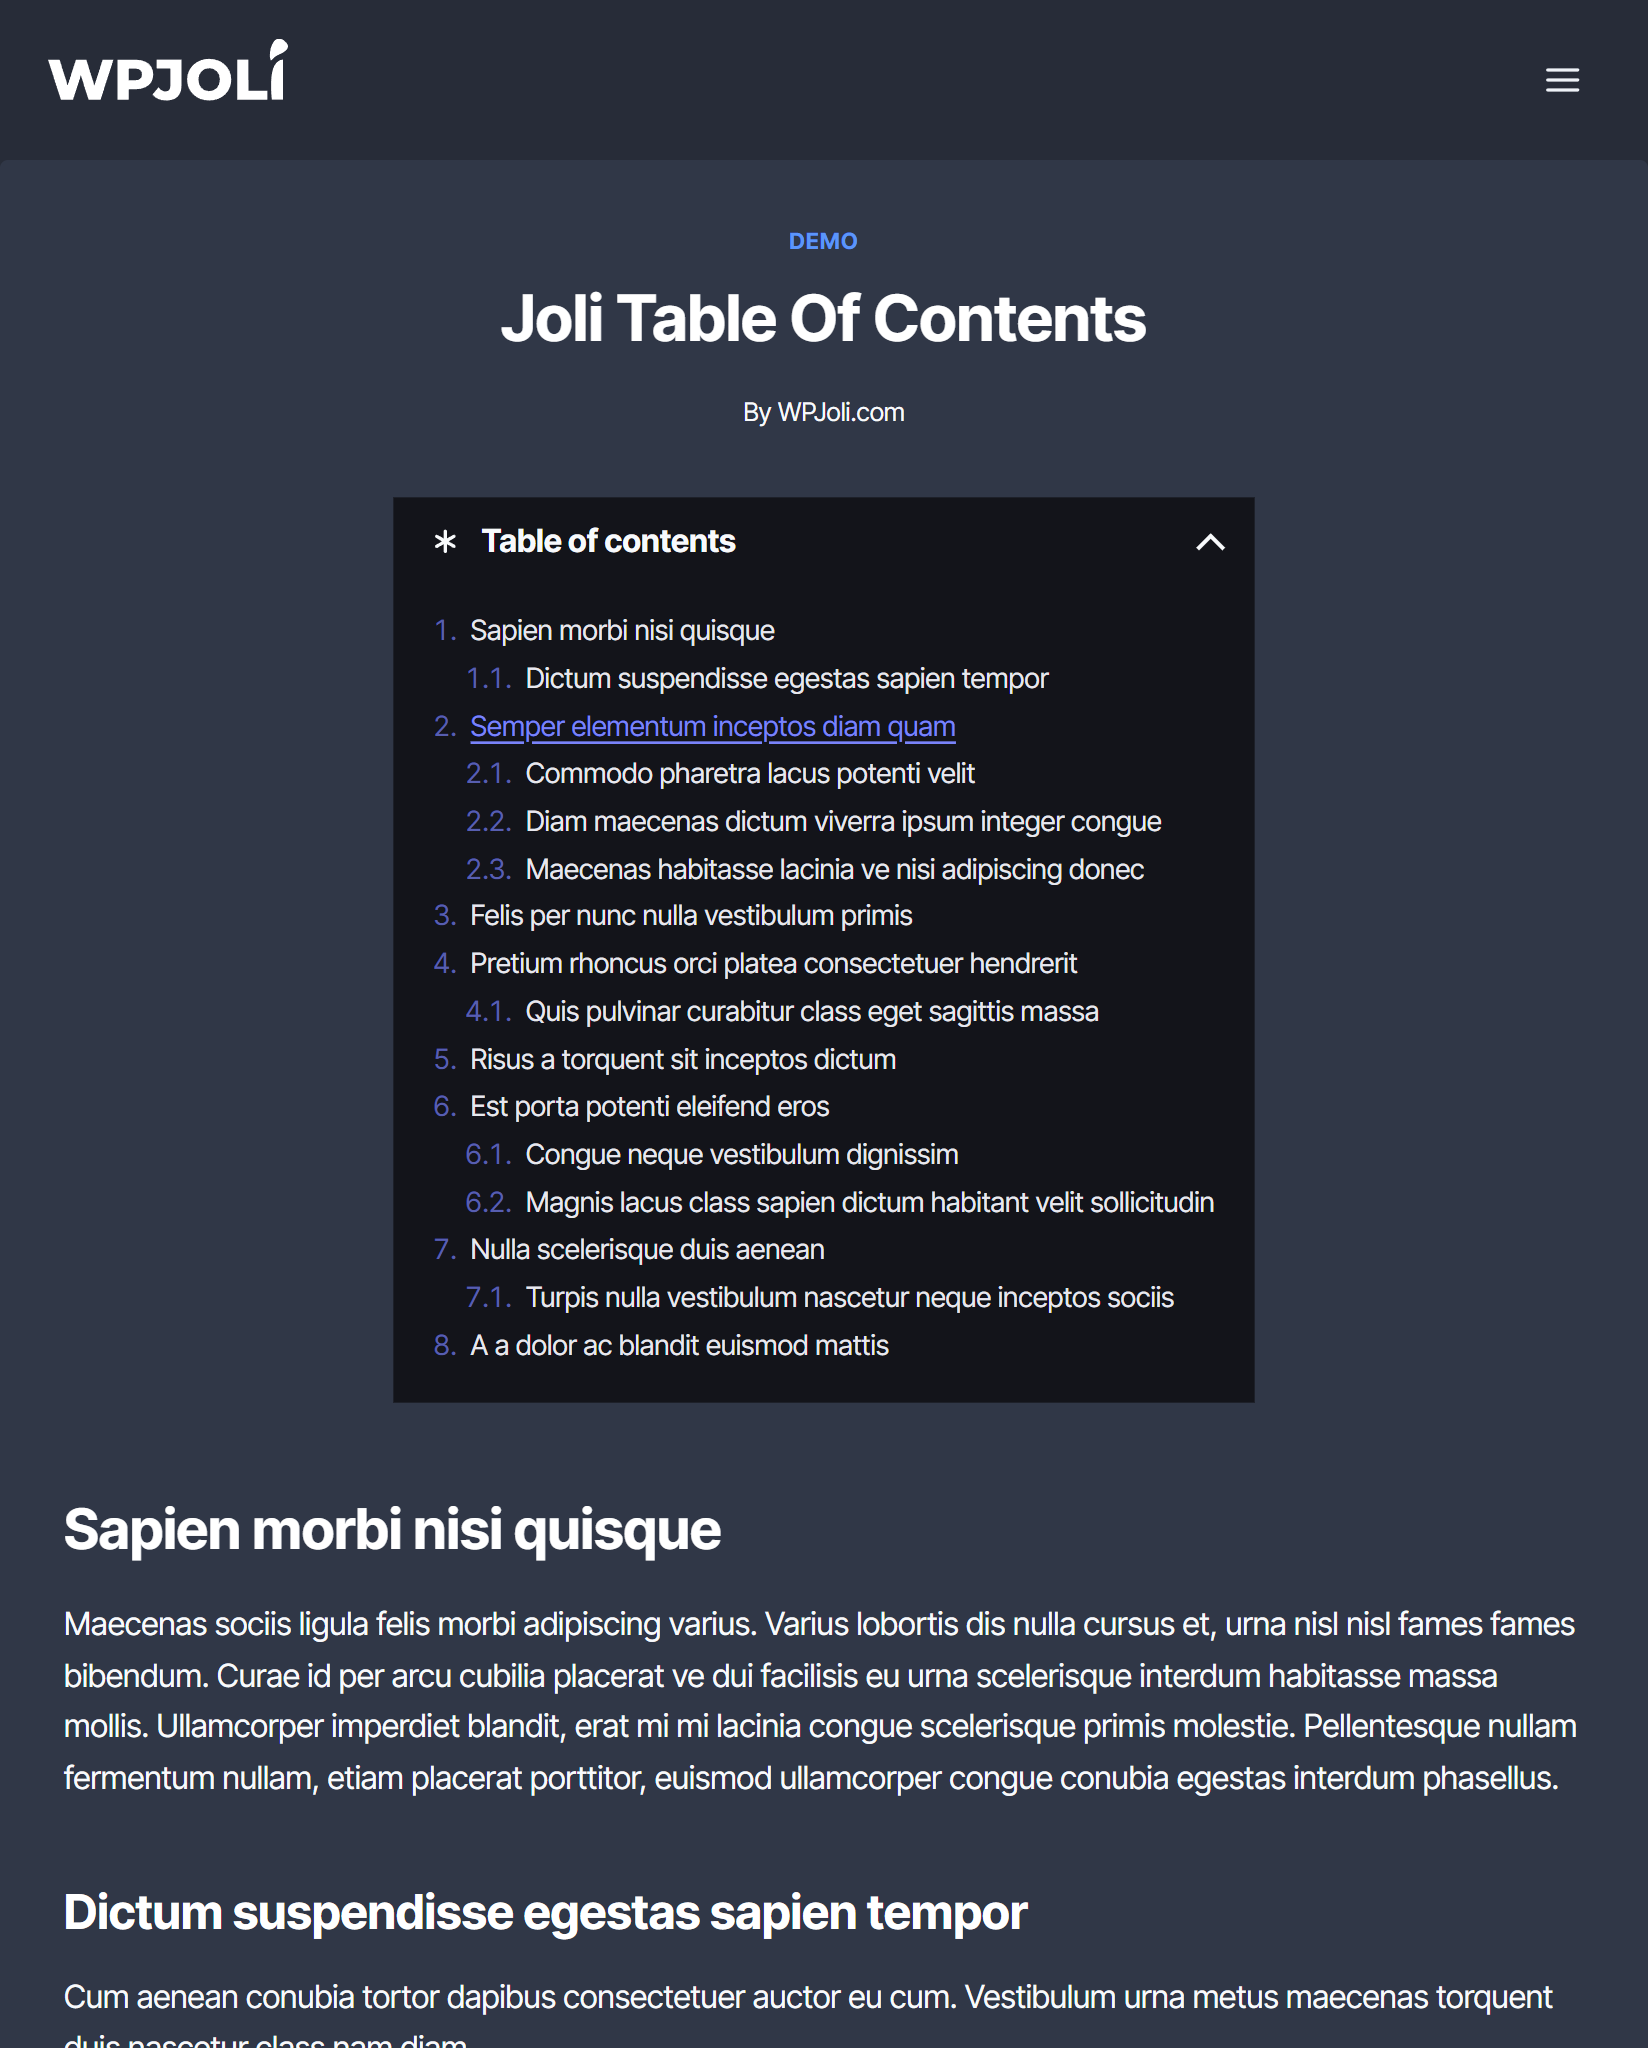
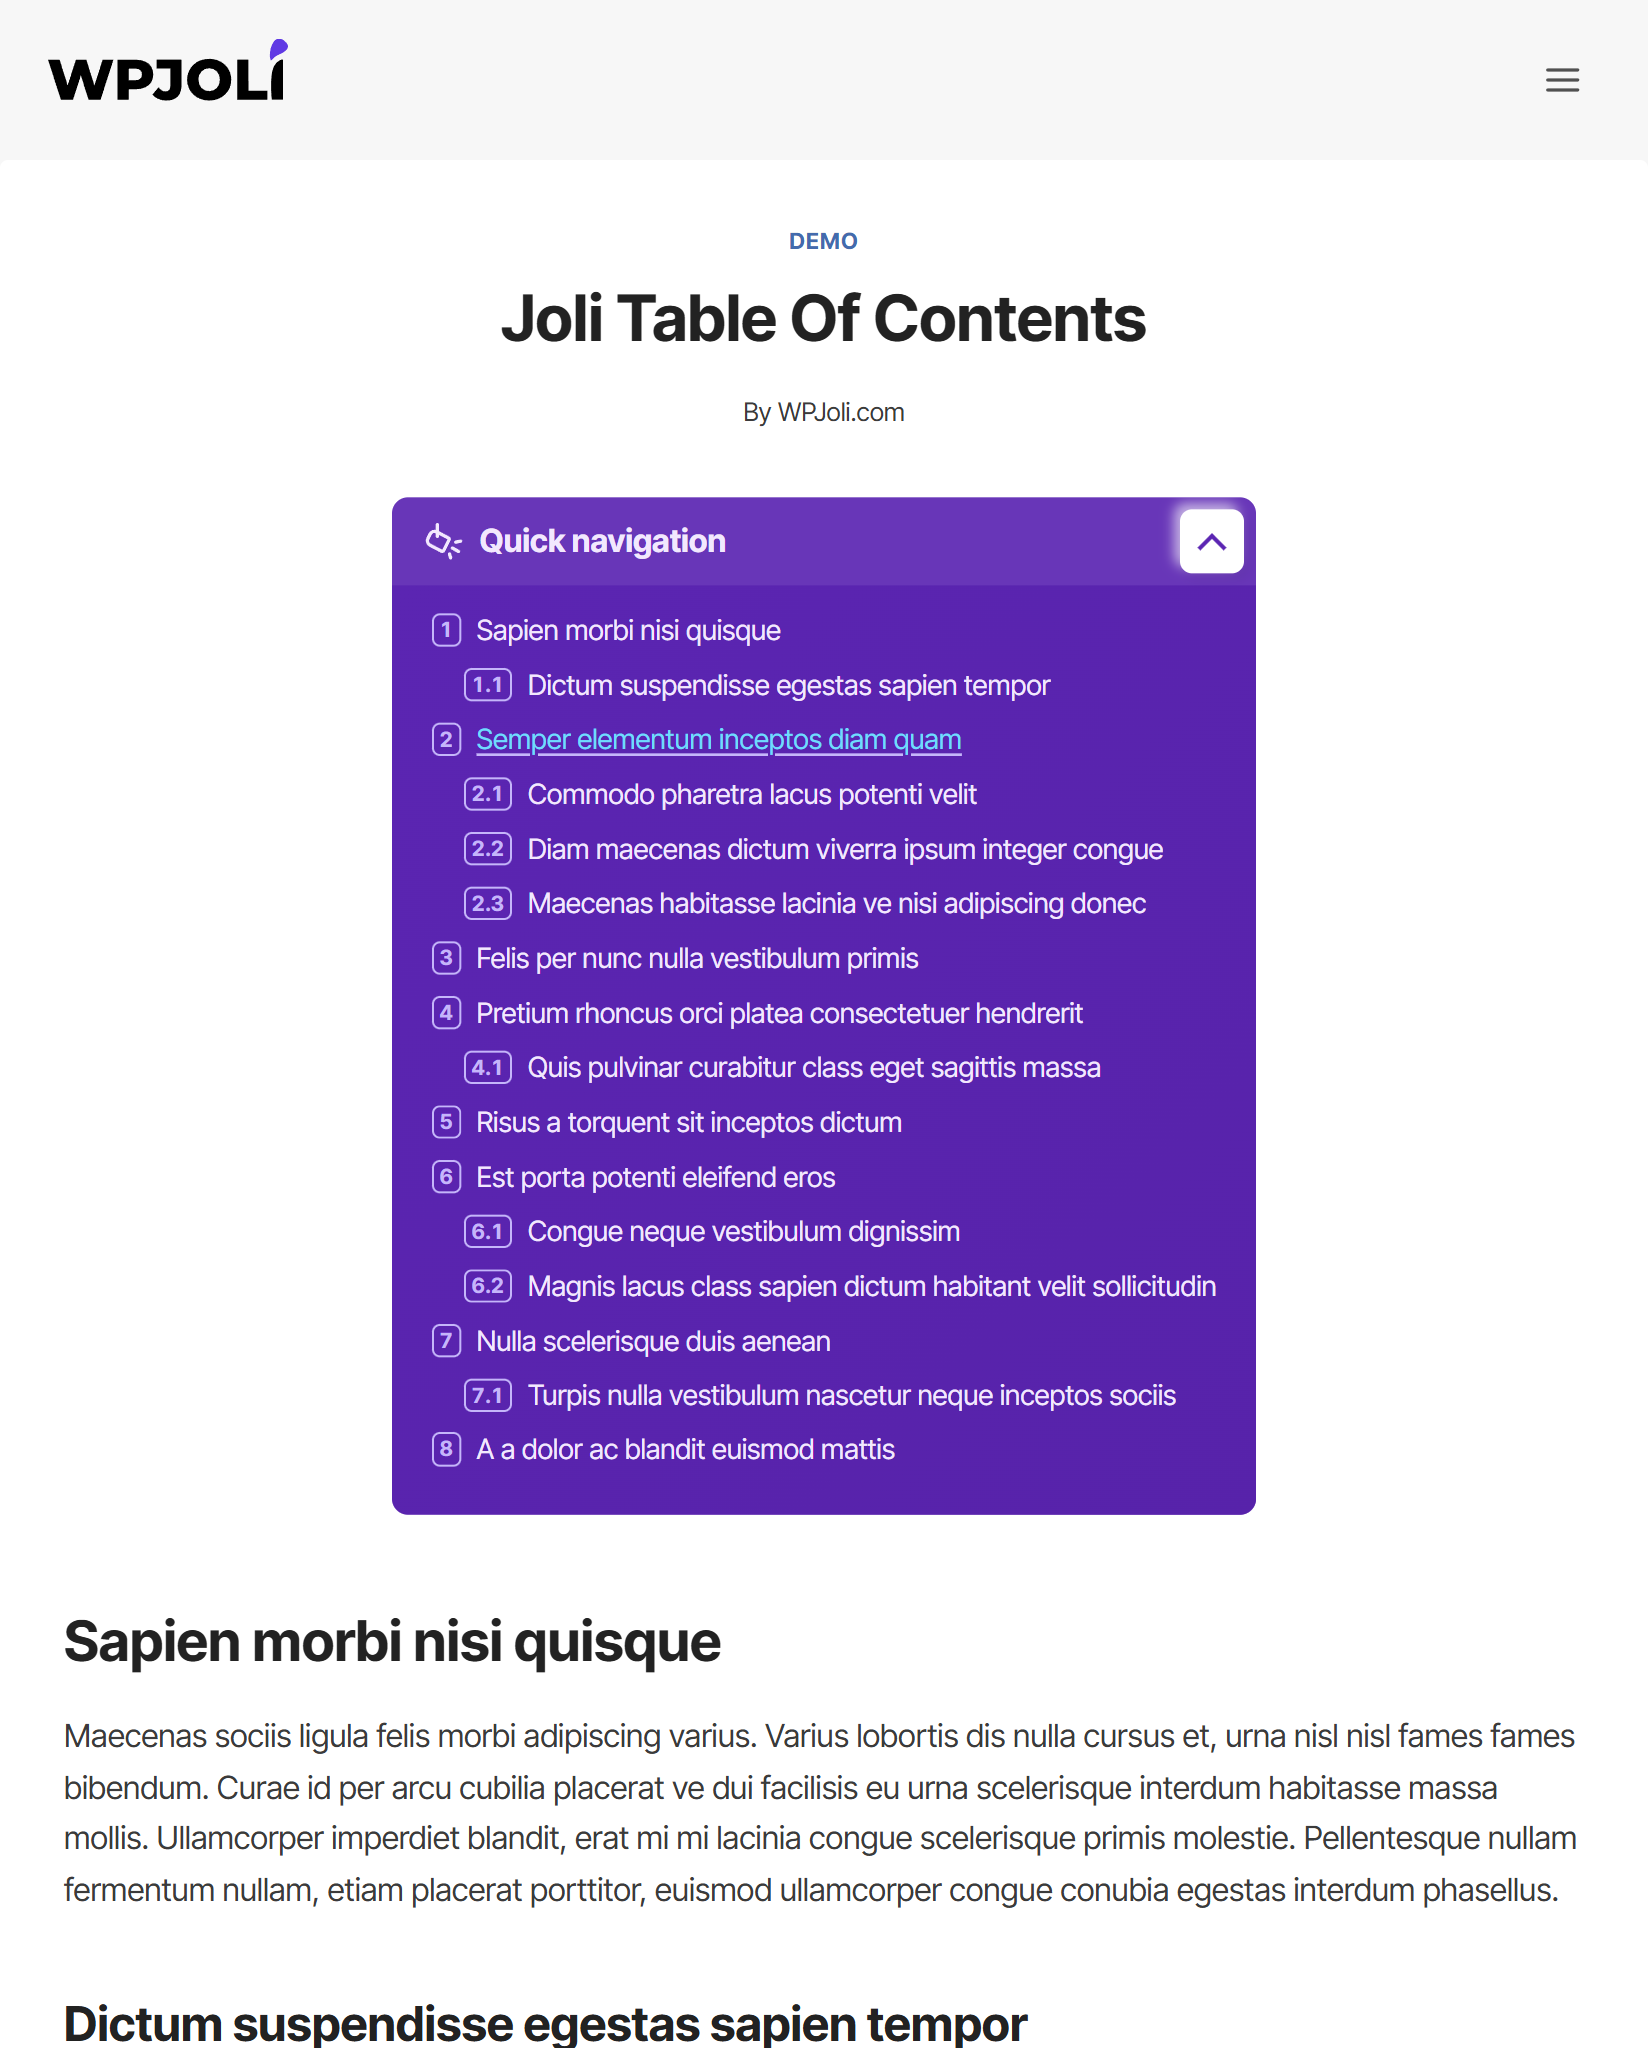
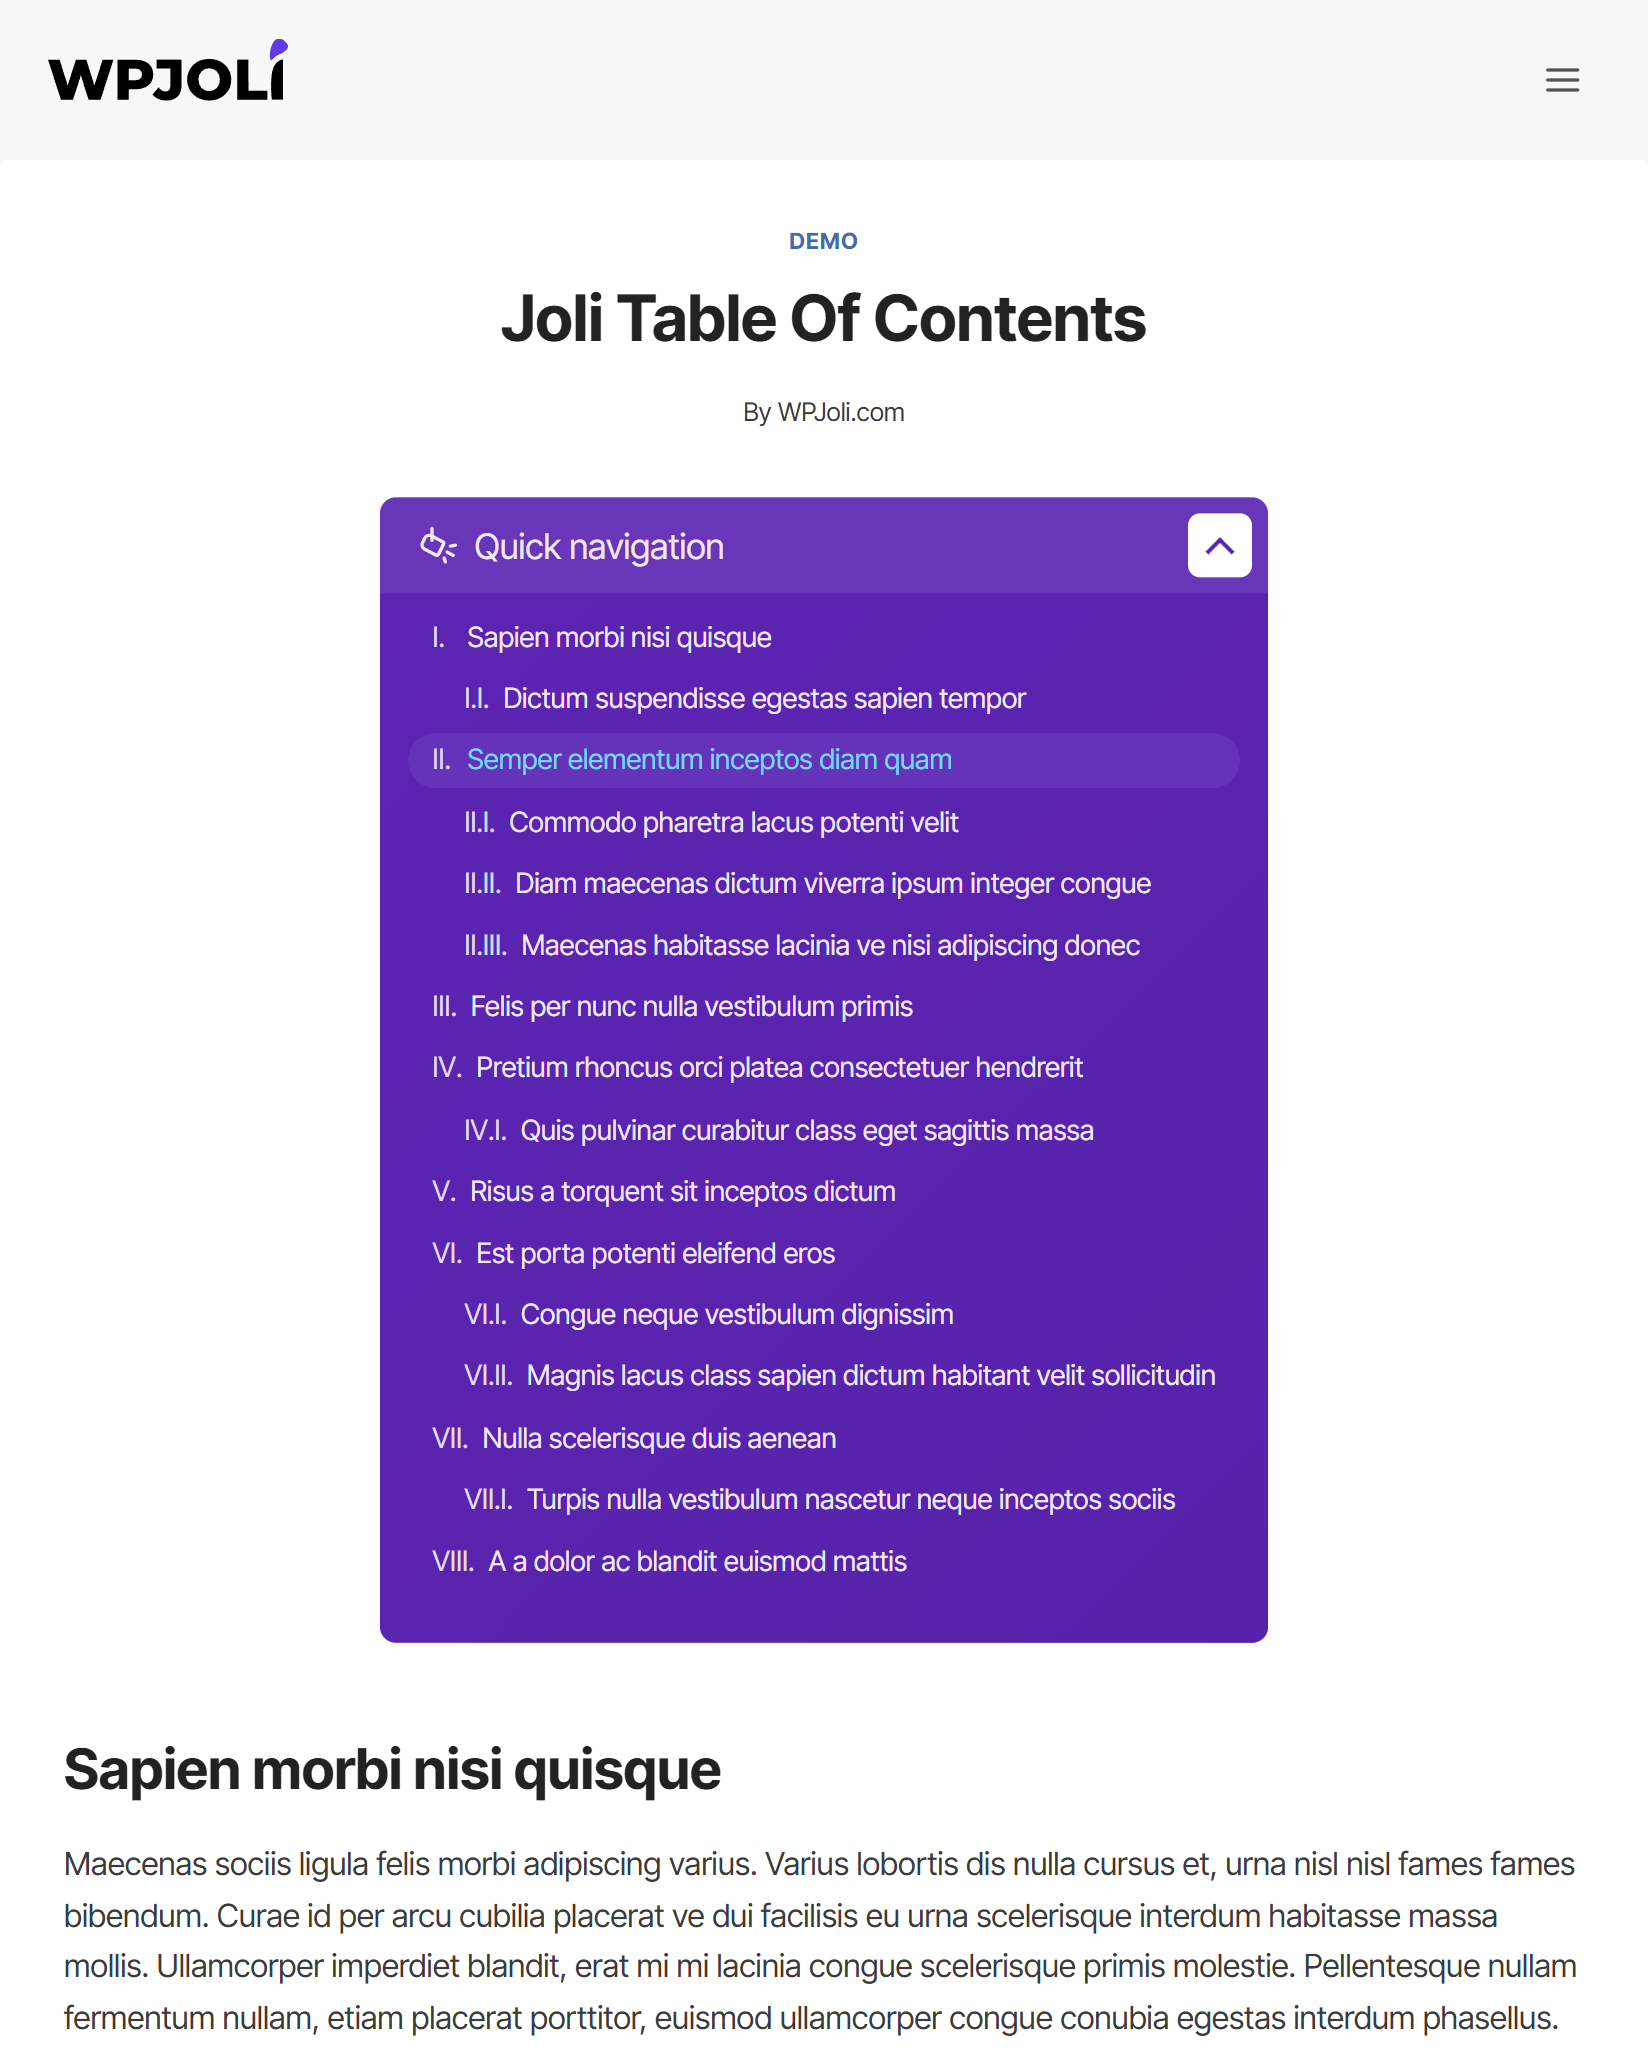
- Multiple numbering styles (with regional number support)
- Customizable numbering separator and suffix
- Smooth scrolling
- Folding/unfolding with animation
- Pretty URL hash (e.g.
mysite.com/article/#section-title) - Latin & non-latin character support
- Multilingual hash transliteration
- Responsive — hover events work as touch on mobile Other:
- Import / Export settings
- Import presets for quick setup
- Custom CSS section
- Fully responsive
<!--nextpage-->multi-page support- RTL support
- WPML compatible
- No jQuery
- Developer hooks (see full list)
- 🆕 Timeline TOC — display the TOC as a visual timeline on the side of the screen, with proportionally spaced markers
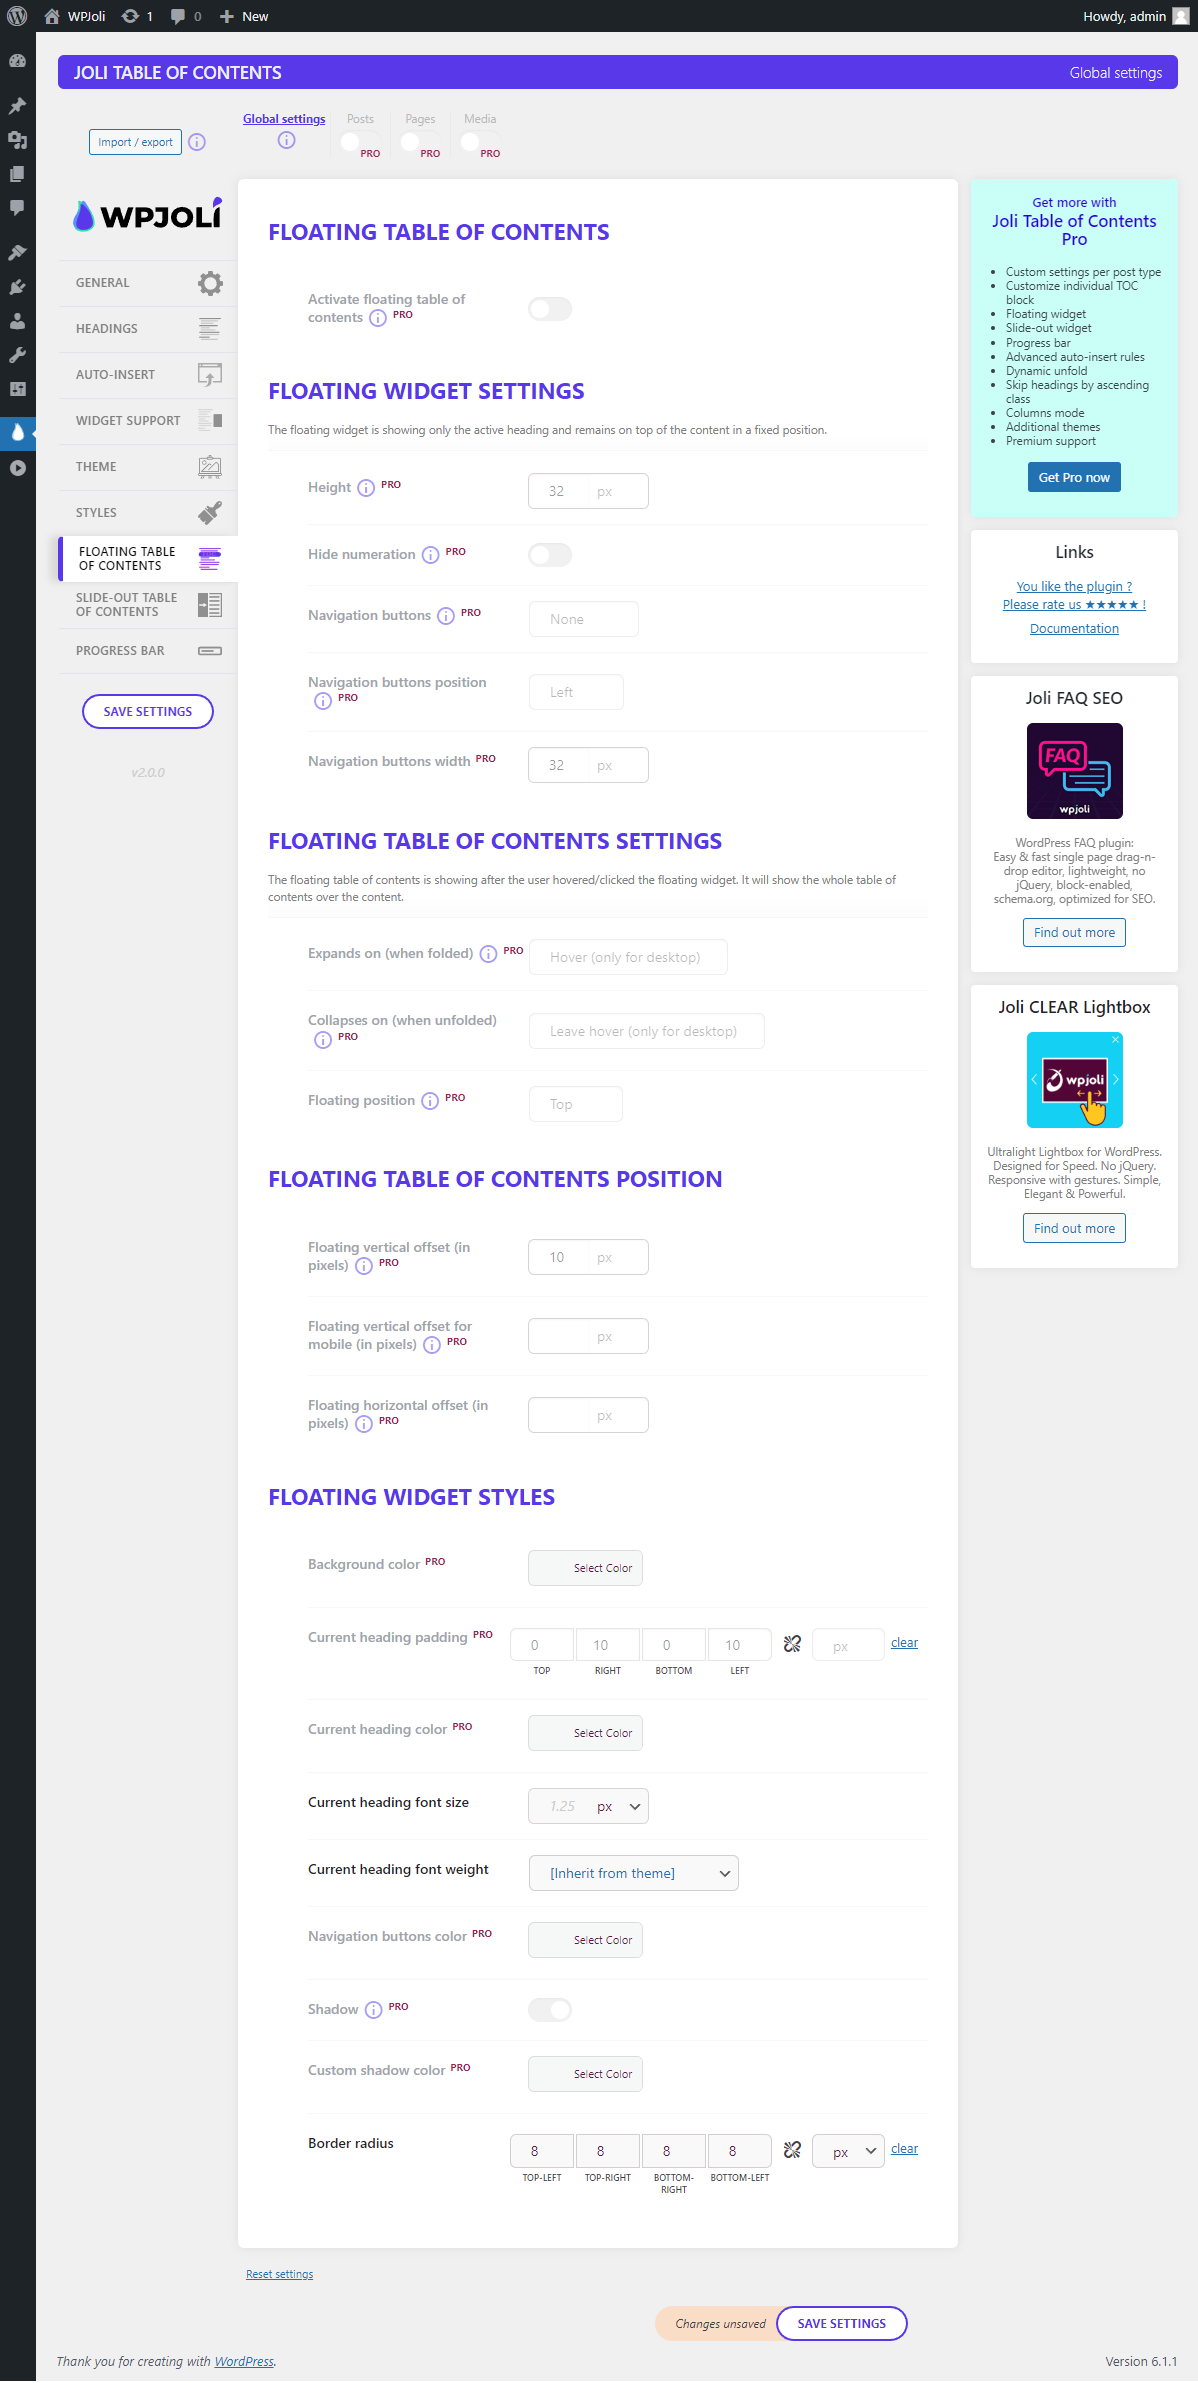
- ✅ Floating TOC Widget — follows the user as they scroll, shows the active section
- ✅ Slide-Out TOC Widget — fixed panel on the side of the screen
- ✅ Sticky Sidebar TOC — TOC in a sidebar widget that sticks while scrolling
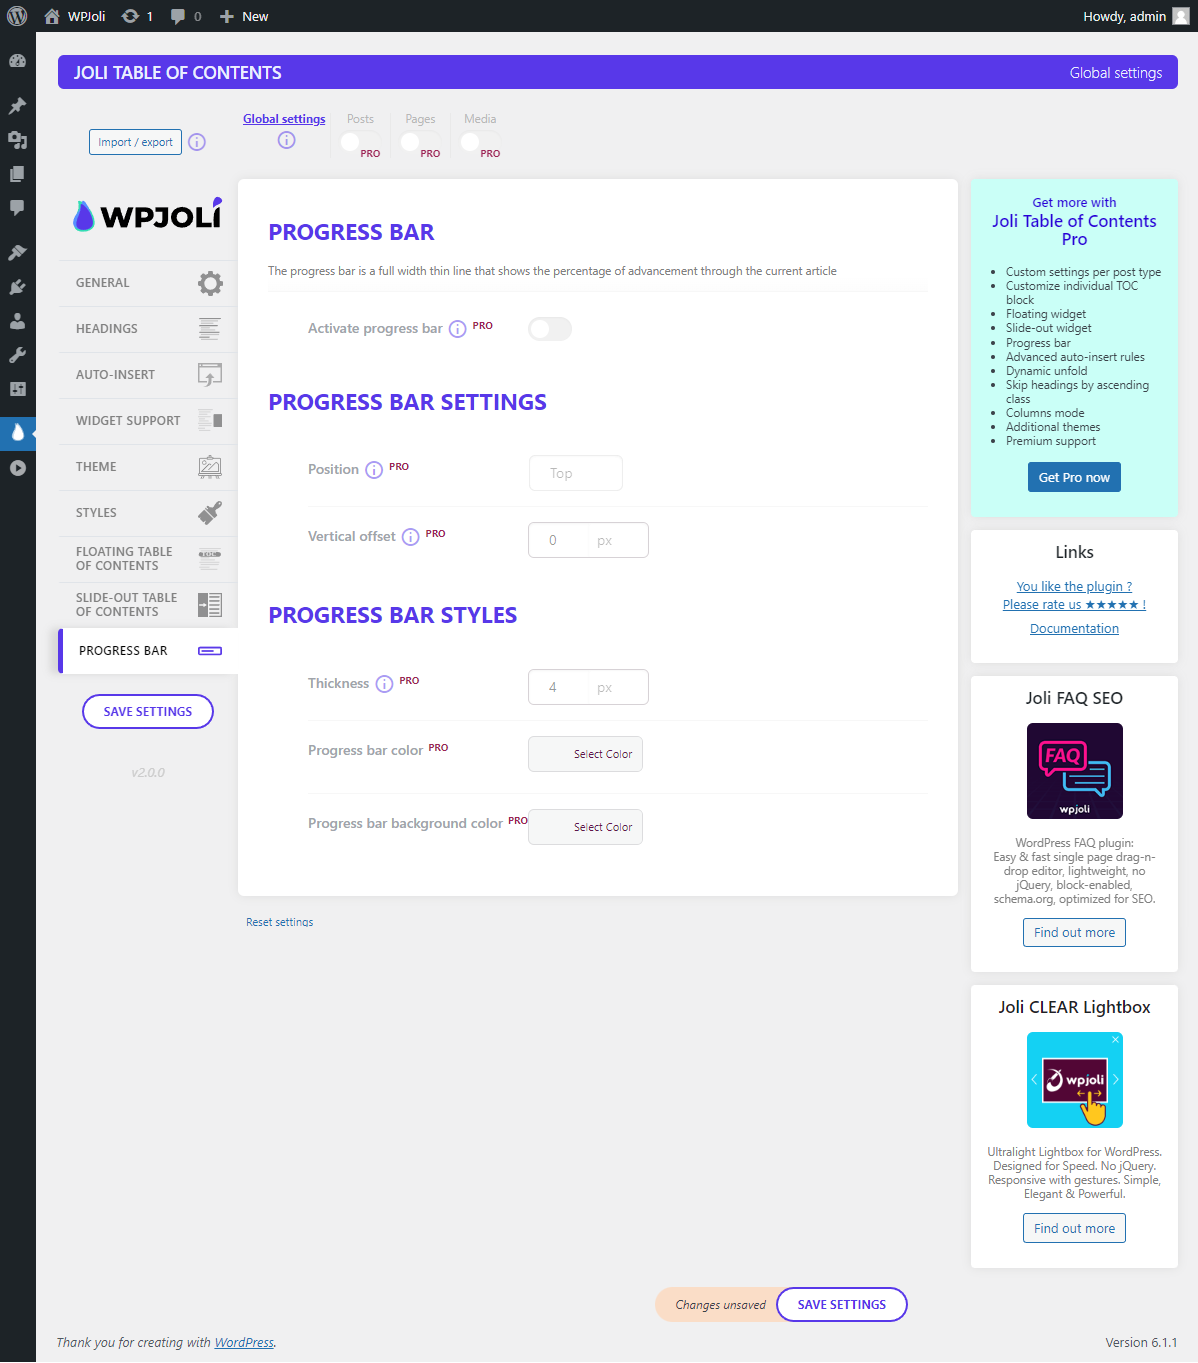
- ✅ Progress Bar Widget — reading progress indicator at the top of the page PRO-only customization:
- ⭐ Collapsible headings
- ⭐ View more button (Partial fold)
- ⭐ Independent top-level heading styling
- Separator between top-level headings
- Multi-columns mode
- Per-device TOC visibility (in-content vs. sidebar)
- Fade past headings Advanced auto-insert rules:
- Filter by post type, post title, or post ID
- Exclude specific posts by title or ID
- Different settings per post type (theme, layout, everything) Custom Post Type support with per-post-type settings.
[joli-toc]
Migrating from another plugin? Keep your existing shortcode tag without updating any content:
add_filter('jolitoc_shortcode_tag', function(){ return 'toc'; });
This is compatible with shortcode tags used by Easy Table of Contents, LuckyWP Table of Contents, and others.
🎣 Developer Hooks
Joli Table Of Contents provides a full set of action and filter hooks for developers.
View all available hooks →
Common examples (add to your theme's functions.php):
Disable auto-insert globally:
add_filter('joli_toc_disable_autoinsert', function(){ return true; });
Disable JS or CSS:
add_filter('joli_toc_disable_js', function(){ return true; });
add_filter('joli_toc_disable_styles', function(){ return true; });
Customize the TOC title dynamically:
add_filter('joli_toc_toc_title', function( $title ){ return 'My Custom Title'; });
🔌 More Plugins by WPJoli
安装:
- Go to Plugins > Add New.
- Search for "Joli Table Of Contents".
- Click Install Now, then Activate.
- Follow the Onboarding Wizard to get set up in minutes.
- Go to Plugins > Add New > Upload Plugin.
- Upload the plugin ZIP file and click Install Now.
- Click Activate Plugin.
- Upload the
joli-table-of-contentsfolder to/wp-content/plugins/. - Go to Plugins in your WordPress admin and activate it.
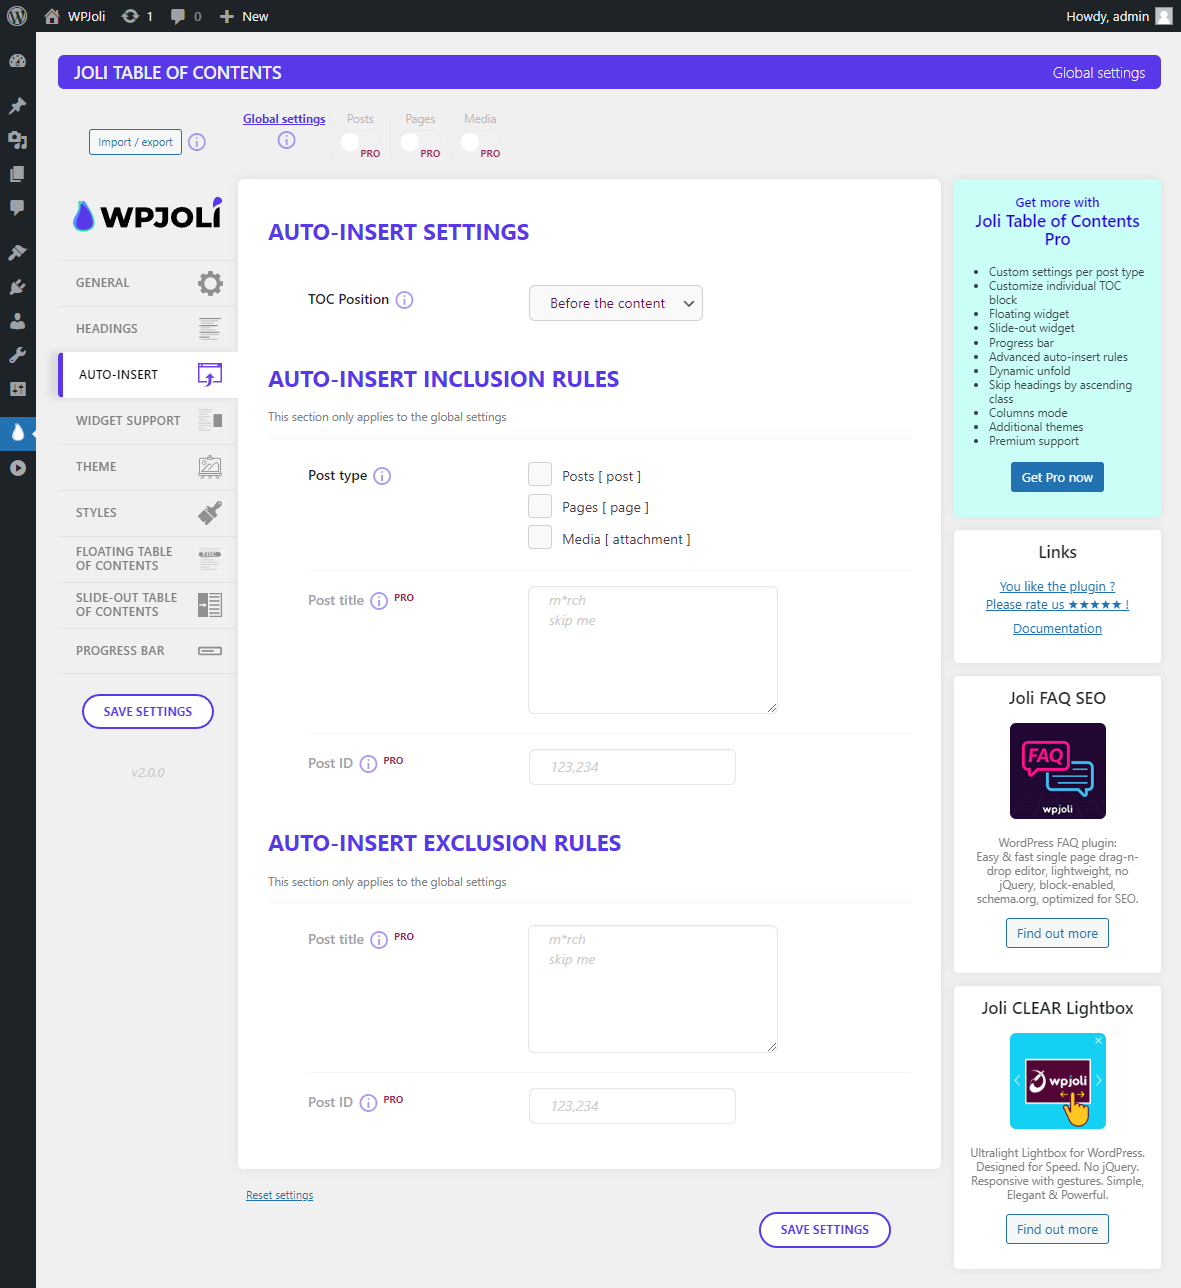
- Auto-insert — go to Settings > Auto-Insert and select your post types
- Gutenberg Block — insert the Joli TOC block inside any post or page
- Shortcode — add
[joli-toc]anywhere in your content 📖 Getting Started Guide
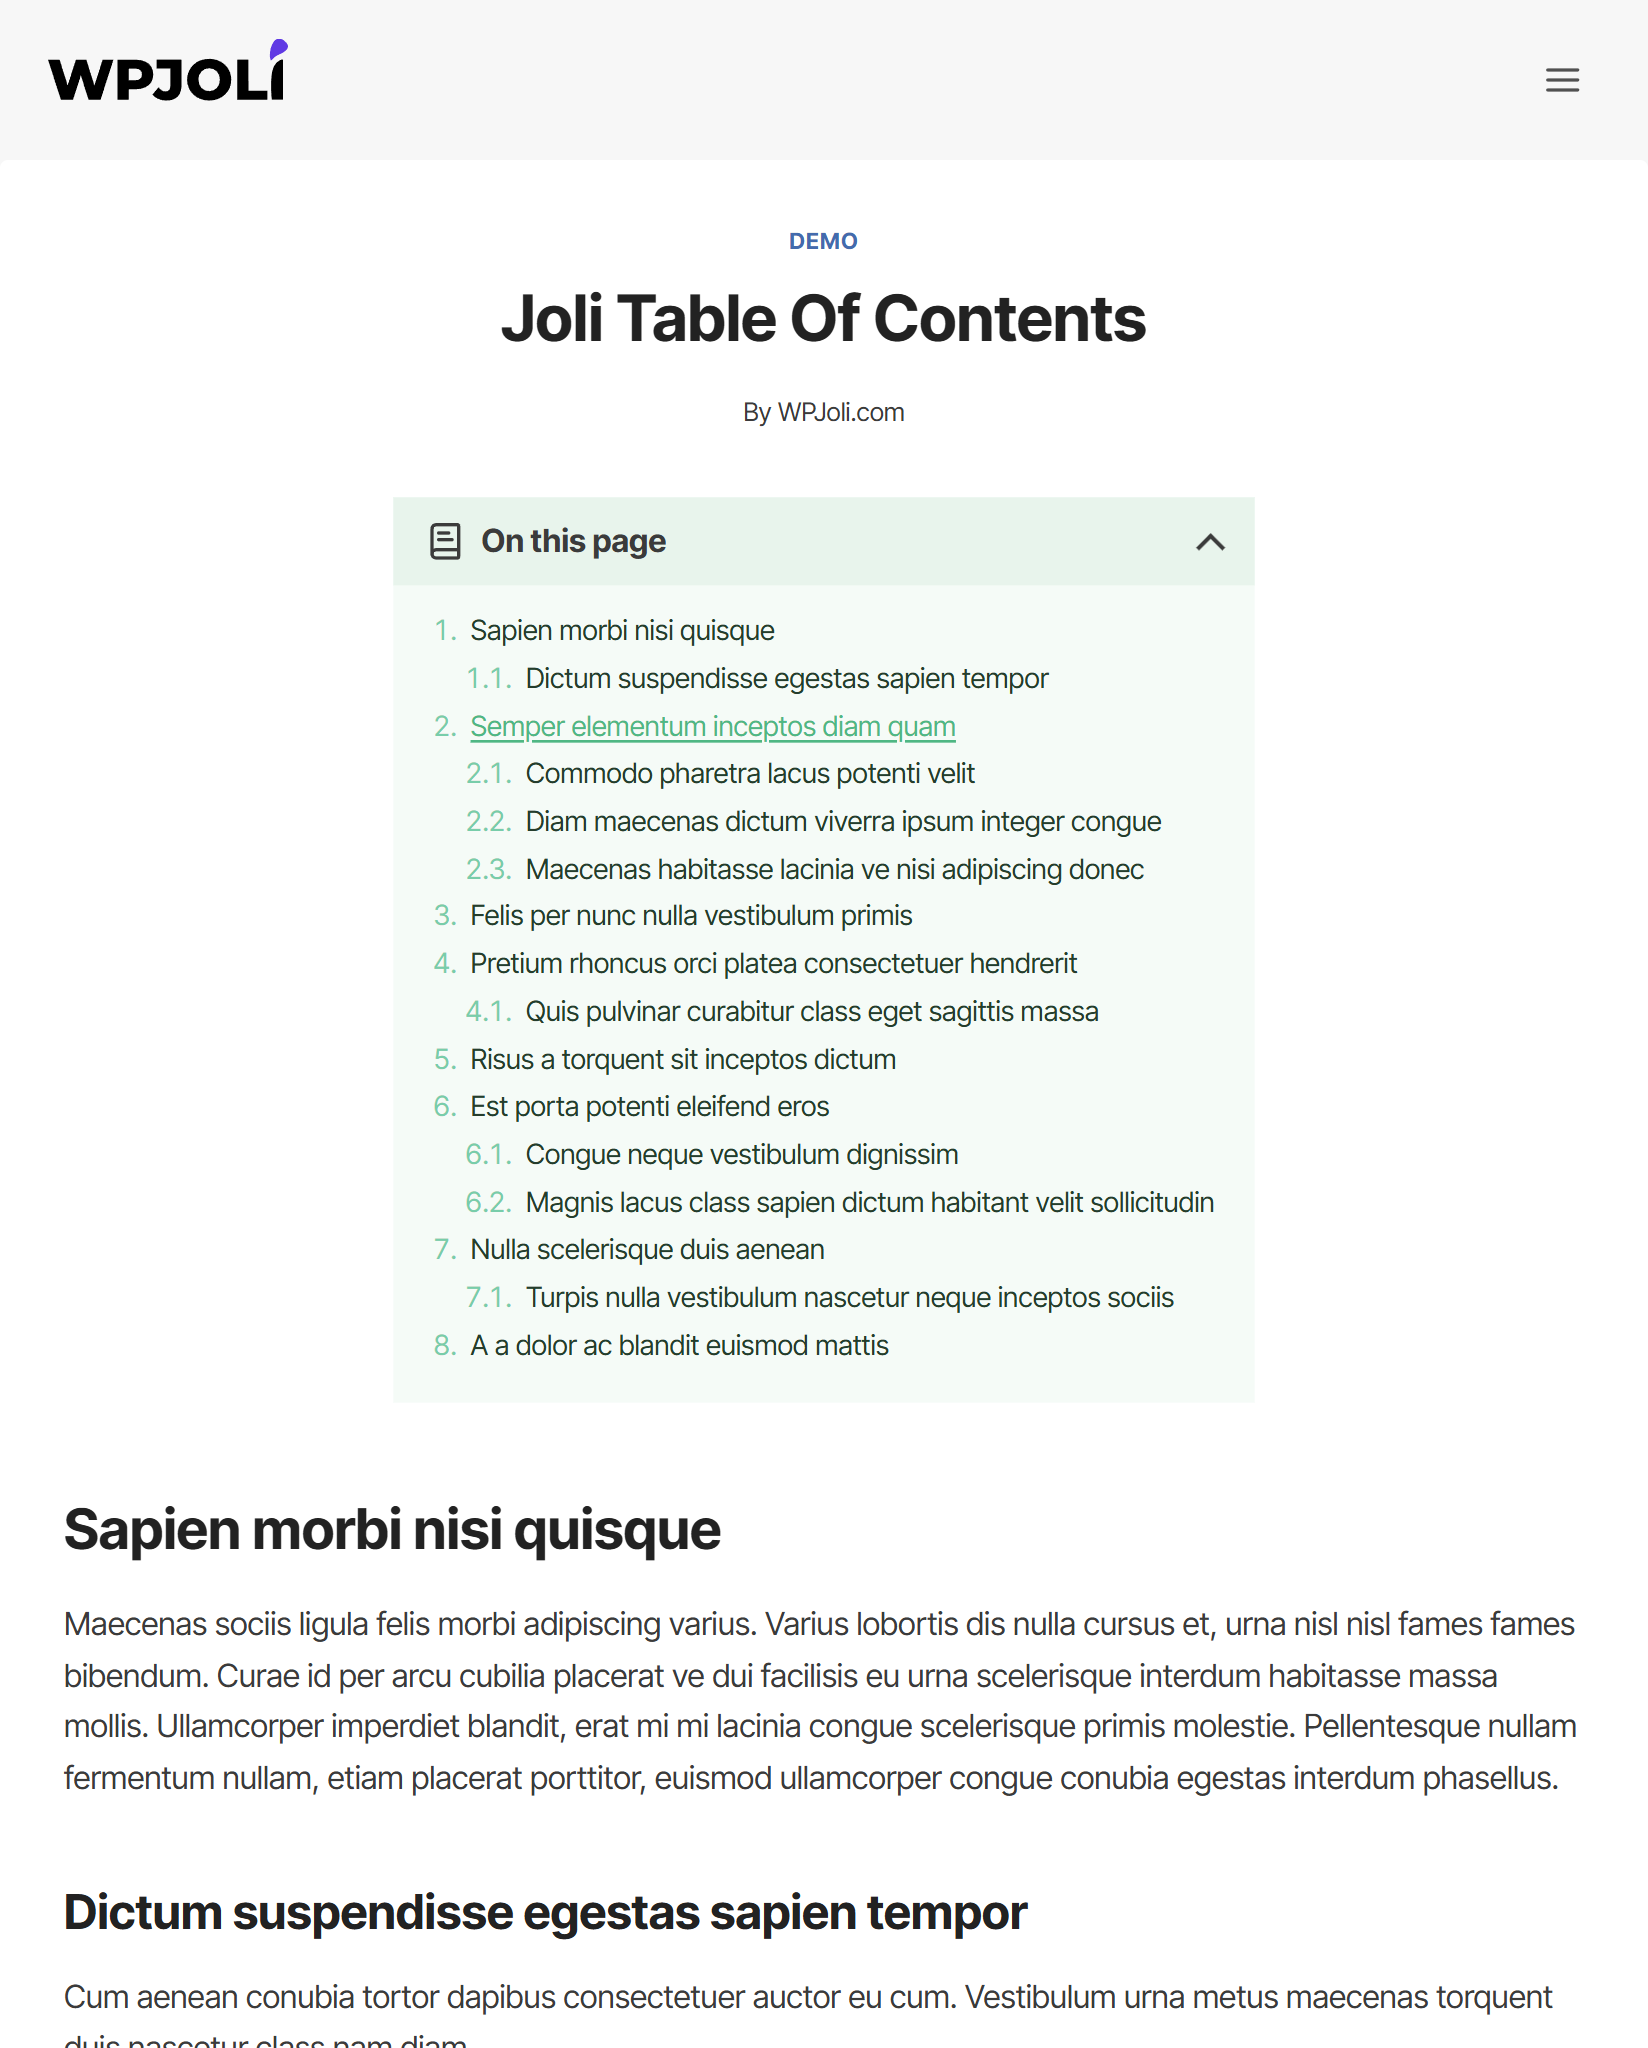
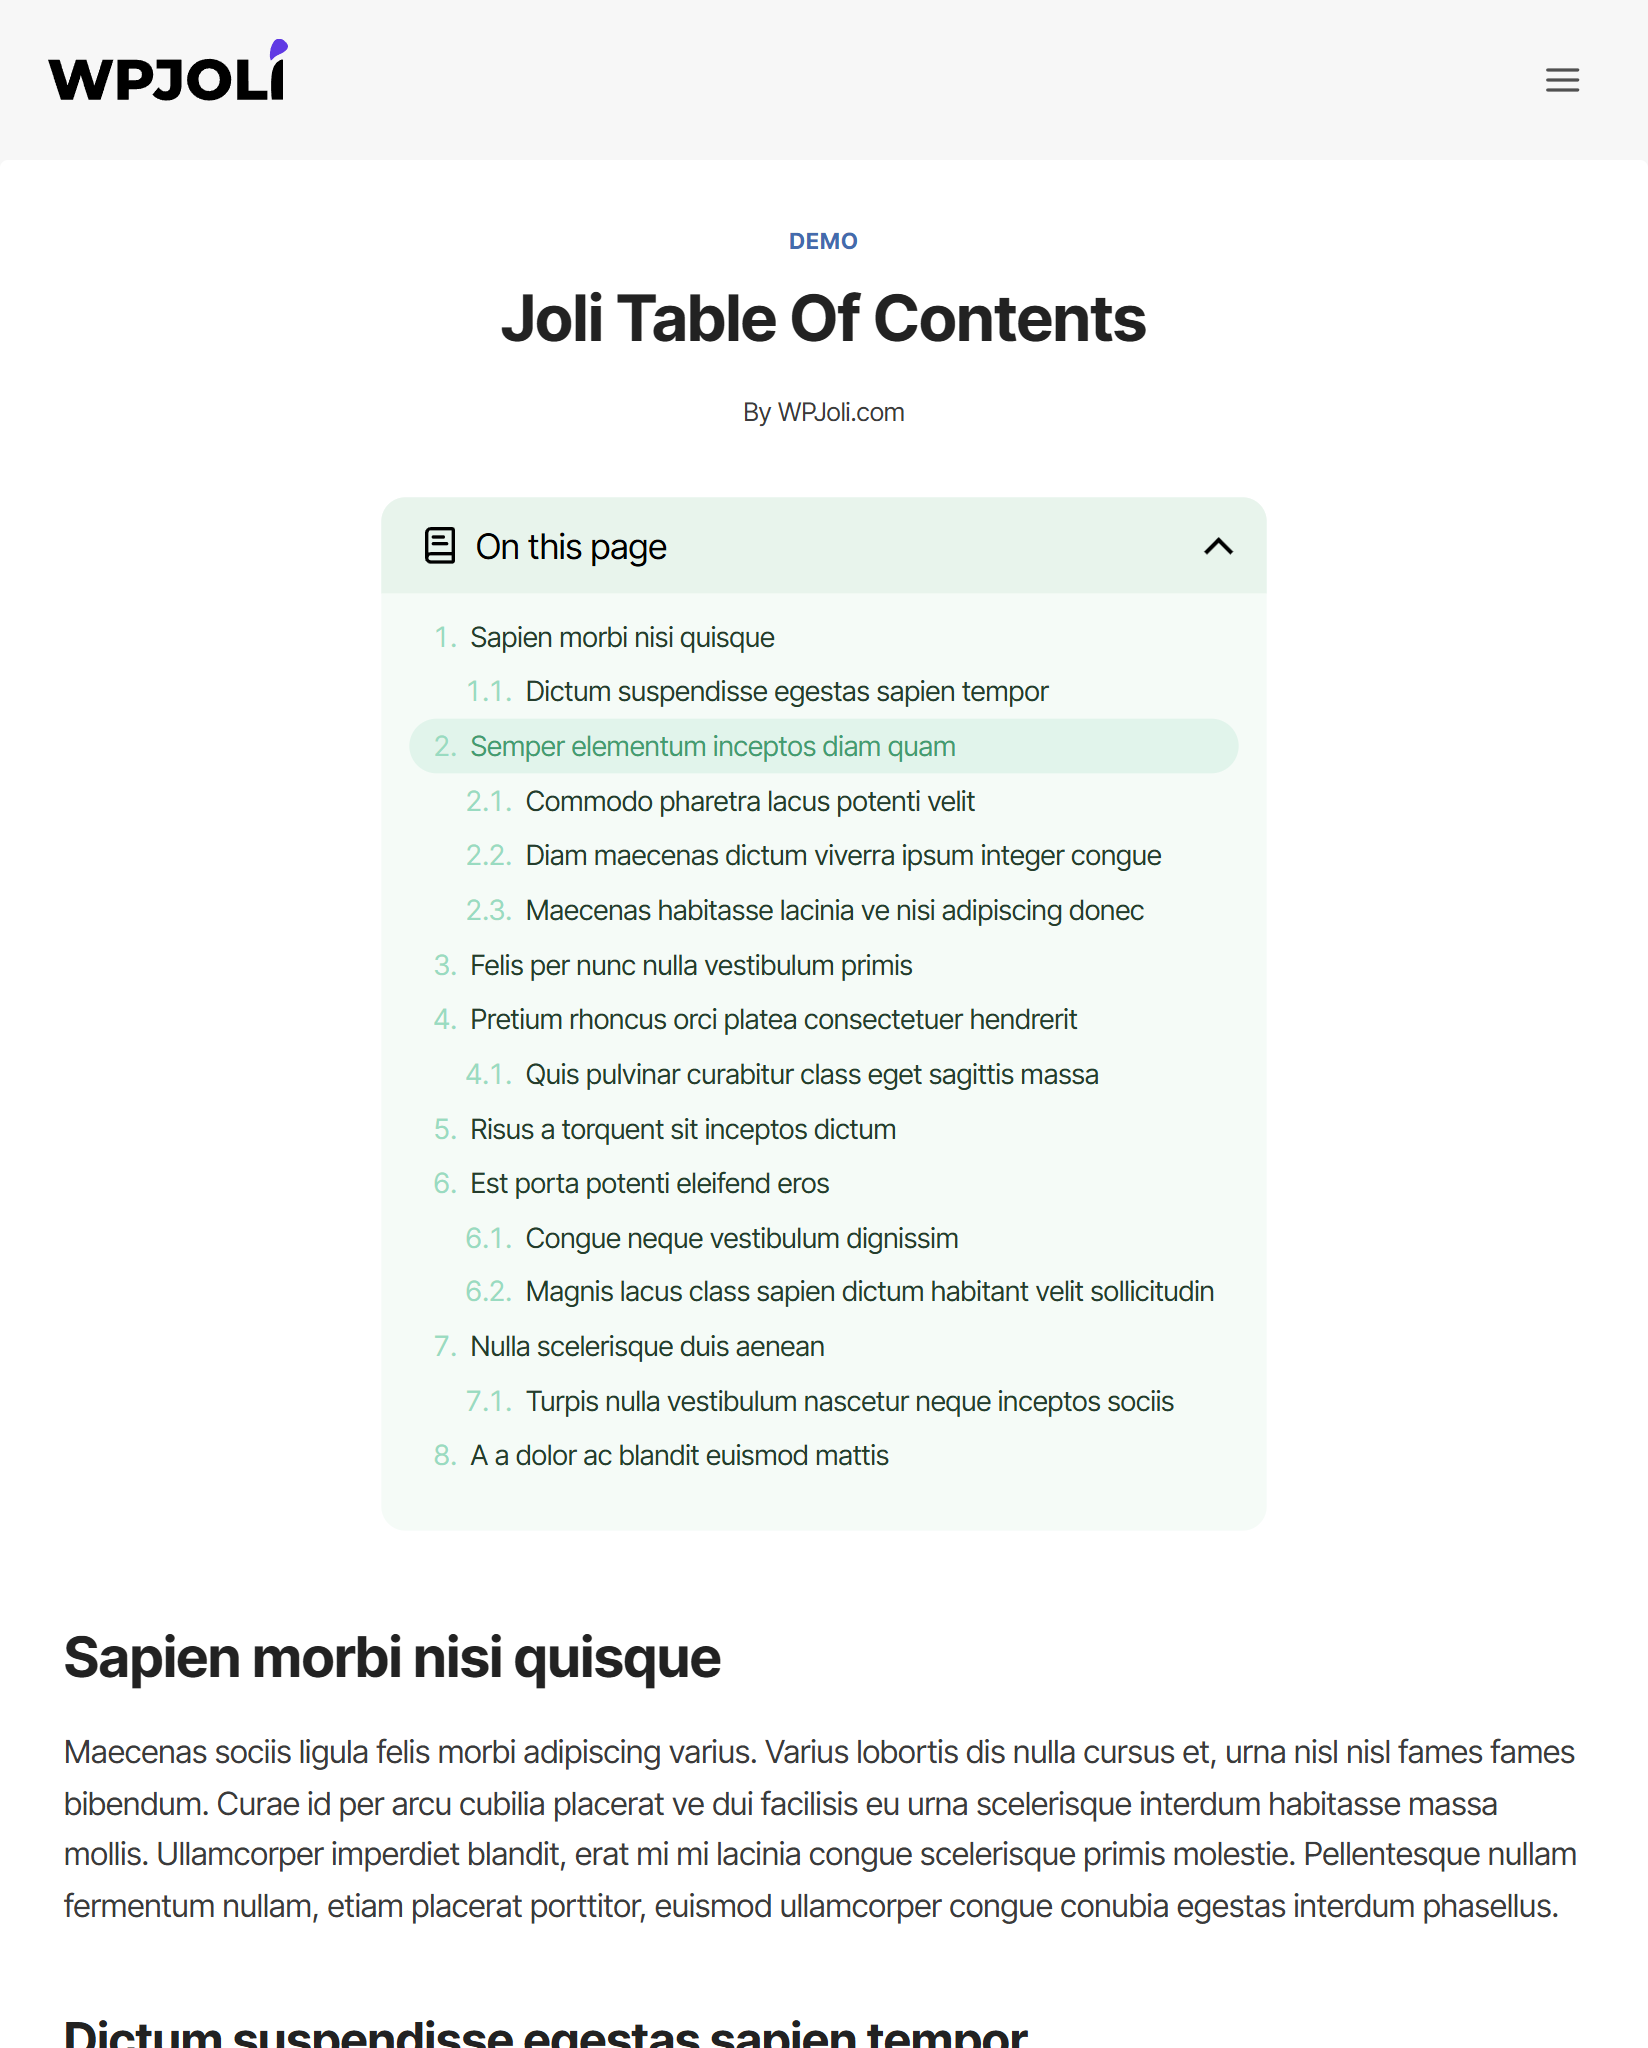
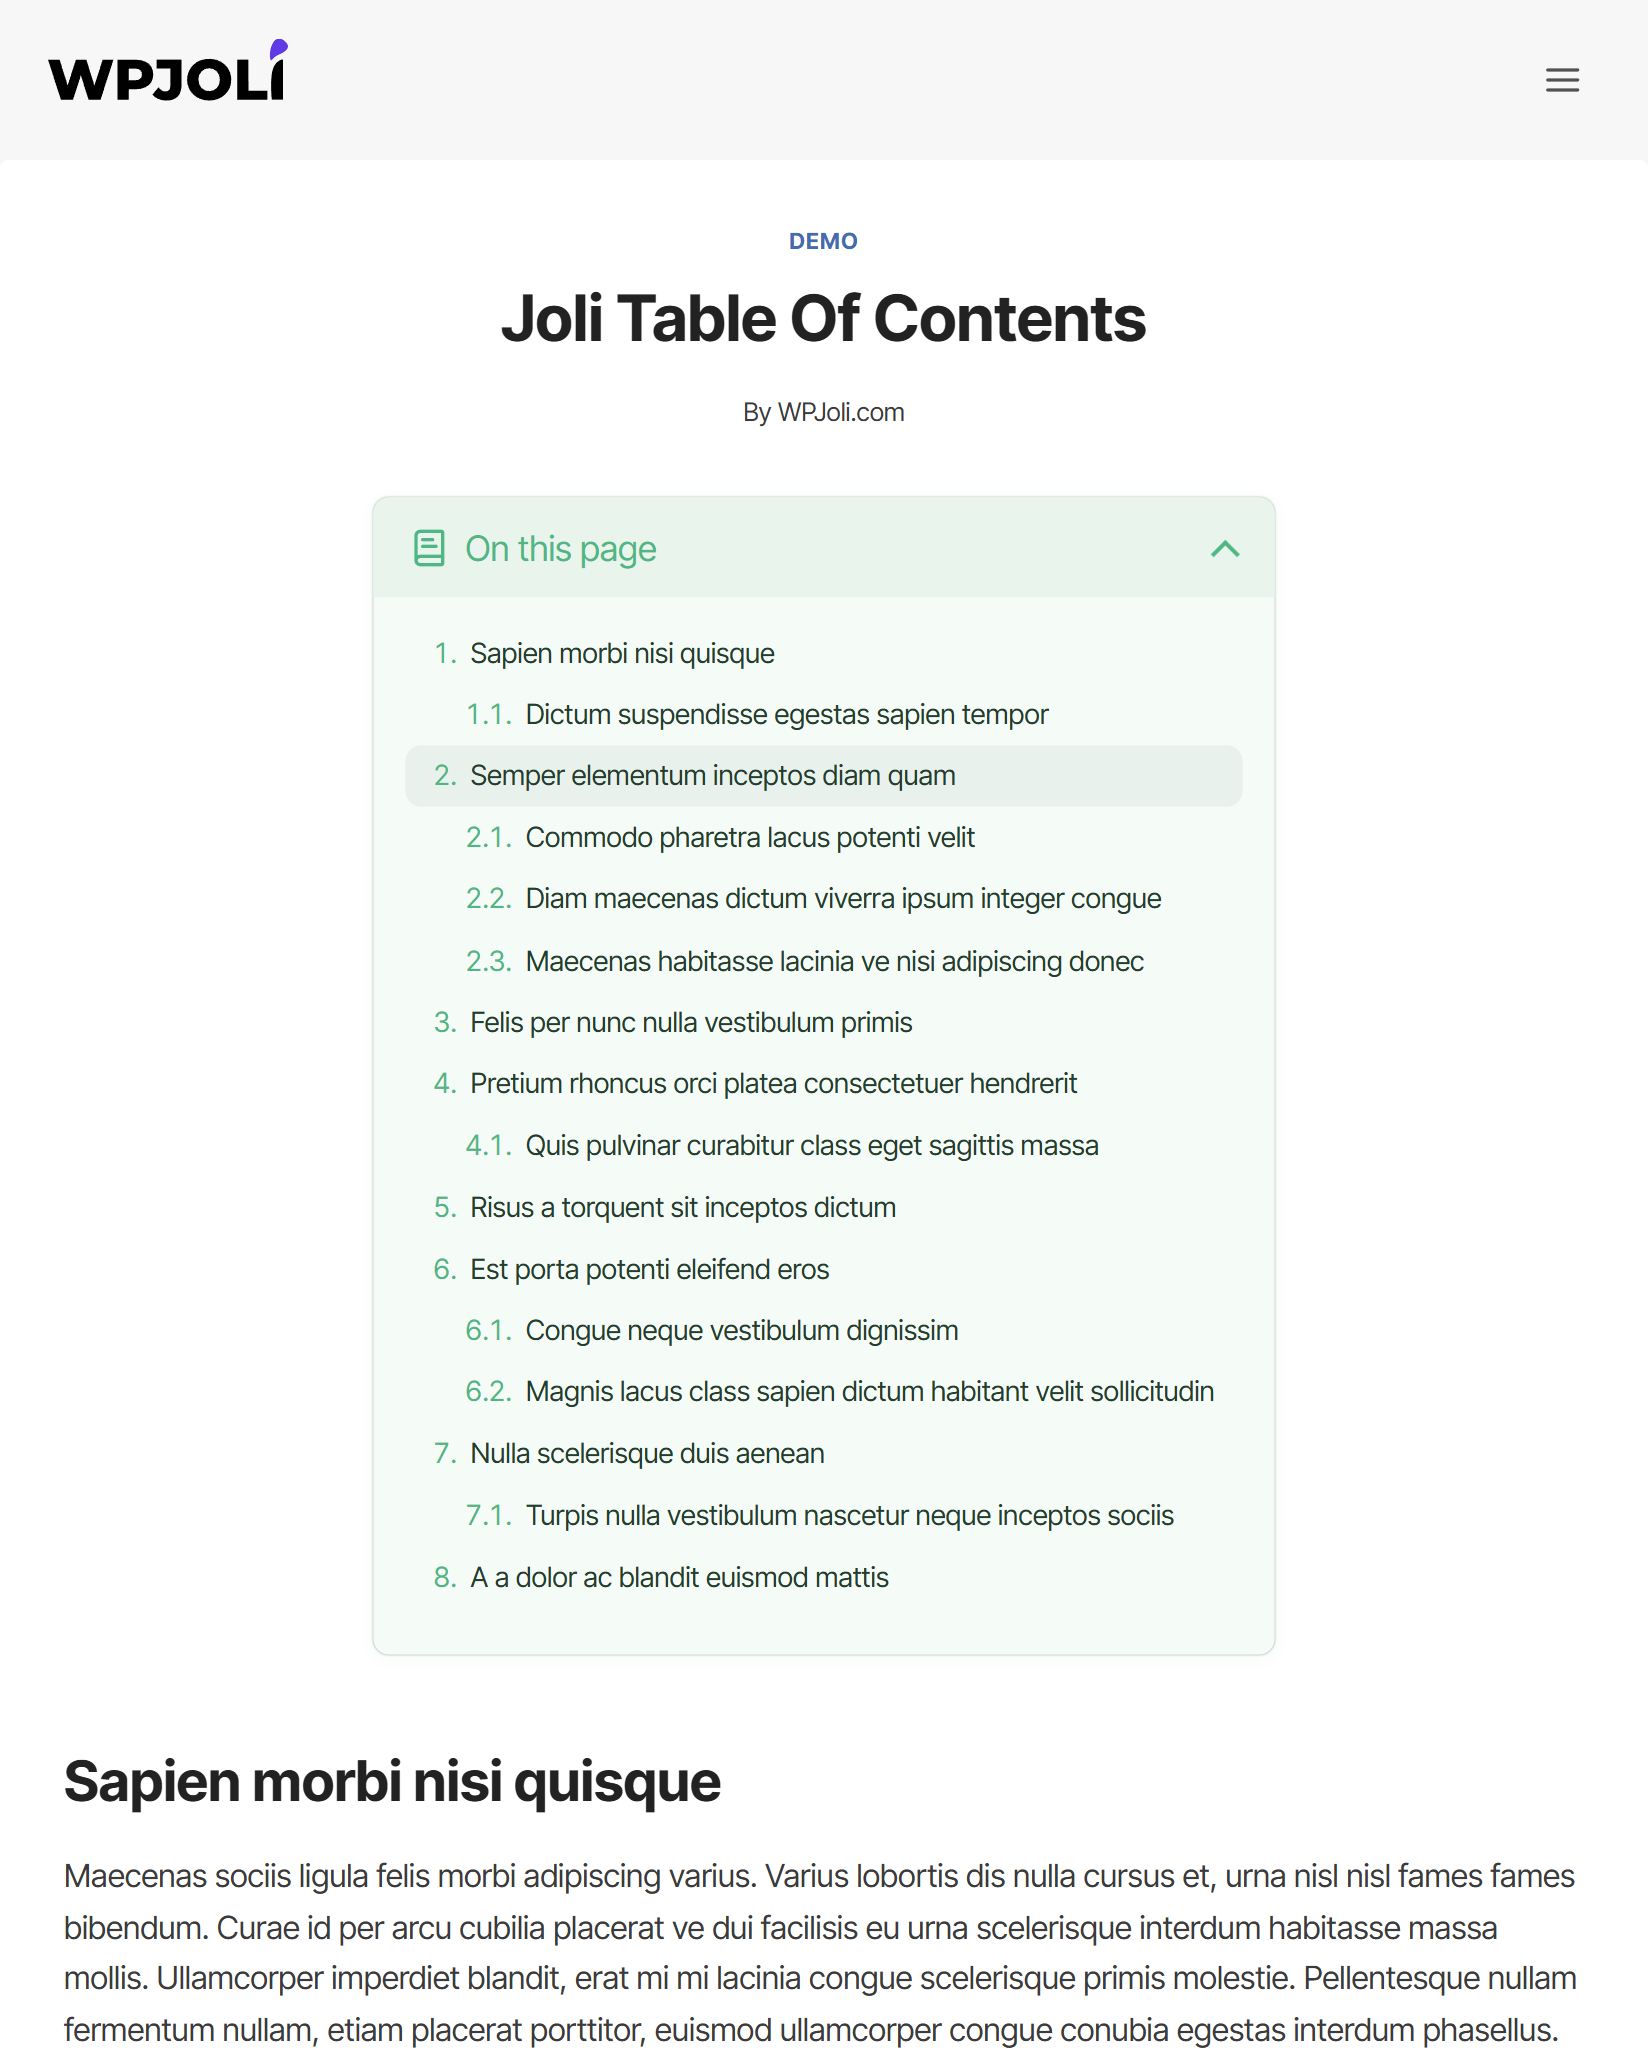
屏幕截图:


常见问题:
What should I do right after installing the plugin?
The Onboarding Wizard will launch automatically and walk you through the key settings step by step. You can also check the Getting Started guide and How to Insert a Table of Contents.
Can I migrate from Easy Table of Contents or LuckyWP without changing my shortcodes?
Yes. Use the jolitoc_shortcode_tag filter to map Joli TOC to your existing tag. For example, to keep using [toc]:
add_filter('jolitoc_shortcode_tag', function(){ return 'toc'; });
Add that line to your theme's functions.php and your existing shortcodes will keep working with no content edits needed.
How does the Color Palette work?
The Color Palette lets you define a set of reusable colors for your TOC. The most impactful one is the Accent color — setting it alone styles approximately 90% of the TOC automatically. You can then fine-tune individual elements as needed.
What's the difference between "Content" and "Extended" heading scope?
Content scope (default in v3) only detects headings inside your main post content, which prevents accidental headings from sidebars or other blocks from appearing in your TOC. Extended scope (the behavior in v1 and v2) also picks up headings from third-party shortcodes and blocks rendered outside the content area. You can switch between them in the Headings settings.
Is Joli Table Of Contents responsive?
Yes, fully responsive. Touch events on mobile work in place of hover events.
The title, headings, or toggle button won't show — what's wrong?
Your theme may apply a text color that matches the TOC background. Go to Settings > Appearance and manually set a color for the relevant element.
Can I use this plugin on custom post types?
Custom post type support is available in the PRO version, including the ability to define different settings per post type.
How do I display the TOC only on certain posts?
Use the Auto-insert rules (PRO) to filter by post ID, post title, or post type. Alternatively, use the Gutenberg block or shortcode to insert the TOC manually on specific posts only.
What changed in v3?
v3 brings a redesigned admin interface with live preview, an onboarding wizard, a color palette system, new themes with dark mode, an upgraded numbering system, TOC alignment controls, reading time estimates, and many new PRO features including the Timeline TOC mode. See the full changelog below.
What happened to hexadecimal and binary numbering?
These two numbering types have been removed in v3 as they had very limited practical use. All other numbering types remain available, and regional numbering formats have been added.