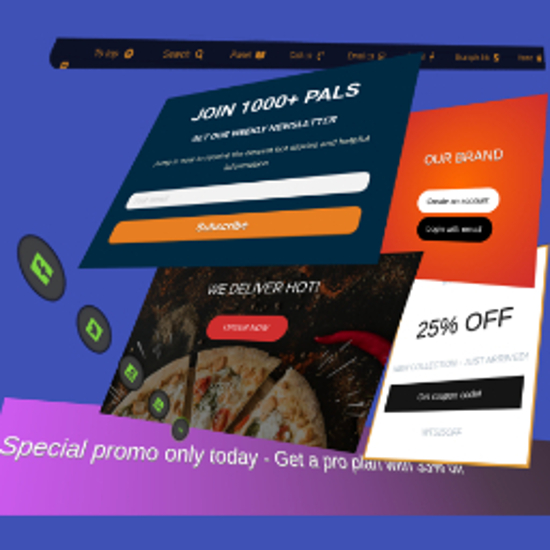
MaxBoxy: Make WordPress Floating Content, Popup, Alert Bar
| 开发者 |
maxPressy
MaxPressy |
|---|---|
| 更新时间 | 2025年12月7日 20:40 |
| PHP版本: | 7.4 及以上 |
| WordPress版本: | 6.9 |
| 版权: | GPLv2 or later |
| 版权网址: | 版权信息 |
详情介绍:
MaxBoxy is a tool that will help you in making engagement and conversion elements for your Website. To be concrete, with MaxBoxy create floating content, menus, info bars, popup or slide-in panels. Set them into rotating notification system, introduce them on page's load or exit intend, offer coupons and much more. It can be used, for example, to:
- Engage visitors with your products and items
- Turn over site visitors to consumers, followers or buyers
- Increase social followers & connect with your social sites
- Get additional email subscribers
- Create eminent floating menus
- Stick necessary announcements
- Rotate exciting news and messages about your products
Premium VersionFor additional information visit our site and see all features and benefits of upgrading to the MaxBoxy's Premium version.
- Conditional appearance
- Restriction for any page, categories, user logged status, user roles, etc.
- Appear after event (time, scrolling, page's element in view), etc.
- Scheduling campaings
- Geolocation targeting
- Trigger a panel "On click", "On hover" - from the content's button, link or image
- Output as a shortcode or through WordPress block interface
- and much more customization options...
安装:
Automated Installation
From your WordPress dashboard, navigate to the Plugins -> Add New, then search for the "MaxBoxy". Activate the plugin.
Manual Alternative
Alternatively, install MaxBoxy by uploading the files manually to your server. Download the plugin here from wordpress.org, upload the files to the plugin directiory of your WordPress installation. Go to the admin dashboard of your site, now. Navigate to the Plugins section and activate MaxBoxy.
Usage
After activating the plugin, in your WordPress Dashboard find the section "MaxBoxy". There you can set its default settings and add your first floating or injecting content box.
屏幕截图:
更新日志:
1.2.1 - 2025-12-07
- Pattern improvement: Improve spacing on the contact groups with bg
- Patterns improvement: add metadata to some of them
- Fix: Text strings missing translation prefix
- Update translation strings in .pot file
- Fix: With upcoming WP 6.8 Notice: Function _load_textdomain_just_in_time was called incorrectly
- Small styling tweaking in patterns
- Fix: Text domain loading, due to the missing parameters on the get_plugin_data
- Remove the Reusable blocks support, just use the InjectAny strain for the same purpose
- Improve the panel size outputting when the panel is initially hidden
- Small code cleaning for option fields
- Raise the z-index of .floatany, , WP nav on the mob (modal) was overlapping it when triggered from it
- Help/description improvement for a couple of option fields
- Update the custom fields framework
- Small styling improvement for the additional message of the closer button
- Fix: Revoke the global option for the blocks width, too many potential conflicts with individual panel settings
- Fix: Padding on the toggler when the SVG is used
- Fix: Margin on the closer button when set to be different from the igniter button
- Fix: Alignment of the additional message closing button
- Add: Option to eliminate the margin on the Closer button
- Add: Global option to set the content (blocks) width inside the panels, including the wide alignment
- Add: Additional panel showing styles: Push up, Push left, Push right, Push down
- Add: Each margin unit option for the toggler
- Improvement: Better toggler positioning with align-start positions
- Improvement: Remove the transparent bg/color when SVG is used on the toggler
- New: The additional message for the trigger button and panel
- New: The SVG and image options for the trigger buttons
- New: Documentation section in the UI
- Update: Panel positioning, vertical and horizontal slide-in improvement
- Change the way the plugin version is retrieved and printed
- Update contact patterns
- Update the initial modal offer
- Fix: Image folder wasn't set properly for the background usage in patterns
- Add commencing patterns in modal when starting a new panel
- Add option to disable the patterns modal
- Add defer strategy for the scripts enqueueing (Compatibility with WordPress 6.3)
- Add removing autop option
- Change the label Reusable Blocks to Sync Patterns
- Update some exisitng and add few more patterns
- Update Fields framework
- Minor update regarding Stats option ** Change is actually reflected in the upcoming Pro addon, but has to be synchronized here as well
- Fix: ham trigger style not showing correctly in Firefox
- Fix: The position of toggler when it's 'inside' (Caused by image_select released in previous version)
- Fix: Toggler styling correction for the rounded style & enlarged sizes
- UI improvements, few options are more visualy appealing now, with "image select" instead of text selection
- Update translation strings
- Tested on PHP 8.2 and WordPress 6.2
- Update: Options fields framework
- Update: Patterns
- Add info/alert patterns
- Change the privilege for the Test mode to Editor and above
- New: Test mode option - allowing to preview the created panel as an Admin before making it publicly available
- Update: options fields framework
- Update: translation strings
- Small code correction
- Improved: file structure changed a bit for better organization
- Improved: Moved more to OOP programming and functions efficiency
- Improved: Lint the PHP code
- Improved: A bit of UI changes which should lead to better options organization and UX
- IMPORTANT: Due to UI changes you may need to re-save each panel settings


